Destination China Inspiration | Colorful Cards with Elena
on December 19, 2018

Destination China Inspiration | Colorful Cards with Elena

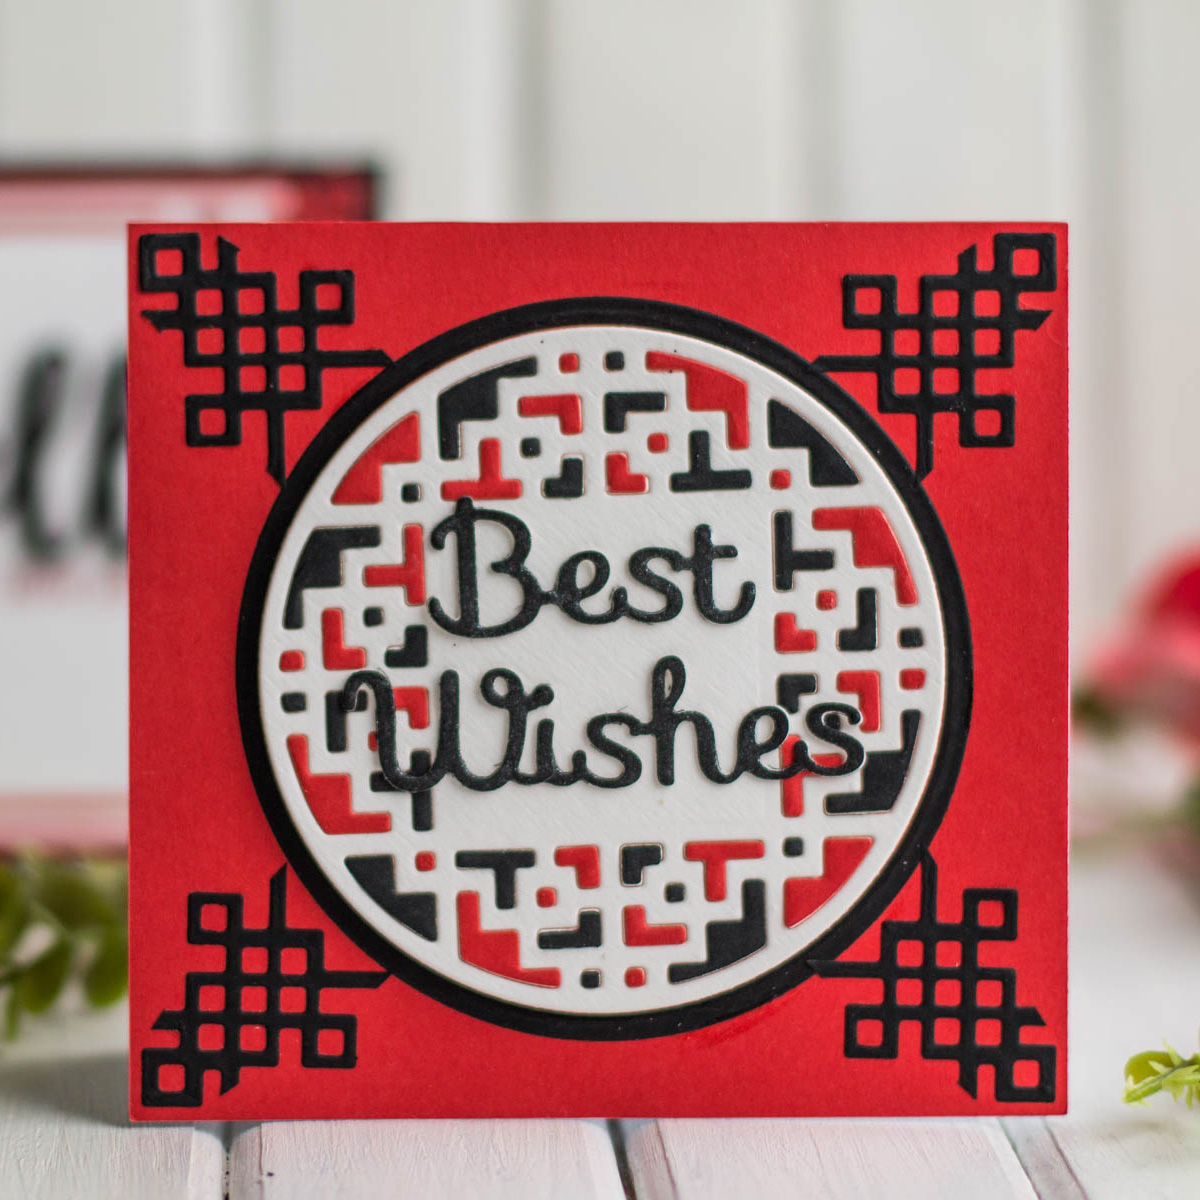
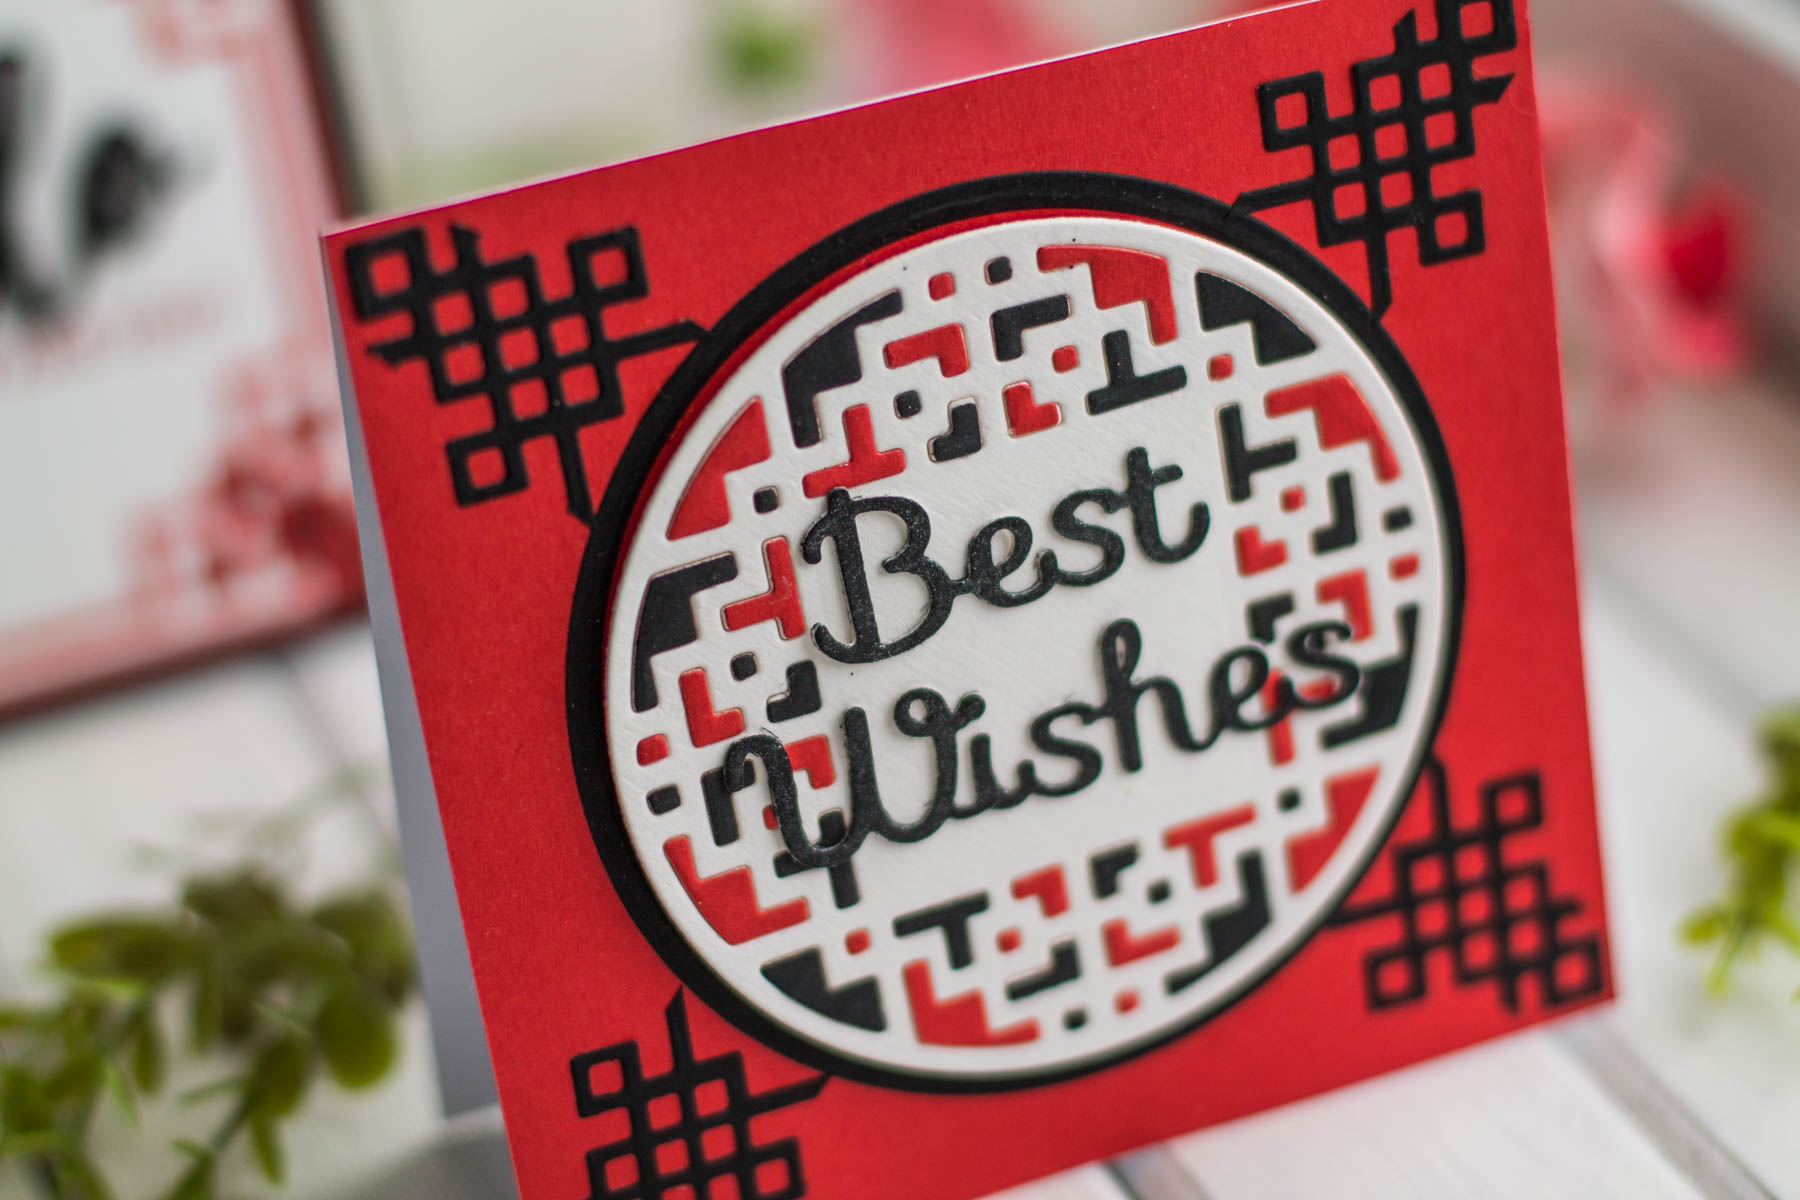
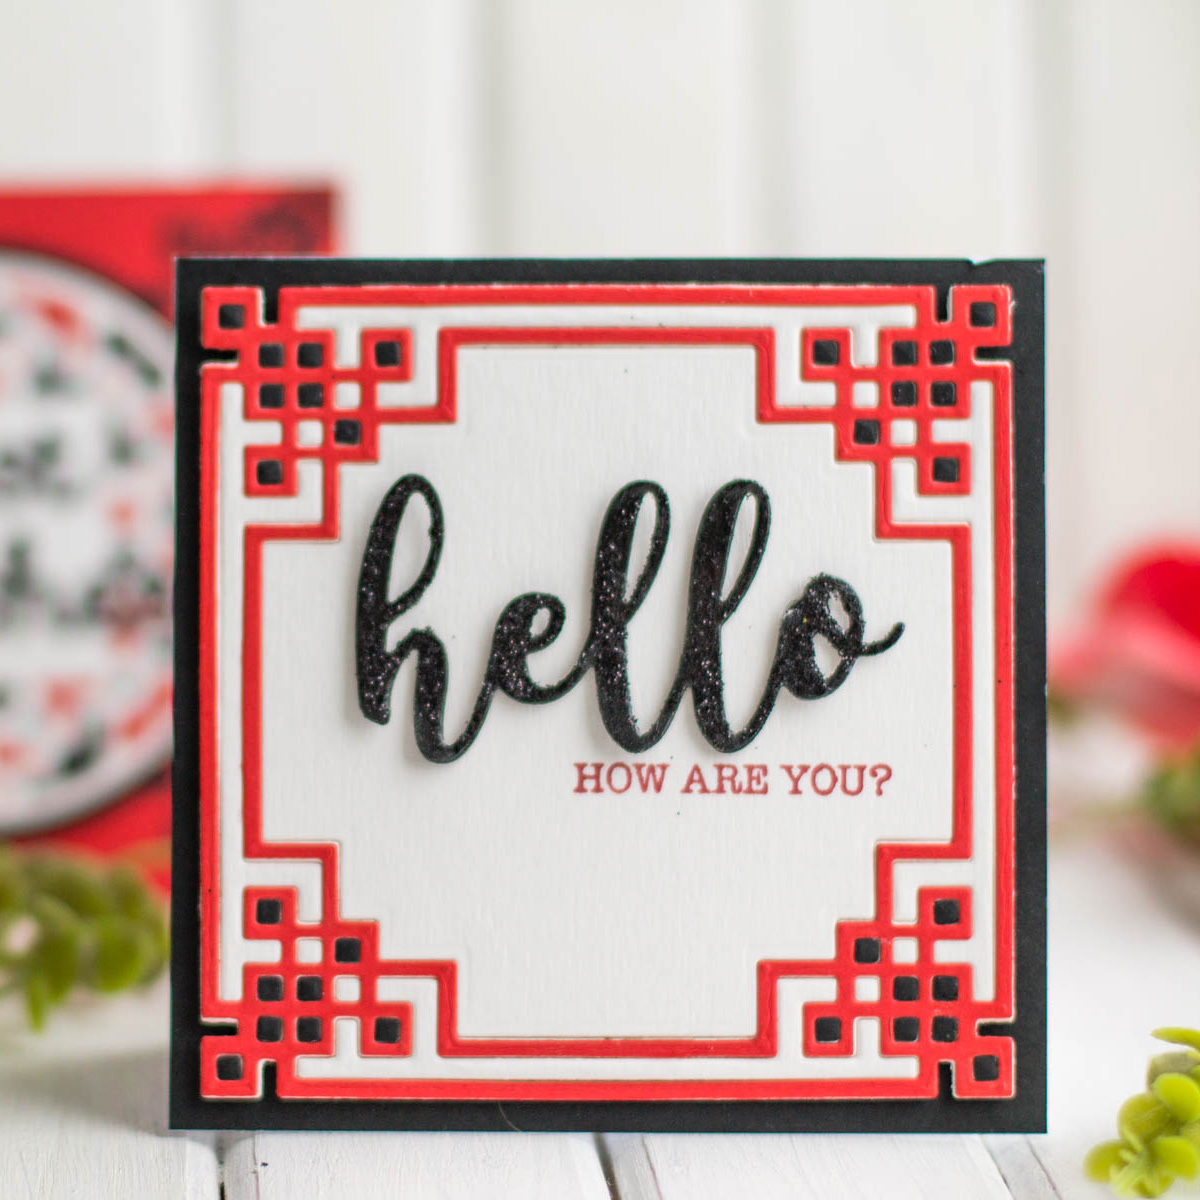
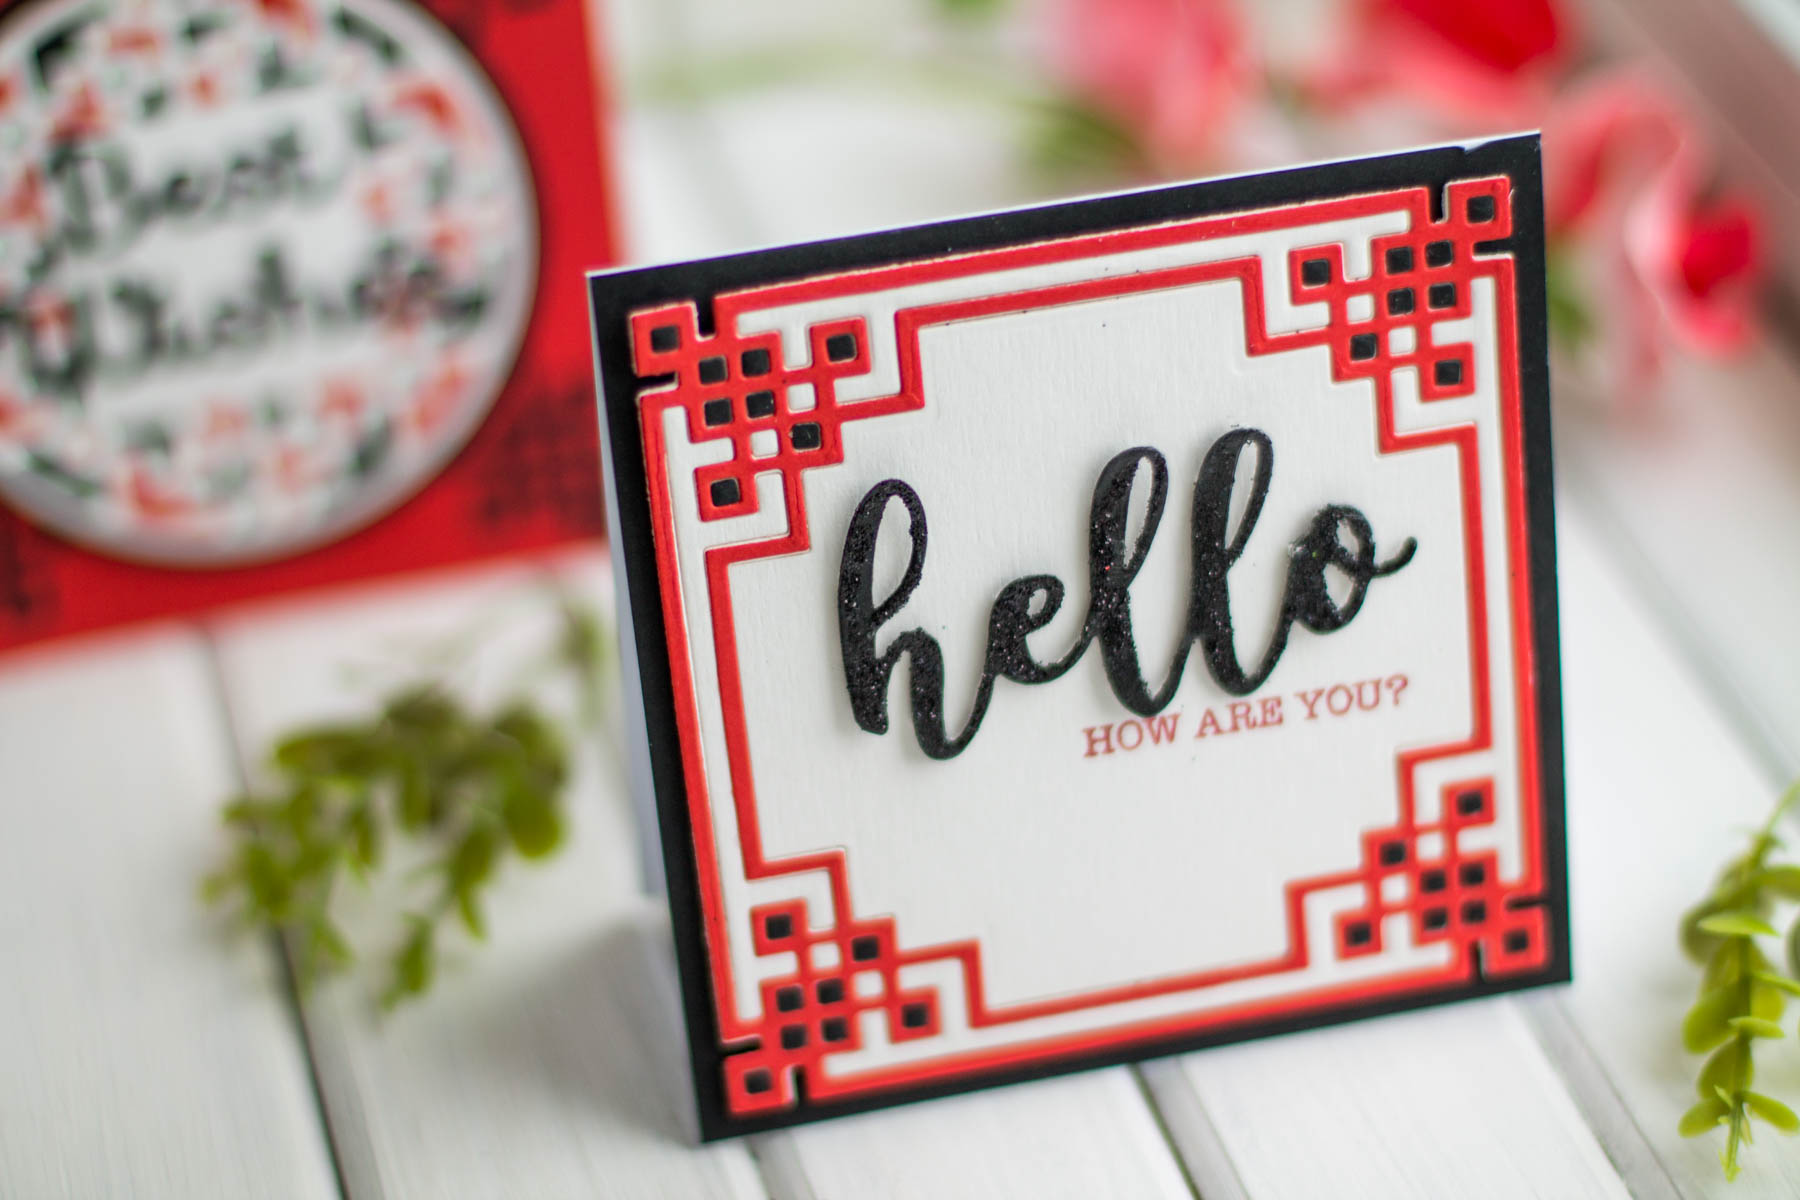
Hello friends! Elena Salo is here again! Today I'm sharing a second post where I show how you can use new collection of dies from Lene Lok - Destination China. Here you can find the first project. Many of my favorite dies are from Lene Lok's collections, because I like all geometrical shapes she creates in her dies. And this collection is also full of such dies. Today I'd like to show you two more cards I created with these release.
Destination China collection by Lene Lok - Inspiration | Colorful Cards by Elena Salo for Spellbinders

I created two card bases out of red cardstock. Then I die cut labels out of red, black and white cardstock using Chinese Knot Frame and Chinese Coin Window sets of dies from Destination China release.

Destination China collection by Lene Lok - Inspiration | Colorful Cards by Elena Salo for Spellbinders

I really liked to play with these dies and adhere all that tiny squares onto the card.

Destination China collection by Lene Lok - Inspiration | Colorful Cards by Elena Salo for Spellbinders

To finish my cards I added die cut sentiments from the previous releases.

Destination China collection by Lene Lok - Inspiration | Colorful Cards by Elena Salo for Spellbinders

Spellbinders Supplies:

OTHER SUPPLIES

White, Black, Red Cardstock; Double-Sided Foam Adhesive, Double-Sided Adhesive; Hero Arts Red Ink; Glue. Thank you for joining me today! Wish you all the best!

Leave a comment

Your email will not be published. Please note, comments need to be approved before they are published.

5 comments

Susan Stagno,

I love the Asian theme! I have several stamps and dies that are Japanese and these would be a great addition! Gorgeous!

Melissa Smith,

Gorgeous cards! I love the details and the bright colors!

Lisa Hobbs,

These so remind me of my grandma’s love for my great grandfather heritage and how we celebrated before she passed away. So beautilful

Sandy B,

That’s a detailed die!

Pam,

These are beautiful!


  • HOW TO USE PRESS PLATES WITH MULTIPLE INKS | CREATE YOUR WAY HOLIDAY, BPR-050, BPI-049, BPI-003

    BP-001

    How to Use Multiple Ink Colors with BetterPress Registration Plates

    Create a colorful Christmas card while learning how to apply multiple ink colors to BetterPress registration plates. In this detailed tutorial, you’ll use the Festive Evergreens Registration Press + Foil Plate & Die Set to press a holiday doorway scene in three colors, combining the built-in registration system with a simple masking technique. The registration template positions the coordinating plates so each layer aligns with...

  • How to Make a Colorful Foiled Butterfly Card with Glimmer II

    BP-351

    How to Make a Colorful Foiled Butterfly Card with Glimmer II

    Combine hot foiling, alcohol-marker coloring, ink blending, and dimensional shaping to create a colorful butterfly card that sparkles from every angle. In this step-by-step tutorial, you’ll learn how to foil detailed butterflies and a floral background with the Glimmer II Hot Foil System, add bold color, and shape the butterfly wings for a realistic raised effect. The Bright Butterflies and Thanks In Bloom Press +...

  • How to Heat Emboss with BetterPress Plates: Snowman Christmas Card

    BP-001

    How to Heat Emboss with BetterPress Plates: Snowman Christmas Card

    BetterPress plates can do more than create letterpress impressions and hot-foiled designs. In this detailed Christmas card tutorial, you’ll learn how to apply clear sticky ink to a BetterPress plate and use white embossing powder to produce a crisp, heat-embossed snowflake background. The tutorial also covers pressing and die cutting a sentiment, assembling three detailed snowmen, and arranging the finished elements on an A2 card....