Destinations China Inspiration | Classic Lunar New Year Cards with Keeway
on December 18, 2018

Destinations China Inspiration | Classic Lunar New Year Cards with Keeway

Hi crafty friends! Its Keeway from Kiwi Koncepts, and I’m here to bring you some classic lunar new year inspiration with the Destination China collection by Lene Lok. Lunar New Year celebrates the new year of the traditional lunar calendar which often happens in February. This year it falls on February 5th and it’s the year of the pig! When it comes to Lunar New Year, the use of red and gold are not only prominent, but meaningful to represent good fortune and joy, so it meant a lot for me to use these traditional colors in my projects today.

Destinations China collection by Lene Lok - Inspiration | Classic Lunar New Year Cards by Keeway Tsao for Spellbinders

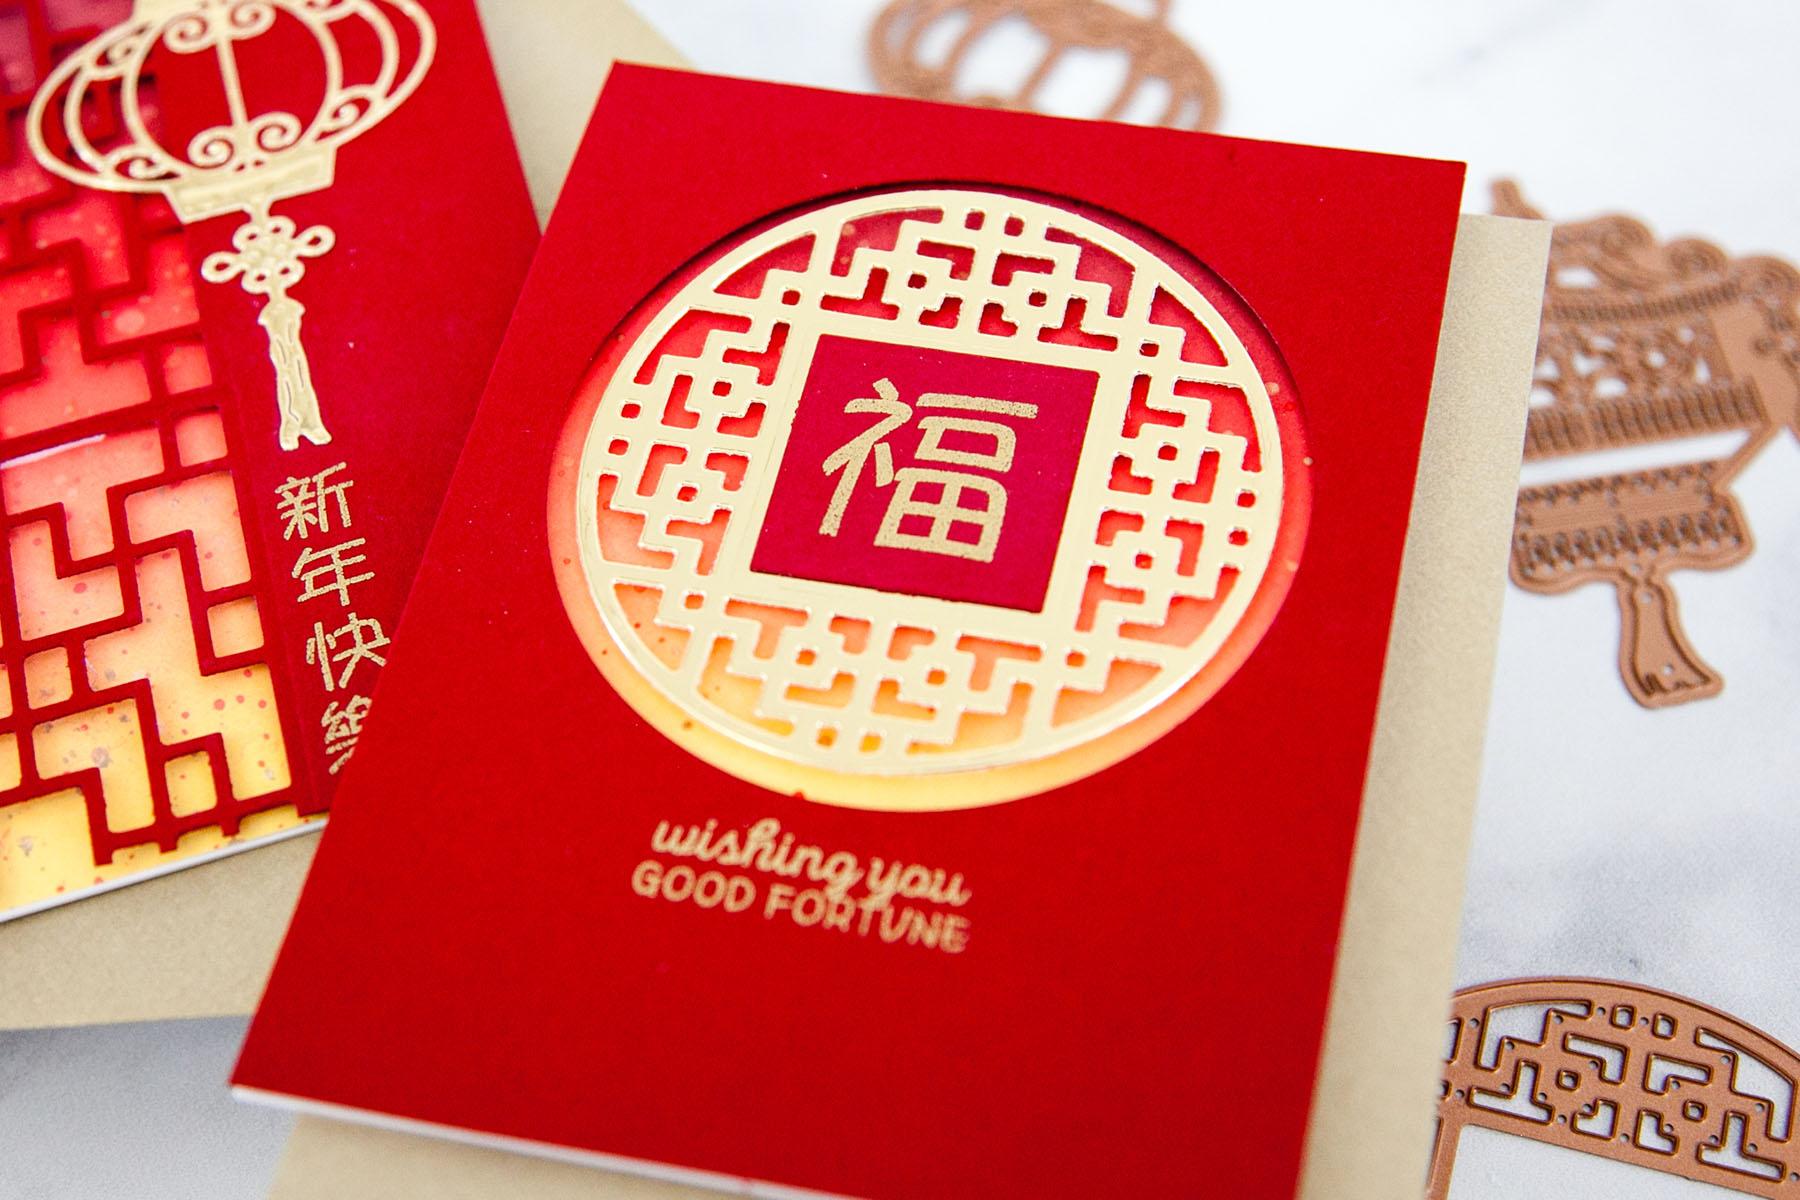
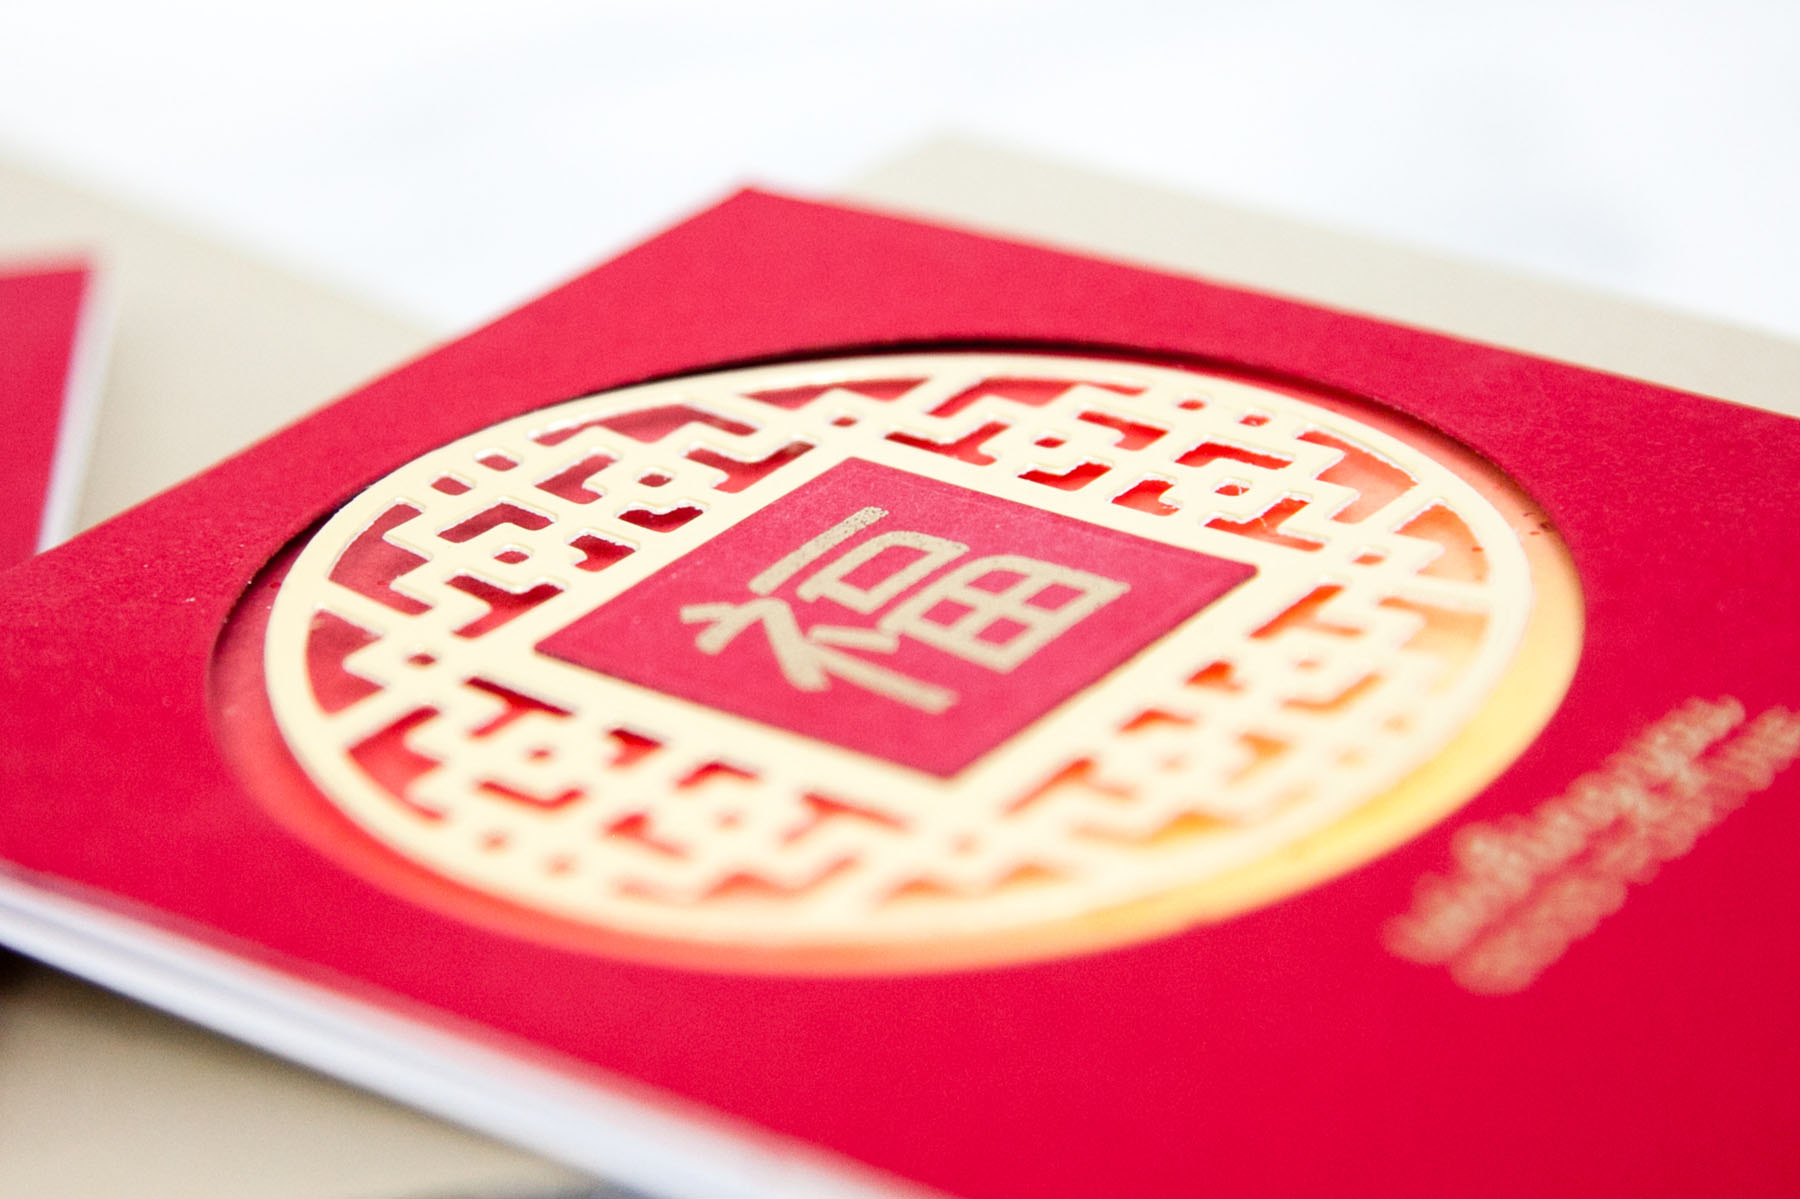
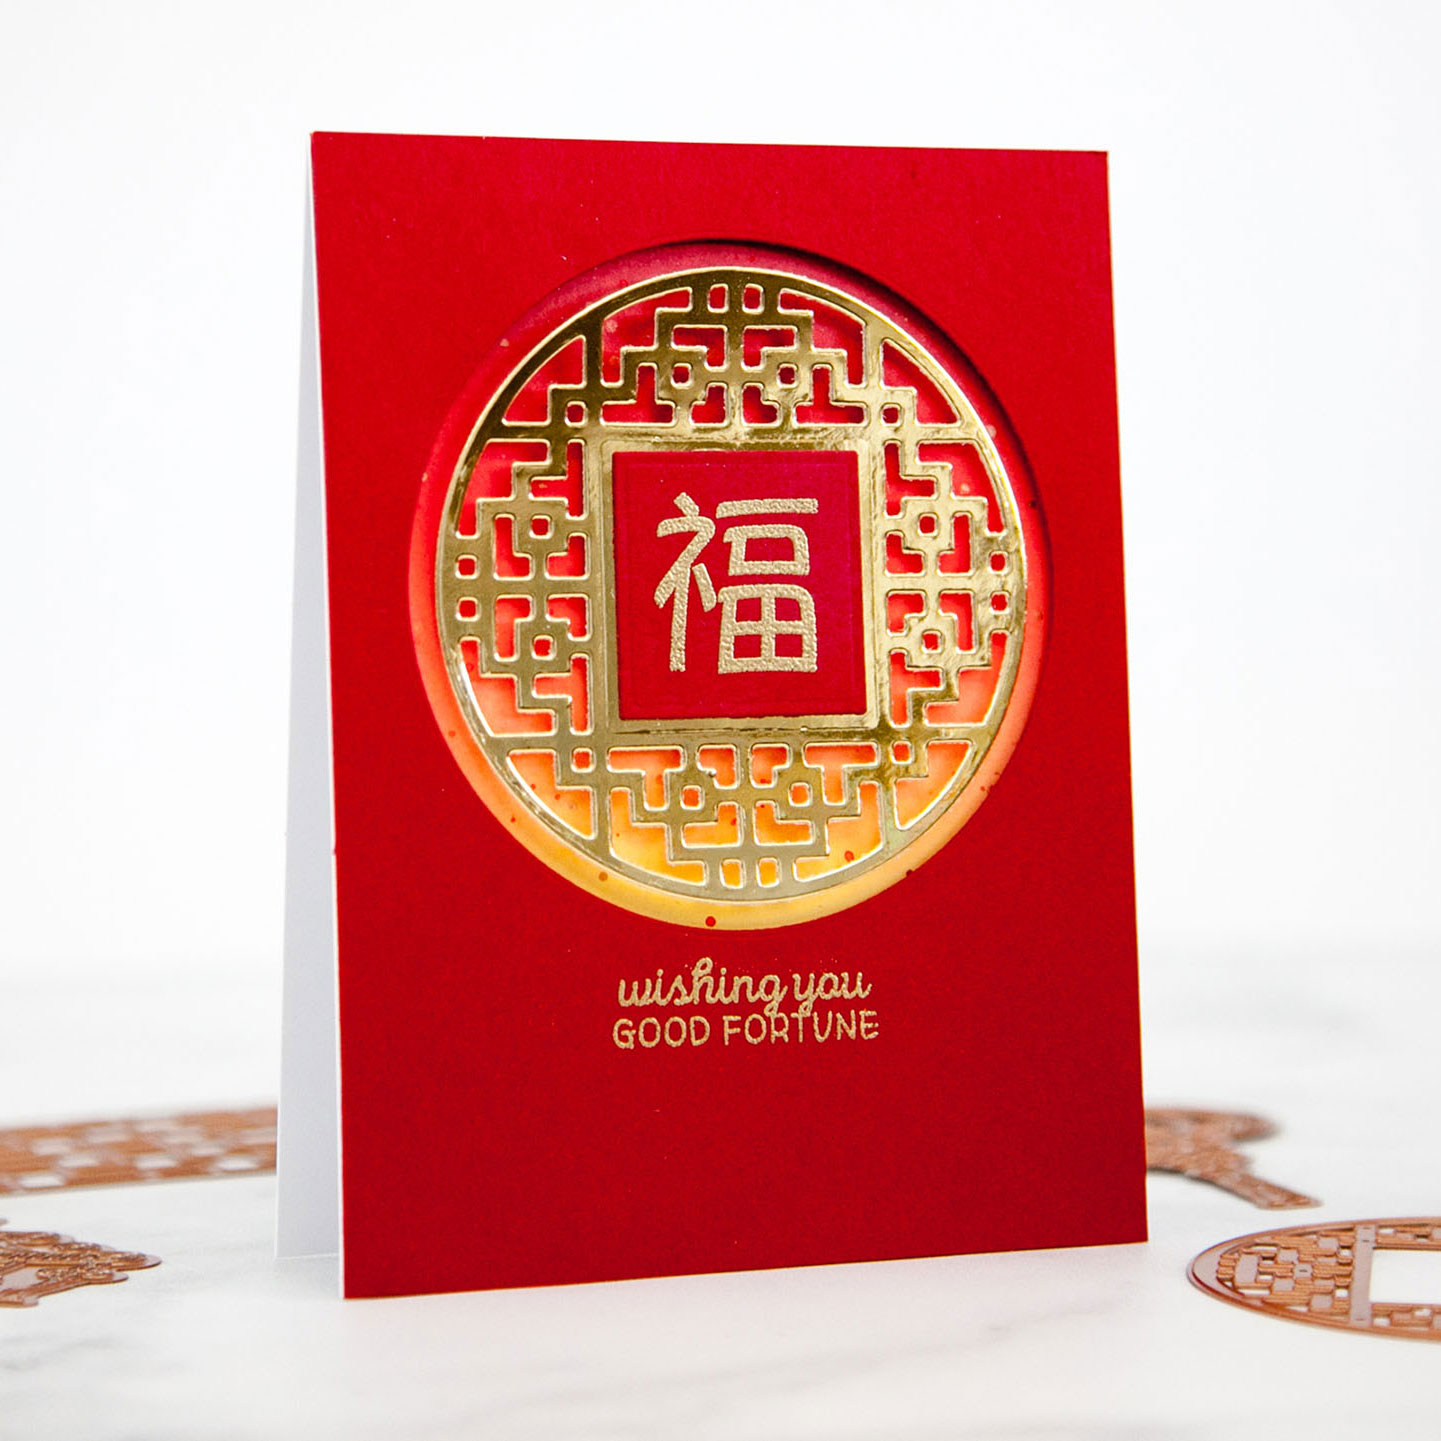
The Destination China collection by Lene Lok carries beautiful traditional patterns to create delicate windows to bring out an ink blended background of reds and yellows. My first card uses the Chinese Coin Window dies. I first die cut the circle and the small square out of red card stock. Then, I die cut the intricate insert out of gold mirror cardstock.

Destinations China collection by Lene Lok - Inspiration | Classic Lunar New Year Cards by Keeway Tsao for Spellbinders

On the small red square, I heat embossed the word 福 (pronounced “fu”), which means fortune or good luck, in gold. Below the circle, I also heat embossed the sentiment “wishing you good fortune” in the same gold.

Destinations China collection by Lene Lok - Inspiration | Classic Lunar New Year Cards by Keeway Tsao for Spellbinders

For the bottom layer, I ink blended the colors Aged Mahogany, Candied Apple, Dried Marigold, and Squeezed Lemonade for a gradient of red to yellow. I then layered on the red frame over it with foam tape.

Destinations China collection by Lene Lok - Inspiration | Classic Lunar New Year Cards by Keeway Tsao for Spellbinders

Next, I added the red square to the center of the intricate gold die cut, and finally added the entire design into the center with foam tape. A simple design that truly shines of fortune!

Destinations China collection by Lene Lok - Inspiration | Classic Lunar New Year Cards by Keeway Tsao for Spellbinders

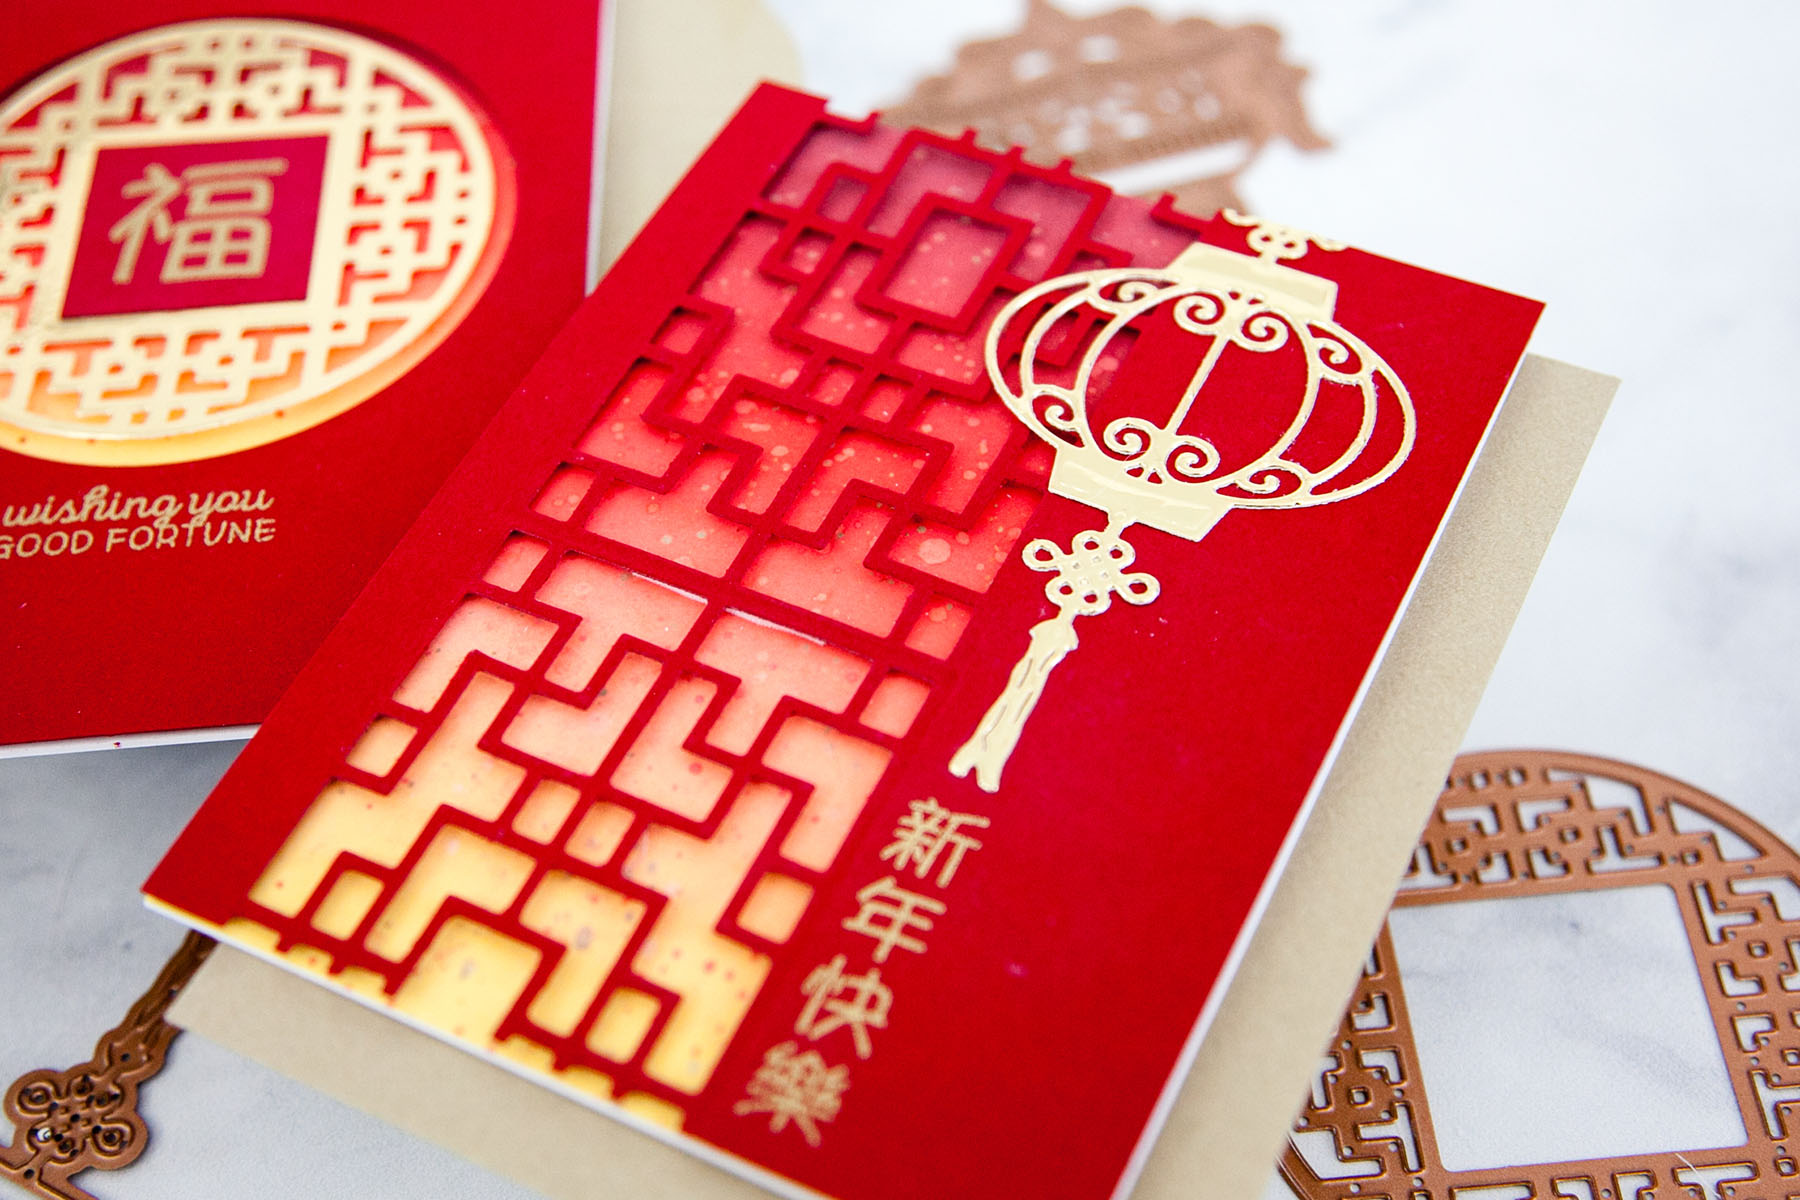
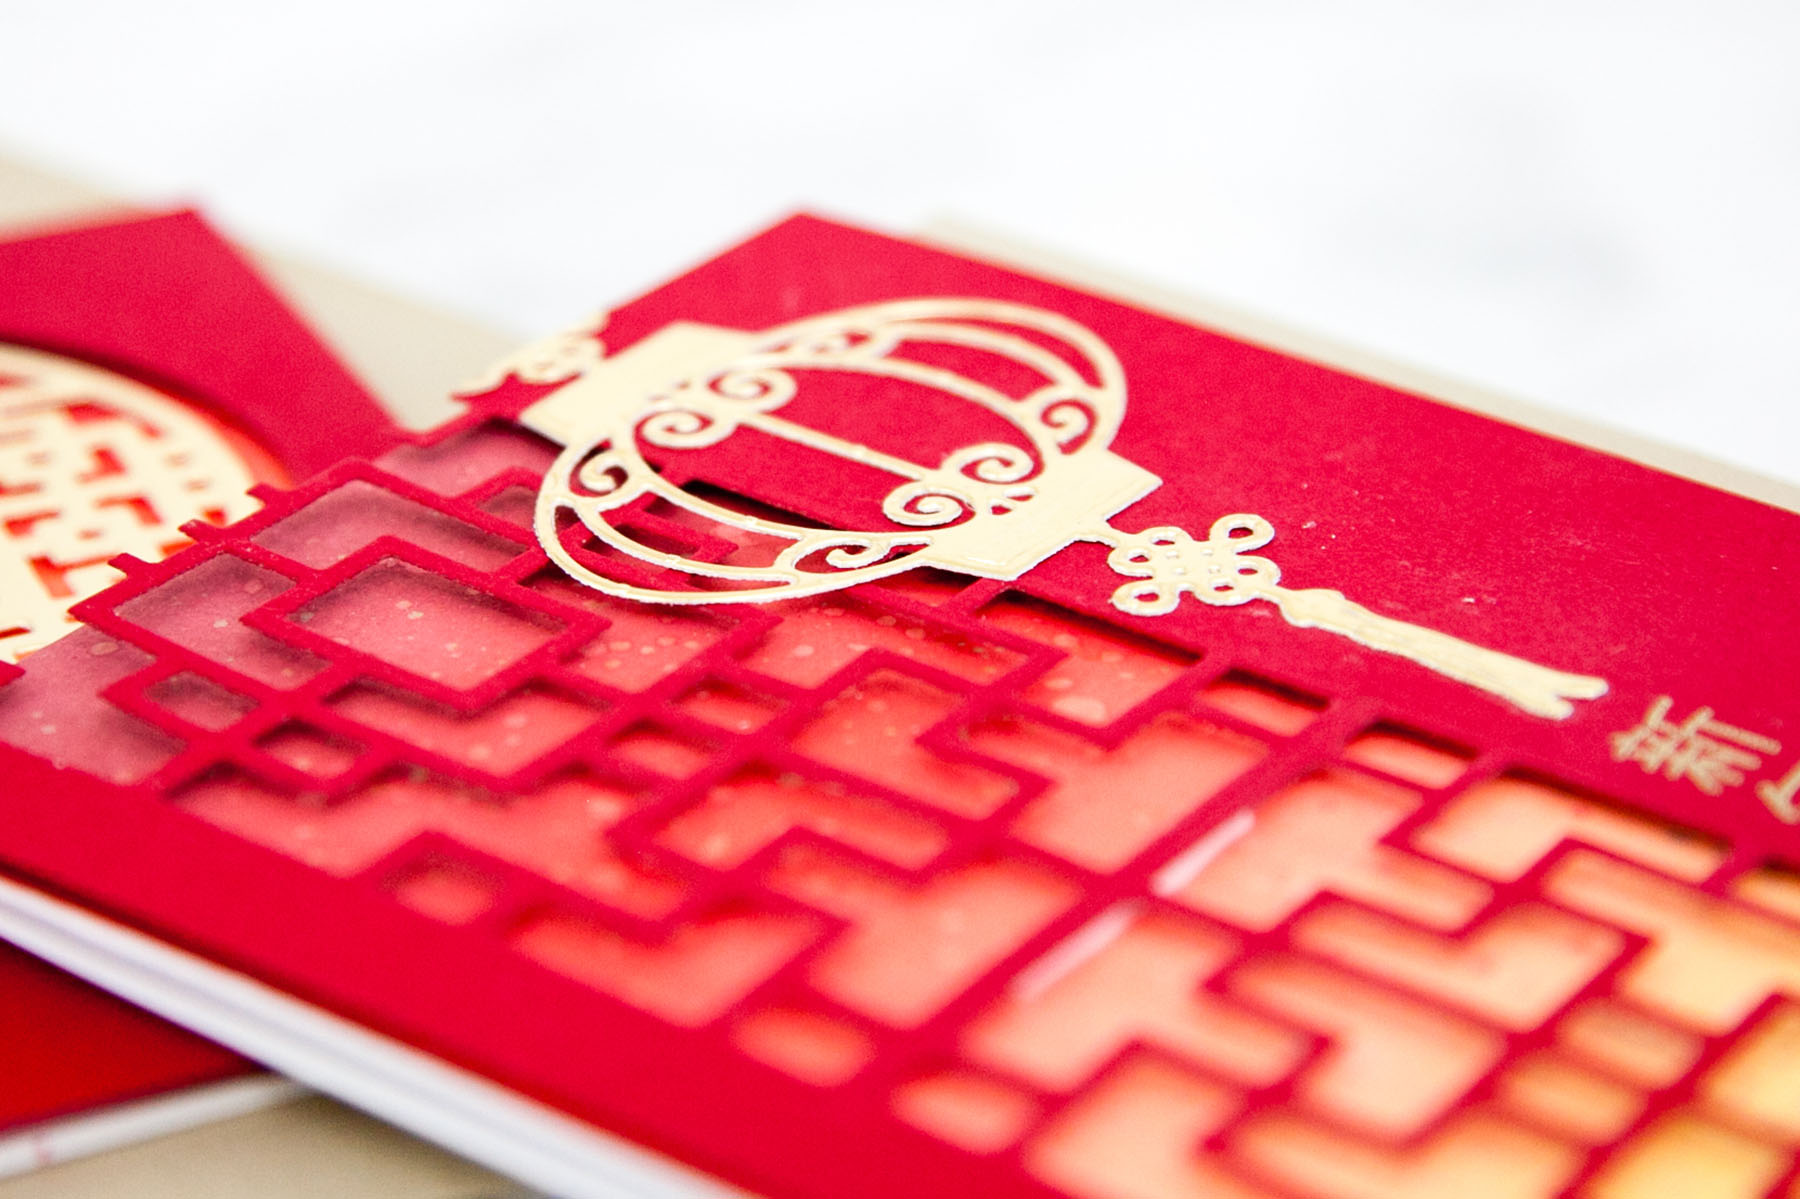
My next card follows similar techniques and color schemes, but with other products in the collection. This time I have used the Chinese Traditional Fence and Lanterns Etched Dies.

Destinations China collection by Lene Lok - Inspiration | Classic Lunar New Year Cards by Keeway Tsao for Spellbinders

I started by die cutting the large windows by using the Traditional Fence dies twice on red cardstock to extend across the vertical length of the card. Next, I die cut the round lantern from the Lanterns dies out of gold mirror cardstock. I heat embossed the words 新年快樂 (pronounced “xin nian kuai le”), which means Happy New Year, in gold in the bottom right against the fence. Above it, I adhered the gold die cut lantern. Destinations China collection by Lene Lok - Inspiration | Classic Lunar New Year Cards by Keeway Tsao for Spellbinders I again ink blended the colors Aged Mahogany, Candied Apple, Dried Marigold, and Squeezed Lemonade for a gradient of red to yellow. I added the red layer over my ink blended background with foam tape to complete the card.

Spellbinders Supplies:

Other Supplies:

Red Cardstock, Versamark Ink, Gold Detail Embossing Powder, Distress Oxide Inks, ME Lunar Extras.

Destinations China collection by Lene Lok - Inspiration | Classic Lunar New Year Cards by Keeway Tsao for Spellbinders

Leave a comment

Your email will not be published. Please note, comments need to be approved before they are published.

12 comments

Barbara Mceldowney,

So nice to see some beautiful dies for Chinese New Year being made finally! Would love some stamps with the Chinese writing too – hope that they will be coming soon as well!

Susan Stagno,

Absolutely stunning! Perfect for Chinese New Year!

Tricia A Podmore,

Such a romantic card/the pink card. Also love the red and gold cards.

Shirley N,

Amazing cards, absolutely stunning!

Sandy B,

The gold really pops on the red! :)


  • How to Make a Colorful Foiled Butterfly Card with Glimmer II

    BP-351

    How to Make a Colorful Foiled Butterfly Card with Glimmer II

    Combine hot foiling, alcohol-marker coloring, ink blending, and dimensional shaping to create a colorful butterfly card that sparkles from every angle. In this step-by-step tutorial, you’ll learn how to foil detailed butterflies and a floral background with the Glimmer II Hot Foil System, add bold color, and shape the butterfly wings for a realistic raised effect. The Bright Butterflies and Thanks In Bloom Press +...

  • How to Heat Emboss with BetterPress Plates: Snowman Christmas Card

    BP-001

    How to Heat Emboss with BetterPress Plates: Snowman Christmas Card

    BetterPress plates can do more than create letterpress impressions and hot-foiled designs. In this detailed Christmas card tutorial, you’ll learn how to apply clear sticky ink to a BetterPress plate and use white embossing powder to produce a crisp, heat-embossed snowflake background. The tutorial also covers pressing and die cutting a sentiment, assembling three detailed snowmen, and arranging the finished elements on an A2 card....

  • How to Use the Reverse Foiling Technique on a Colorful Window Card

    BP-001

    How to Use the Reverse Foiling Technique on a Colorful Window Card

    Create a bright, modern card while learning how to use the negative foil left behind after hot foiling. In this step-by-step tutorial, you’ll foil the detailed Windows with a View design, use a solid plate to reverse foil the remaining image, and turn selected windows into dimensional embellishments. An ink-blended striped background, BetterPress sentiment, and sparkling gems complete the design. This project is ideal for...