Glimmer Hot Foil System | Letterpress Techniques for Holiday Cards. Video
Hello Spellbinders' fans! This is Yana Smakula and in this blog post & video tutorial I will show you how you can create a beautiful Letterpressed Holiday cards using our new Spellbinders Glimmer Hot Foil system. I’ll talk about best papers to use and will share several tips and tricks with you in this video.
If you are new to the Glimmer Hot Foil system be sure to watch our Introductory video and Basics of Foiling video to learn more.
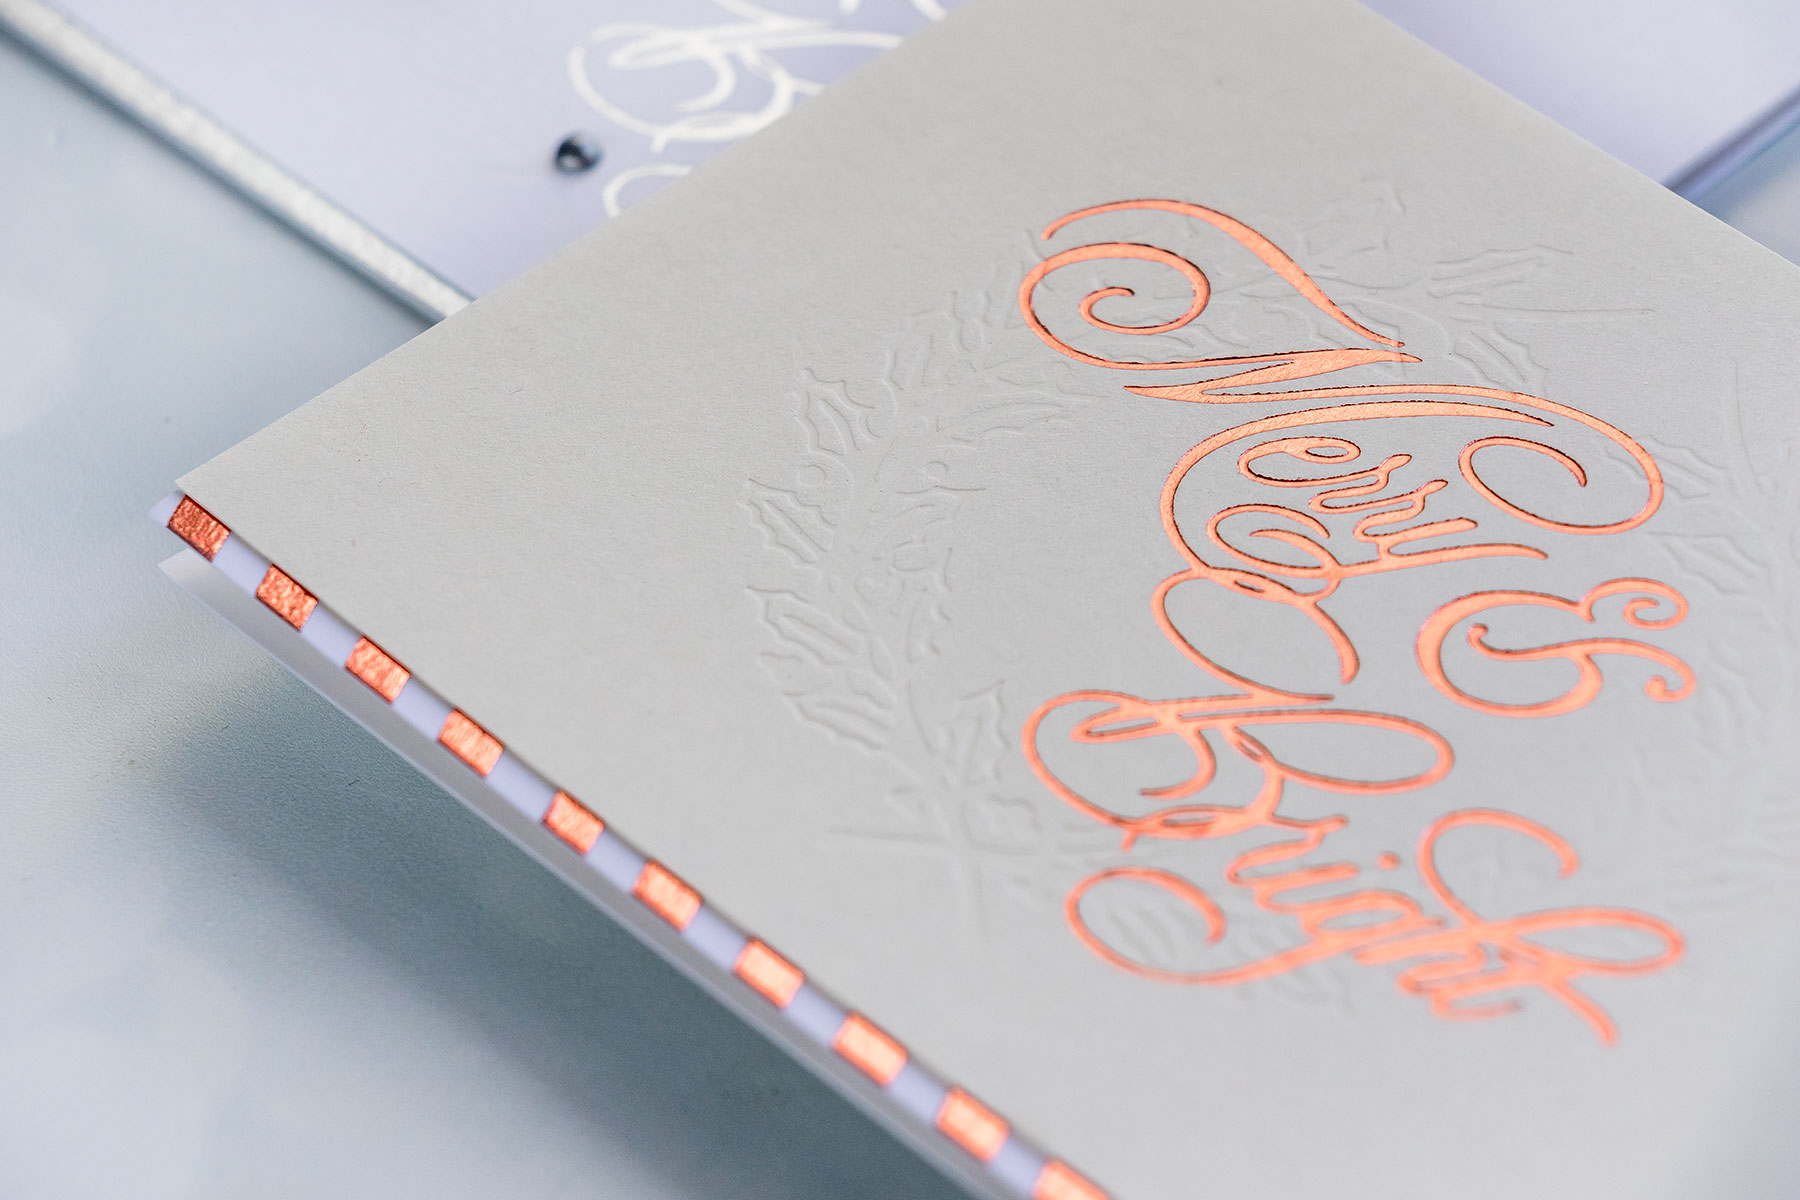
Letterpress technique is very hard to show on camera or on photos, but it displays beautifully in real life, there’s nothing out there quite like it. Letterpress is different from embossing or debossing as it leaves the back side of you paper completely flat. Letterpress is a popular technique used in business cards and also wedding invitations. We’re excited to bring letterpress to cardmaking.
When you combine foiling and letterpressing the order in which you do things matters. It is best to foil first and letterpress later as foiling over a letterpresses image will not give you optimal results. It’s best to use specialty paper for letterpress such as watercolor or letterpress paper. If you don’t have either of those you can still letterpress with our Glimmer Hot Foil system and plates on regular smooth cardstock. It’s best to use 110 lb cardstock or thicker for great results.
Instructions:
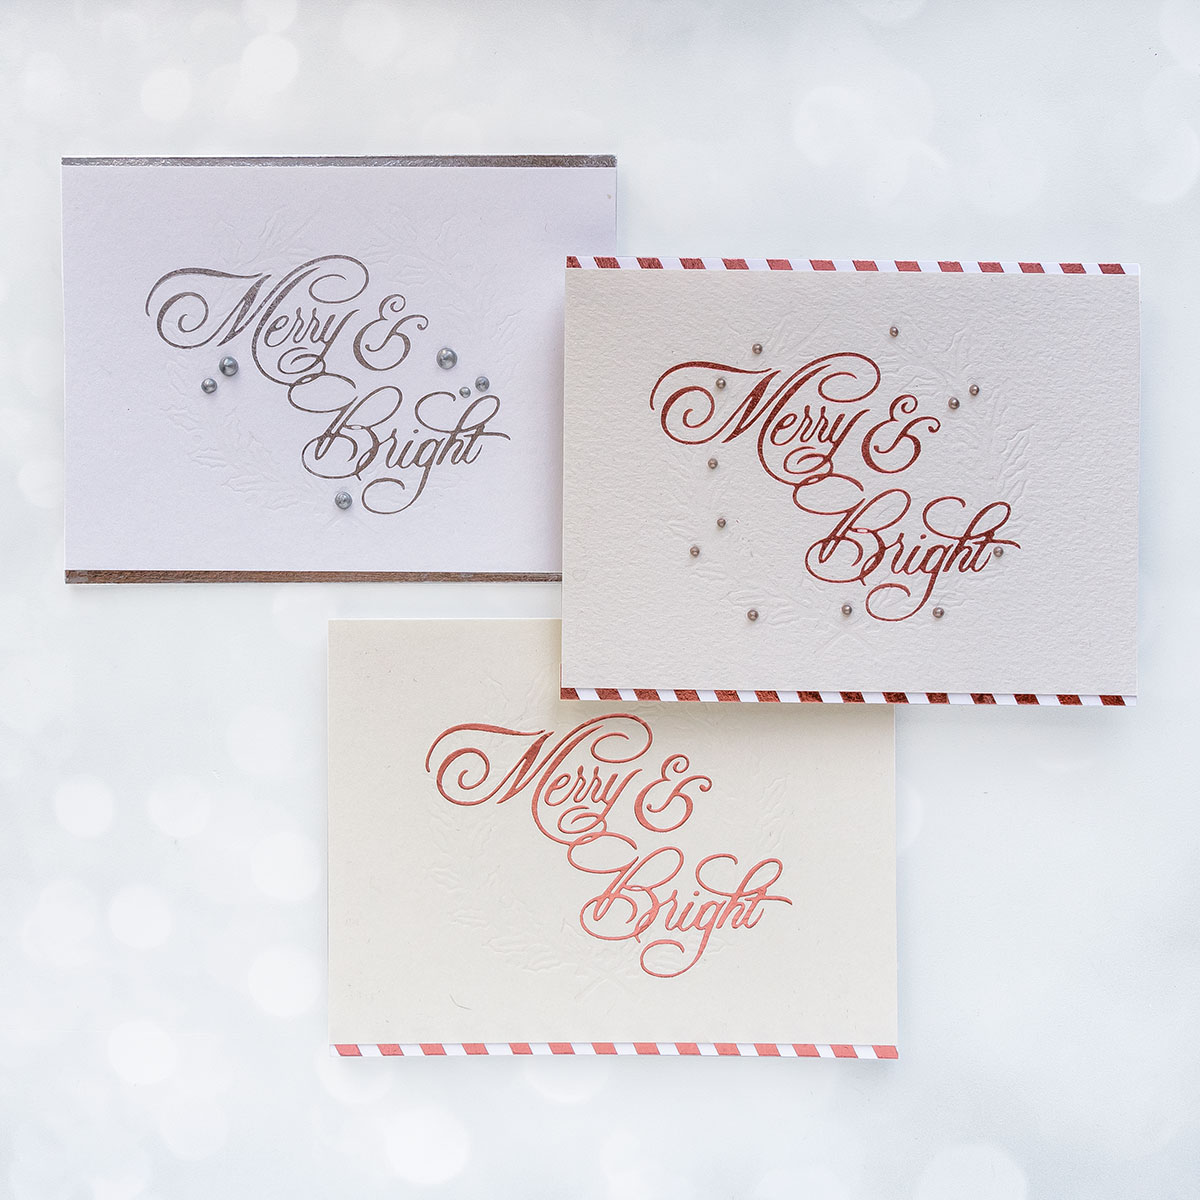
Hot Foil Merry & Bright in Silver foil on letterpress paper before I adding lettepressing.
Letterpess the Wreath. To do so first position Wreath Glimmer Hot Foil plate on foiled panel and secure place using small pieces of low tack tape. Be careful to not place the low tack tape over your foiled design as the tape will lift up the foil.
Use regular shims that come with Glimmer machine and also a cardstock shim for better results. Send through your die cut machine to letterpress.
Adhere your foiled and letterpressed panels onto A2 white top folding card bases,
Embellish with liquid pearls.

VIDEO TUTORIAL
Watch video tutorial below or on Youtube to learn how to make this project:
We hope you enjoyed this video tutorial and will give this idea a try!
Looking for a festive Christmas card that combines hot foiling, stenciling, and letterpress techniques? This colorful holiday project features a softly shaded ornament, a pressed sentiment, layered arch panels, and shimmering gold snowflakes. The Tied With Cheer BetterPress plate and stencil set makes it easy to coordinate the ornament imagery and greeting, while the Winter Peace plate creates an elegant foiled background. In this step-by-step...

Create a colorful Christmas card while learning how to apply multiple ink colors to BetterPress registration plates. In this detailed tutorial, you’ll use the Festive Evergreens Registration Press + Foil Plate & Die Set to press a holiday doorway scene in three colors, combining the built-in registration system with a simple masking technique. The registration template positions the coordinating plates so each layer aligns with...
Combine hot foiling, alcohol-marker coloring, ink blending, and dimensional shaping to create a colorful butterfly card that sparkles from every angle. In this step-by-step tutorial, you’ll learn how to foil detailed butterflies and a floral background with the Glimmer II Hot Foil System, add bold color, and shape the butterfly wings for a realistic raised effect. The Bright Butterflies and Thanks In Bloom Press +...