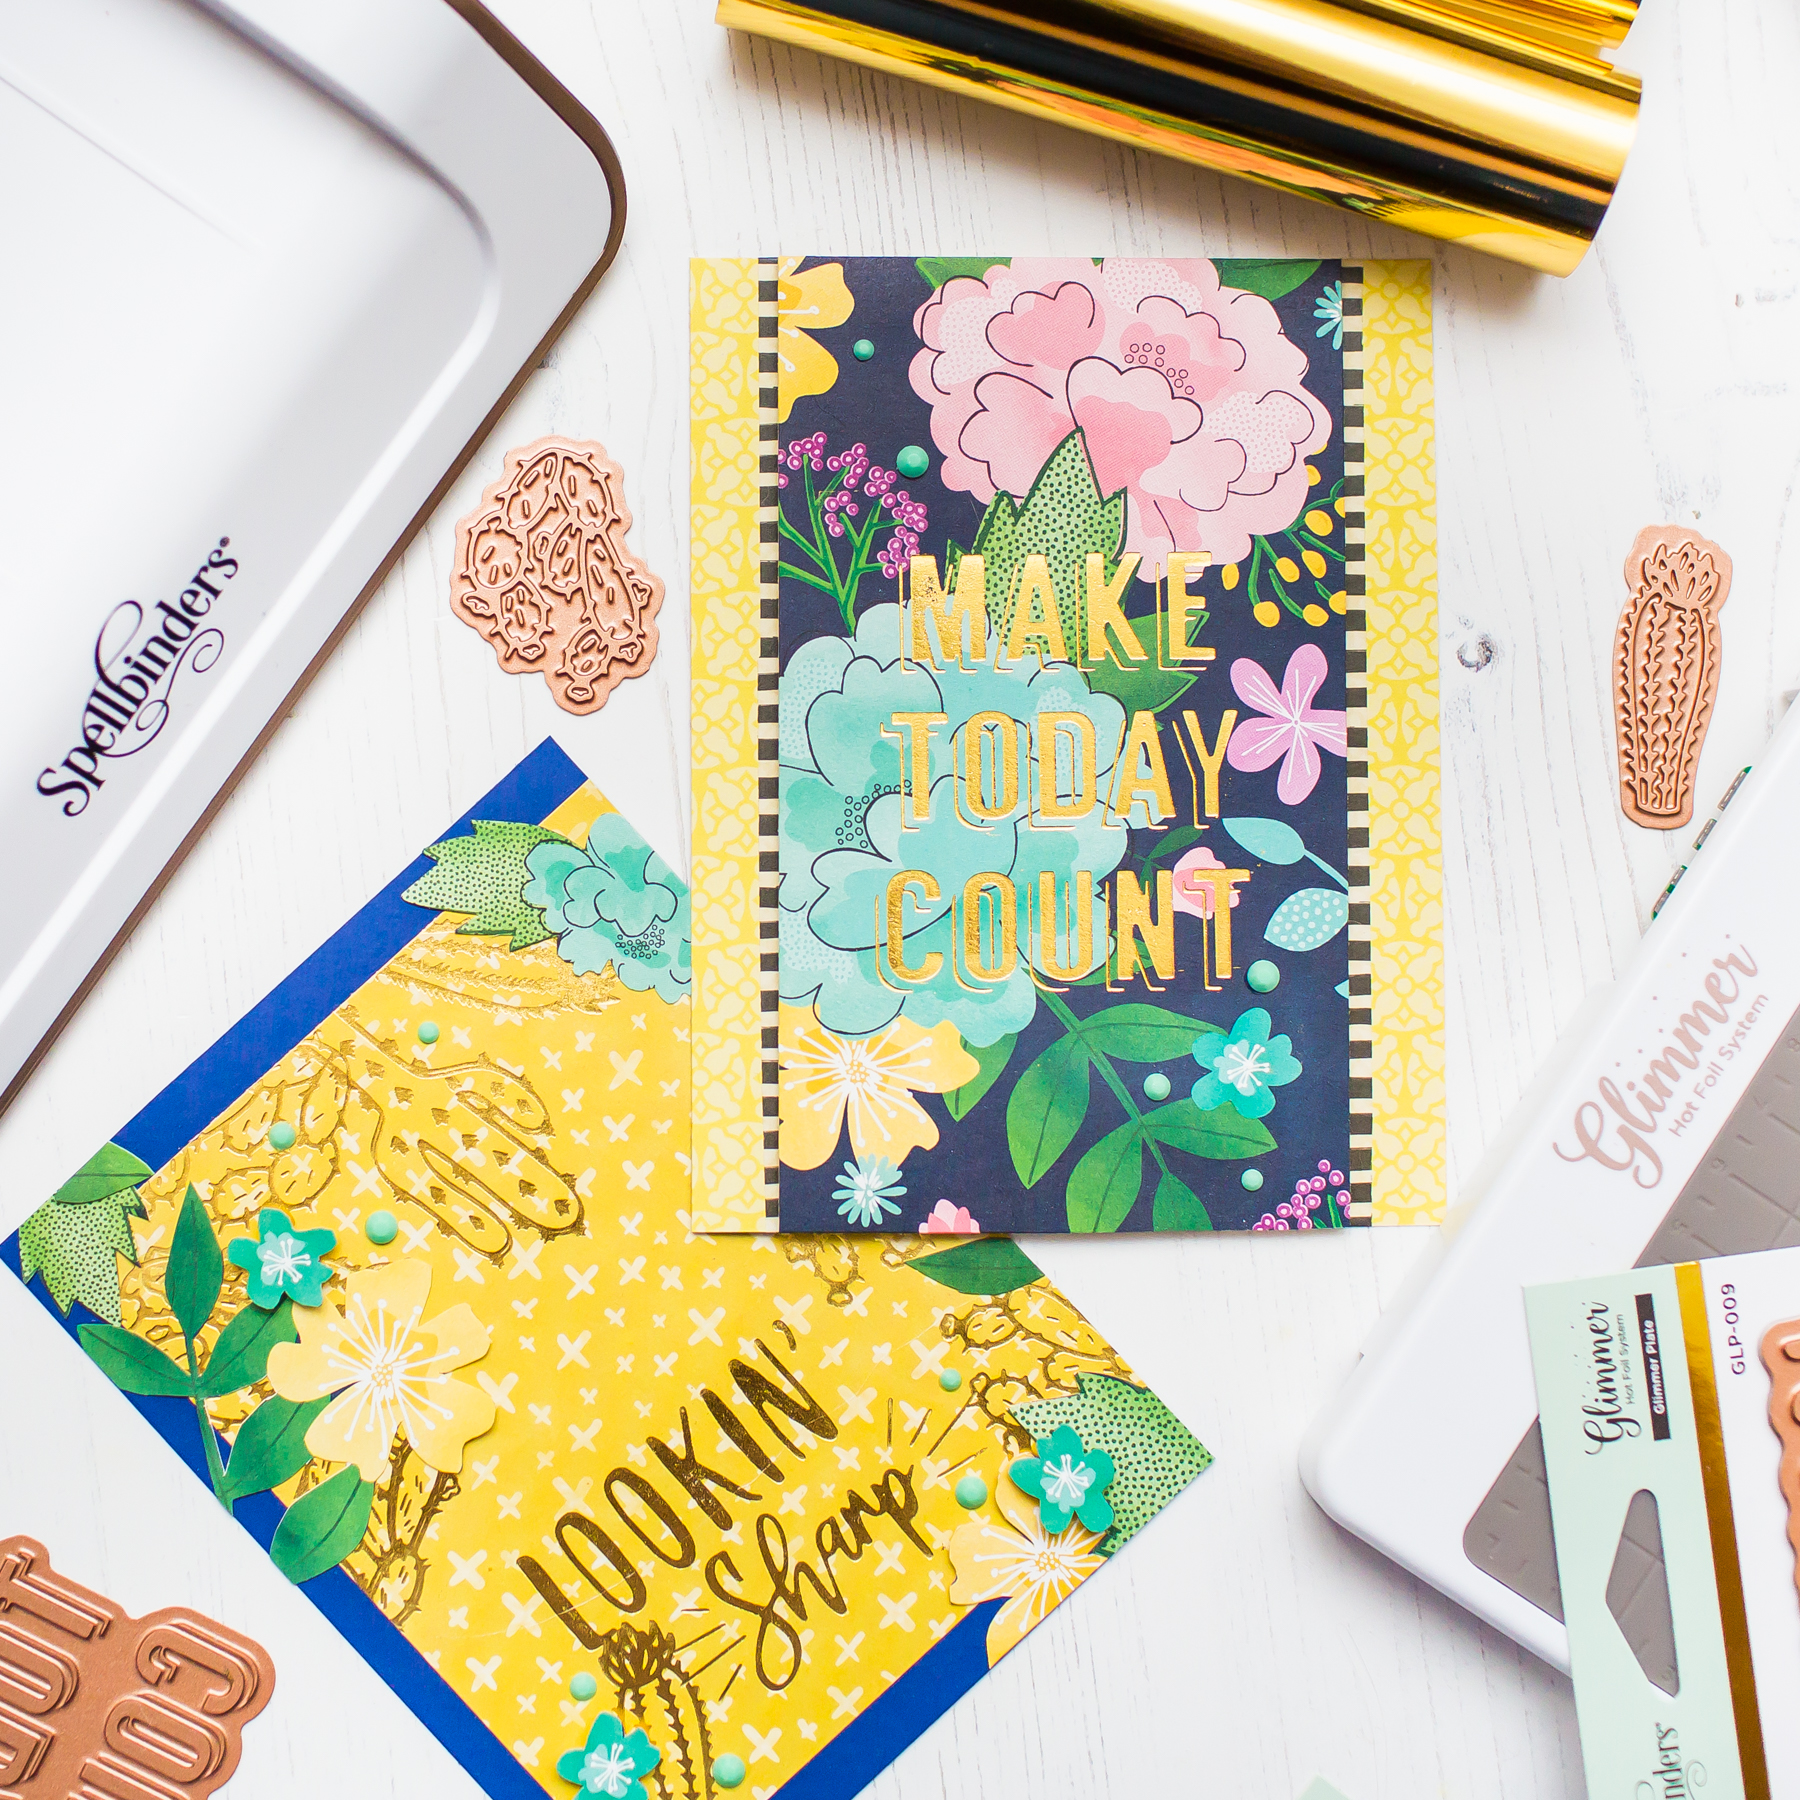
Glimmer Hot Foil Techniques with Mona Toth
on January 17, 2019

Glimmer Hot Foil Techniques with Mona Toth

Hi, it’s Mona Toth here, with a step by step photo tutorial. Today I will show you how I made these quick and easy cards using patterned papers. In this post I am featuring Glimmer Hot Foil Machine. Let's see my creations.
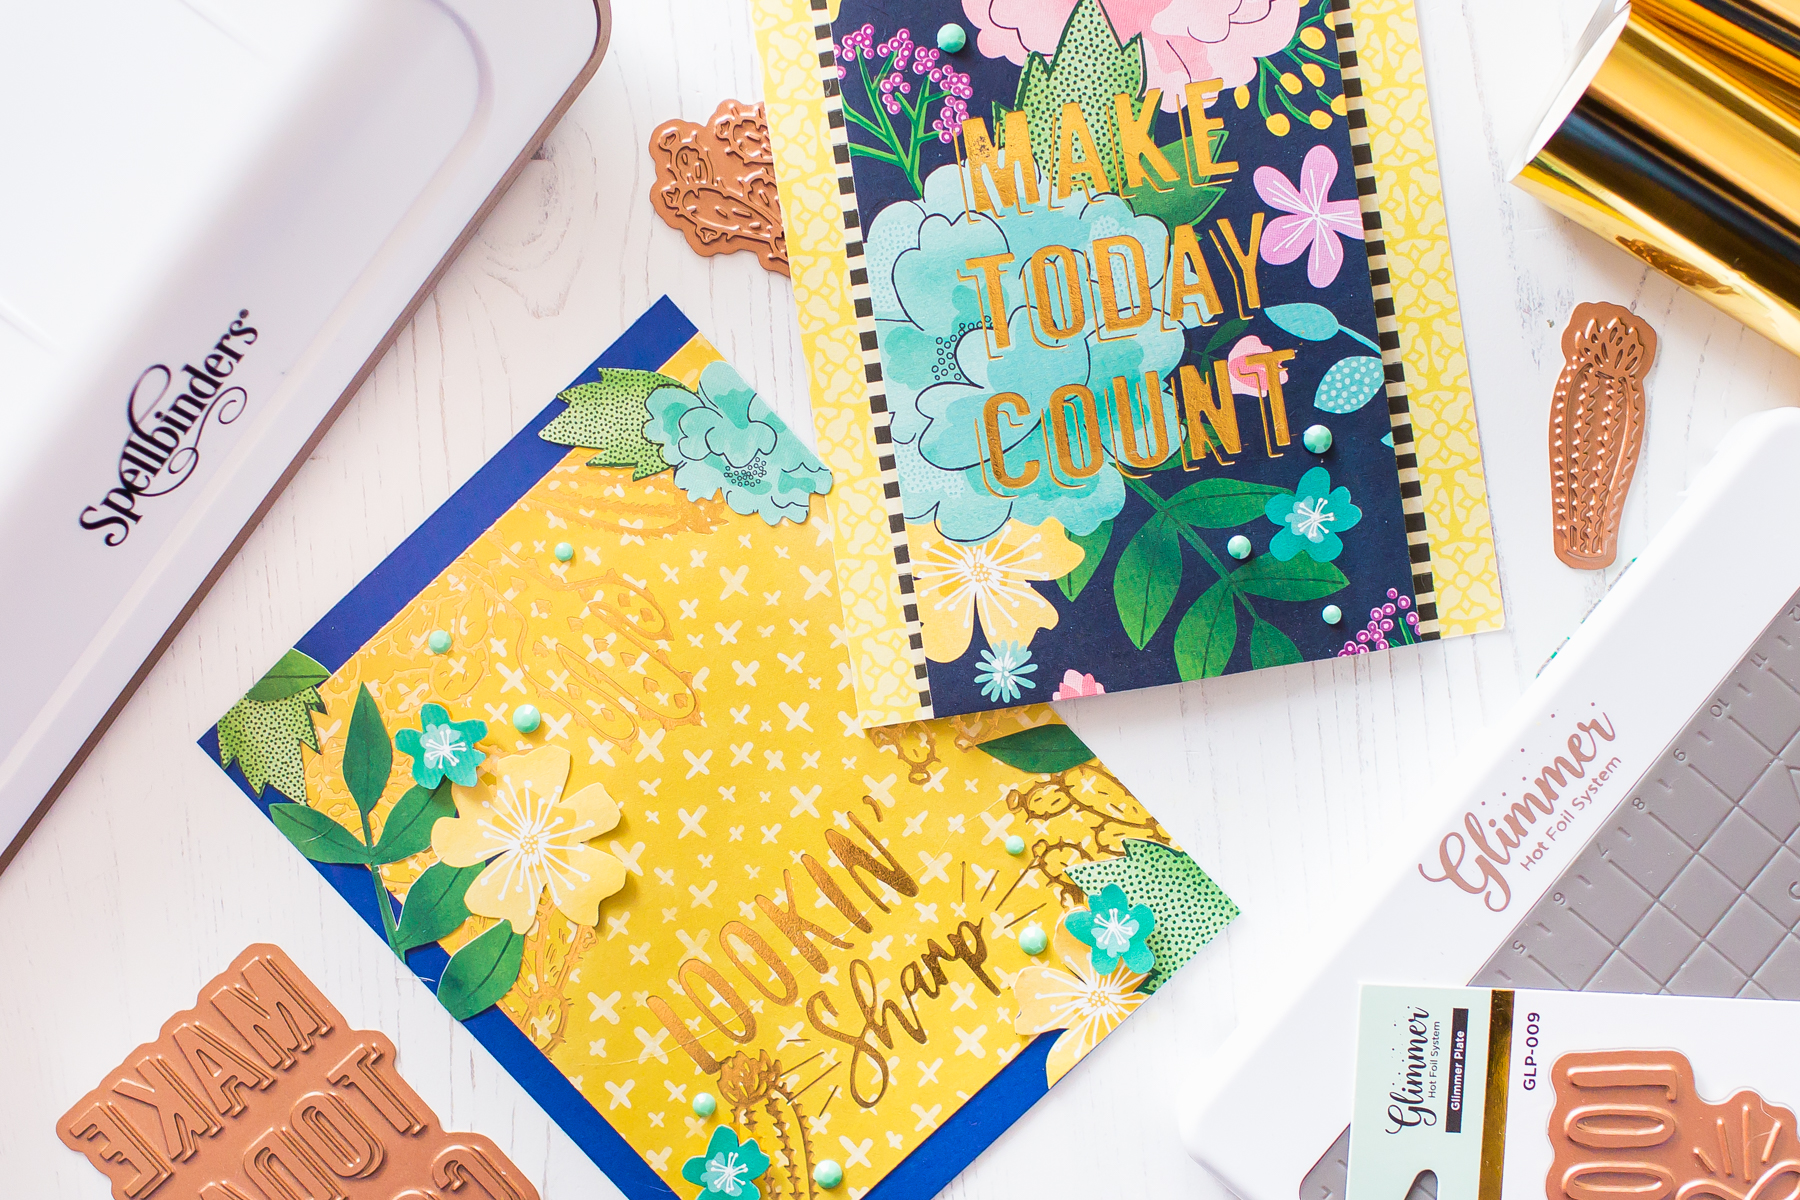
Glimmer Hot Foil Techniques & Handmade Greeting Cards with Mona Toth for Spellbinders

Step By Step Instructions:

Check out the step by step instructions below for this project:

Glimmer Hot Foil Techniques & Handmade Greeting Cards with Mona Toth for Spellbinders

Glimmer Hot Foil Techniques & Handmade Greeting Cards with Mona Toth for Spellbinders

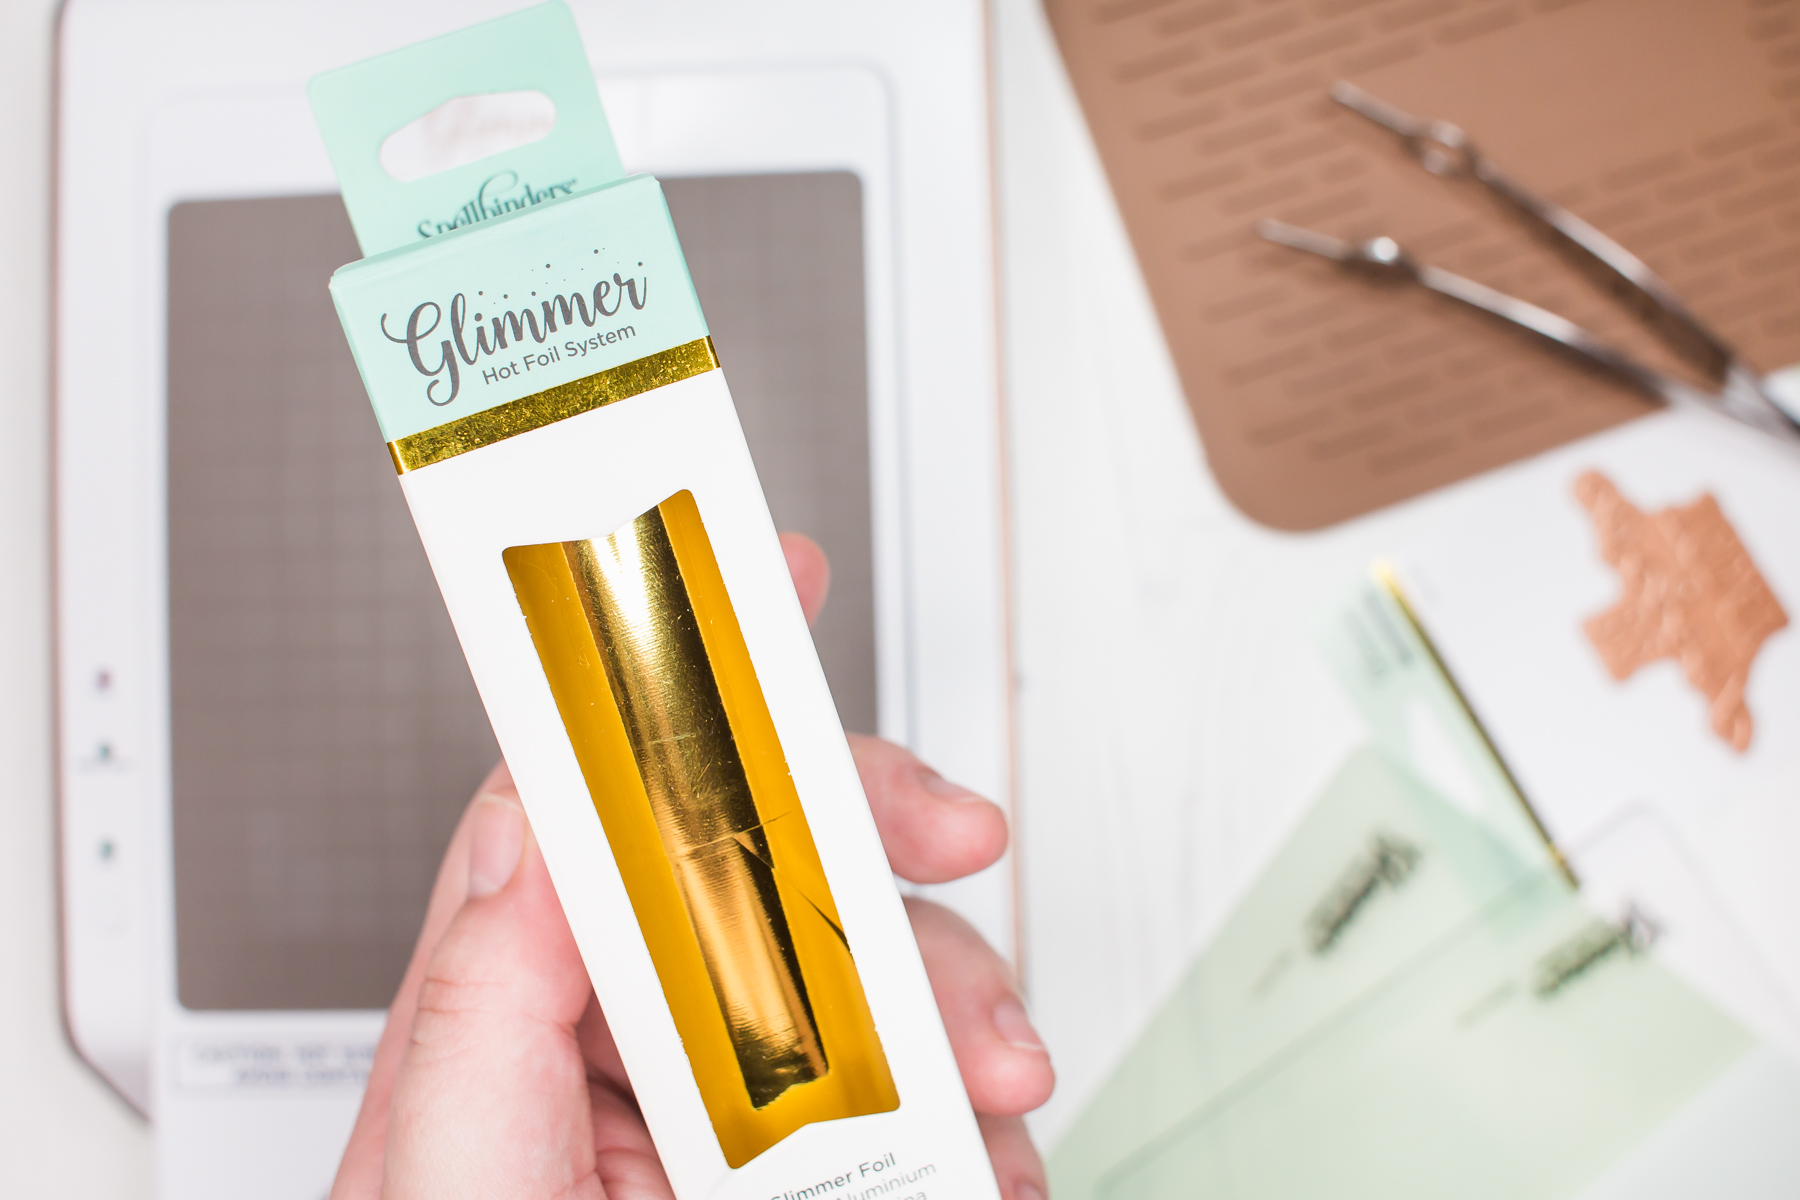
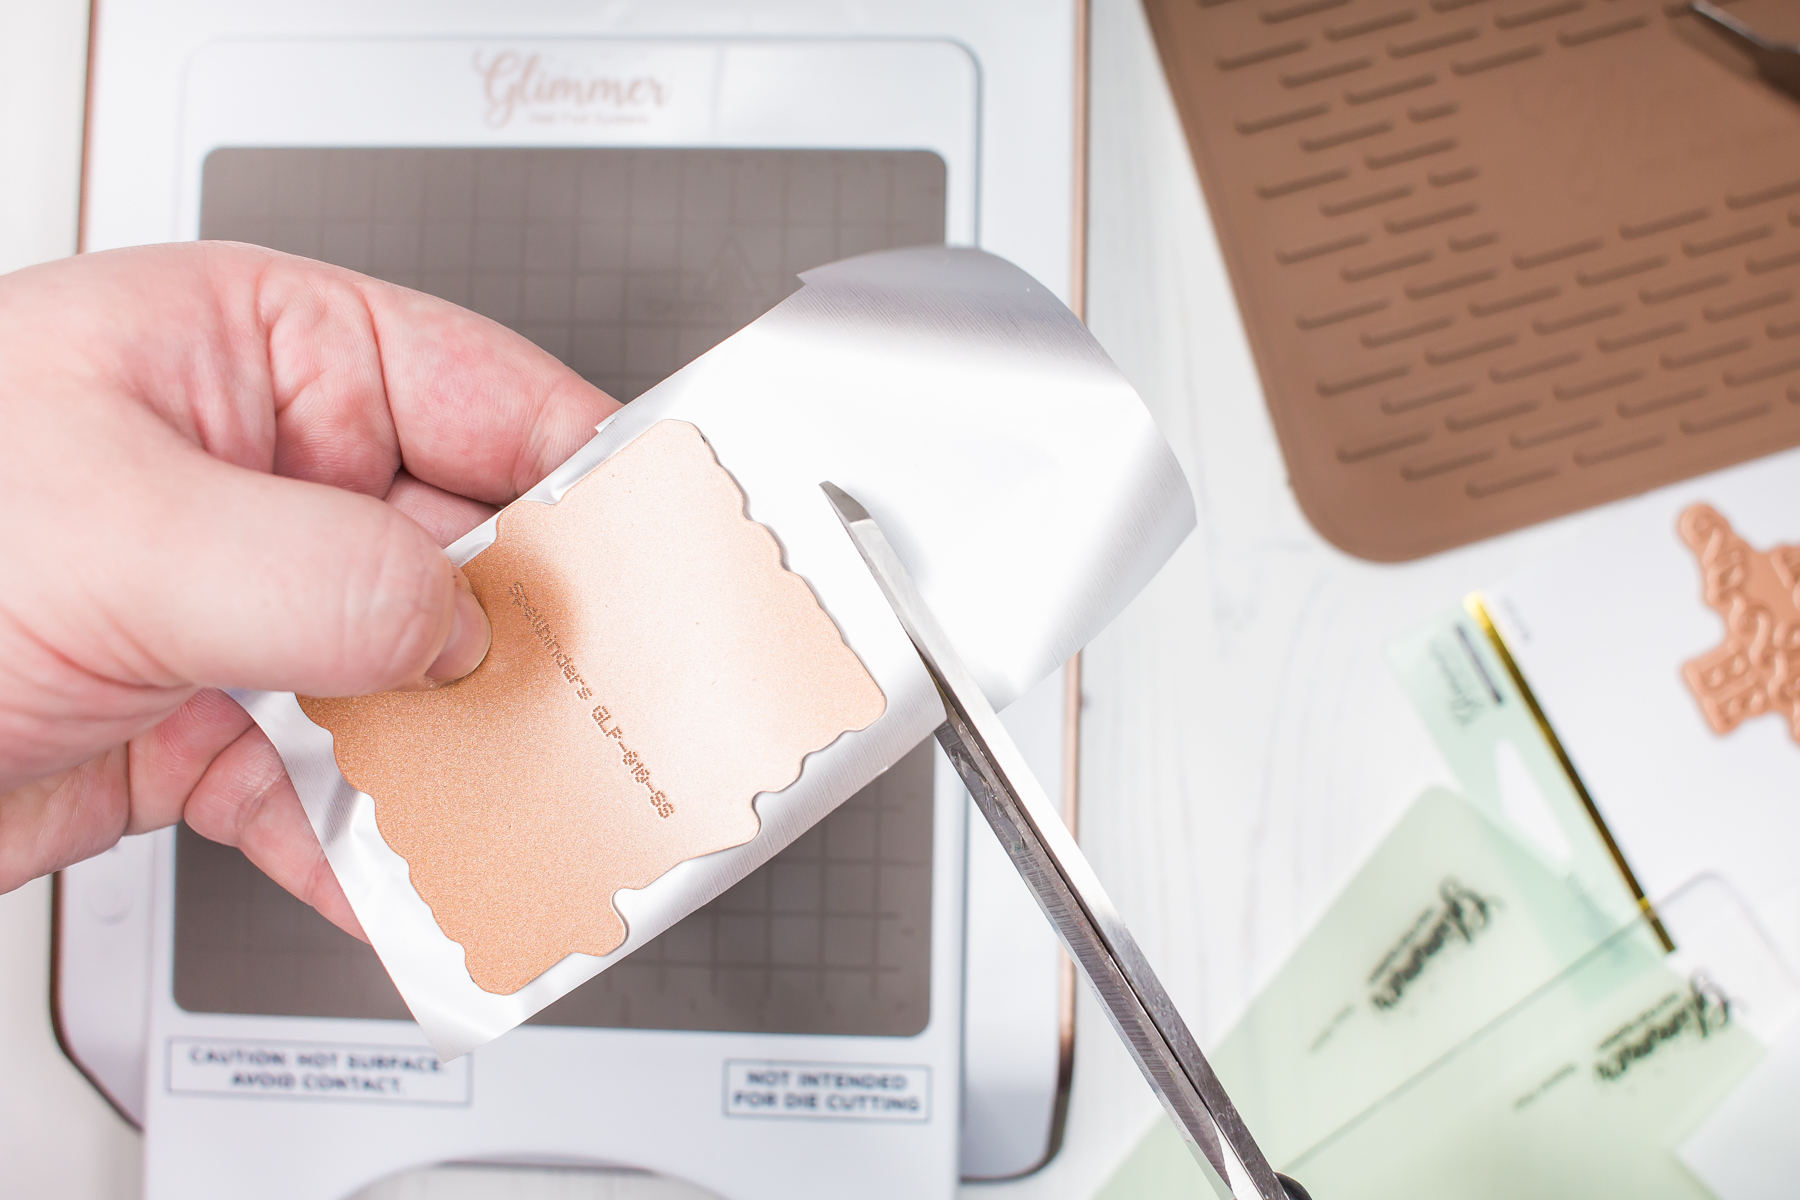
  • Cut the foil to the Hot Plate's size

Glimmer Hot Foil Techniques & Handmade Greeting Cards with Mona Toth for Spellbinders

  • Put the Hot Plate on your Glimmer Hot Foil and position it
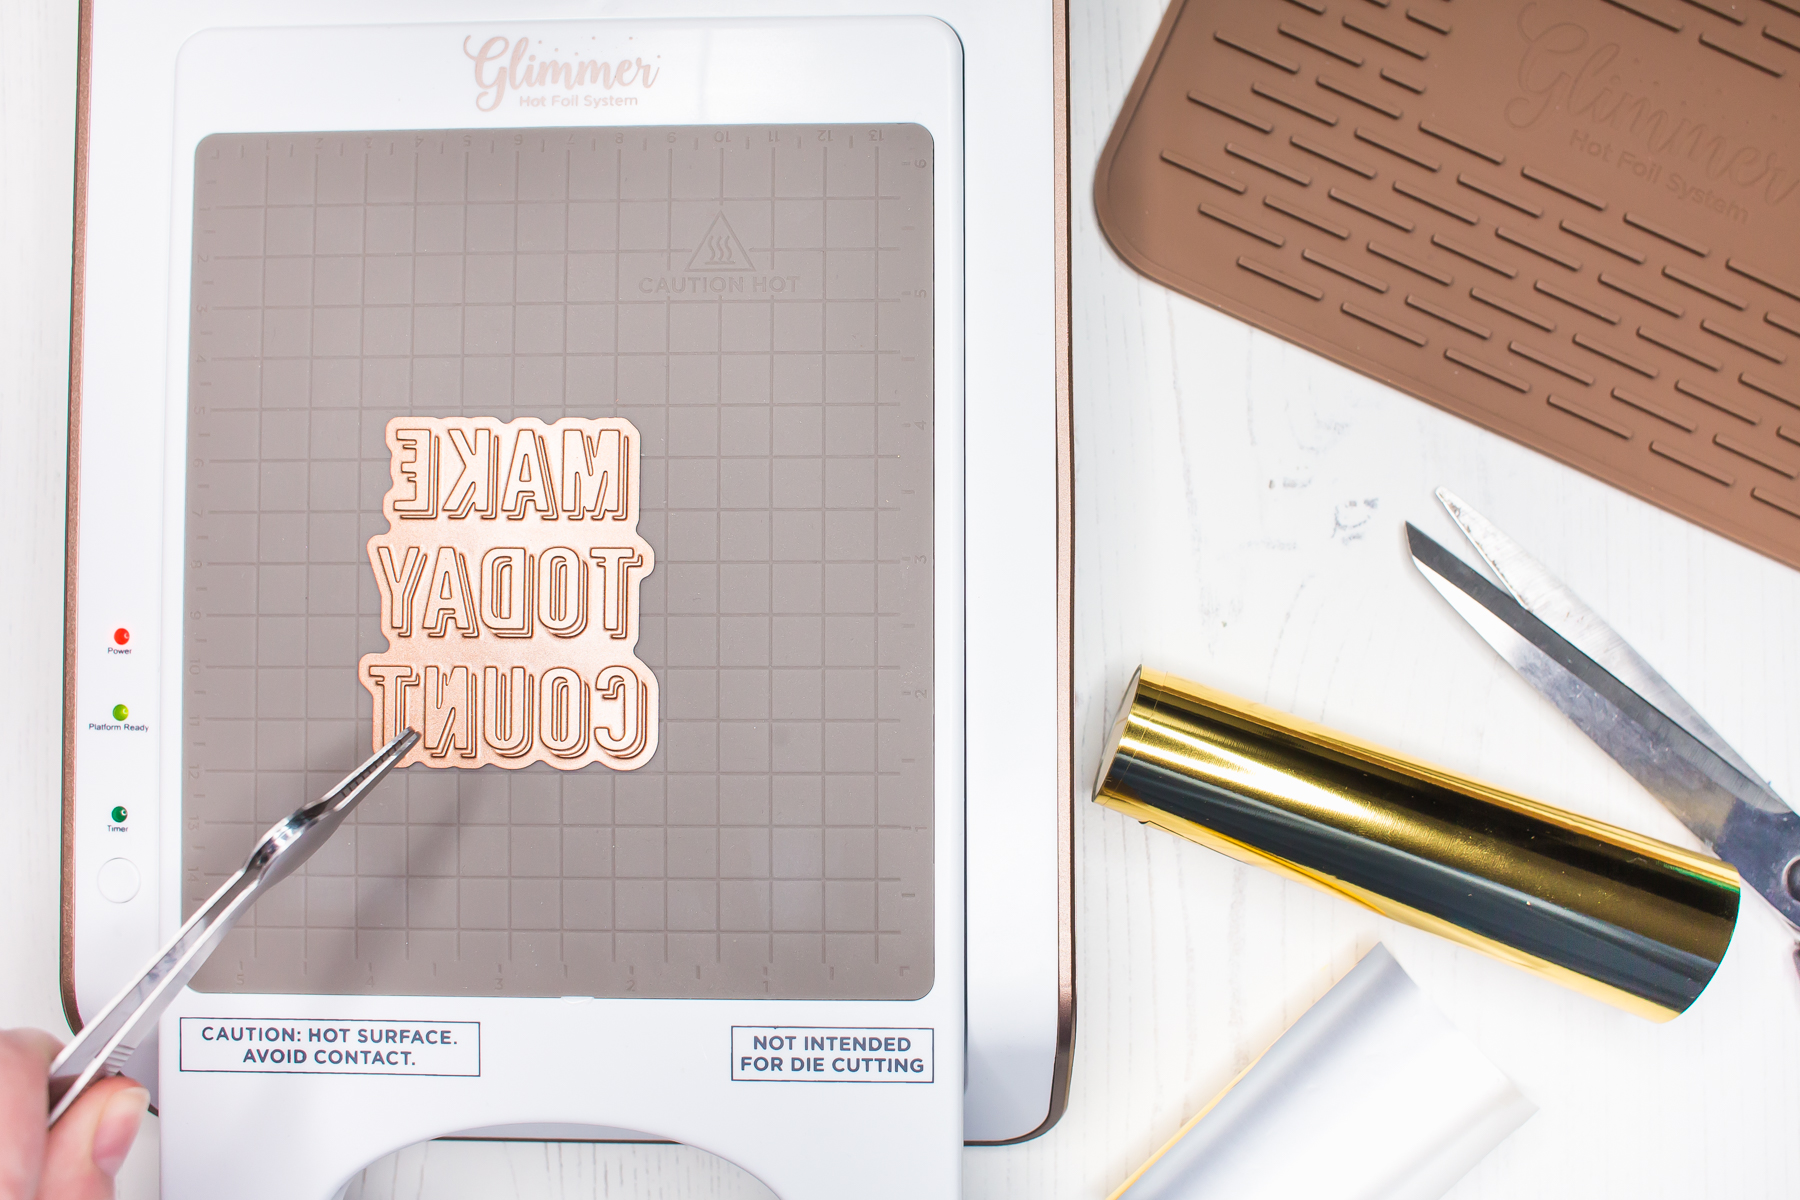
Glimmer Hot Foil Techniques & Handmade Greeting Cards with Mona Toth for Spellbinders

  • Turn on the "timer" on your machine
  • Add the Hot foil with the colored side facing downwards
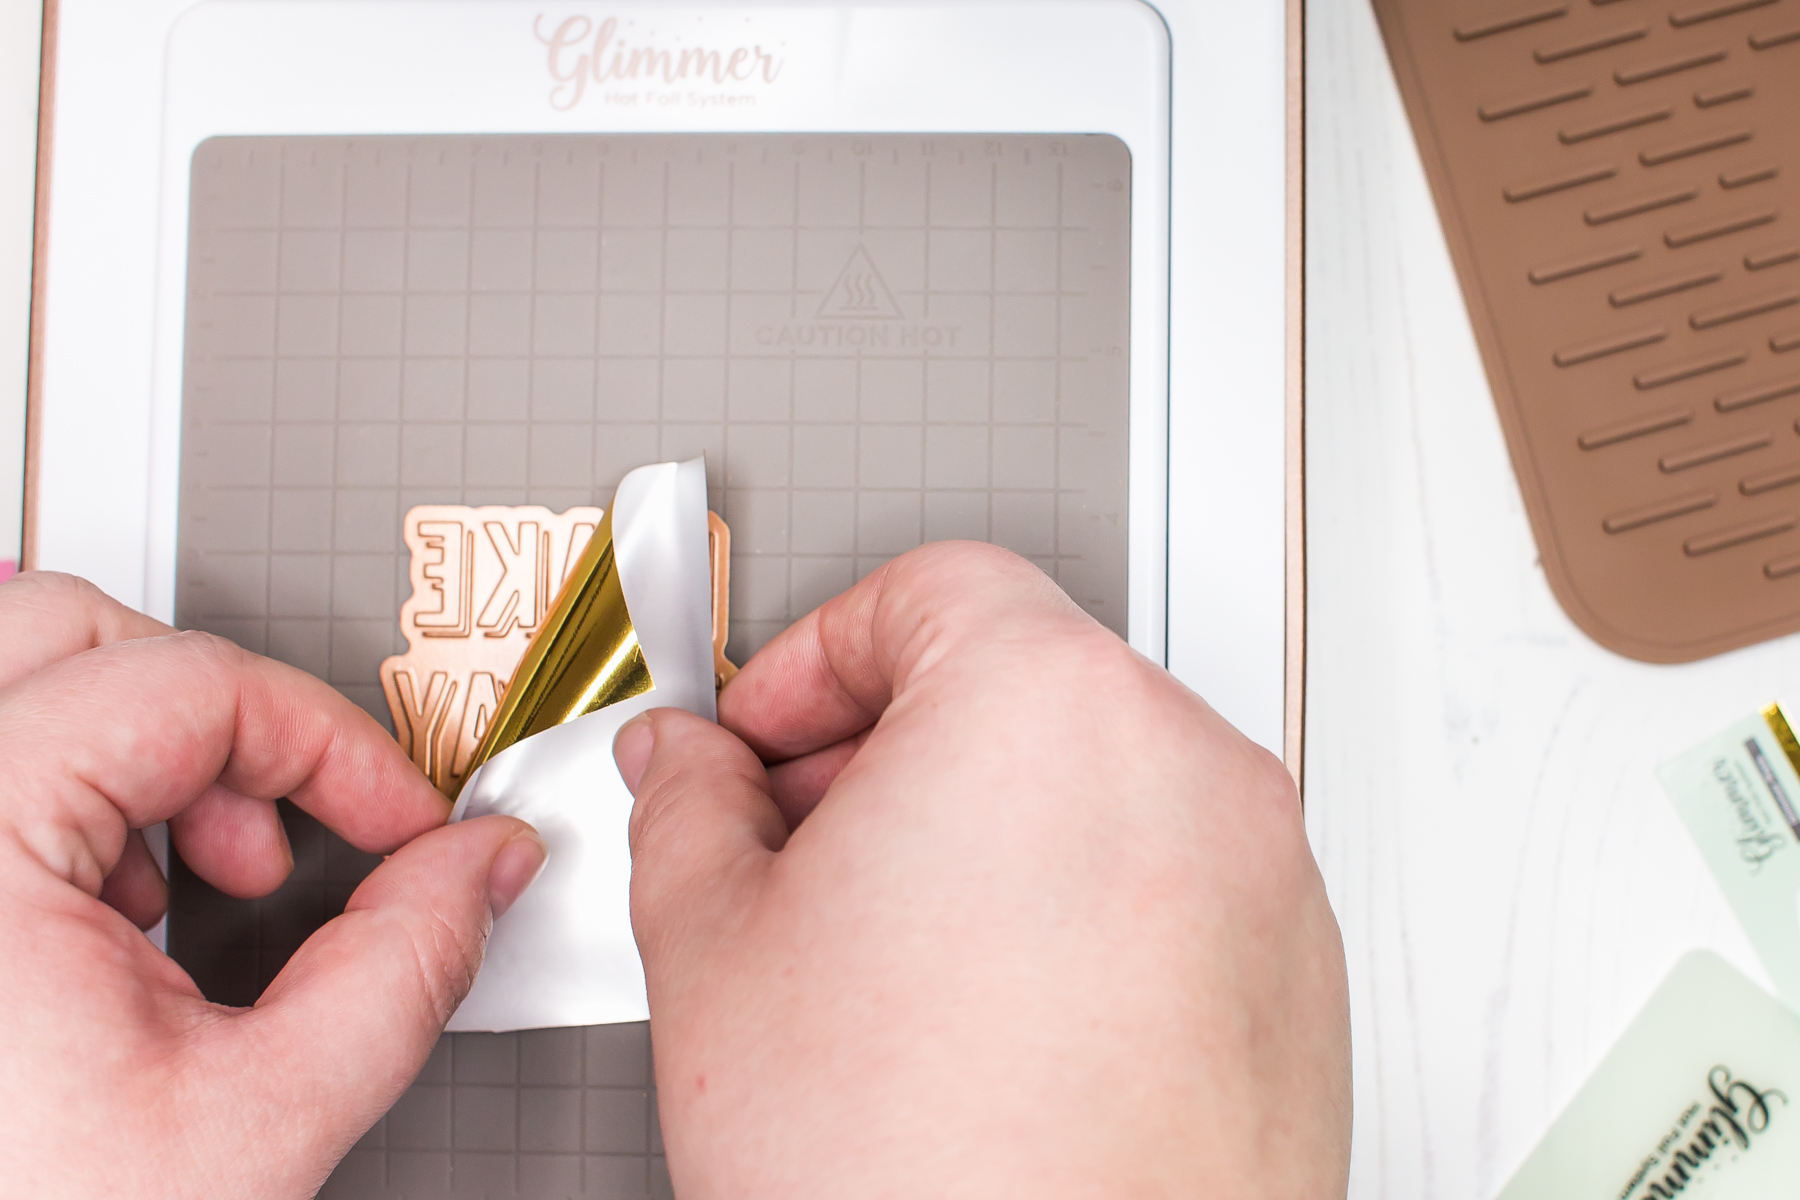
Glimmer Hot Foil Techniques & Handmade Greeting Cards with Mona Toth for Spellbinders

  • Chose a patterned paper from your stash and put it on the Hot foil
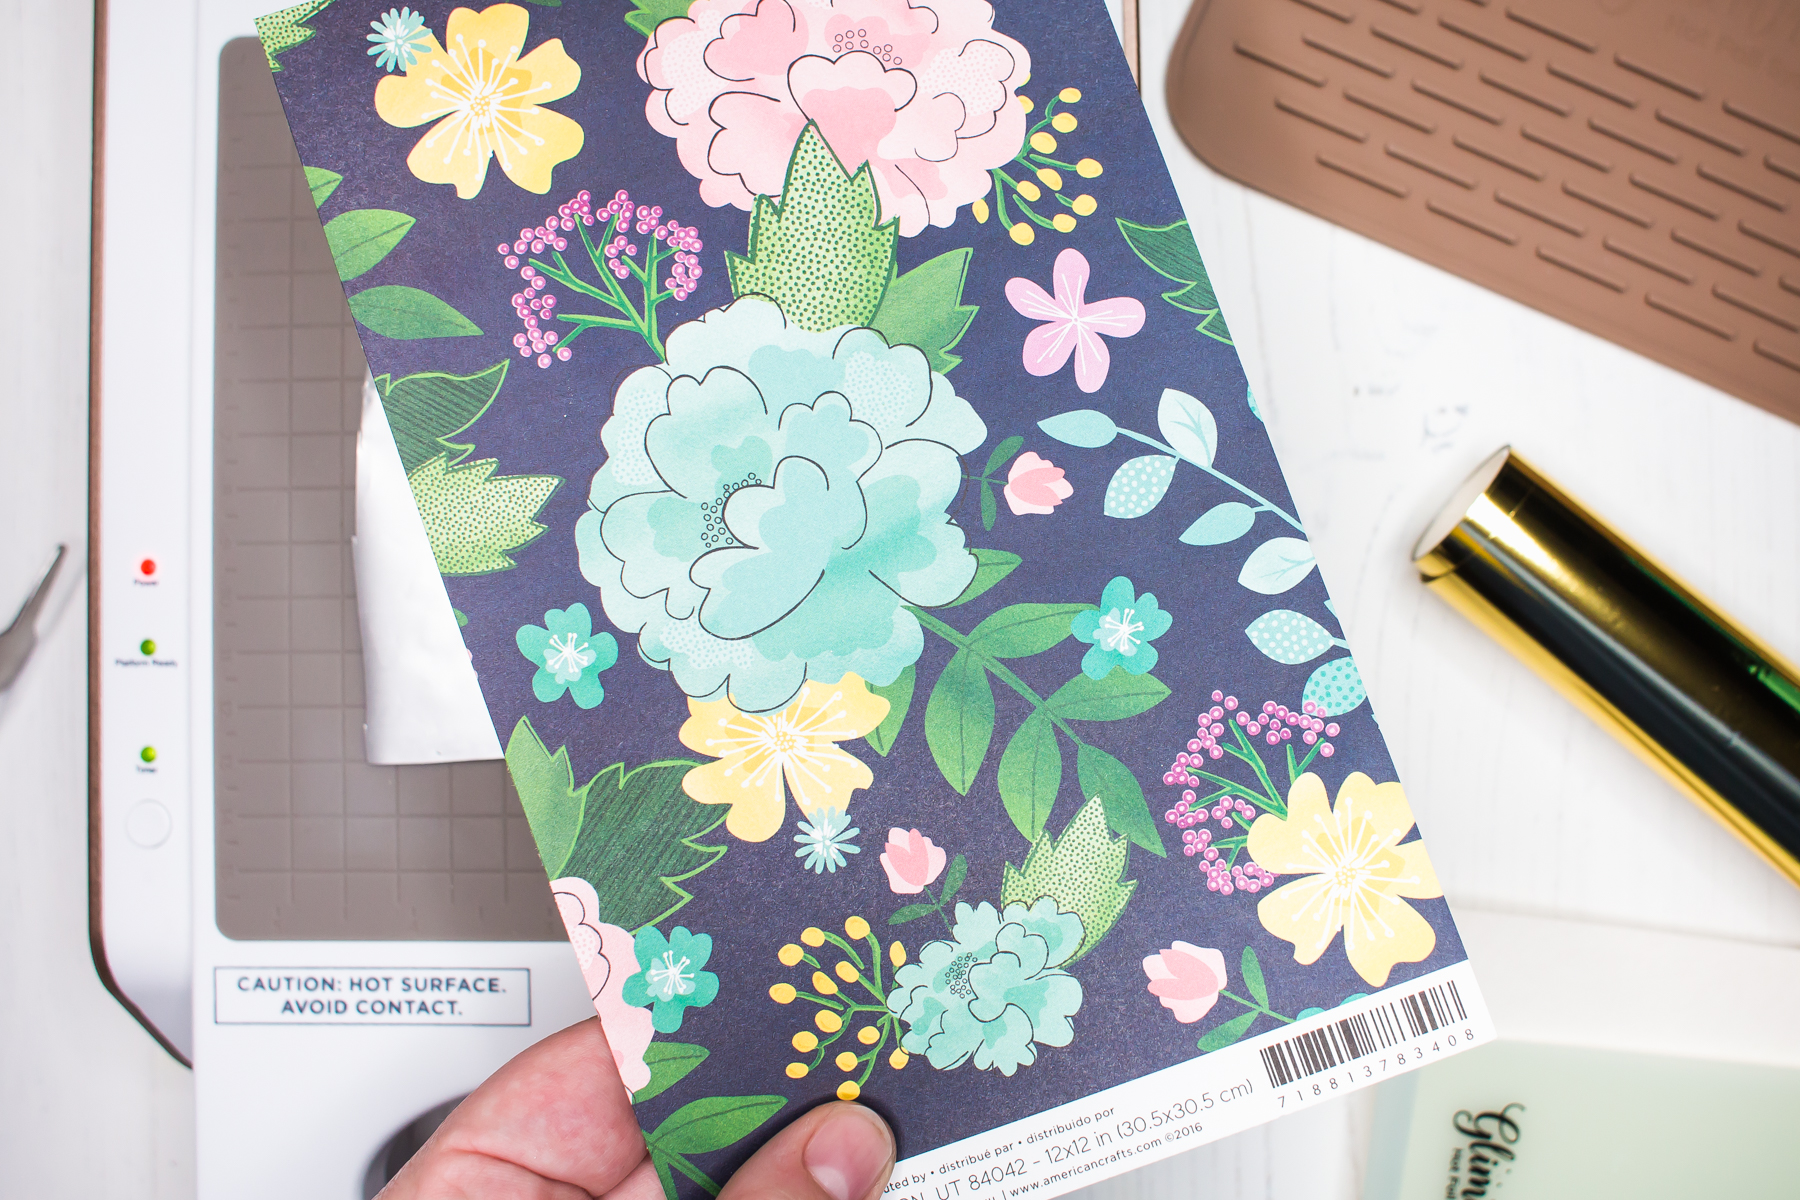
Glimmer Hot Foil Techniques & Handmade Greeting Cards with Mona Toth for Spellbinders

  • Place your shim (plus an extra shim, a sheet of cardstock, if needed) and the Spacer Pad on the top.
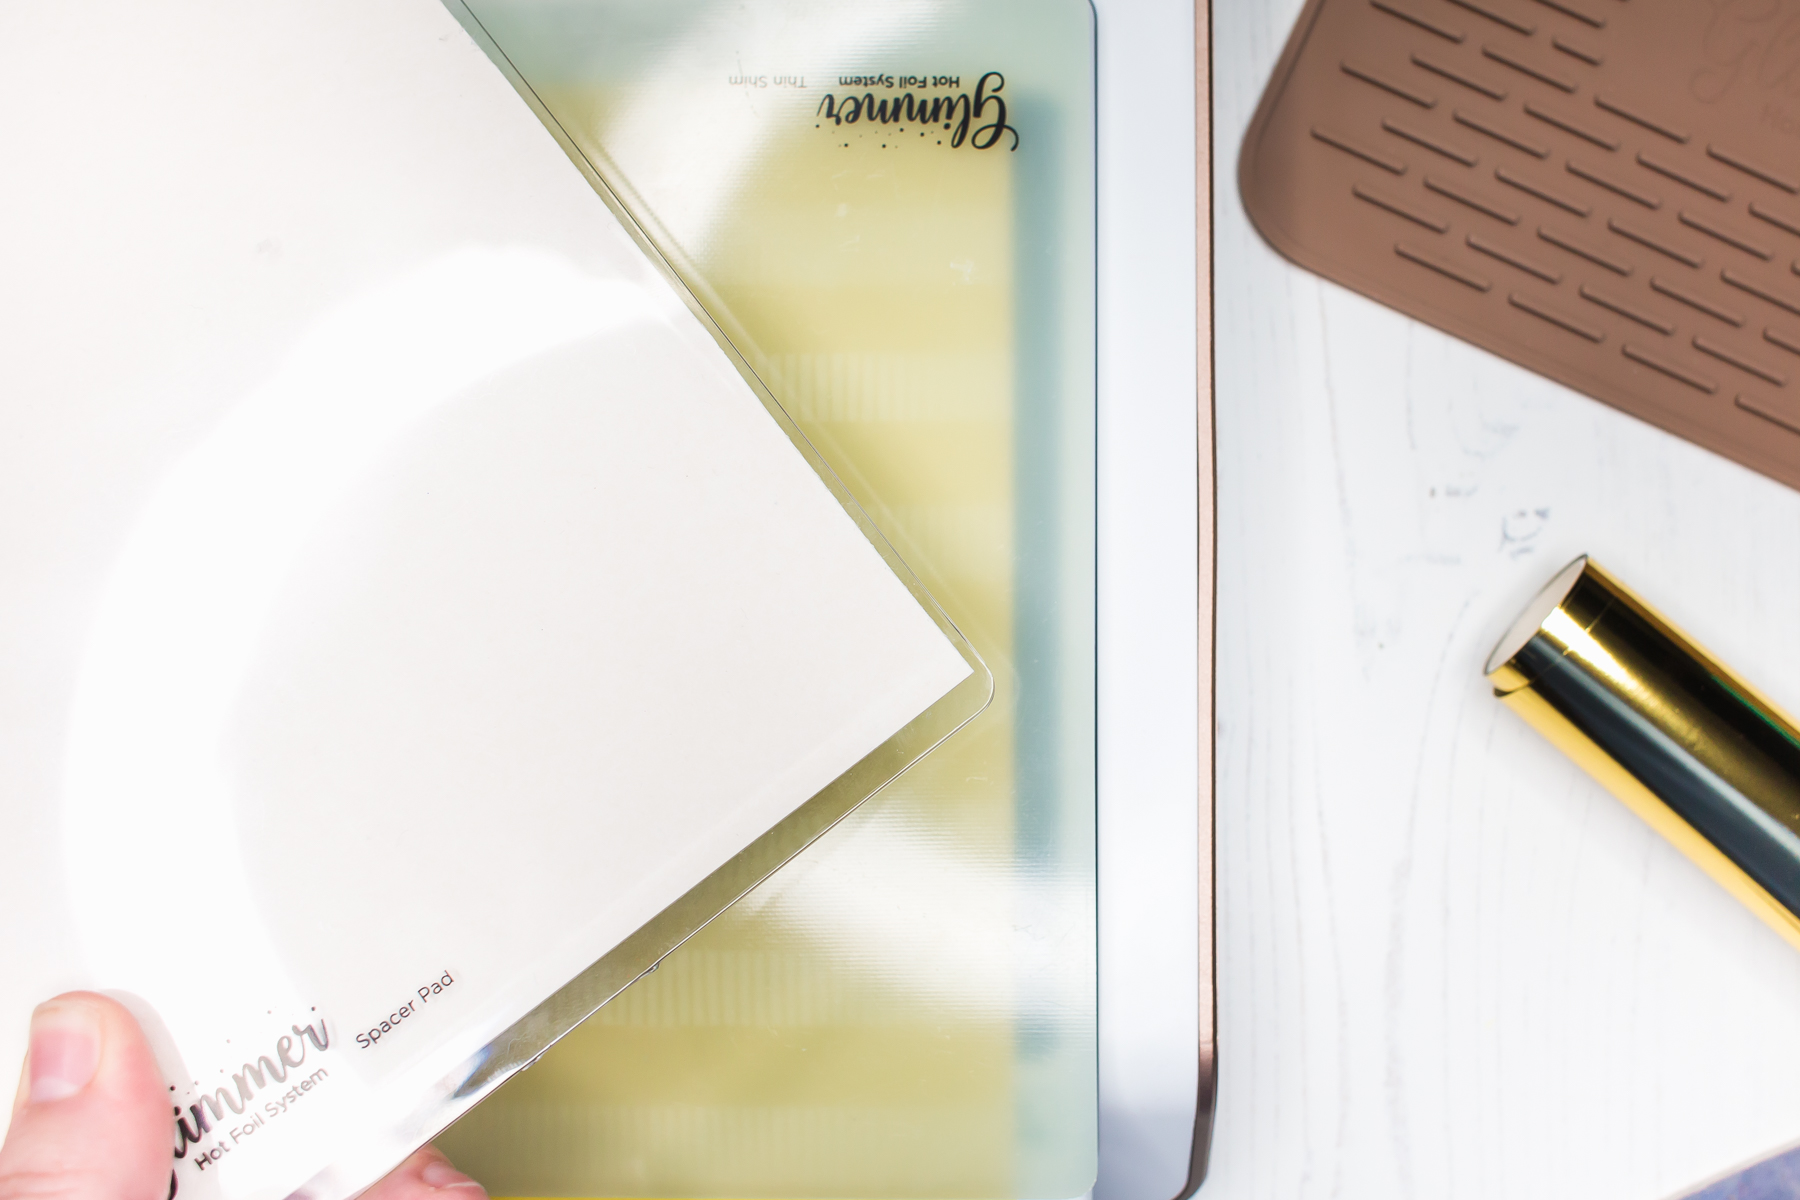
Glimmer Hot Foil Techniques & Handmade Greeting Cards with Mona Toth for Spellbinders

  • Gently put all of them to your Die-cut machine and slowly run them back and forth.
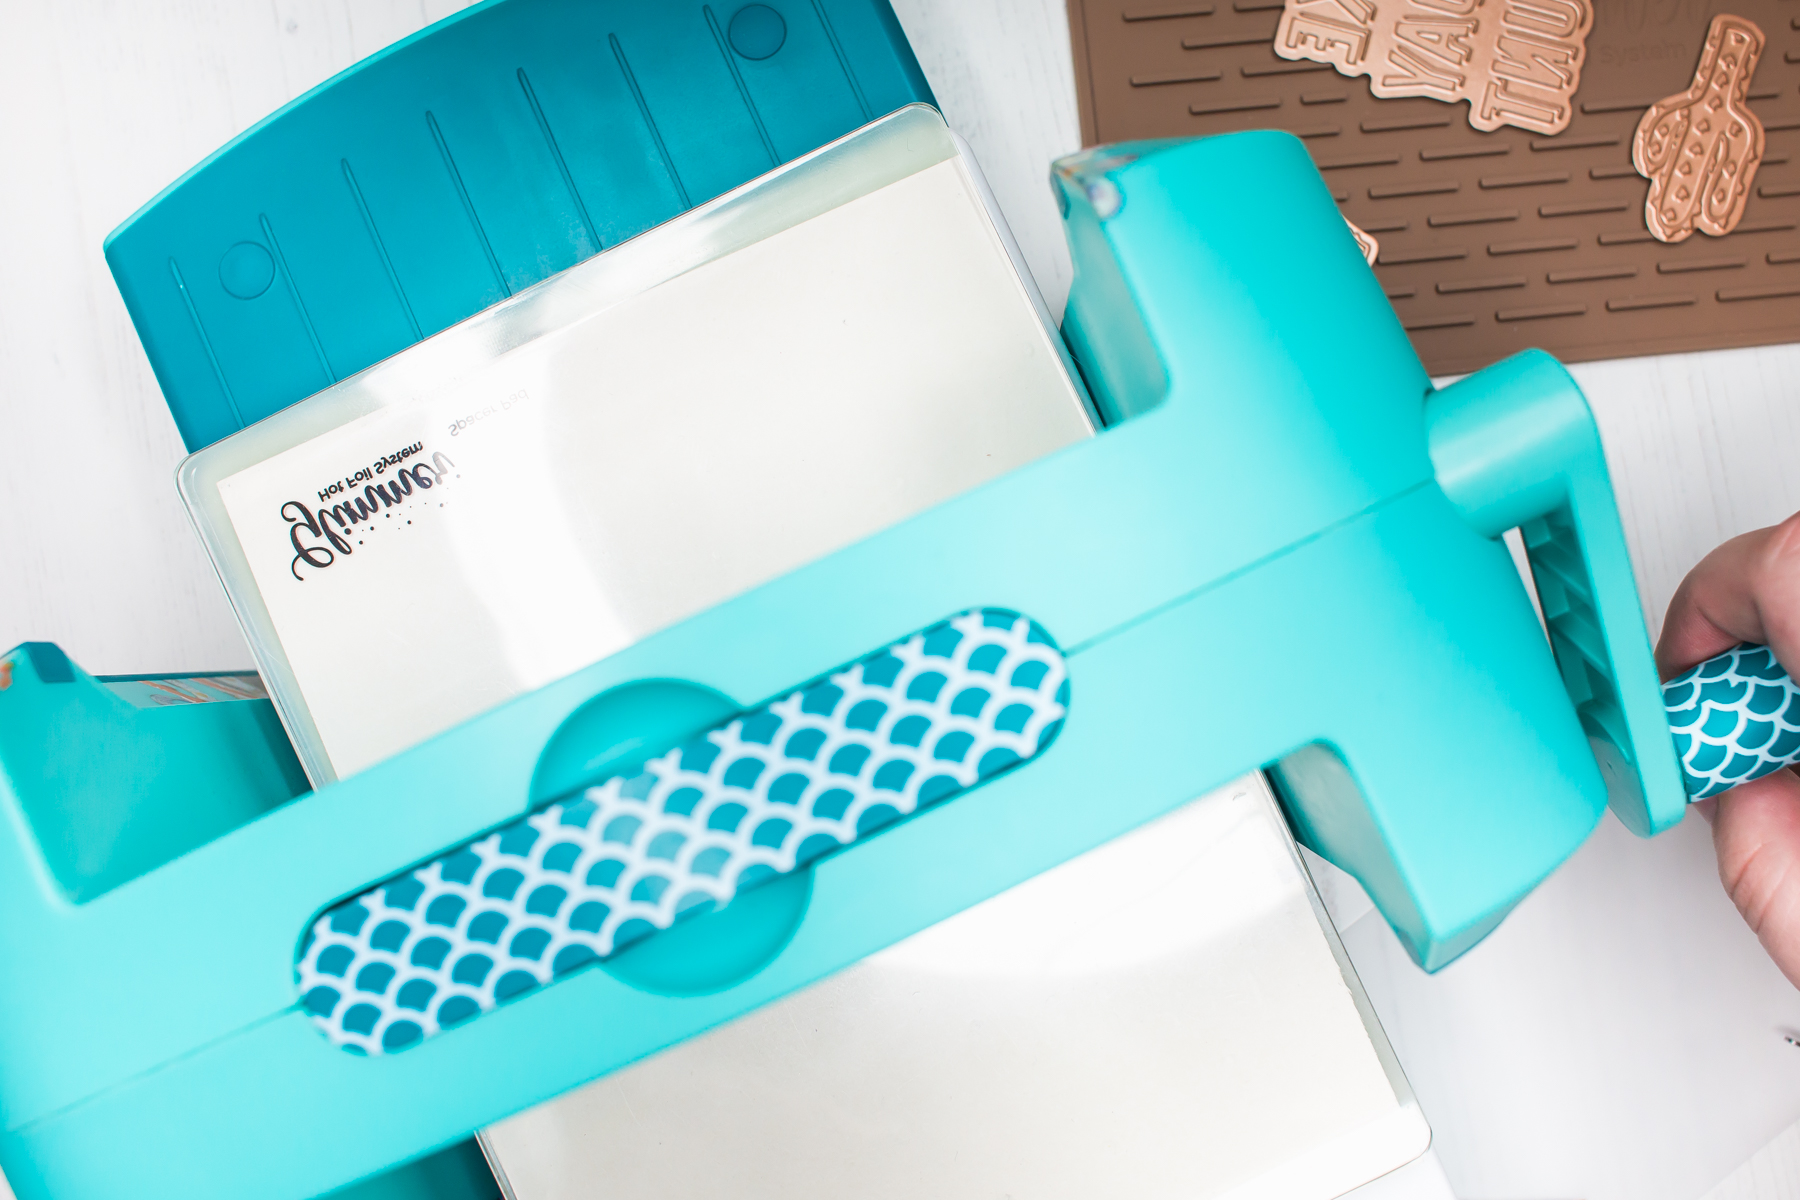
Glimmer Hot Foil Techniques & Handmade Greeting Cards with Mona Toth for Spellbinders

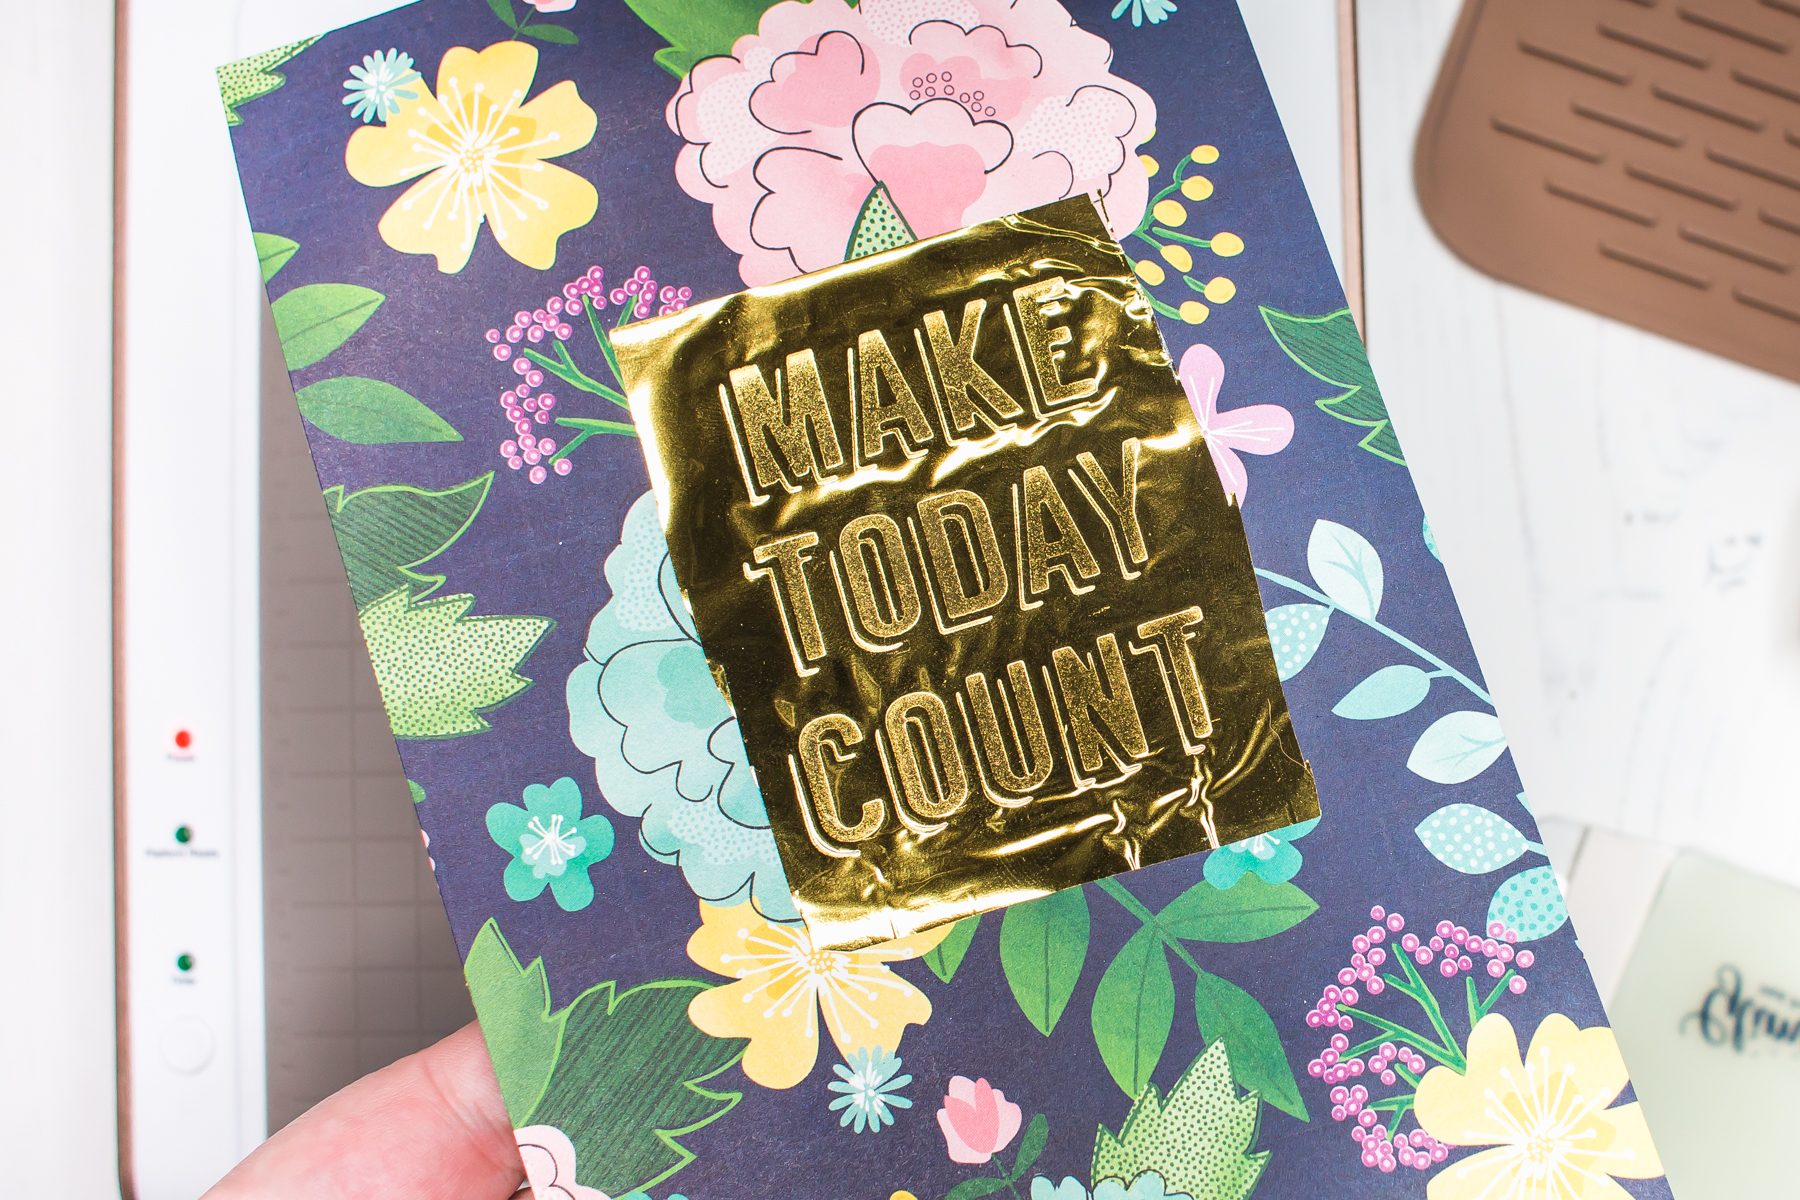
  • Remove your foil

Glimmer Hot Foil Techniques & Handmade Greeting Cards with Mona Toth for Spellbinders

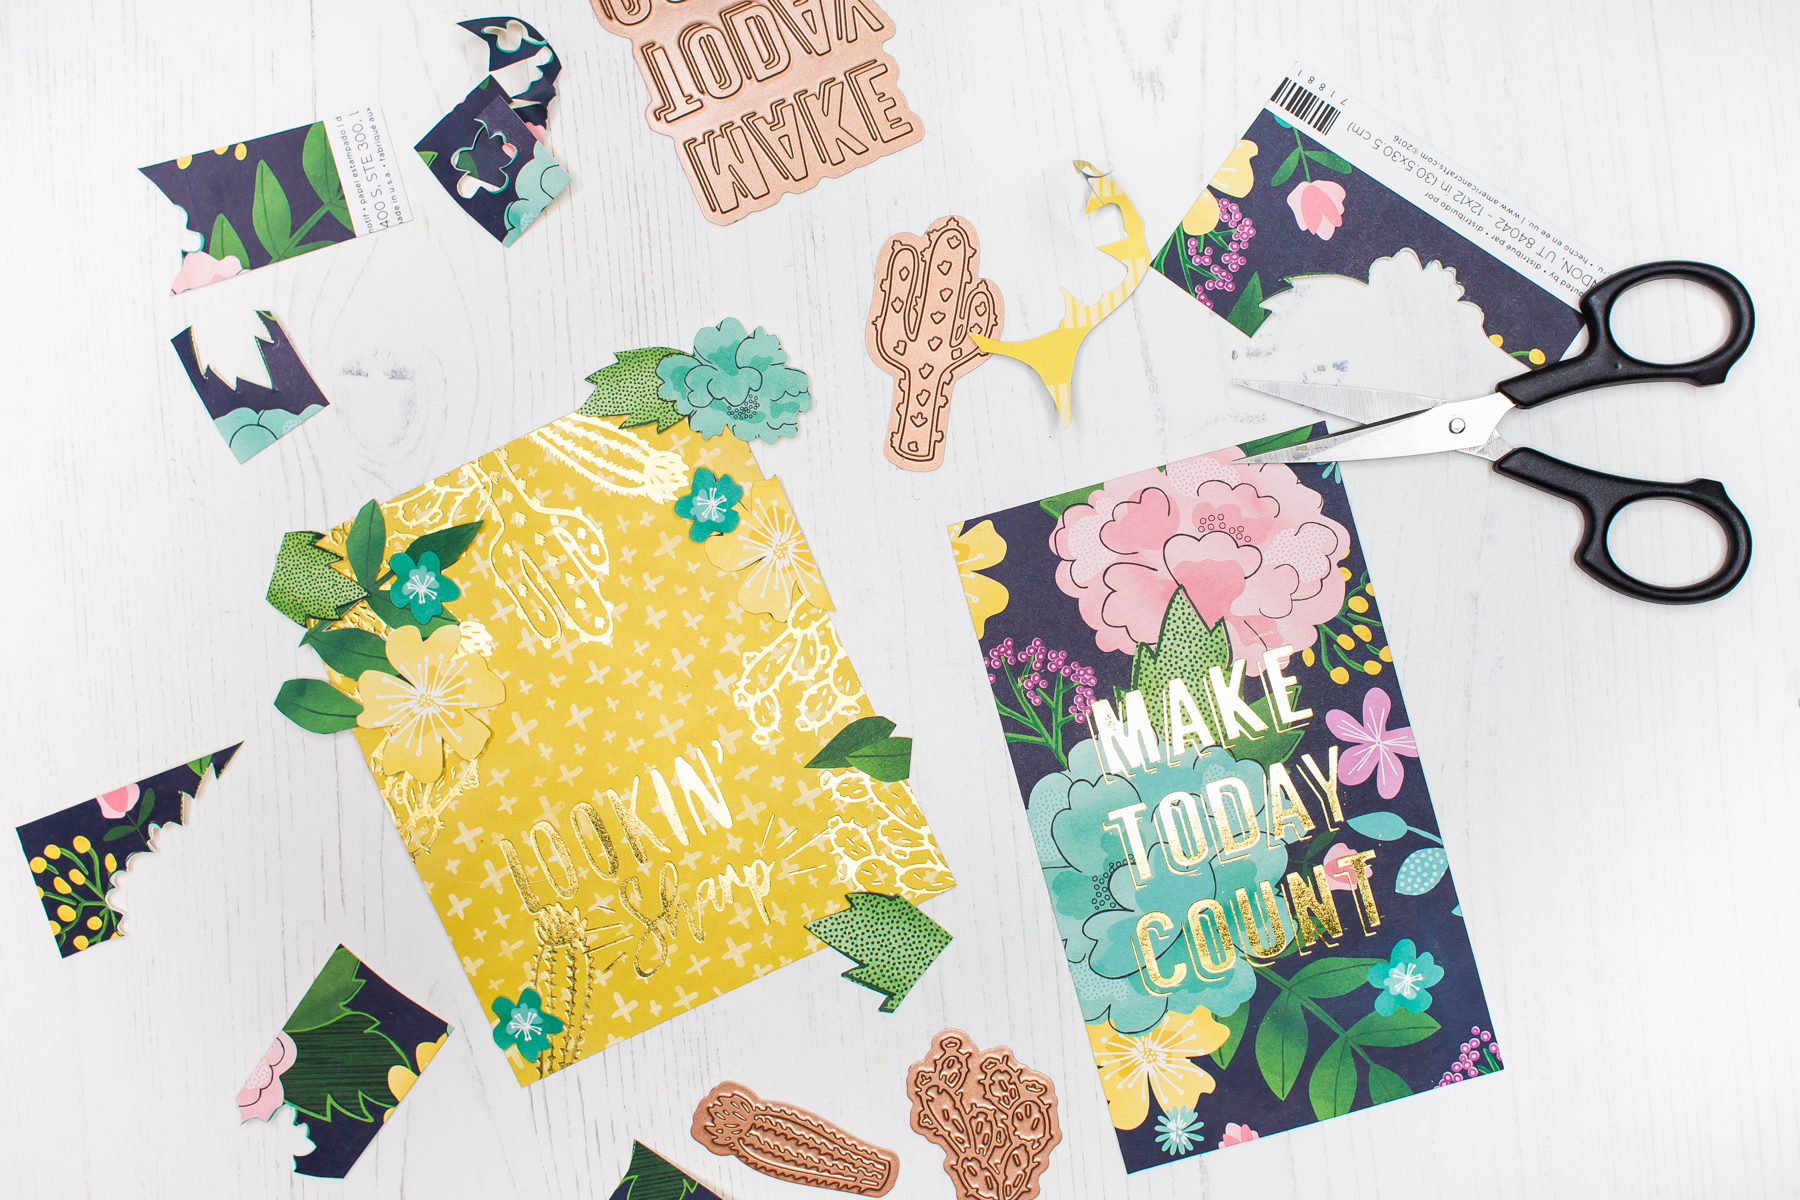
  • If you want you can repeat the process with more patterned papers (here I made cacti and another sentiment), don't forget to cut your foiled papers to the right size
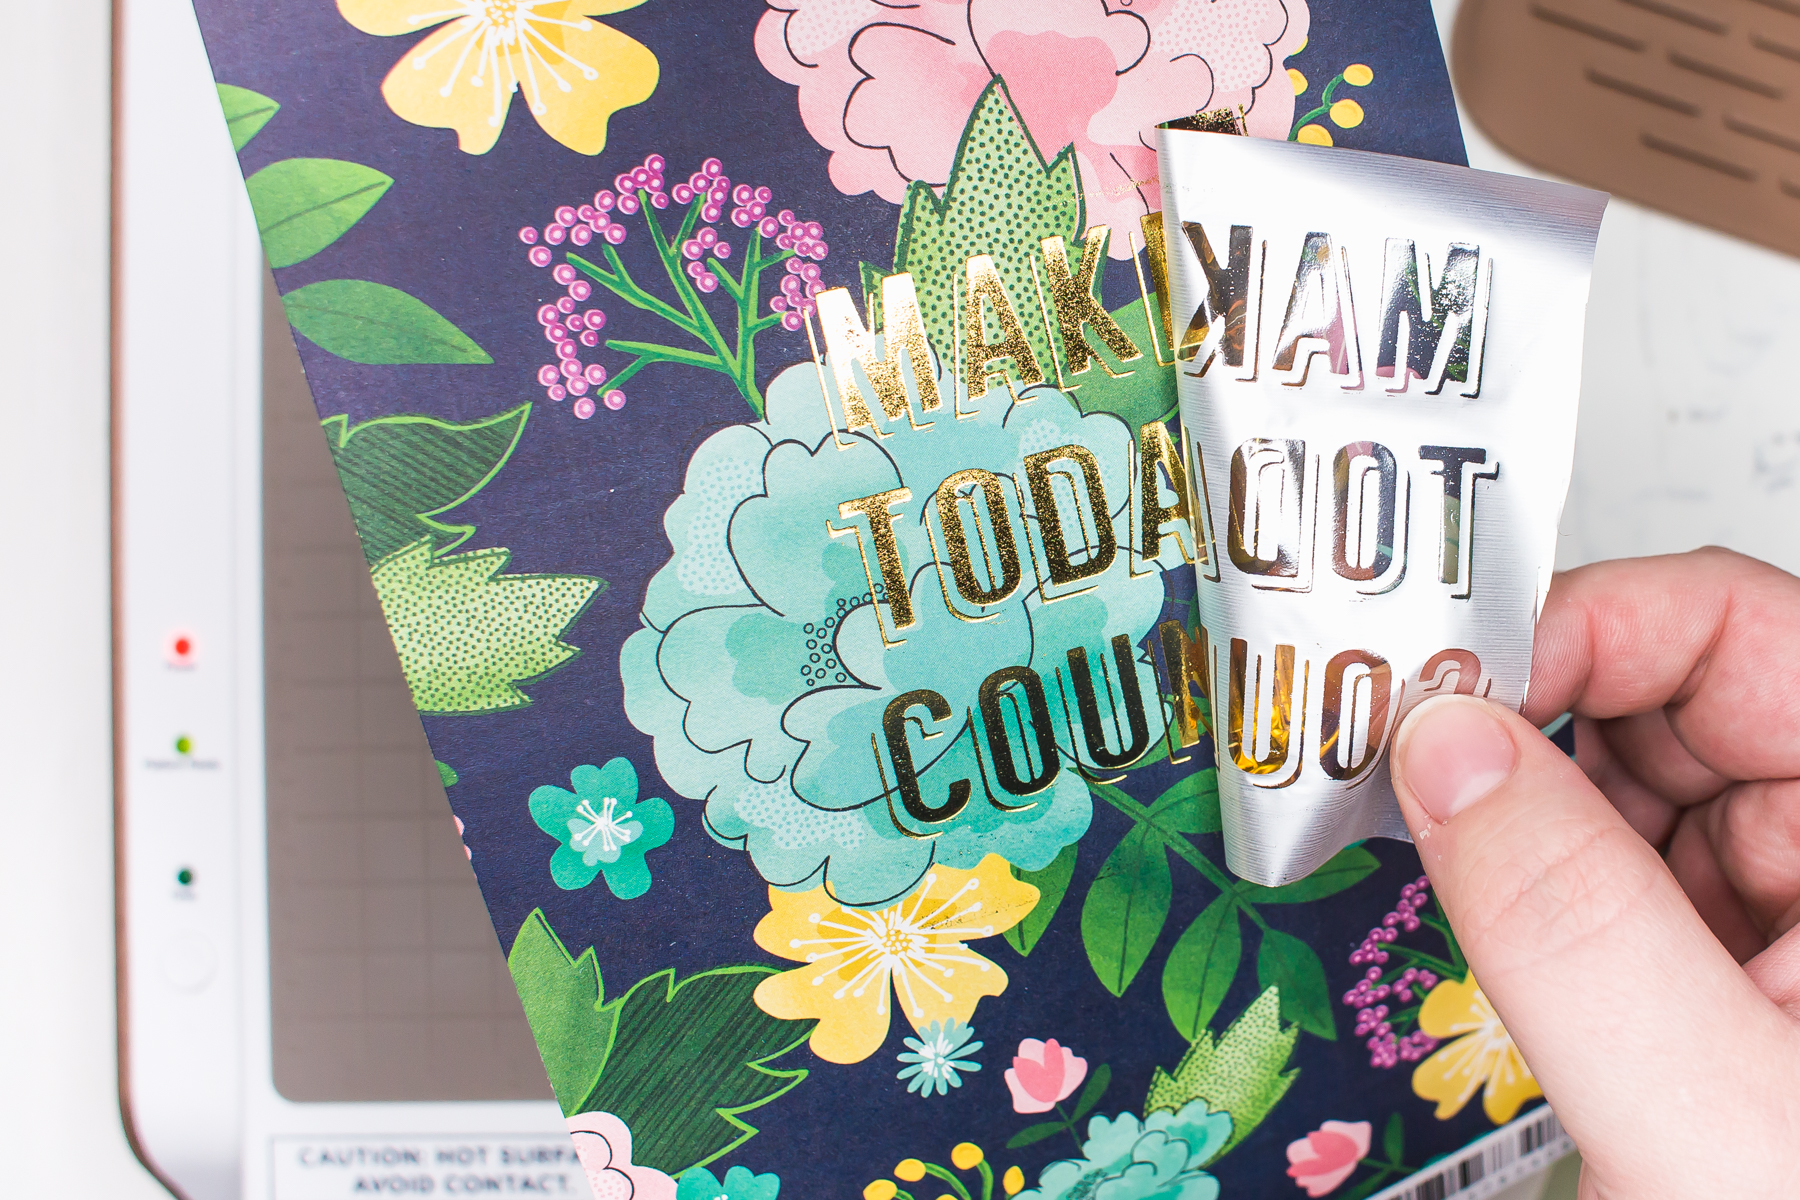
Glimmer Hot Foil Techniques & Handmade Greeting Cards with Mona Toth for Spellbinders

  • Embellish your card

Glimmer Hot Foil Techniques & Handmade Greeting Cards with Mona Toth for Spellbinders

  • And the project is done

Glimmer Hot Foil Techniques & Handmade Greeting Cards with Mona Toth for Spellbinders

Spellbinders Supplies:

OTHER SUPPLIES:

Patterned Paper; Sequins; Scissors; 3D adhesive; Glossy Accents glue.

Thank you for reading my post, I hope that I have inspired you! I am very thankful to be a guest at Spellbinders, see you next time. Hugs, Mona.

Glimmer Hot Foil Techniques & Handmade Greeting Cards with Mona Toth for Spellbinders

Leave a comment

Your email will not be published. Please note, comments need to be approved before they are published.


  • HOW TO USE PRESS PLATES WITH MULTIPLE INKS | CREATE YOUR WAY HOLIDAY, BPR-050, BPI-049, BPI-003

    BP-001

    How to Use Multiple Ink Colors with BetterPress Registration Plates

    Create a colorful Christmas card while learning how to apply multiple ink colors to BetterPress registration plates. In this detailed tutorial, you’ll use the Festive Evergreens Registration Press + Foil Plate & Die Set to press a holiday doorway scene in three colors, combining the built-in registration system with a simple masking technique. The registration template positions the coordinating plates so each layer aligns with...

  • How to Make a Colorful Foiled Butterfly Card with Glimmer II

    BP-351

    How to Make a Colorful Foiled Butterfly Card with Glimmer II

    Combine hot foiling, alcohol-marker coloring, ink blending, and dimensional shaping to create a colorful butterfly card that sparkles from every angle. In this step-by-step tutorial, you’ll learn how to foil detailed butterflies and a floral background with the Glimmer II Hot Foil System, add bold color, and shape the butterfly wings for a realistic raised effect. The Bright Butterflies and Thanks In Bloom Press +...

  • How to Heat Emboss with BetterPress Plates: Snowman Christmas Card

    BP-001

    How to Heat Emboss with BetterPress Plates: Snowman Christmas Card

    BetterPress plates can do more than create letterpress impressions and hot-foiled designs. In this detailed Christmas card tutorial, you’ll learn how to apply clear sticky ink to a BetterPress plate and use white embossing powder to produce a crisp, heat-embossed snowflake background. The tutorial also covers pressing and die cutting a sentiment, assembling three detailed snowmen, and arranging the finished elements on an A2 card....