
Handmade Collection Inspiration | Rainbows with Anna
on February 25, 2018

Handmade Collection Inspiration | Rainbows with Anna

Hello crafty friends! Thanks for joining me today. It’s Anna here and I’m back with a couple of new projects featuring the awesome Handmade Collection by Stephanie Low. Like I mentioned in my previous post, I really love this new collection: every single stamp set is absolutely gorgeous and so inspiring!

Pretty Handmade Card

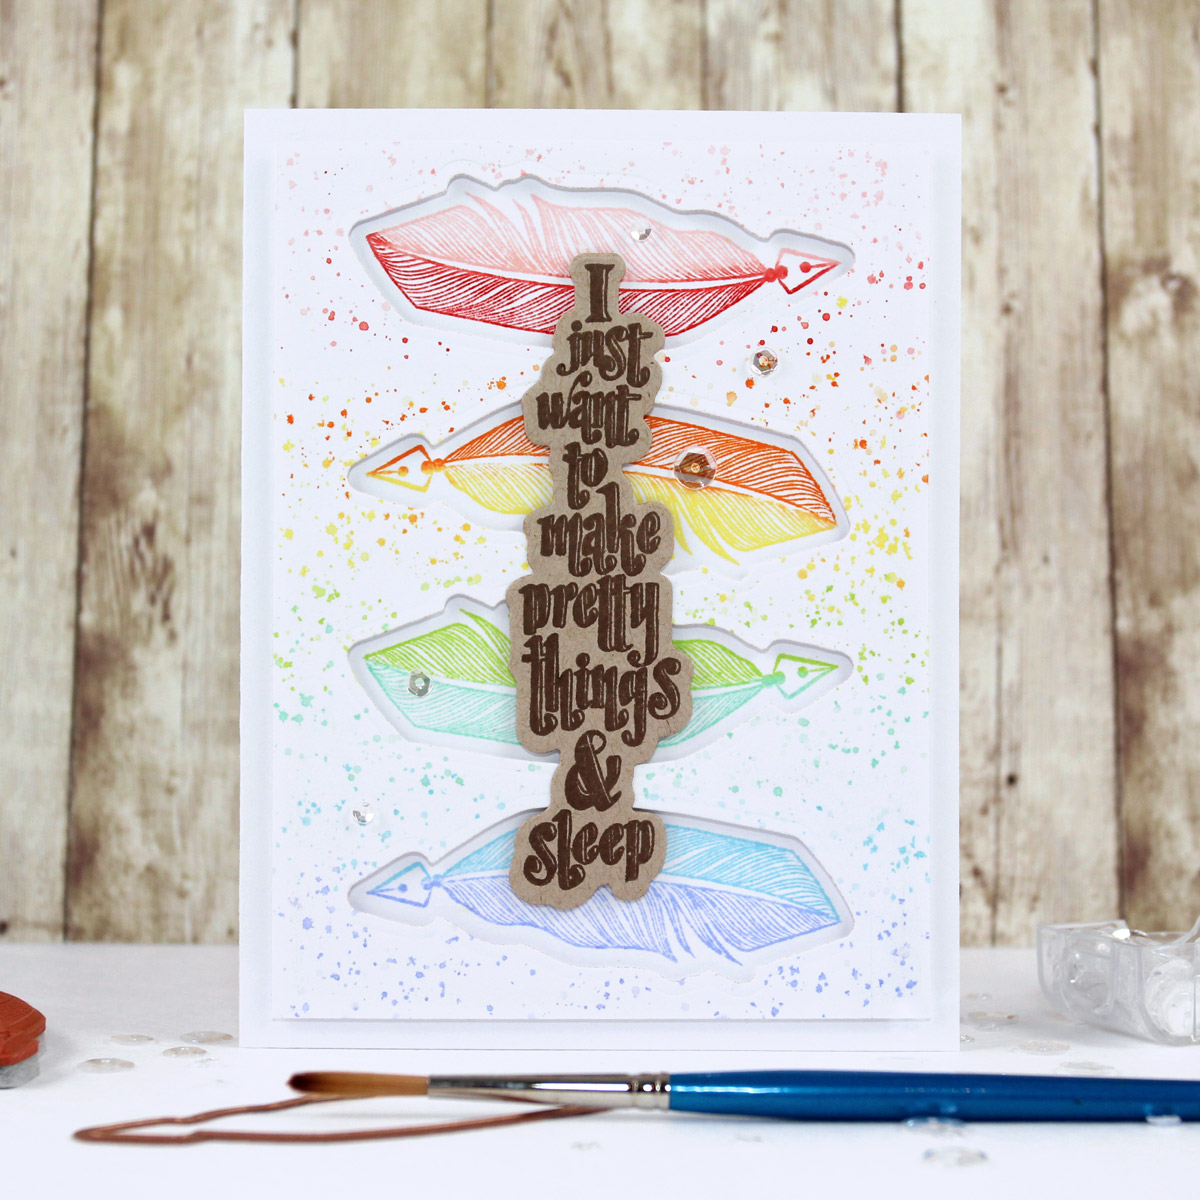
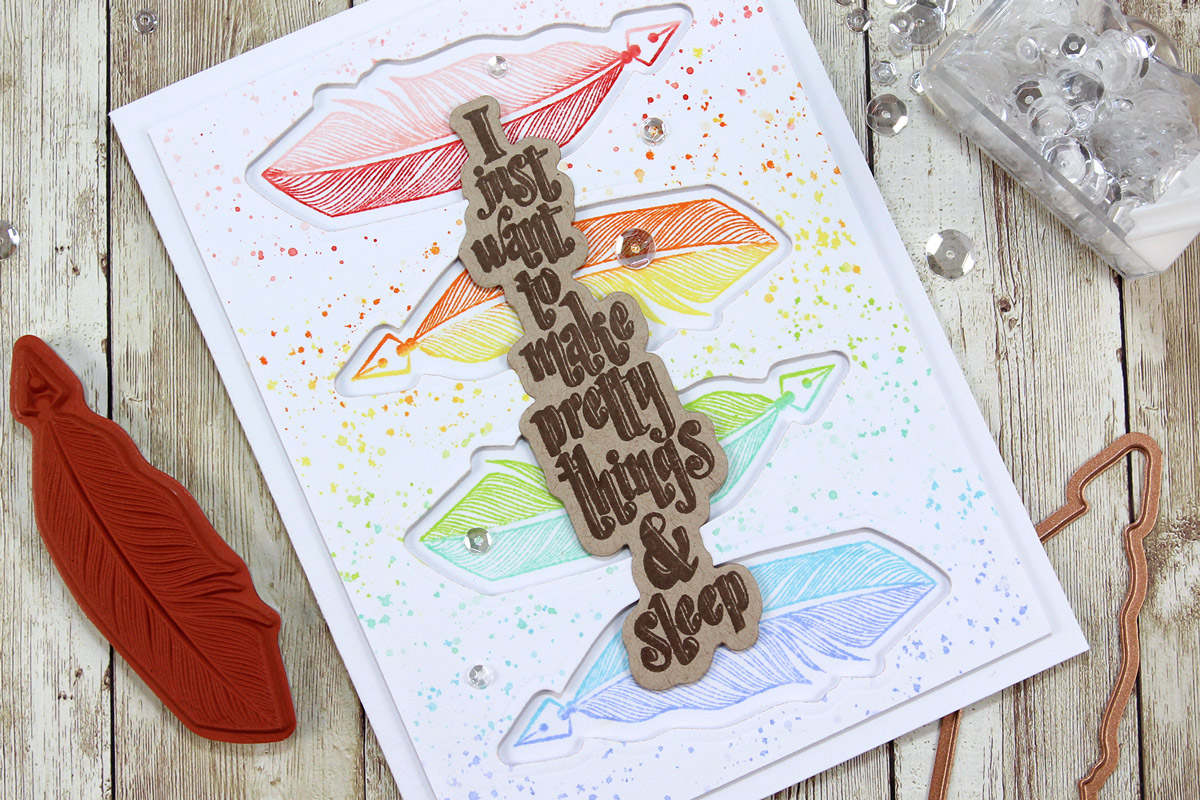
My first project shows how to use coordinating dies to create windows for stamped images. I had so much fun creating this card!
Handmade Collection by Stephanie Low - Inspiration | Rainbows with Anna for Spellbinders using SDS-070 Pretty, SDS-075 Sew, SDS-077 Vintage Buttons, SDS-078 One Of A Kind #spellbinders #cardmaking #stamping #diecutting #handmadecard

I started working on this card by die-cutting four windows out of a white cardstock panel, using a die from the One of a Kind set. Then, I stamped the quills. I inked each one of them with two analogous colors and stamped them on my card base - using the die-cut panel as a guide to align the rubber stamp correctly. I added some splatters on my die-cut panel, matching the colors of the stamped images, and foam mounted it on my card base.

Handmade Collection by Stephanie Low - Inspiration | Rainbows with Anna for Spellbinders using SDS-070 Pretty, SDS-075 Sew, SDS-077 Vintage Buttons, SDS-078 One Of A Kind #spellbinders #cardmaking #stamping #diecutting #handmadecard

Next, I stamped the sentiment from the Pretty set on kraft cardstock using brown dye ink. I cut it out using its coordinating die and foam mounted it onto my card. To finish, I added some sparkling clear sequins as embellishment.

Vintage Buttons Card

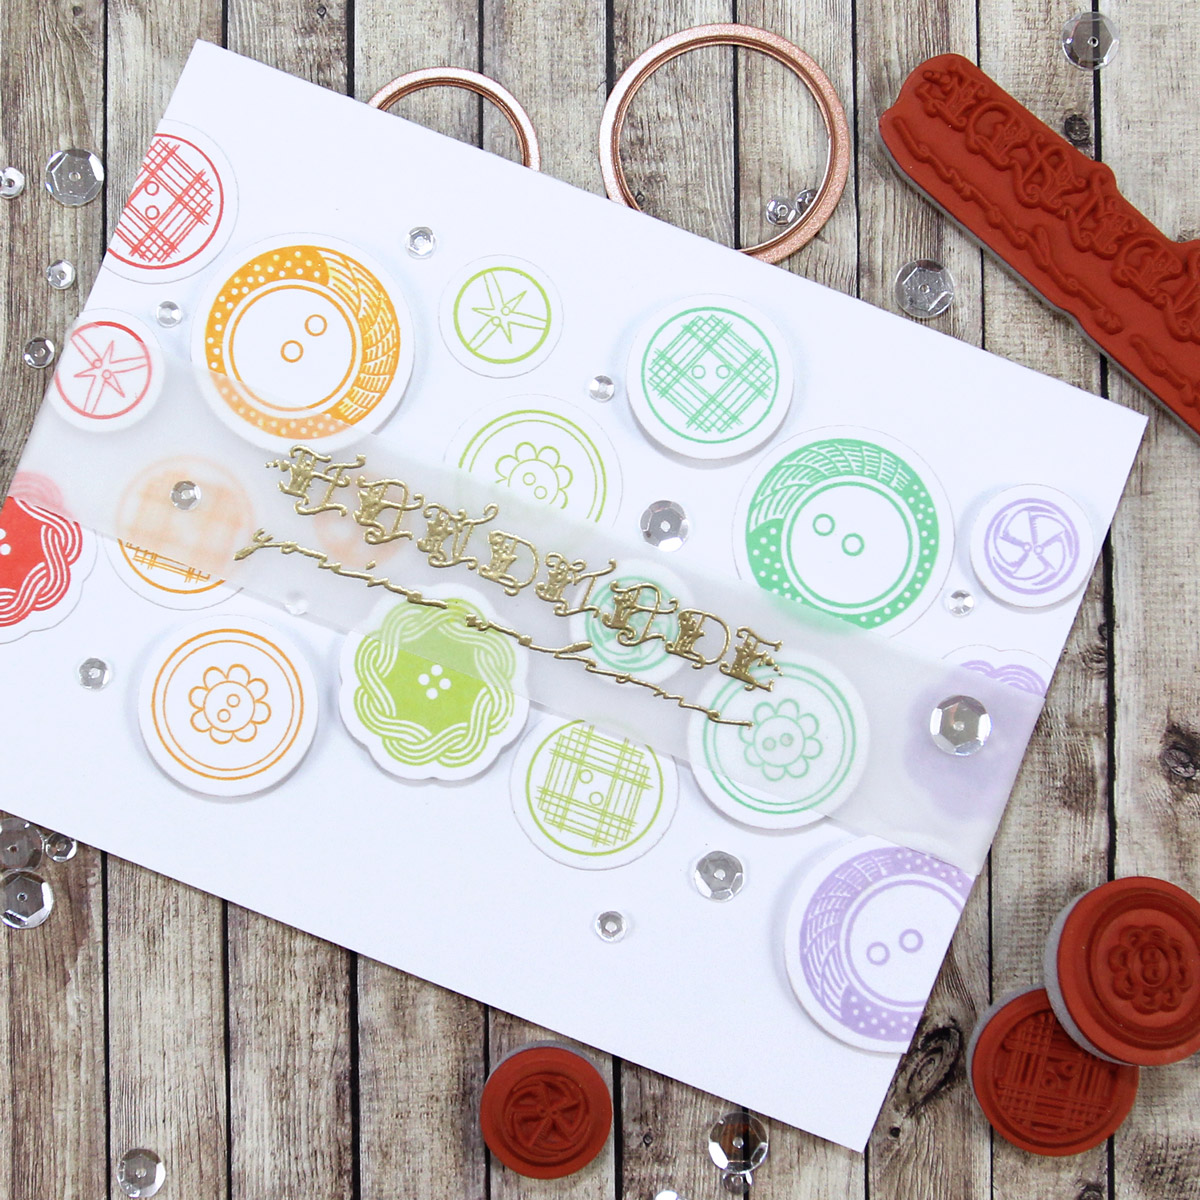
My second card is a simple and colorful example of how to create a dimensional rainbow using die cuts.
Handmade Collection by Stephanie Low - Inspiration | Rainbows with Anna for Spellbinders using SDS-070 Pretty, SDS-075 Sew, SDS-077 Vintage Buttons, SDS-078 One Of A Kind #spellbinders #cardmaking #stamping #diecutting #handmadecard

First, I stamped all the buttons from the Vintage Buttons set several times in different colors and die-cut each one of them using their coordinating dies. Then, I arranged all my die cut buttons to create a colorful rainbow and mounted them onto my card base. I thought it would be fun to add some dimension, so I pop some die cuts up using foam.

Handmade Collection by Stephanie Low - Inspiration | Rainbows with Anna for Spellbinders using SDS-070 Pretty, SDS-075 Sew, SDS-077 Vintage Buttons, SDS-078 One Of A Kind #spellbinders #cardmaking #stamping #diecutting #handmadecard

I heat embossed the sentiment in gold on a strip of vellum and mounted it in the middle of my card. The sentiment is from the Sew set. Finally, I added some sparkling clear sequins as embellishment and a bit of Wink of Stella to a couple of buttons for shimmer !

Spellbinders Supplies

Other Supplies:

Card #1: Paper: Neenah Desert Storm cardstock; Ink: Memento Rich Cocoa Dye Ink, Abandoned Coral Distress Ink, Squeezed Lemonade Distress Ink, Twisted Citron Distress Ink, Cracked Pistachio Distress Ink, Tumbled Glass Distress Ink, Milled Lavender Distress Ink; MISTI Stamping Tool; Pretty Pink Posh Clear Sparkling Sequins. Card #2: Paper: Vellum; Ink: VersaMark Clear Pigment, Abandoned Coral Distress Oxide, Wild Honey Distress Oxide, Twisted Citron Distress Oxide, Cracked Pistachio Distress Oxide, Milled Lavender Distress Ink; MISTI Stamping Tool; Pretty Pink Posh Clear Sparkling Sequins; Zig Wink of Stella Glitter Clear Brush Marker. I really like all the new products from the Handmade Collection by Stephanie Low: all its gorgeous images are so fun to color and you can easily combine them for endless creative possibilities! Thank you so much for stopping by. Happy crafting!

Leave a comment

Your email will not be published. Please note, comments need to be approved before they are published.


  • How to Make a Colorful Foiled Butterfly Card with Glimmer II

    BP-351

    How to Make a Colorful Foiled Butterfly Card with Glimmer II

    Combine hot foiling, alcohol-marker coloring, ink blending, and dimensional shaping to create a colorful butterfly card that sparkles from every angle. In this step-by-step tutorial, you’ll learn how to foil detailed butterflies and a floral background with the Glimmer II Hot Foil System, add bold color, and shape the butterfly wings for a realistic raised effect. The Bright Butterflies and Thanks In Bloom Press +...

  • How to Heat Emboss with BetterPress Plates: Snowman Christmas Card

    BP-001

    How to Heat Emboss with BetterPress Plates: Snowman Christmas Card

    BetterPress plates can do more than create letterpress impressions and hot-foiled designs. In this detailed Christmas card tutorial, you’ll learn how to apply clear sticky ink to a BetterPress plate and use white embossing powder to produce a crisp, heat-embossed snowflake background. The tutorial also covers pressing and die cutting a sentiment, assembling three detailed snowmen, and arranging the finished elements on an A2 card....

  • How to Use the Reverse Foiling Technique on a Colorful Window Card

    BP-001

    How to Use the Reverse Foiling Technique on a Colorful Window Card

    Create a bright, modern card while learning how to use the negative foil left behind after hot foiling. In this step-by-step tutorial, you’ll foil the detailed Windows with a View design, use a solid plate to reverse foil the remaining image, and turn selected windows into dimensional embellishments. An ink-blended striped background, BetterPress sentiment, and sparkling gems complete the design. This project is ideal for...































