Inked Messages Inspiration | Bloom Card with Gemma
on August 08, 2018

Inked Messages Inspiration | Bloom Card with Gemma

Hello everyone, this is Gemma from mygirllollipop.com. Thank you for joining me again today for my 2nd guest post highlighting the Inked Messages Collection by Stephanie Low. Here’s a link to my first post, in case you missed it.
Spellbinders Inked Messages Collection by Stephanie Low - Inspiration | Bloom Card with Gemma featuring SDS-142 Bloom Where You Are Planted #spellbinders #stamping #neverstopmaking

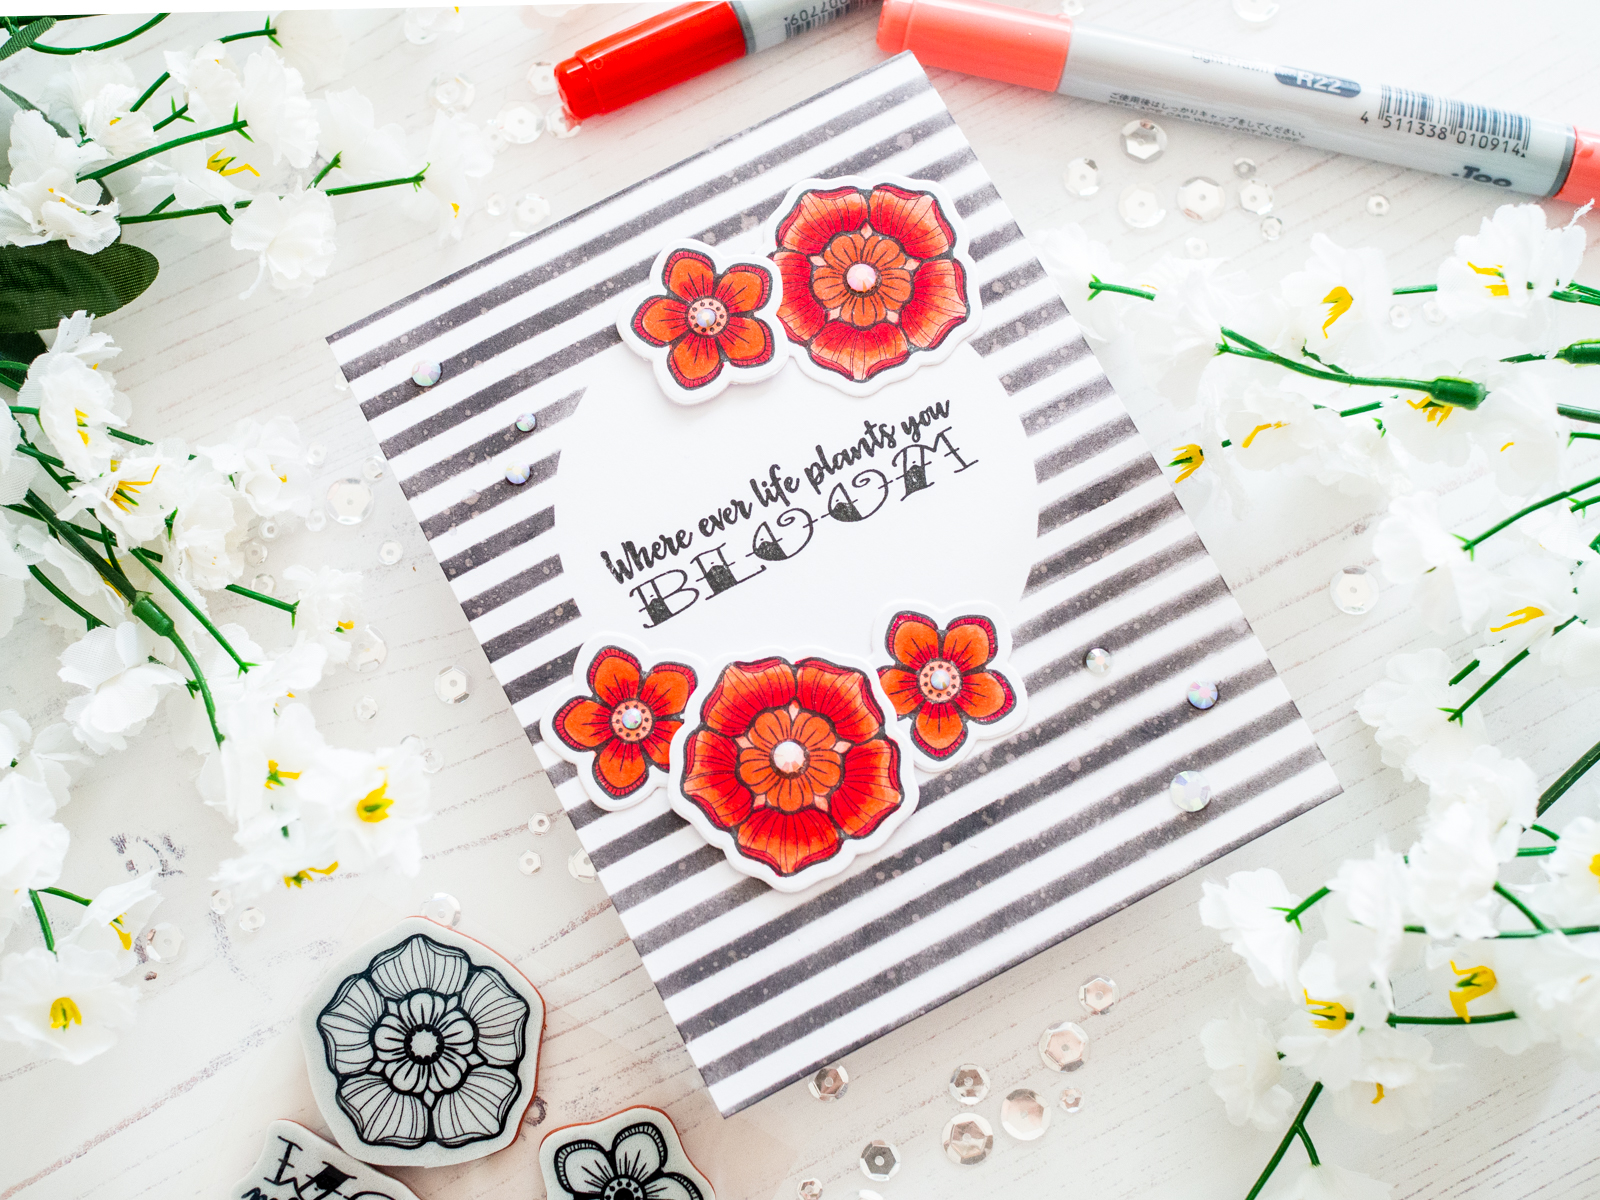
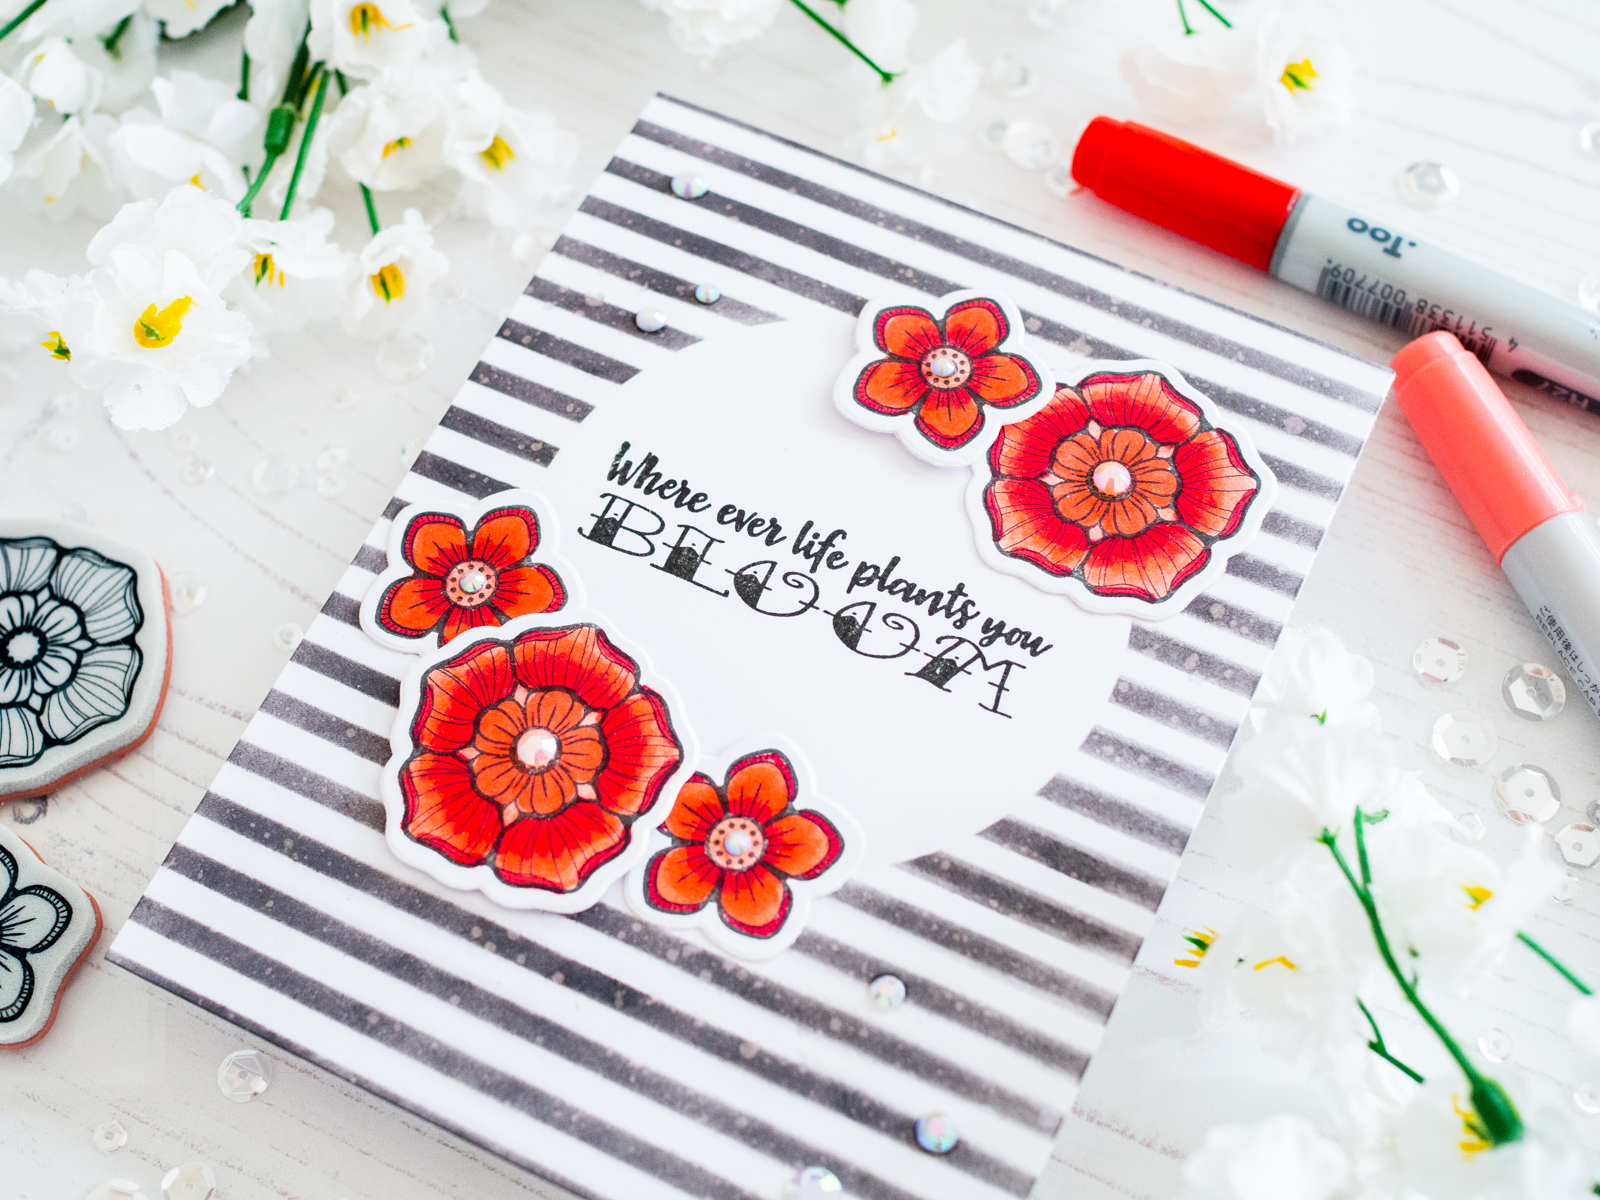
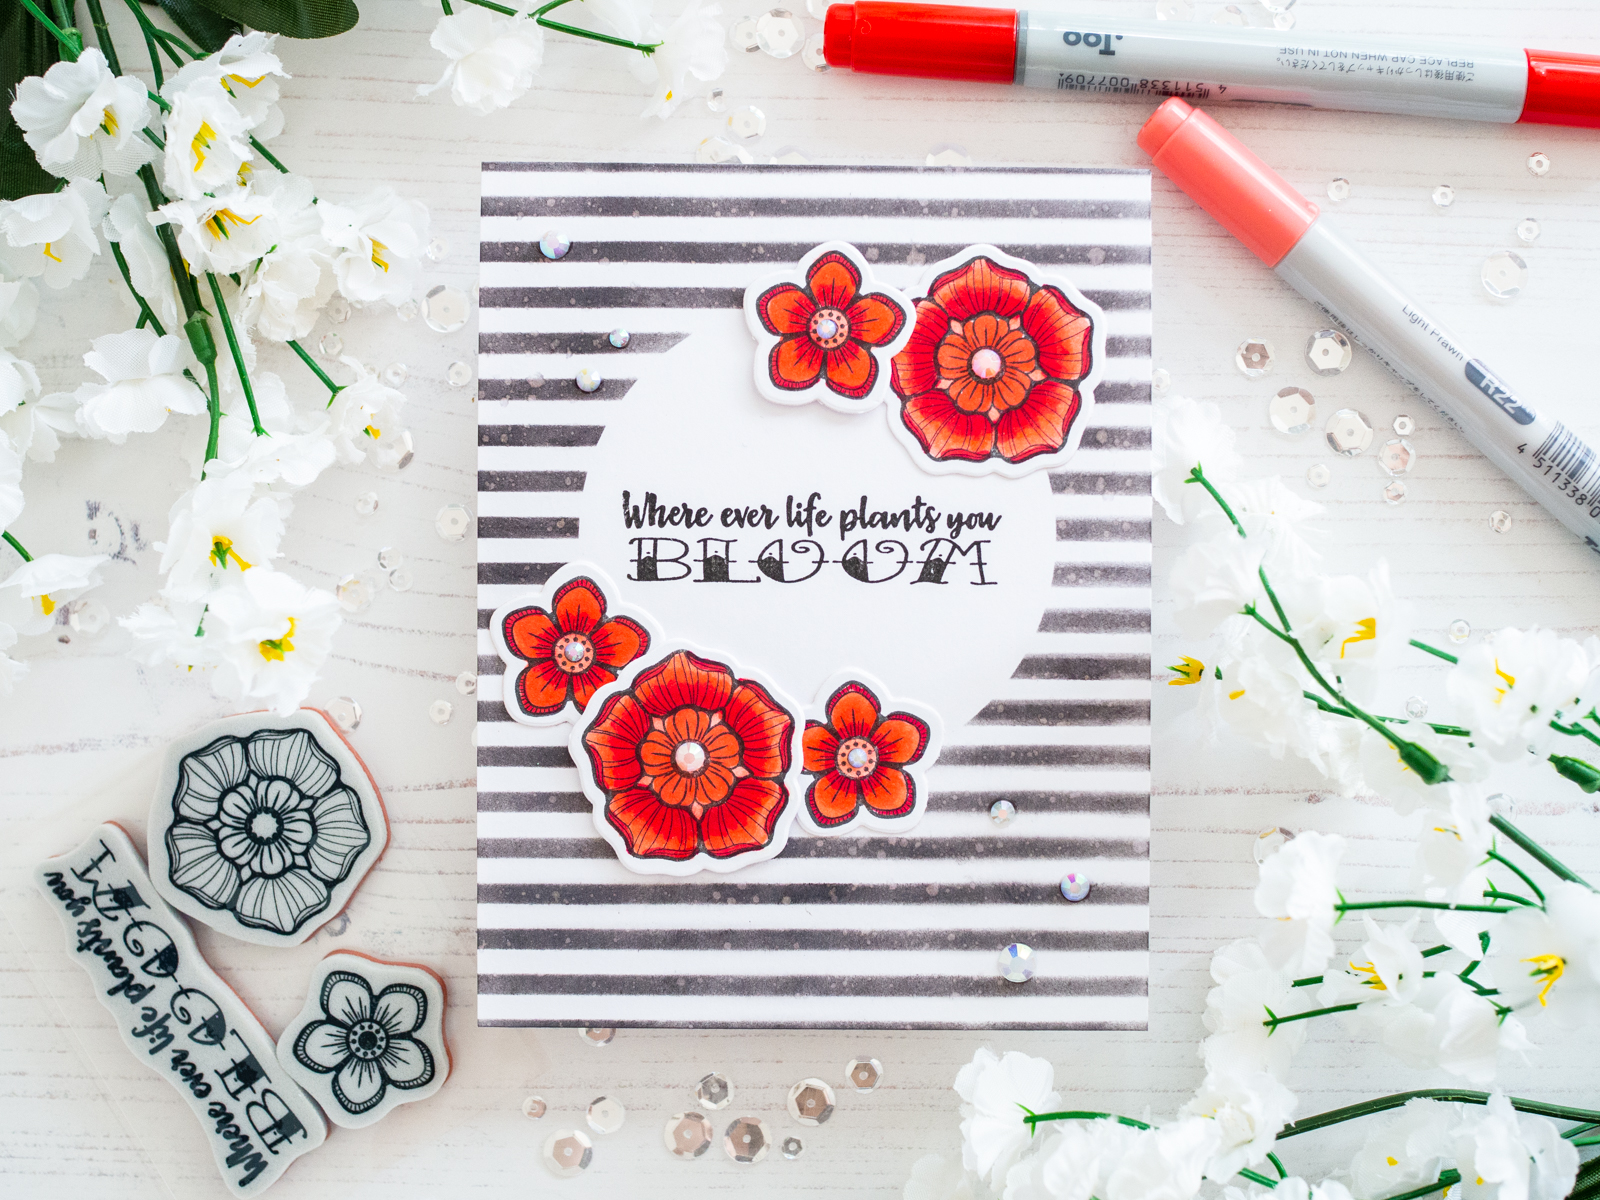
My card today features the beautiful Bloom Where You Are Planted stamp and die set. I love the details on these flowers and the bold style of the sentiment. I began by working on the background. I placed a circle mask on a white card base, to protect an area for my sentiment. I then used black soot distress oxide ink and a stripe stencil to add a bold pattern to the card base.

Spellbinders Inked Messages Collection by Stephanie Low - Inspiration | Bloom Card with Gemma featuring SDS-142 Bloom Where You Are Planted #spellbinders #stamping #neverstopmaking

I flicked the background with water for some droplet details, then removed the mask and stamped the sentiment onto the card base with black ink. Next, I stamped some flowers from the set onto a piece of white card and coloured them with copic markers. I used R22, R27, R29 and R46. I then die cut them with the coordinating dies.

Spellbinders Inked Messages Collection by Stephanie Low - Inspiration | Bloom Card with Gemma featuring SDS-142 Bloom Where You Are Planted #spellbinders #stamping #neverstopmaking

I arranged the flowers around the sentiment before adhering them to the card. I used foam tape for a couple of the flowers for dimension. To finish the card, I adhered some pearl white jewels in the centre of the flowers and across the background.

Spellbinders Inked Messages Collection by Stephanie Low - Inspiration | Bloom Card with Gemma featuring SDS-142 Bloom Where You Are Planted #spellbinders #stamping #neverstopmaking

Spellbinders Supplies:

Other supplies:

Altenew Classy Stripes stencil; Copic markers; Pretty Pink Posh pearl white jewels; Distress Oxide Black Soot, Versafine Onyx Black ink; MFT Extreme Black hybrid ink. Thank you for joining me today. I’ll be back for one last post at the end of the week, so I hope you’ll join me then. Have a great day.

Leave a comment

Your email will not be published. Please note, comments need to be approved before they are published.

1 comment

Pooja,

Wwo..it’s awesomely Beautiful !


  • HOW TO USE PRESS PLATES WITH MULTIPLE INKS | CREATE YOUR WAY HOLIDAY, BPR-050, BPI-049, BPI-003

    BP-001

    How to Use Multiple Ink Colors with BetterPress Registration Plates

    Create a colorful Christmas card while learning how to apply multiple ink colors to BetterPress registration plates. In this detailed tutorial, you’ll use the Festive Evergreens Registration Press + Foil Plate & Die Set to press a holiday doorway scene in three colors, combining the built-in registration system with a simple masking technique. The registration template positions the coordinating plates so each layer aligns with...

  • How to Make a Colorful Foiled Butterfly Card with Glimmer II

    BP-351

    How to Make a Colorful Foiled Butterfly Card with Glimmer II

    Combine hot foiling, alcohol-marker coloring, ink blending, and dimensional shaping to create a colorful butterfly card that sparkles from every angle. In this step-by-step tutorial, you’ll learn how to foil detailed butterflies and a floral background with the Glimmer II Hot Foil System, add bold color, and shape the butterfly wings for a realistic raised effect. The Bright Butterflies and Thanks In Bloom Press +...

  • How to Heat Emboss with BetterPress Plates: Snowman Christmas Card

    BP-001

    How to Heat Emboss with BetterPress Plates: Snowman Christmas Card

    BetterPress plates can do more than create letterpress impressions and hot-foiled designs. In this detailed Christmas card tutorial, you’ll learn how to apply clear sticky ink to a BetterPress plate and use white embossing powder to produce a crisp, heat-embossed snowflake background. The tutorial also covers pressing and die cutting a sentiment, assembling three detailed snowmen, and arranging the finished elements on an A2 card....