Inked Messages Inspiration | Message in a Bottle Card with Gemma
on August 11, 2018

Inked Messages Inspiration | Message in a Bottle Card with Gemma

Hello everyone, this is Gemma from mygirllollipop.com. It's my last day on the Spellbinders blog, sharing projects highlighting the Inked Messages Collection by Stephanie Low. Here’s a link to my Day 1 and Day 2 posts, in case you missed them.
Spellbinders Inked Messages Collection by Stephanie Low - Inspiration | Message in a Bottle Card with Gemma featuring SDS-145 Message In A Bottle #spellbinders #neverstopmaking #cardmaking

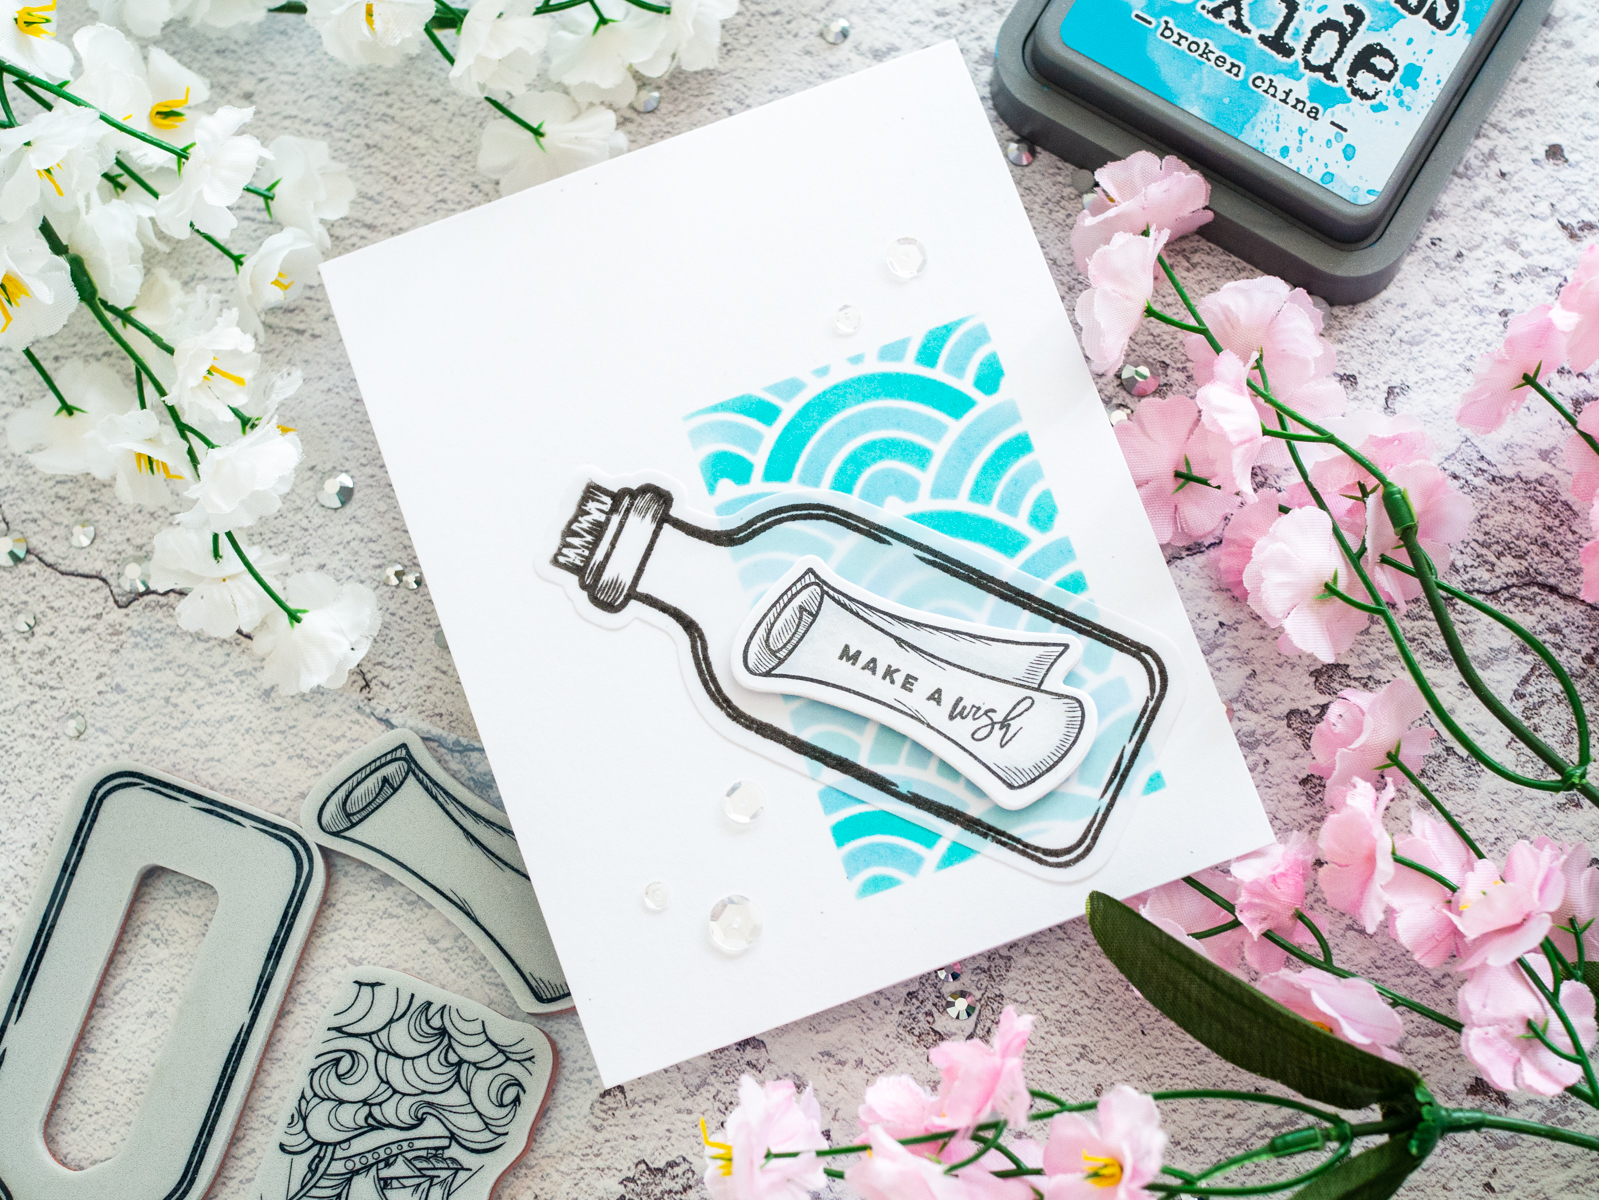
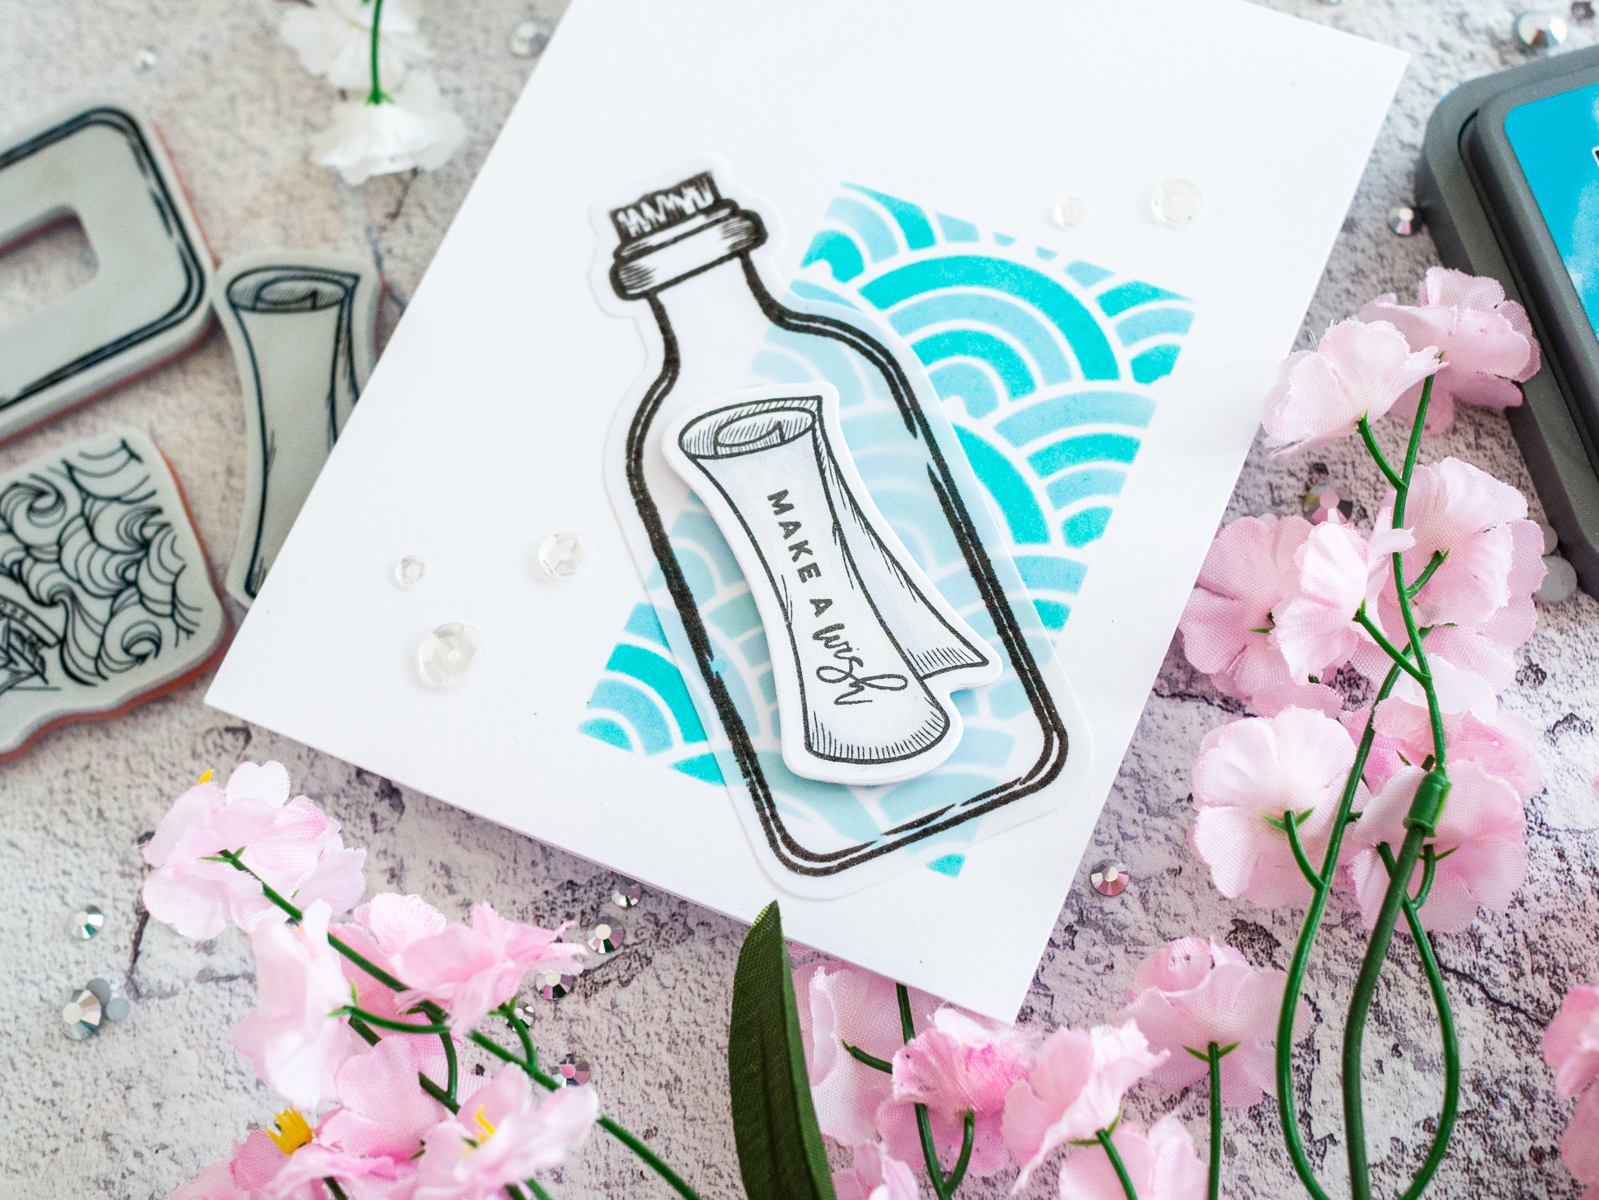
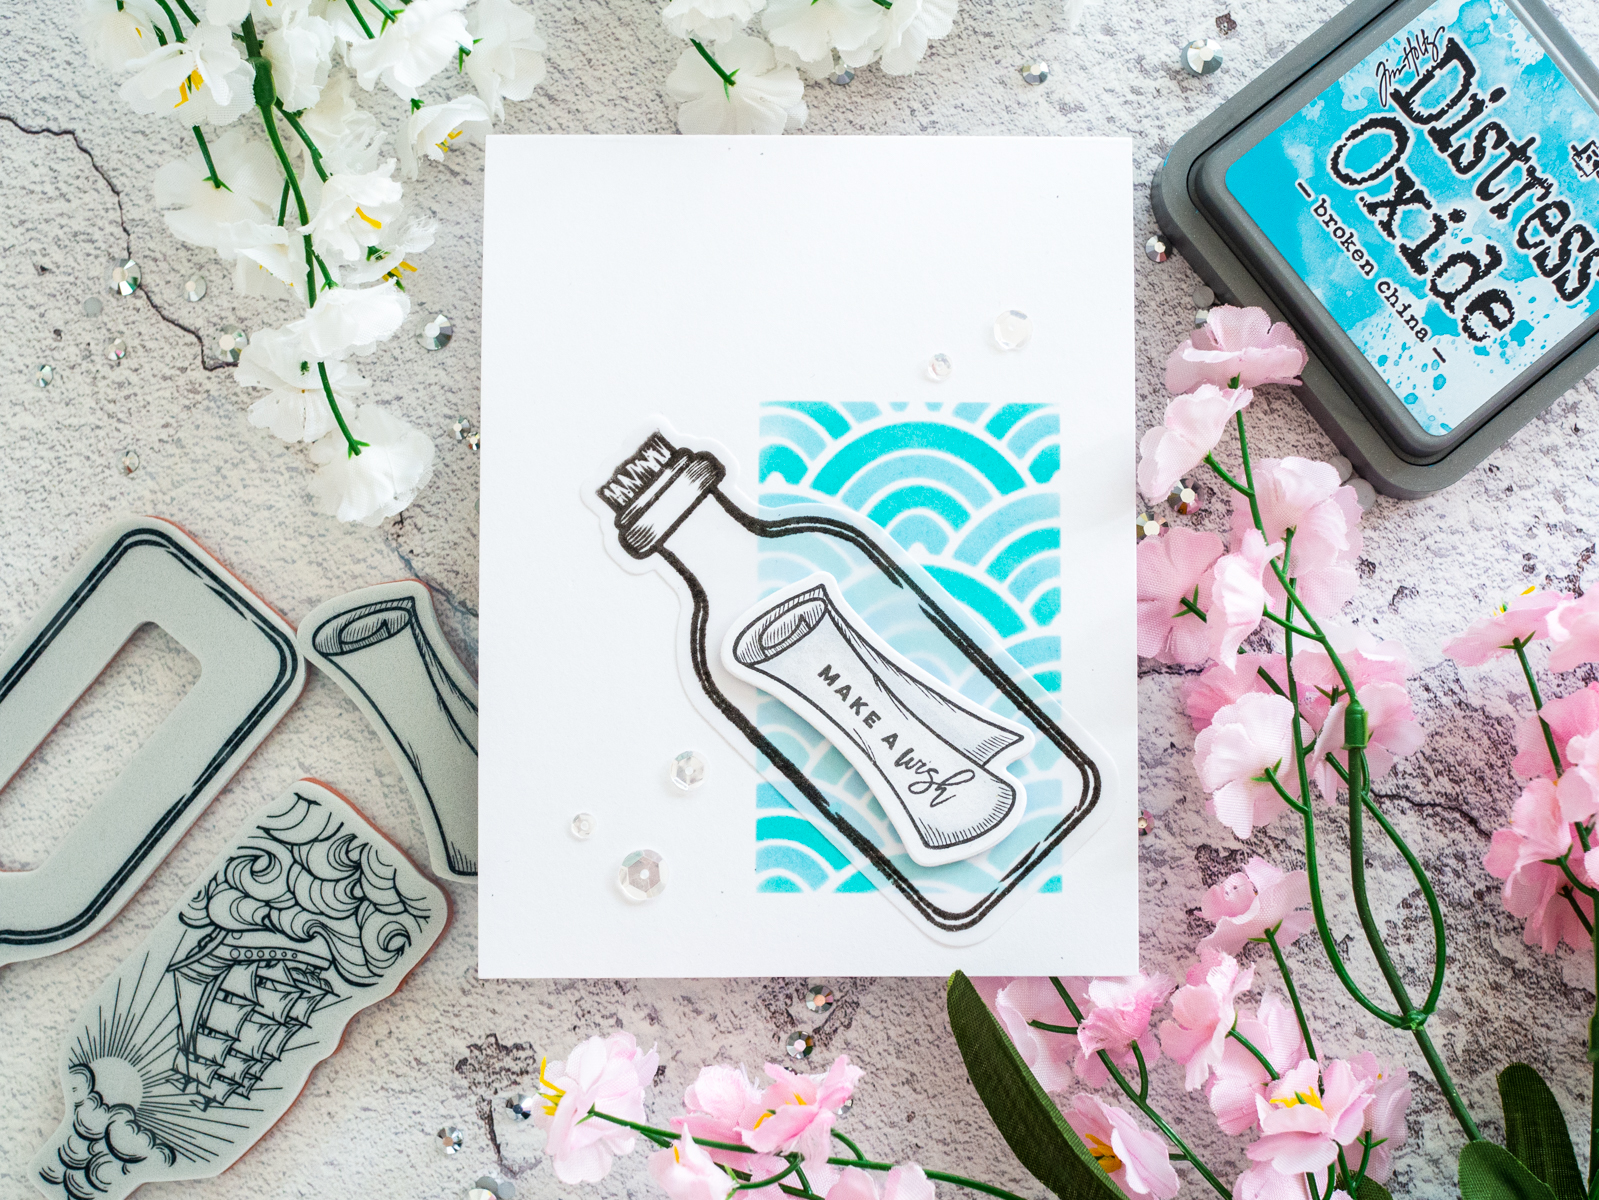
My card today features the Message in a Bottle stamp and die set, perfect for sending a message to someone special. I began with the wave background, using masking tape to create a rectangle on a card base. I then placed a scallop stencil over the rectangle and blended on colour with distress oxide inks. I love the look of these abstract waves

Spellbinders Inked Messages Collection by Stephanie Low - Inspiration | Message in a Bottle Card with Gemma featuring SDS-145 Message In A Bottle #spellbinders #neverstopmaking #cardmaking

Next, I stamped the bottle image on to a piece of vellum with versafine onyx black ink, before heat embossing it with clear embossing powder. I stamped the scroll image on white card, along with a sentiment. I added some light colouring with cool grey copics, then I die cut it with the coordinating die.

Spellbinders Inked Messages Collection by Stephanie Low - Inspiration | Message in a Bottle Card with Gemma featuring SDS-145 Message In A Bottle #spellbinders #neverstopmaking #cardmaking

I adhered the vellum bottle to the card with liquid glue, then used some foam tape to add the scroll over the top. Some sparkling clear sequins are a perfect finishing touch.

Spellbinders Inked Messages Collection by Stephanie Low - Inspiration | Message in a Bottle Card with Gemma featuring SDS-145 Message In A Bottle #spellbinders #neverstopmaking #cardmaking

Spellbinders Supplies:

Other Supplies:

Altenew Scallop Builder stencil; Distress Oxide inks (peacock feathers and broken china); Winnie and Walter Sentimental Birthday; Pretty Pink Posh Clear Sparkling sequins; Copic Markers C0 & C1; Vellum; WOW Clear Gloss embossing powder; Versafine Onyx Black ink; MFT Extreme Black hybrid ink. Thank you so much for joining me this week. I’ve enjoyed sharing my projects with you all. A big thank you to the Spellbinders team for inviting me to guest design with them. Have a fabulous day.

Spellbinders Inked Messages Collection by Stephanie Low - Inspiration | Message in a Bottle Card with Gemma featuring SDS-145 Message In A Bottle #spellbinders #neverstopmaking #cardmaking

Leave a comment

Your email will not be published. Please note, comments need to be approved before they are published.


  • How to Make a Colorful Foiled Butterfly Card with Glimmer II

    BP-351

    How to Make a Colorful Foiled Butterfly Card with Glimmer II

    Combine hot foiling, alcohol-marker coloring, ink blending, and dimensional shaping to create a colorful butterfly card that sparkles from every angle. In this step-by-step tutorial, you’ll learn how to foil detailed butterflies and a floral background with the Glimmer II Hot Foil System, add bold color, and shape the butterfly wings for a realistic raised effect. The Bright Butterflies and Thanks In Bloom Press +...

  • How to Heat Emboss with BetterPress Plates: Snowman Christmas Card

    BP-001

    How to Heat Emboss with BetterPress Plates: Snowman Christmas Card

    BetterPress plates can do more than create letterpress impressions and hot-foiled designs. In this detailed Christmas card tutorial, you’ll learn how to apply clear sticky ink to a BetterPress plate and use white embossing powder to produce a crisp, heat-embossed snowflake background. The tutorial also covers pressing and die cutting a sentiment, assembling three detailed snowmen, and arranging the finished elements on an A2 card....

  • How to Use the Reverse Foiling Technique on a Colorful Window Card

    BP-001

    How to Use the Reverse Foiling Technique on a Colorful Window Card

    Create a bright, modern card while learning how to use the negative foil left behind after hot foiling. In this step-by-step tutorial, you’ll foil the detailed Windows with a View design, use a solid plate to reverse foil the remaining image, and turn selected windows into dimensional embellishments. An ink-blended striped background, BetterPress sentiment, and sparkling gems complete the design. This project is ideal for...