Jane Davenport Artomology | Crafting with Jane Davenport Markers with Angela Tombari
on September 23, 2018

Jane Davenport Artomology | Crafting with Jane Davenport Markers with Angela Tombari

Hi friends! It’s Angela Tombari back here, thank you for joining me. I have a fun project to share with you using the Jane Davenport Artomology collection. Today I am focusing on the use of Markers on an alternative surface, a piece of fabric!

Spellbinders Jane Davenport Artomology | Crafting with Jane Davenport Markers with Angela Tombari  #janedavenport #janedavenportartomology #Artomology #spellbinders #neverstopmaking #smoothmarkers #makeitwithmichaels

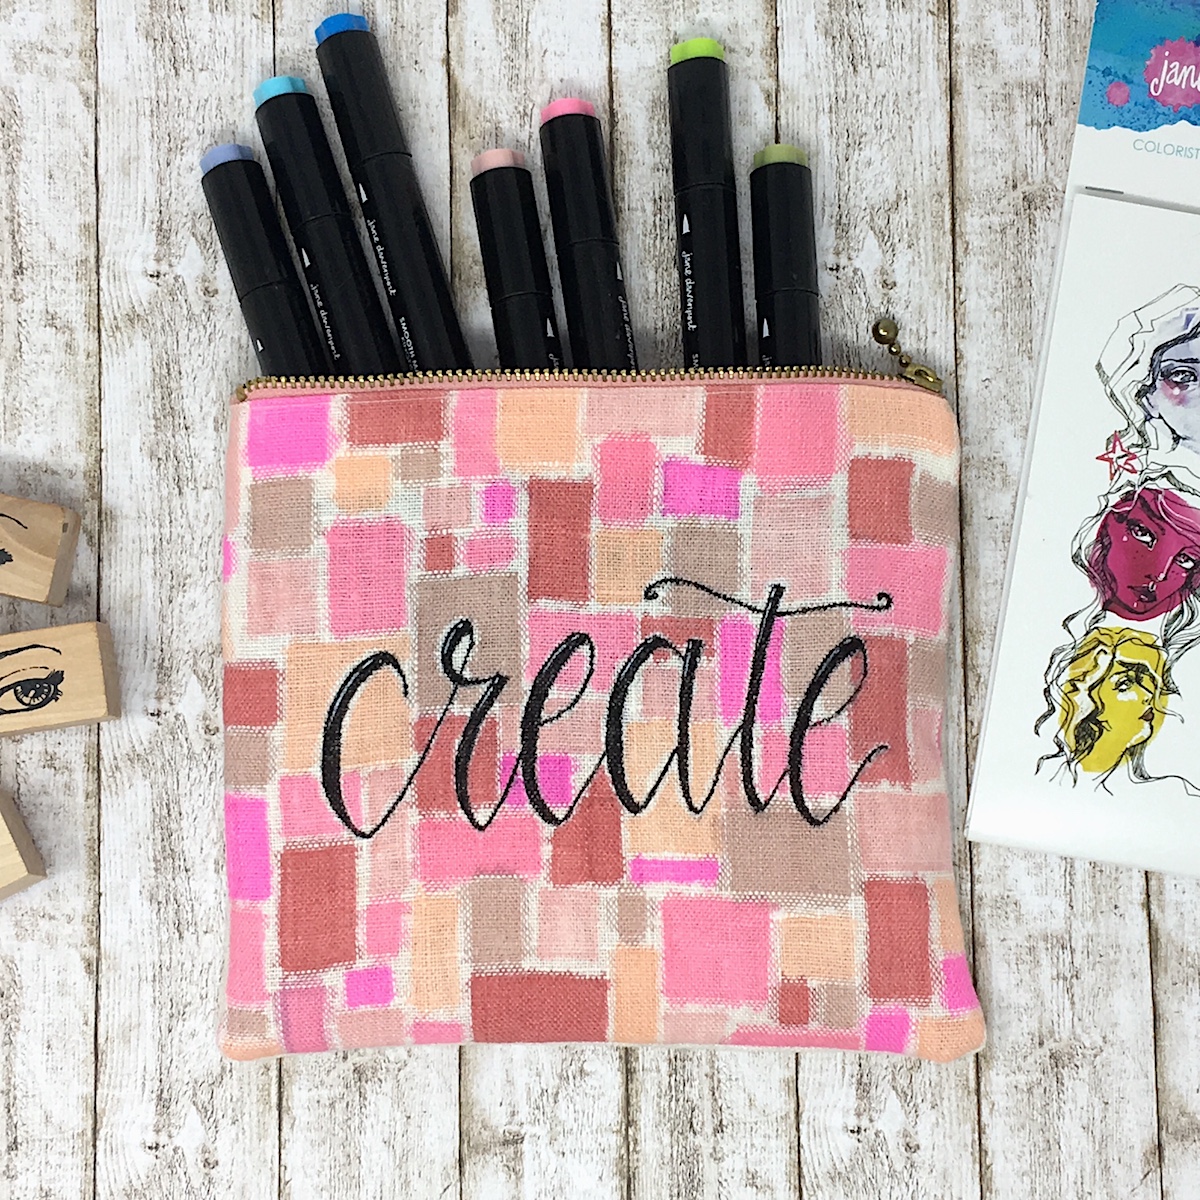
As you can see from the photo I created two pouches that I intend to use for my art supplies. The first pouch size is 7 inches square and the markers fits perfectly inside. I love the vibrant colors and how it turned out.

Spellbinders Jane Davenport Artomology | Crafting with Jane Davenport Markers with Angela Tombari  #janedavenport #janedavenportartomology #Artomology #spellbinders #neverstopmaking #smoothmarkers #makeitwithmichaels

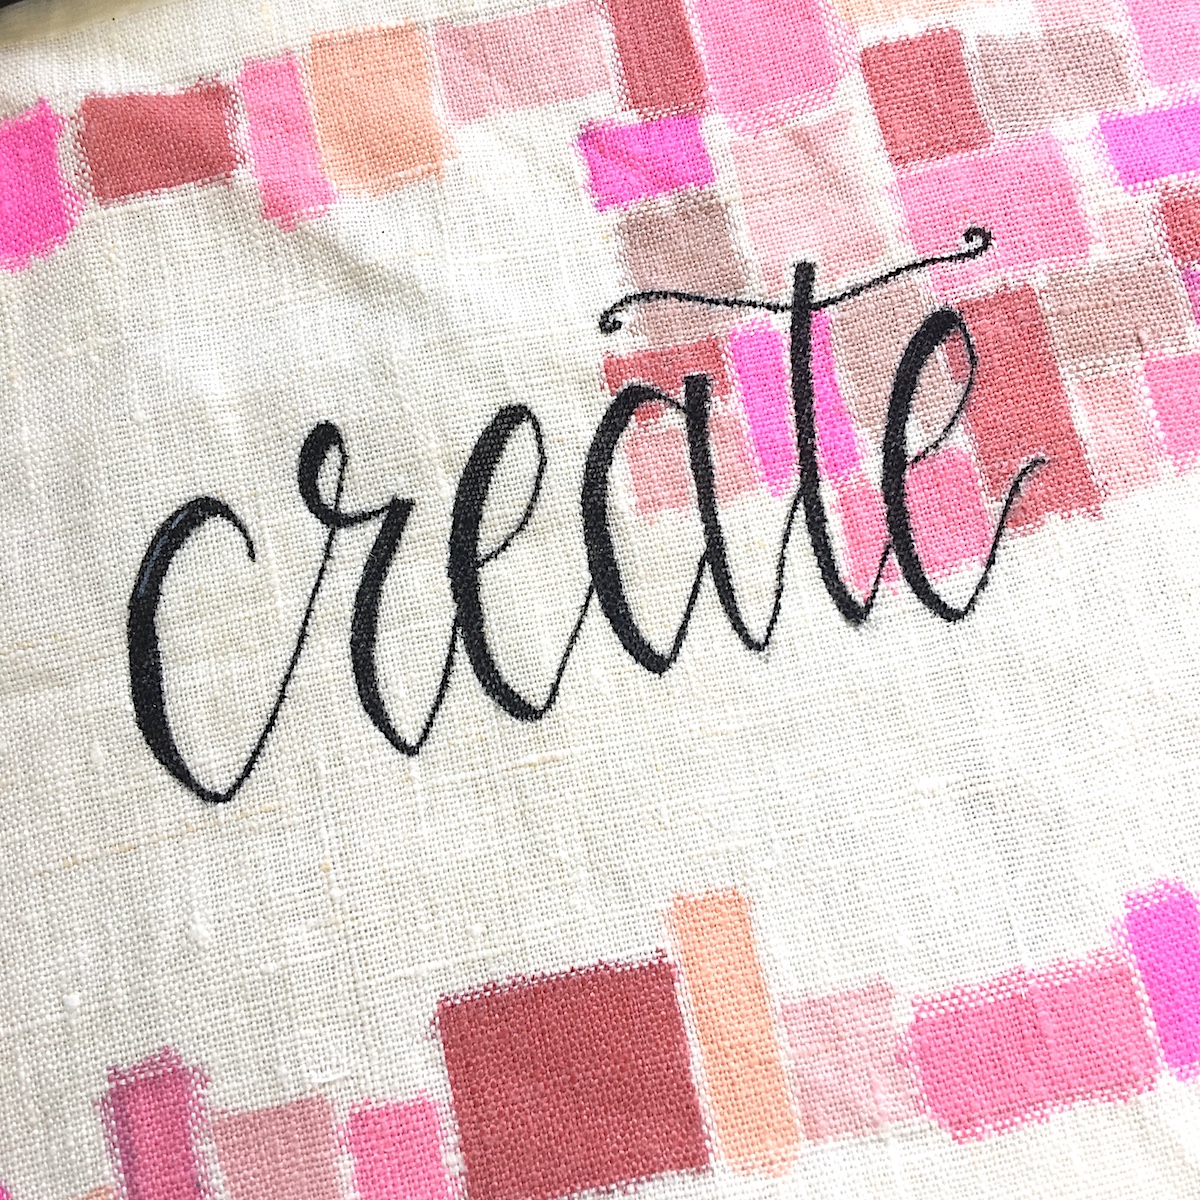
The Markers are alcohol based, they work well on fabric and can resist soft washing. To make the pouch I started drawing on the fabric the outline of the word Create using a pencil. Then I traced over it with a black marker with a fine tip.

Spellbinders Jane Davenport Artomology | Crafting with Jane Davenport Markers with Angela Tombari  #janedavenport #janedavenportartomology #Artomology #spellbinders #neverstopmaking #smoothmarkers #makeitwithmichaels

Finally, I started coloring with the markers, using all shades of pink. I went for a geometrical pattern, with squares and rectangles and I left a bit of space in between each shape because alcohol markers tend to smudge a bit.

Spellbinders Jane Davenport Artomology | Crafting with Jane Davenport Markers with Angela Tombari  #janedavenport #janedavenportartomology #Artomology #spellbinders #neverstopmaking #smoothmarkers #makeitwithmichaels

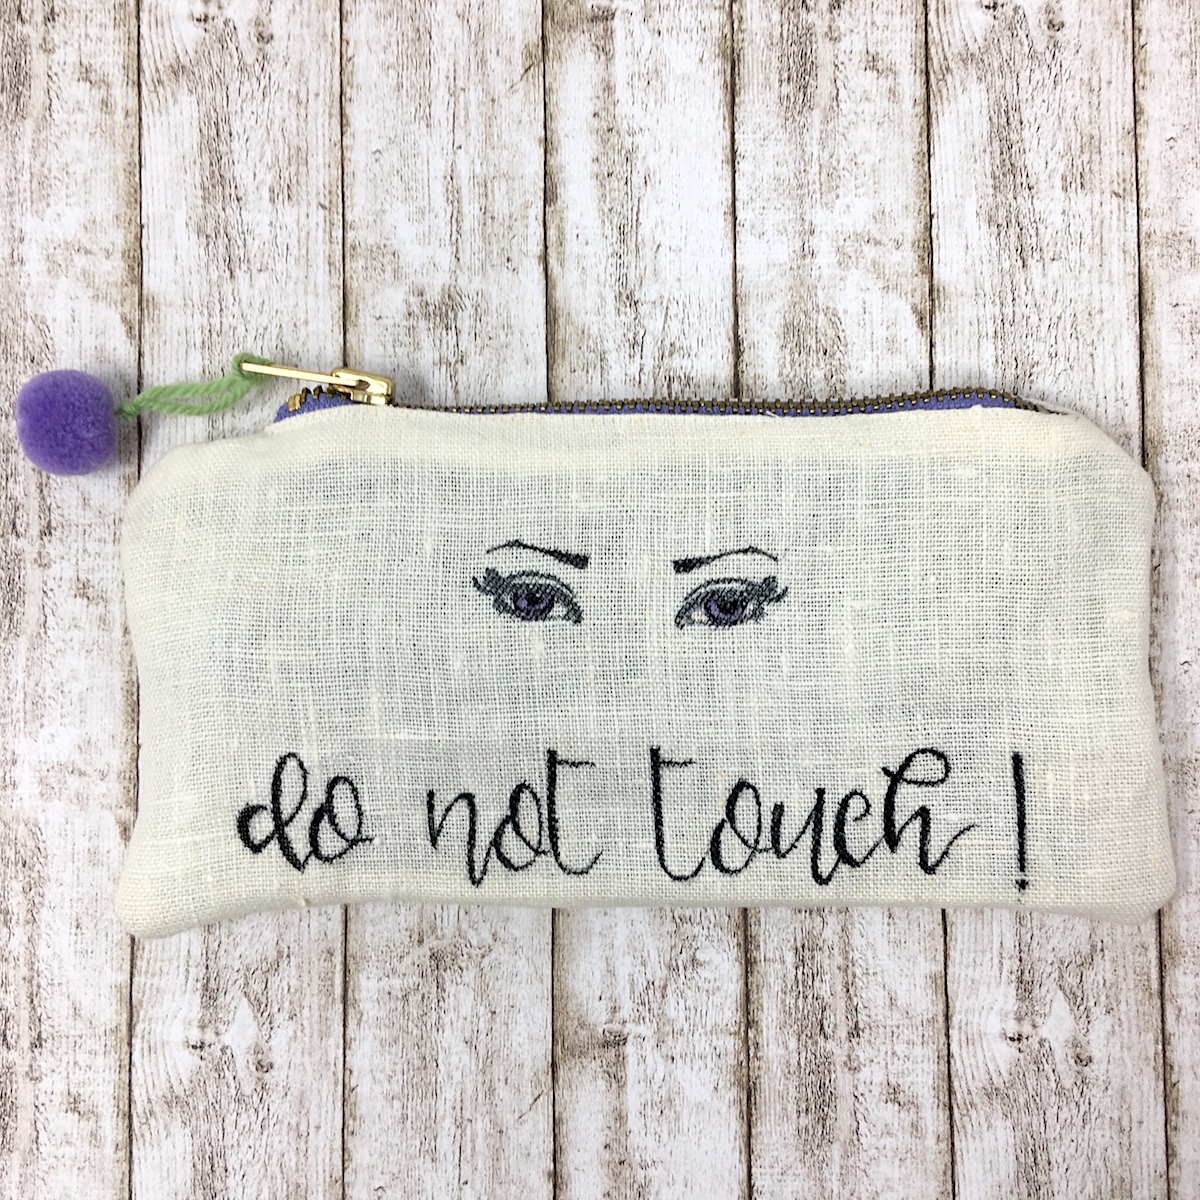
The second pouch has the traditional shape of a pencil case, the size is 8 inches by 4 inches and half. I stamped one of the eyes stamp from the Jane Davenport Tin Of Glances stamp set and colored the iris with violet Flight Marker and I added a pompon of the same color on the zipper. The design of the eyes is so deep, it seams that the eyes look straight at you! So, I added the phrase Do Not Touch as a fun warning for those who intend to open the case.

Spellbinders Jane Davenport Artomology | Crafting with Jane Davenport Markers with Angela Tombari  #janedavenport #janedavenportartomology #Artomology #spellbinders #neverstopmaking #smoothmarkers #makeitwithmichaels

Spellbinders Supplies:

OTHER SUPPLIES

Fine tip black marker, white gel pen, pencil, black Tuxedo ink pad, linen fabric, zippers, pompon. Thank you so much for stopping by today, I really hope you liked my project and I hope to have inspired you to think outside the box with your art supplies. Let me also thanks Spellbinders to allowed me to guest design for them.

Leave a comment

Your email will not be published. Please note, comments need to be approved before they are published.

7 comments

Denise,

I really love the “Create” case. I’m going to try something similar and make personalized make-up cases as Christmas gifts.

Monia,

You’re an eclettic girl!

Giorgia Rossini,

Great project! I love these case.

Carla Hundley,

Fun pouches and
love the eyes!
Carla from Utah

ManuMarsan,

Wow! They are really beautiful !!! I like them too much!


  • How to Heat Emboss with BetterPress Plates: Snowman Christmas Card

    BP-001

    How to Heat Emboss with BetterPress Plates: Snowman Christmas Card

    BetterPress plates can do more than create letterpress impressions and hot-foiled designs. In this detailed Christmas card tutorial, you’ll learn how to apply clear sticky ink to a BetterPress plate and use white embossing powder to produce a crisp, heat-embossed snowflake background. The tutorial also covers pressing and die cutting a sentiment, assembling three detailed snowmen, and arranging the finished elements on an A2 card....

  • How to Use the Reverse Foiling Technique on a Colorful Window Card

    BP-001

    How to Use the Reverse Foiling Technique on a Colorful Window Card

    Create a bright, modern card while learning how to use the negative foil left behind after hot foiling. In this step-by-step tutorial, you’ll foil the detailed Windows with a View design, use a solid plate to reverse foil the remaining image, and turn selected windows into dimensional embellishments. An ink-blended striped background, BetterPress sentiment, and sparkling gems complete the design. This project is ideal for...

  • CLEAN & SIMPLE CHRISTMAS CARD WITH FROSTY SKATES, S5-1566, BP-393, S4-1292

    BP-393

    Clean and Simple Christmas Card with Frosty Skates

    Give the Frank Garcia Christmas Blush Collection a contemporary twist with this clean and simple Christmas card. Learn how to assemble pastel ice skates, add winter foliage, and finish the design with a hot-foiled sentiment and silver gems.