Jane Davenport Artomology | Journaling with Artomology Collection with Angela Tombari
on September 20, 2018

Jane Davenport Artomology | Journaling with Artomology Collection with Angela Tombari

Hello everyone! Angela Tombari back with you today sharing a couple of journal pages I made with the Jane Davenport Artomology collection. You can see my first post here.

Spellbinders Jane Davenport Artomology | Journaling with Artomology Collection with Angela Tombari

I think of journaling pretty much like meditation, playing with art supplies and colors is therapeutic, it leaves me peaceful and positively satisfied, no matter the result. Here, I’ve played a lot with colors, especially Jane Davenport Markers and Washi Paper Sheets.

Spellbinders Jane Davenport Artomology | Journaling with Artomology Collection with Angela Tombari

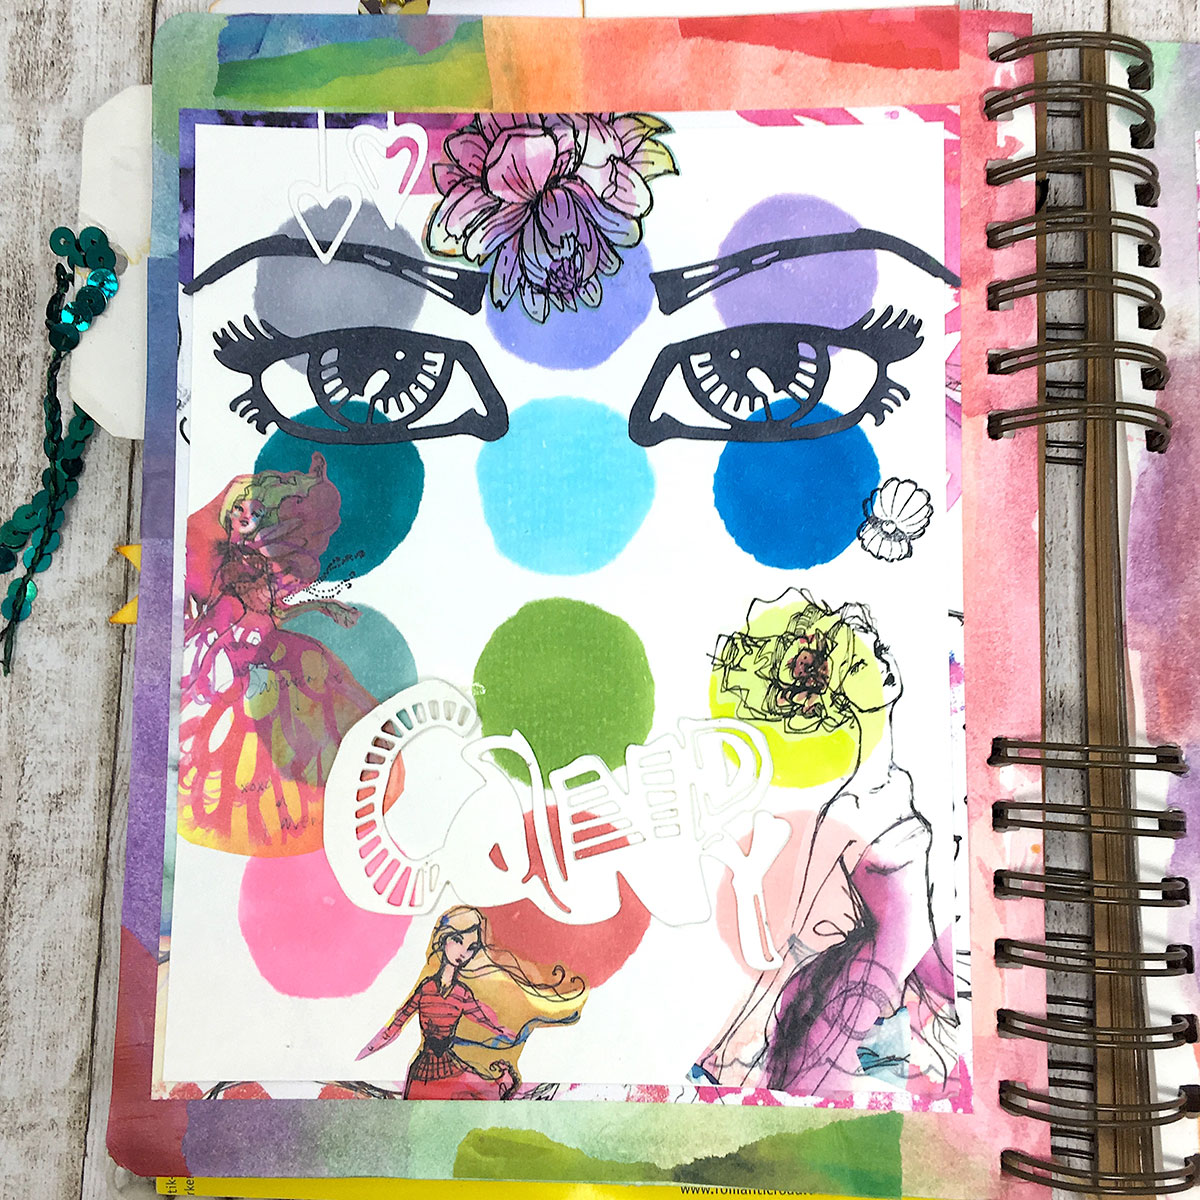
I started working on a piece of watercolor paper, coloring big dots with Jane Davenport Markers and a stencil. I used different colors for each dot and then adhered the Eye Candy die cuts. To create dimension, I die-cut the word Candy three times and adhered together.
A quick tip: the Eye Candy die comes with one eye die only. To make the second eye, I simply reversed the die-cut.

Spellbinders Jane Davenport Artomology | Journaling with Artomology Collection with Angela Tombari

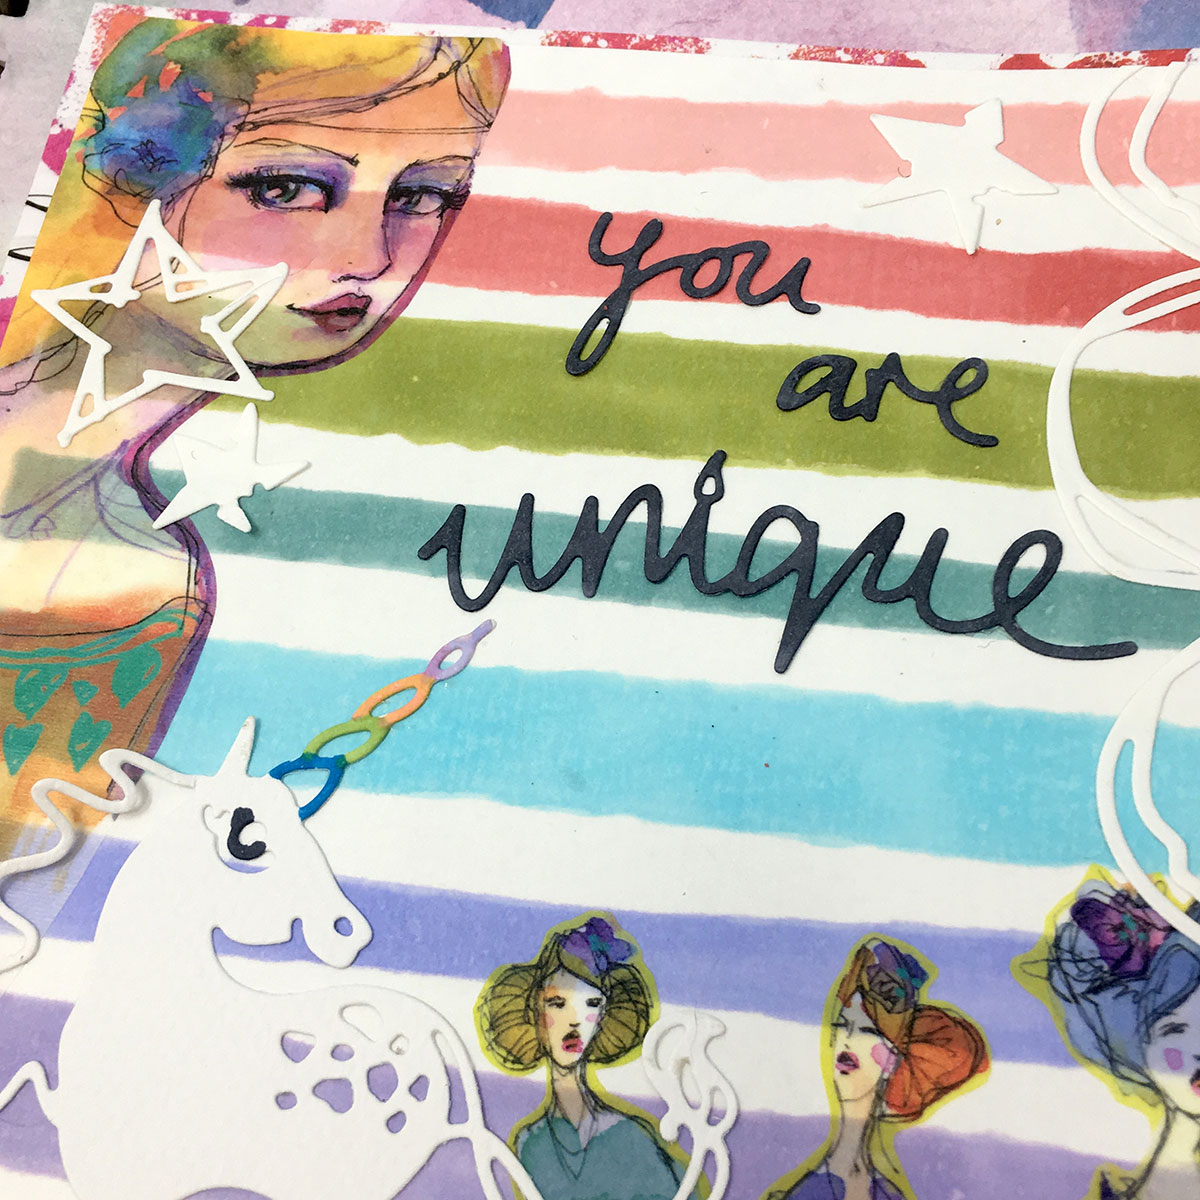
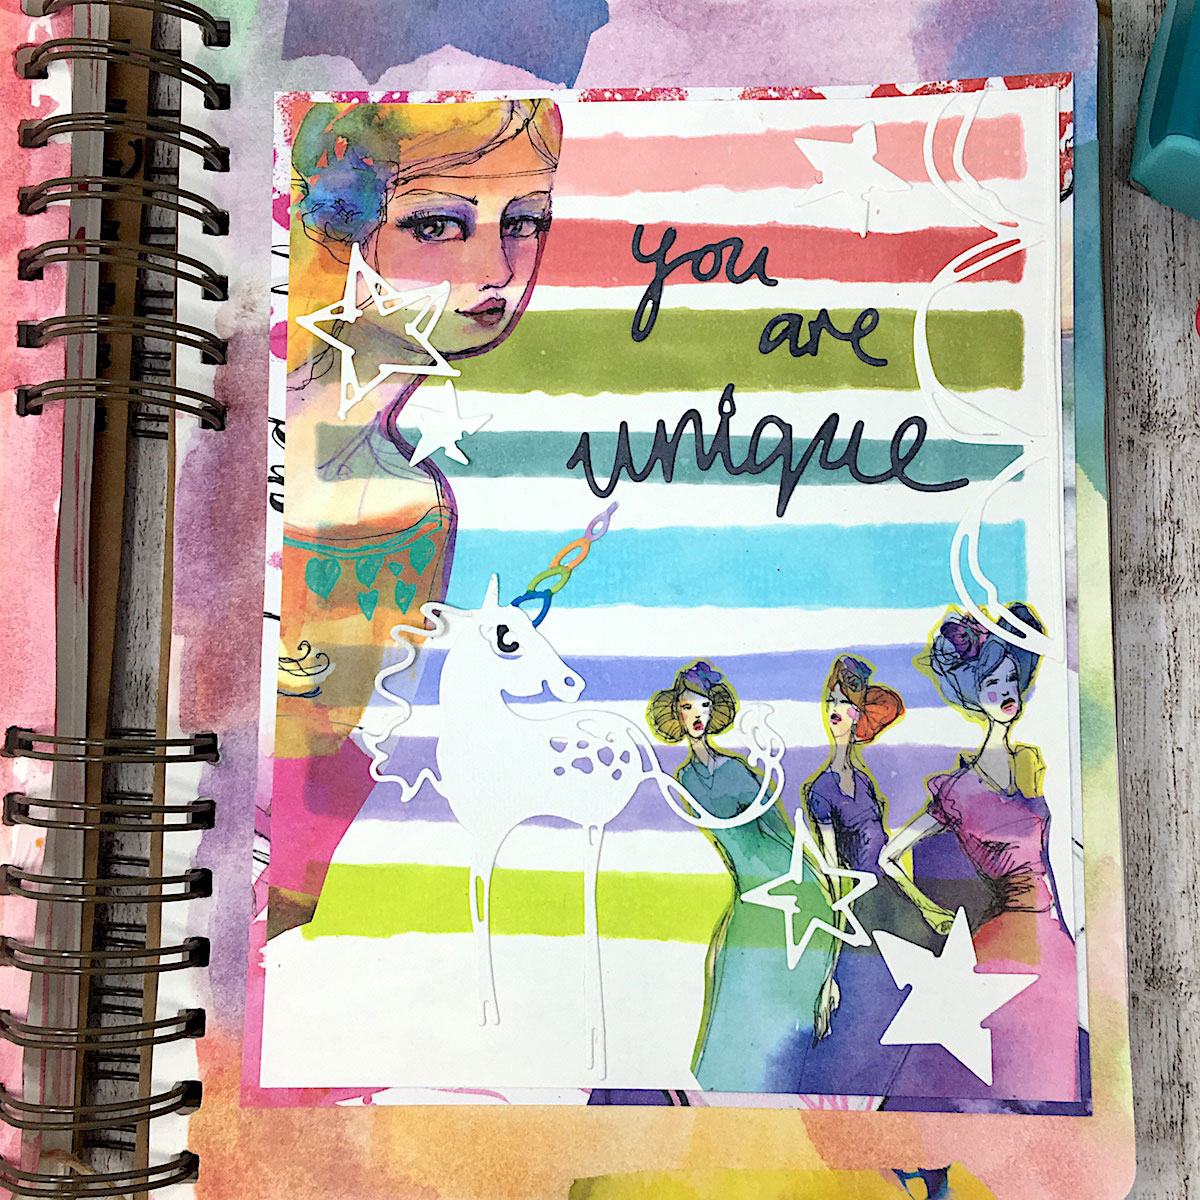
For the second page I basically worked in the same way, changing the background from dots to stripes colored with the Jane Davenport Markers.

Spellbinders Jane Davenport Artomology | Journaling with Artomology Collection with Angela Tombari

The whimsical girls from the Washi Sheets collection are absolutely divine and I love how they beautifully match the colors of the Markers on the page.

Spellbinders Jane Davenport Artomology | Journaling with Artomology Collection with Angela Tombari

I watercolored the outline of two pages of my art journal and adhered a few stripes of Washi Sheets here and there. Finally, when dry, I adhered the two layouts with a strong adhesive and voilà.

Spellbinders Jane Davenport Artomology | Journaling with Artomology Collection with Angela Tombari

Spellbinders Supplies:

Other supplies:

Watercolor paper, watercolor Thank you so much for stopping by, I hope you liked my pages and you’ll try journaling. I’ll see you soon here on the Spellbinders blog.

Leave a comment

Your email will not be published. Please note, comments need to be approved before they are published.

6 comments

Beverly Jordan,

Wow Pages!! So many fun things to play with like the markers, washi tape and the new adorable dies!!! Gorgeous work too!

Valentina,

I’m In love with these bright colors!!!!

Api,

??Molto molto bello Angela!!!???

Franca,

Wow ? Angela! Riesci sempre a stupirmi ?

Ilaria,

Very good Angela!


  • How to Make a Colorful Foiled Butterfly Card with Glimmer II

    BP-351

    How to Make a Colorful Foiled Butterfly Card with Glimmer II

    Combine hot foiling, alcohol-marker coloring, ink blending, and dimensional shaping to create a colorful butterfly card that sparkles from every angle. In this step-by-step tutorial, you’ll learn how to foil detailed butterflies and a floral background with the Glimmer II Hot Foil System, add bold color, and shape the butterfly wings for a realistic raised effect. The Bright Butterflies and Thanks In Bloom Press +...

  • How to Heat Emboss with BetterPress Plates: Snowman Christmas Card

    BP-001

    How to Heat Emboss with BetterPress Plates: Snowman Christmas Card

    BetterPress plates can do more than create letterpress impressions and hot-foiled designs. In this detailed Christmas card tutorial, you’ll learn how to apply clear sticky ink to a BetterPress plate and use white embossing powder to produce a crisp, heat-embossed snowflake background. The tutorial also covers pressing and die cutting a sentiment, assembling three detailed snowmen, and arranging the finished elements on an A2 card....

  • How to Use the Reverse Foiling Technique on a Colorful Window Card

    BP-001

    How to Use the Reverse Foiling Technique on a Colorful Window Card

    Create a bright, modern card while learning how to use the negative foil left behind after hot foiling. In this step-by-step tutorial, you’ll foil the detailed Windows with a View design, use a solid plate to reverse foil the remaining image, and turn selected windows into dimensional embellishments. An ink-blended striped background, BetterPress sentiment, and sparkling gems complete the design. This project is ideal for...