Just For You Box by Marisa Job
on December 28, 2017

Just For You Box by Marisa Job

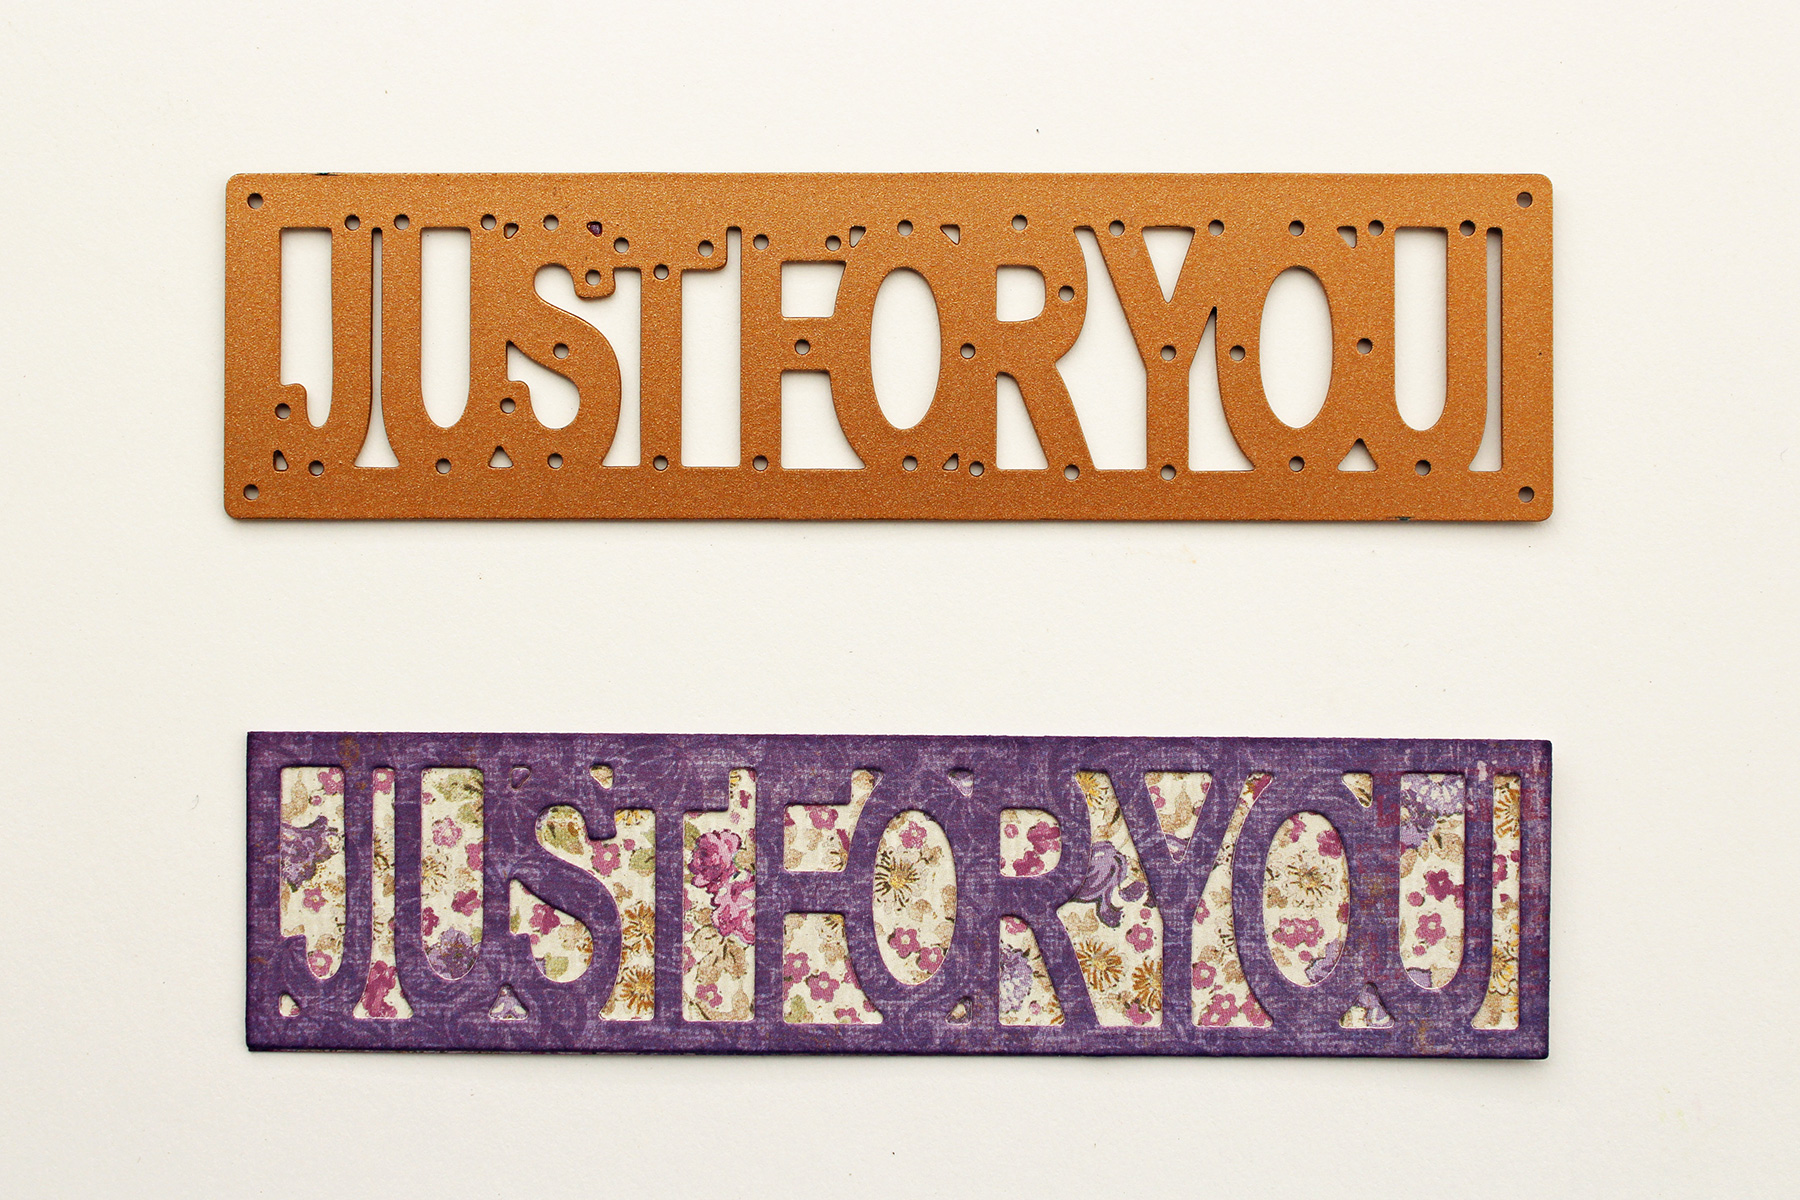
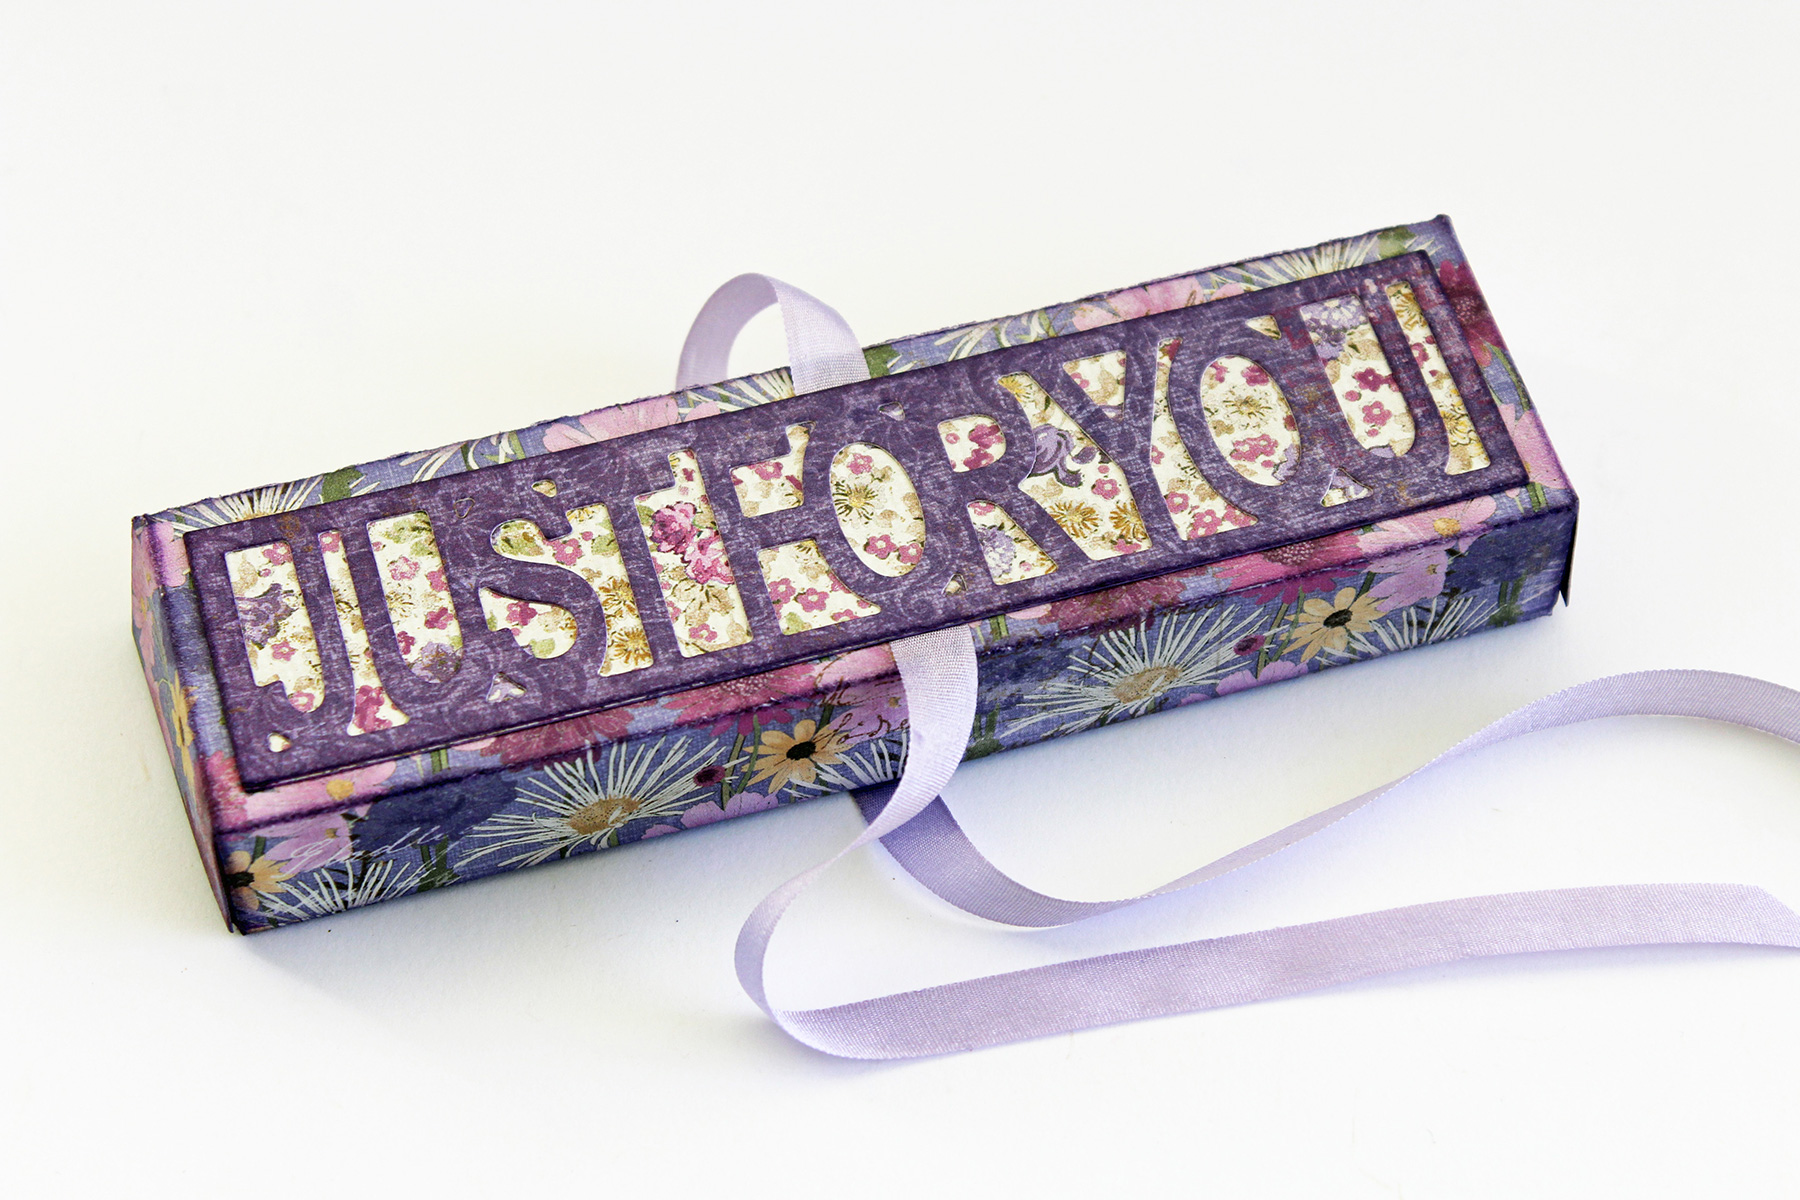
Hello Friends! Today I would like to show you how to make these candy boxes with my new die set called Just For You Box from my Thoughtful Expressions Collection by Spellbinders. They are very easy to make, all the work is in the die. The die set has 7 pieces which give you several different options on how to decorate the boxes. They are also great for Valentine's Day by using the I Love You dies included in the set!
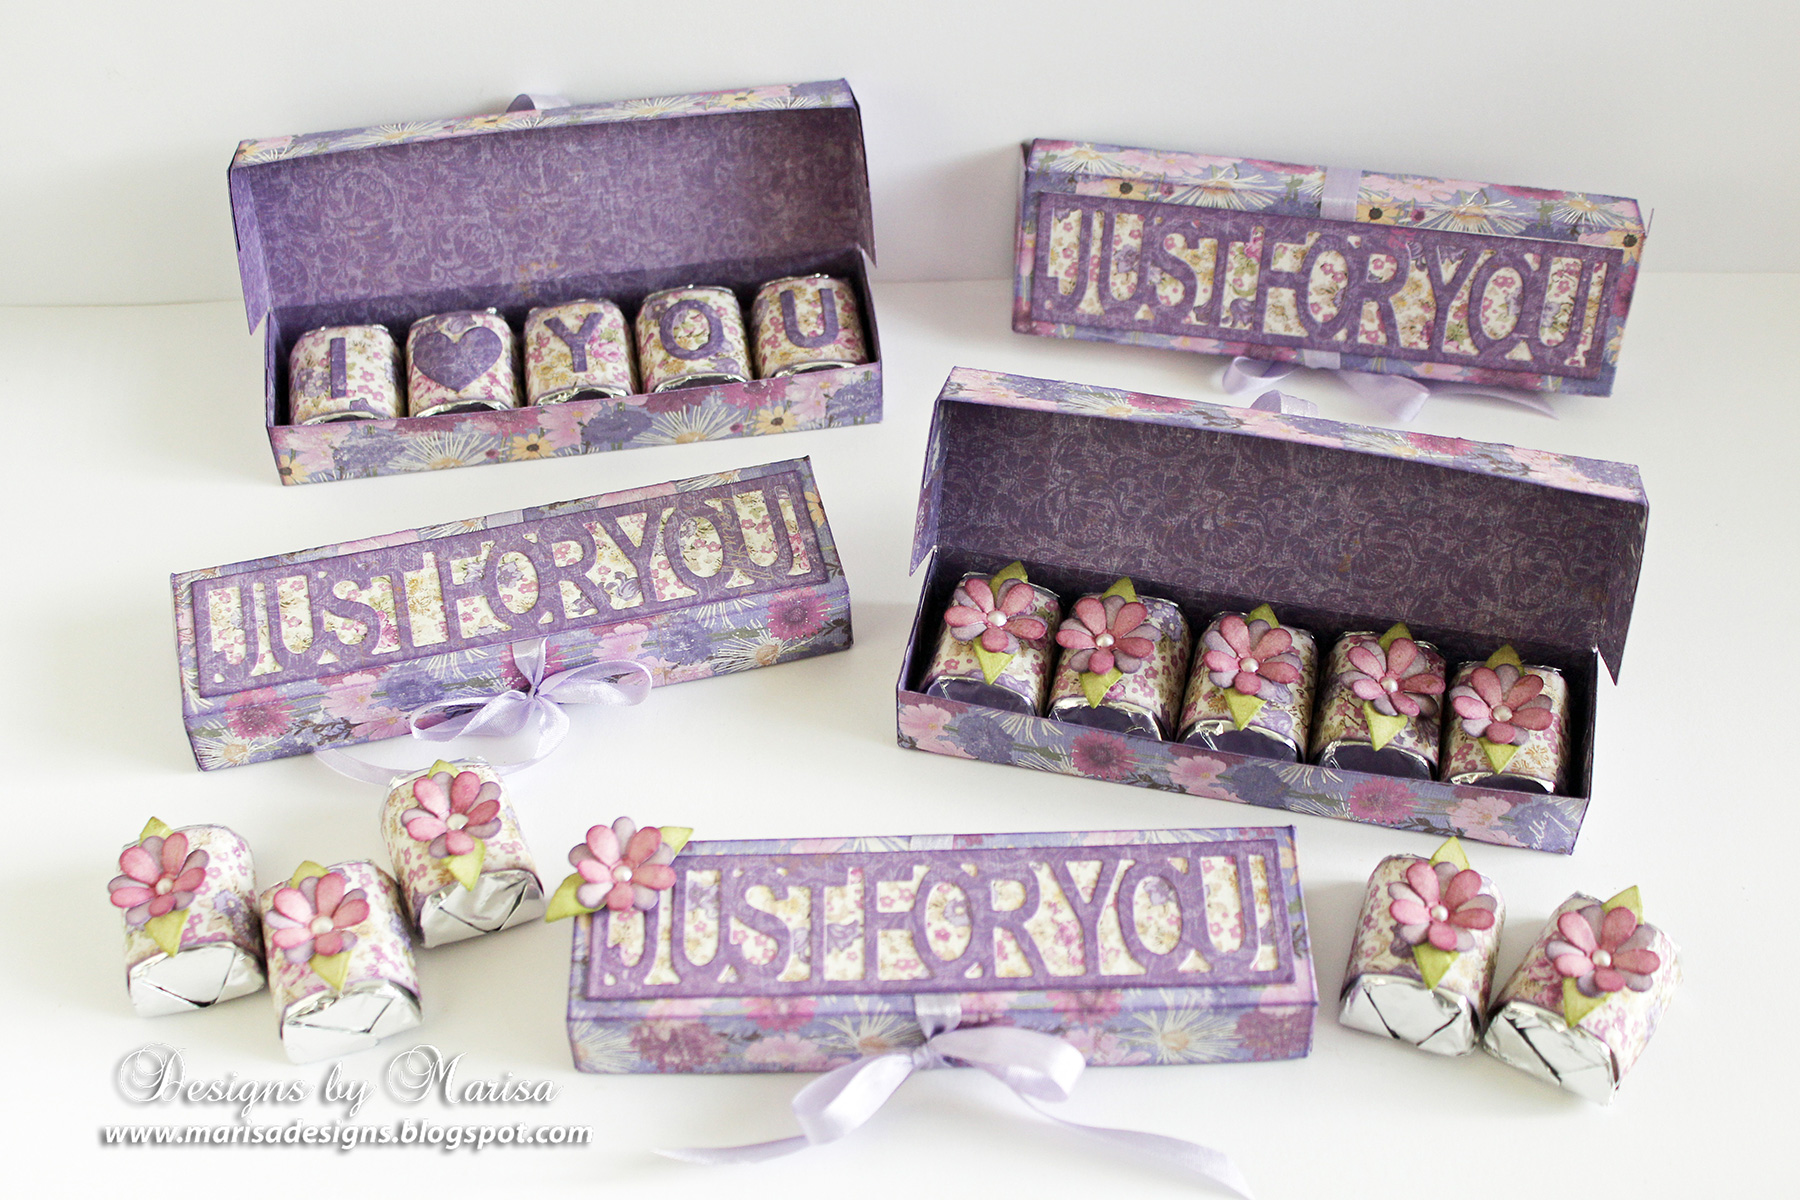
Just For You Box by Marisa Job for Spellbinders using S6-133 Just For You Box dies. #spellbinders #papercrafting #diecutting #handmade #giftbox

Instructions:

  1. Die cut box base with Just For You Box die set from designer cardstock. Fold at scored lines created by the die.
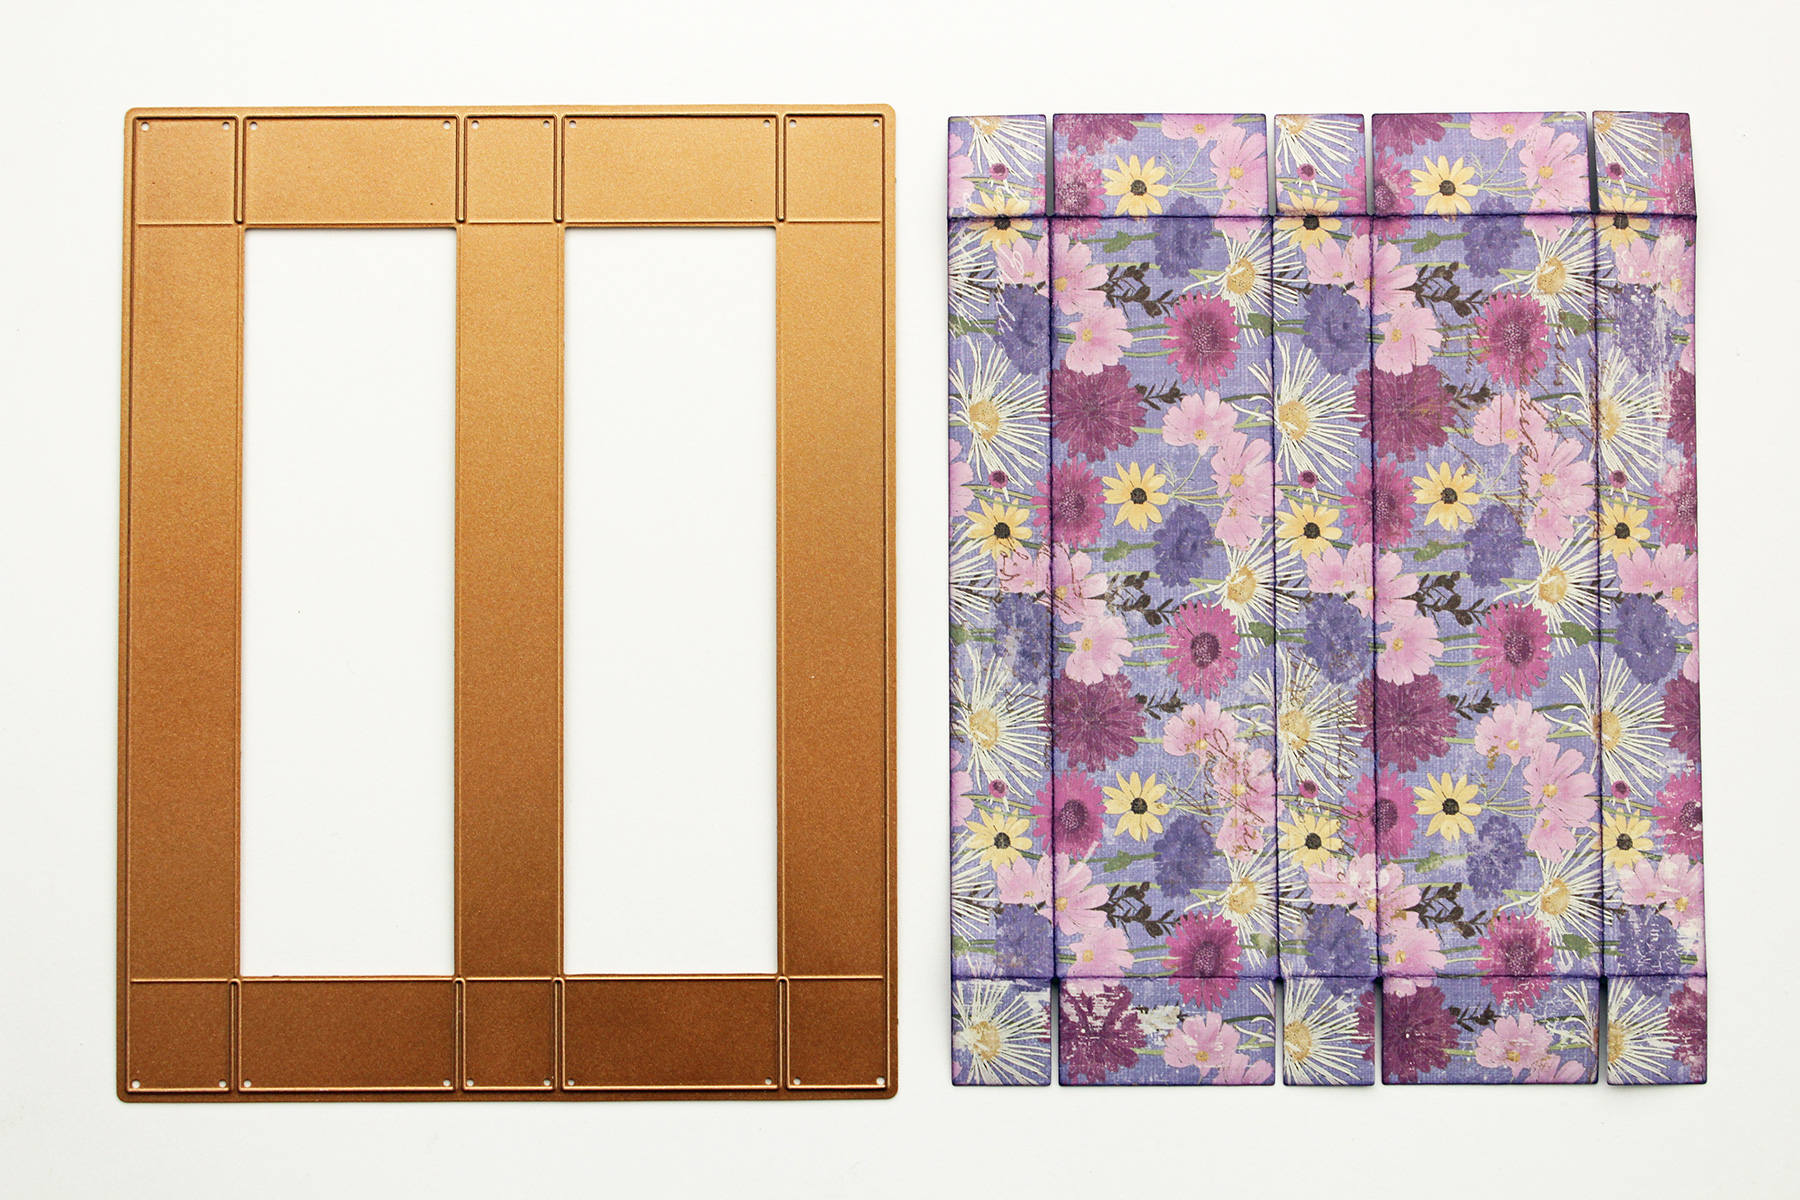
Just For You Box by Marisa Job for Spellbinders using S6-133 Just For You Box dies. #spellbinders #papercrafting #diecutting #handmade #giftbox

  1. Die cut “Just For You” from designer cardstock. Cut a 1 1/8” x 4 ¾” rectangle from contrasting color cardstock.
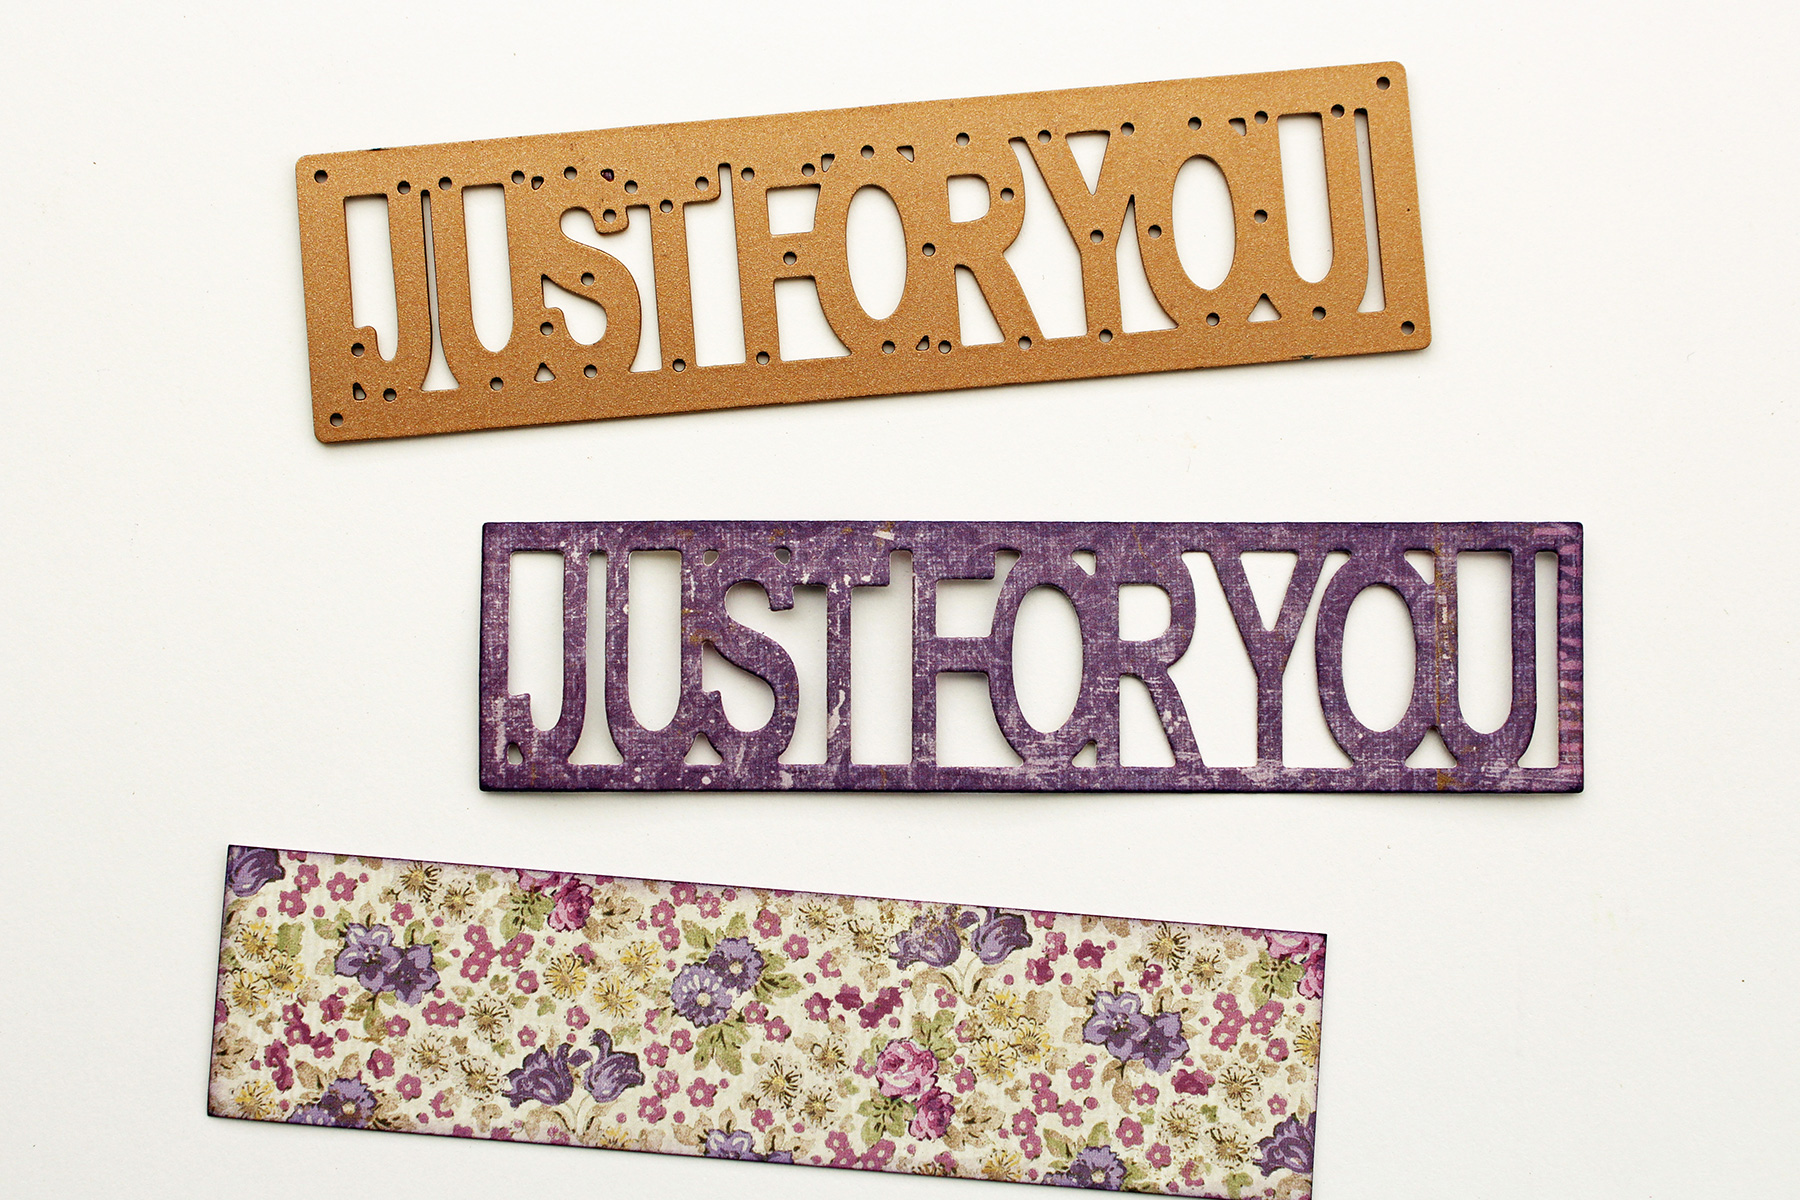
Just For You Box by Marisa Job for Spellbinders using S6-133 Just For You Box dies. #spellbinders #papercrafting #diecutting #handmade #giftbox

  1. Glue “Just For You” on panel.

Just For You Box by Marisa Job for Spellbinders using S6-133 Just For You Box dies. #spellbinders #papercrafting #diecutting #handmade #giftbox

  1. Cut a 12” piece of silk ribbon, glue to front of box. Adhere “Just For You” panel to box on top of ribbon.

Just For You Box by Marisa Job for Spellbinders using S6-133 Just For You Box dies. #spellbinders #papercrafting #diecutting #handmade #giftbox

  1. Adhere double stick tape to all 6 tabs.
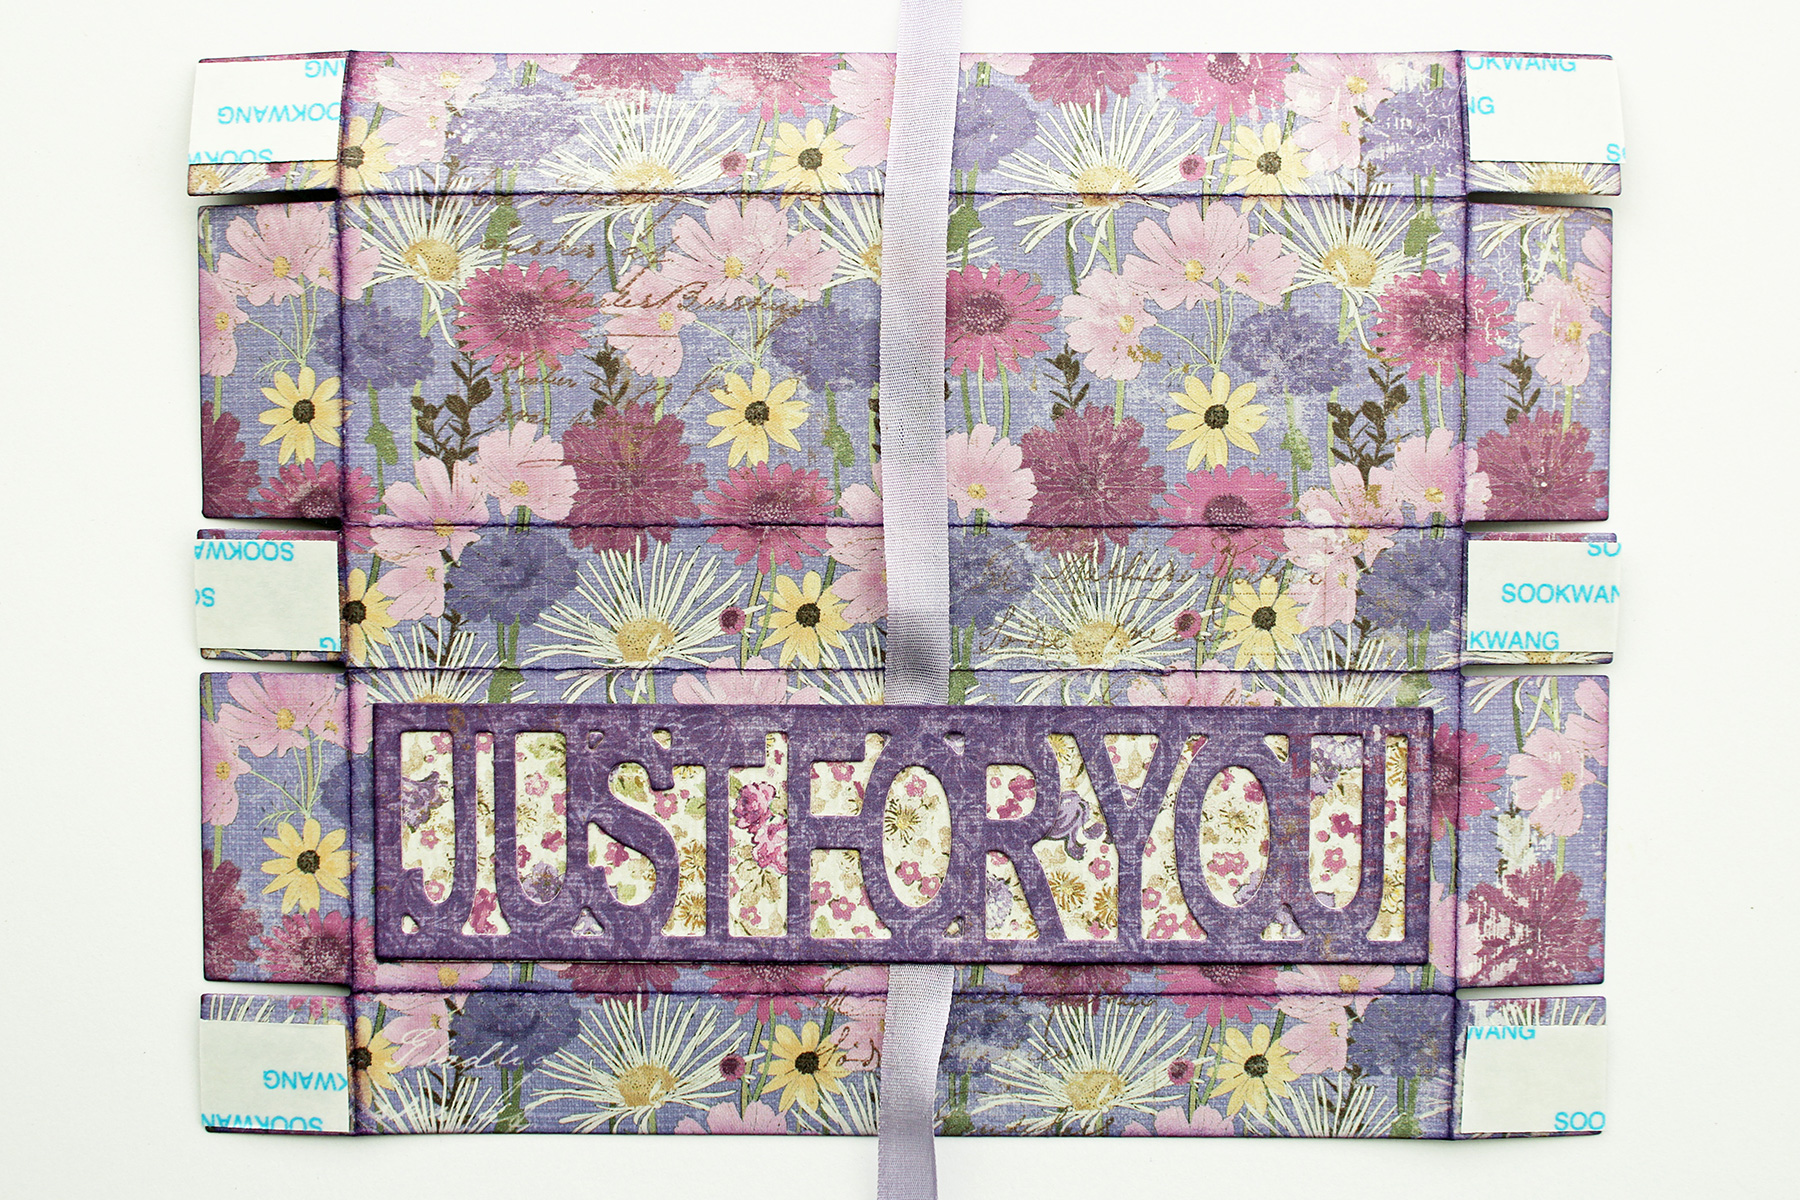
Just For You Box by Marisa Job for Spellbinders using S6-133 Just For You Box dies. #spellbinders #papercrafting #diecutting #handmade #giftbox

  1. Assemble box by adhering tabs to box base and lid as pictured below.
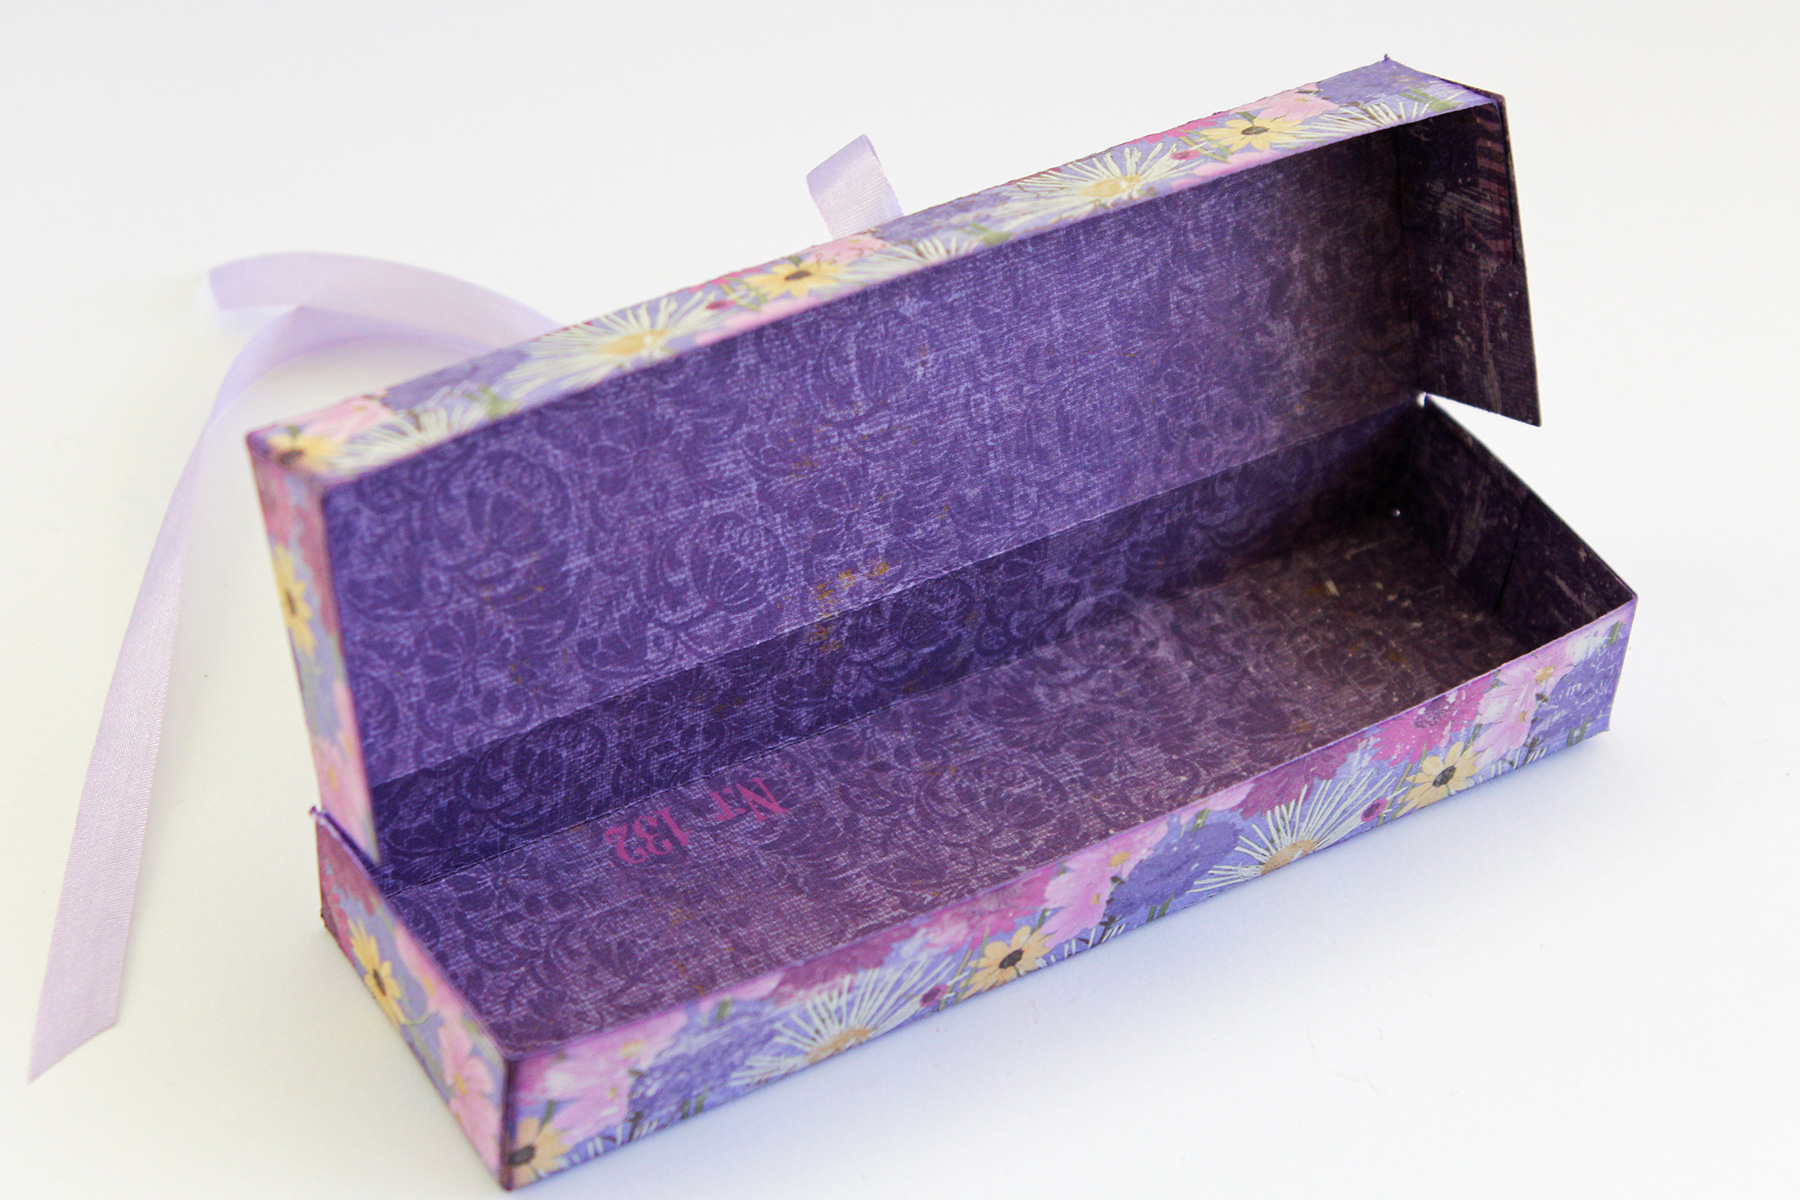
Just For You Box by Marisa Job for Spellbinders using S6-133 Just For You Box dies. #spellbinders #papercrafting #diecutting #handmade #giftbox Just For You Box by Marisa Job for Spellbinders using S6-133 Just For You Box dies. #spellbinders #papercrafting #diecutting #handmade #giftbox

  1. Die cut 5 candy wrappers with die from designer cardstock. Wrap around Hershey’s Nuggets and secure with double stick tape. Insert candy in the box.
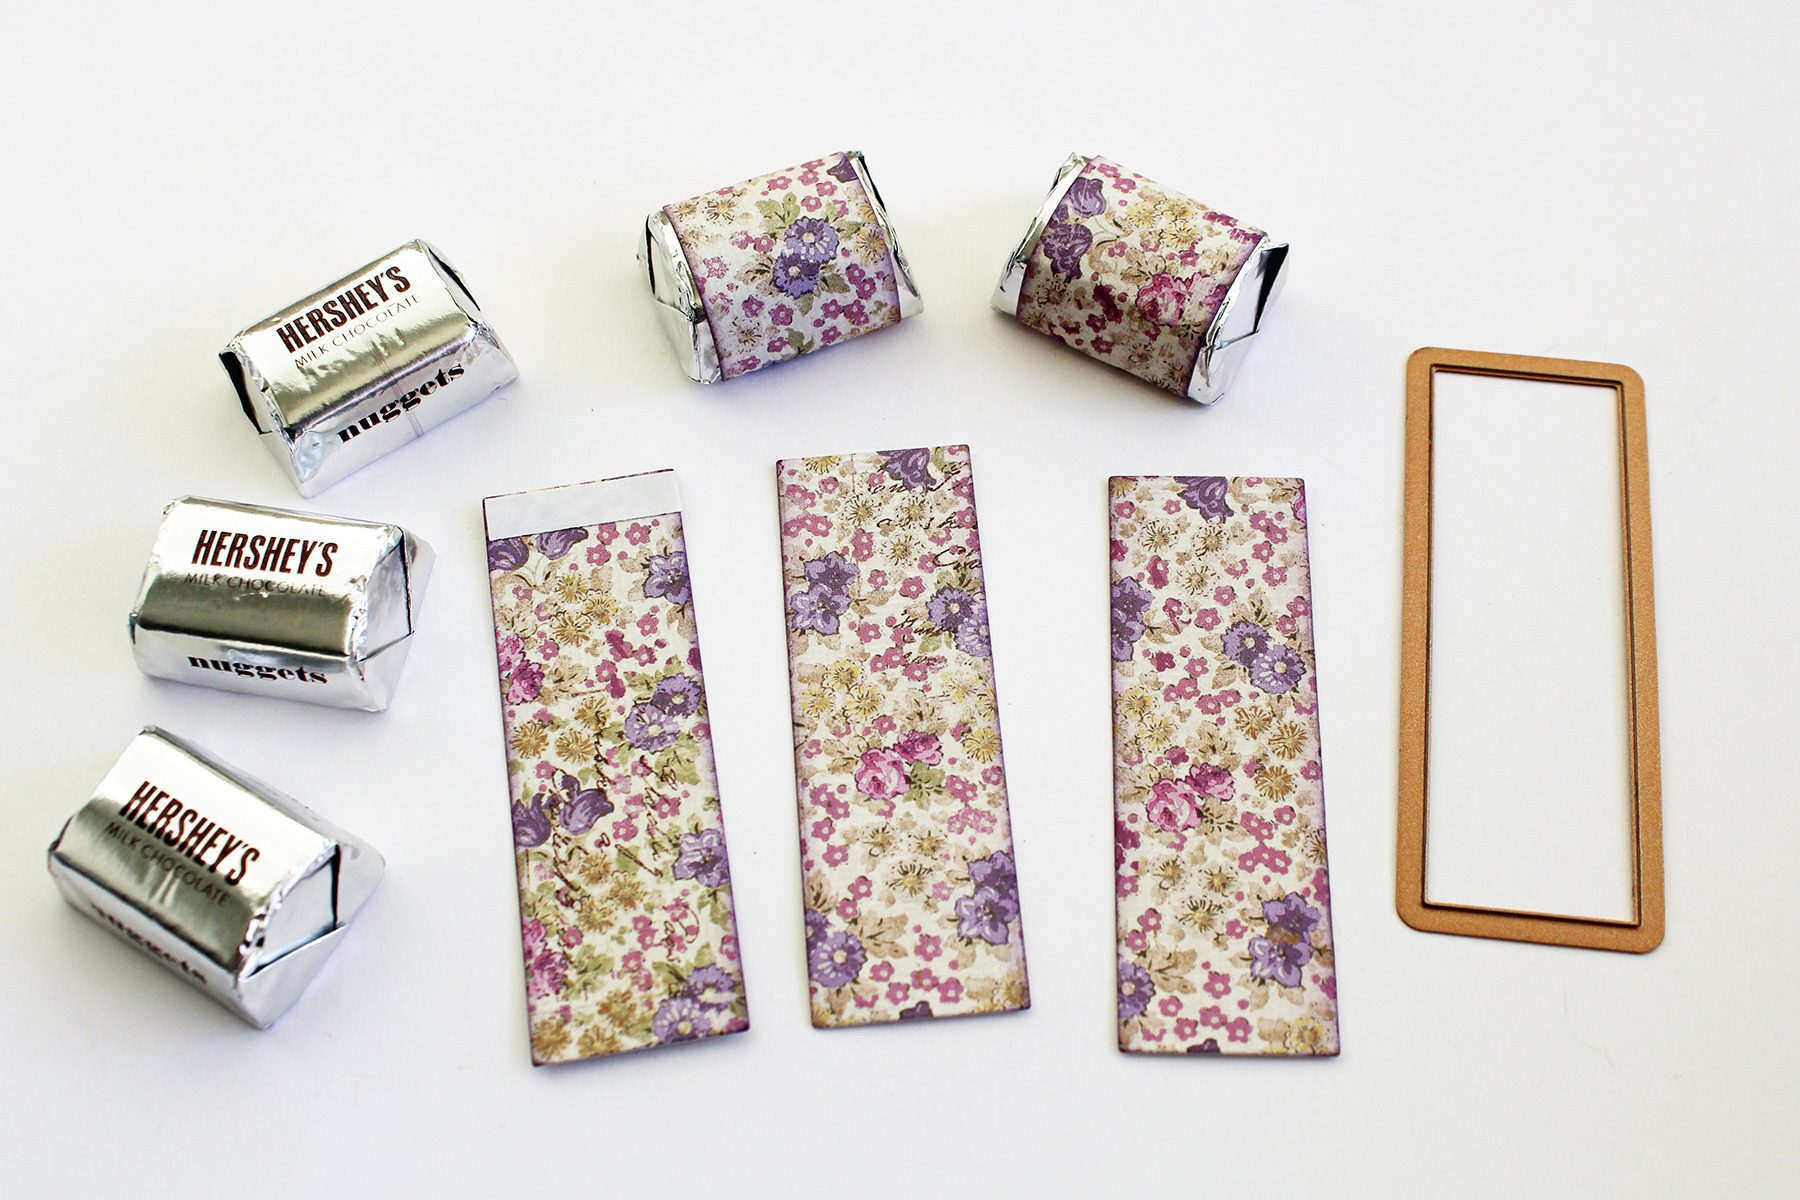
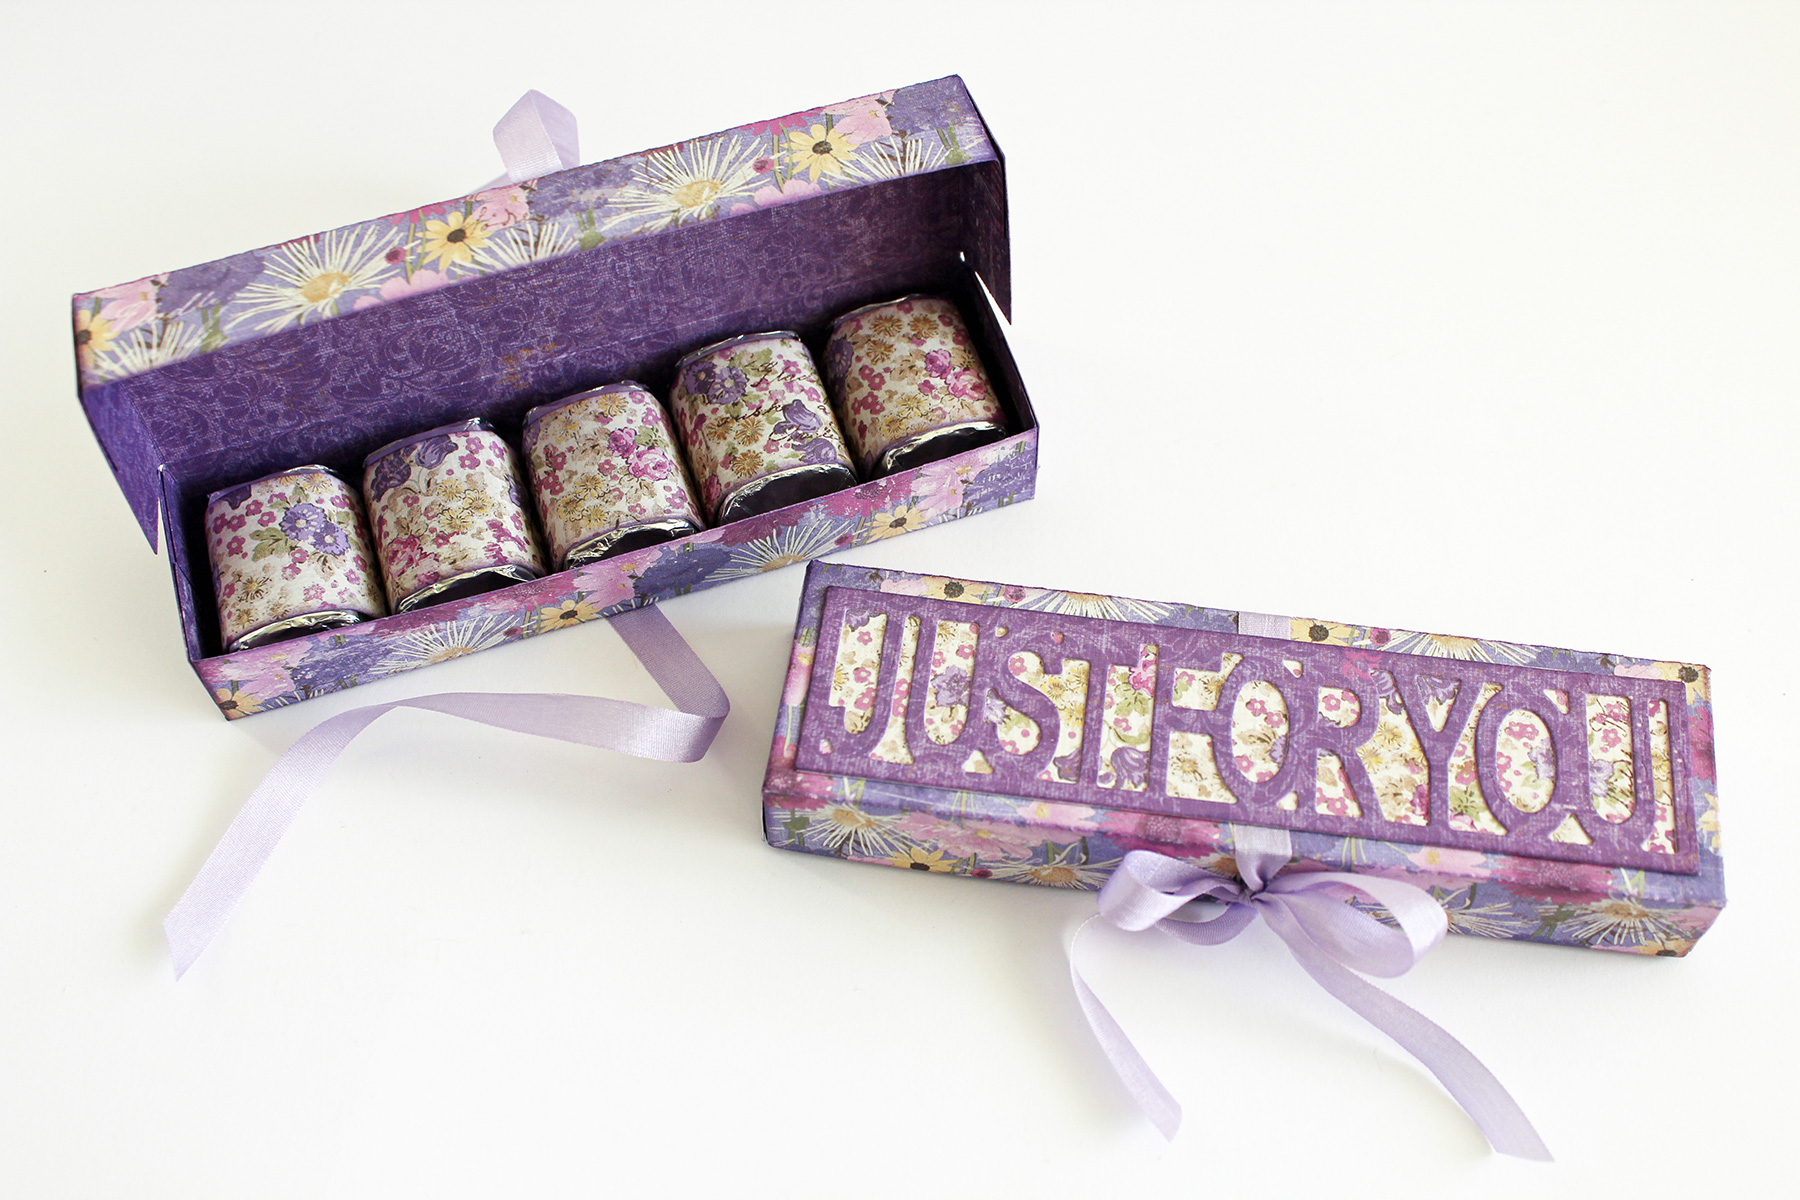
Just For You Box by Marisa Job for Spellbinders using S6-133 Just For You Box dies. #spellbinders #papercrafting #diecutting #handmade #giftbox Just For You Box by Marisa Job for Spellbinders using S6-133 Just For You Box dies. #spellbinders #papercrafting #diecutting #handmade #giftbox

 
  1. To add tiny flowers to the candy, die cut multiple flowers and leaves using the dies included in the set.

Just For You Box by Marisa Job for Spellbinders using S6-133 Just For You Box dies. #spellbinders #papercrafting #diecutting #handmade #giftbox

  1. Color flowers with distress inks and then shape with Stylus tips for Tool N’ One. Glue 2 flower layers together for each flower and then glue onto leaves. Embellish center of flowers with Nuvo Crystal Drops.
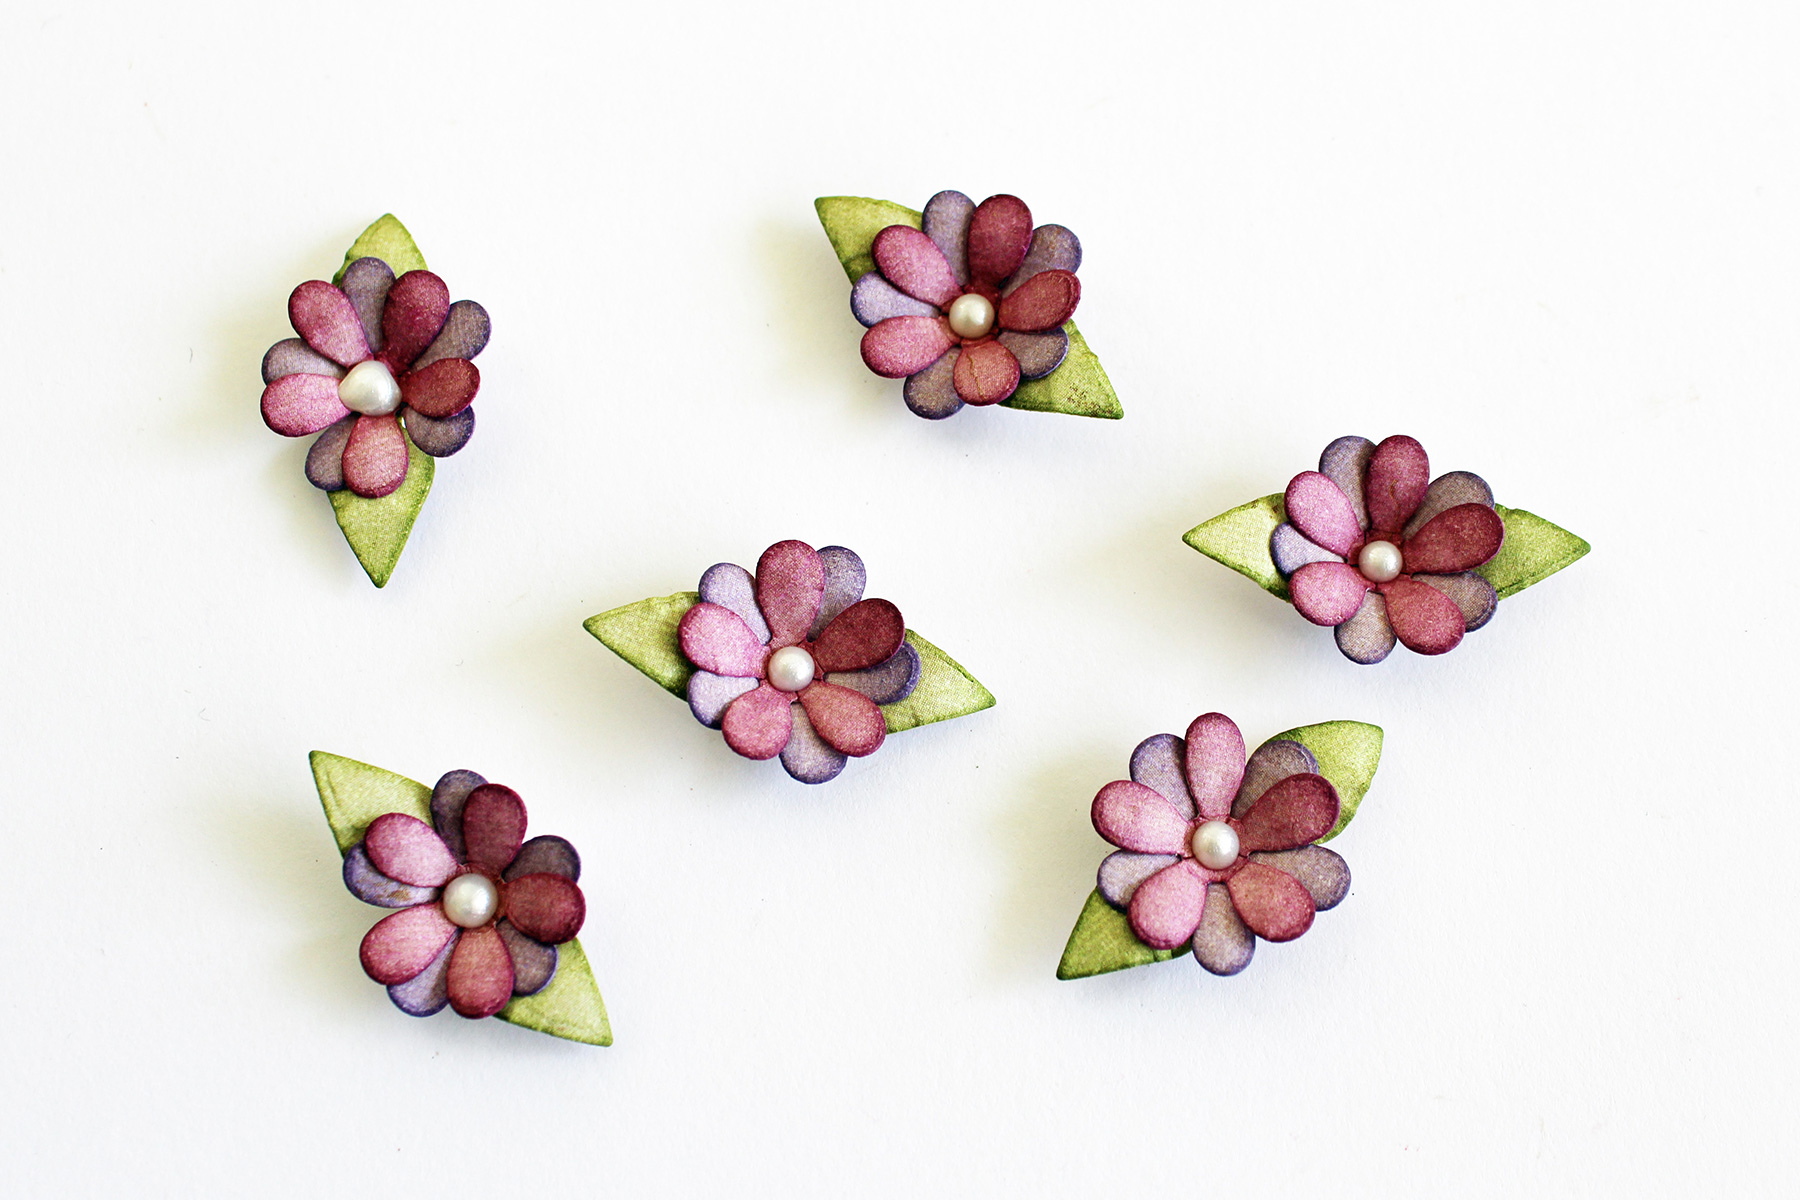
Just For You Box by Marisa Job for Spellbinders using S6-133 Just For You Box dies. #spellbinders #papercrafting #diecutting #handmade #giftbox

  1. Insert candy inside box and then close by making a bow with ribbon.
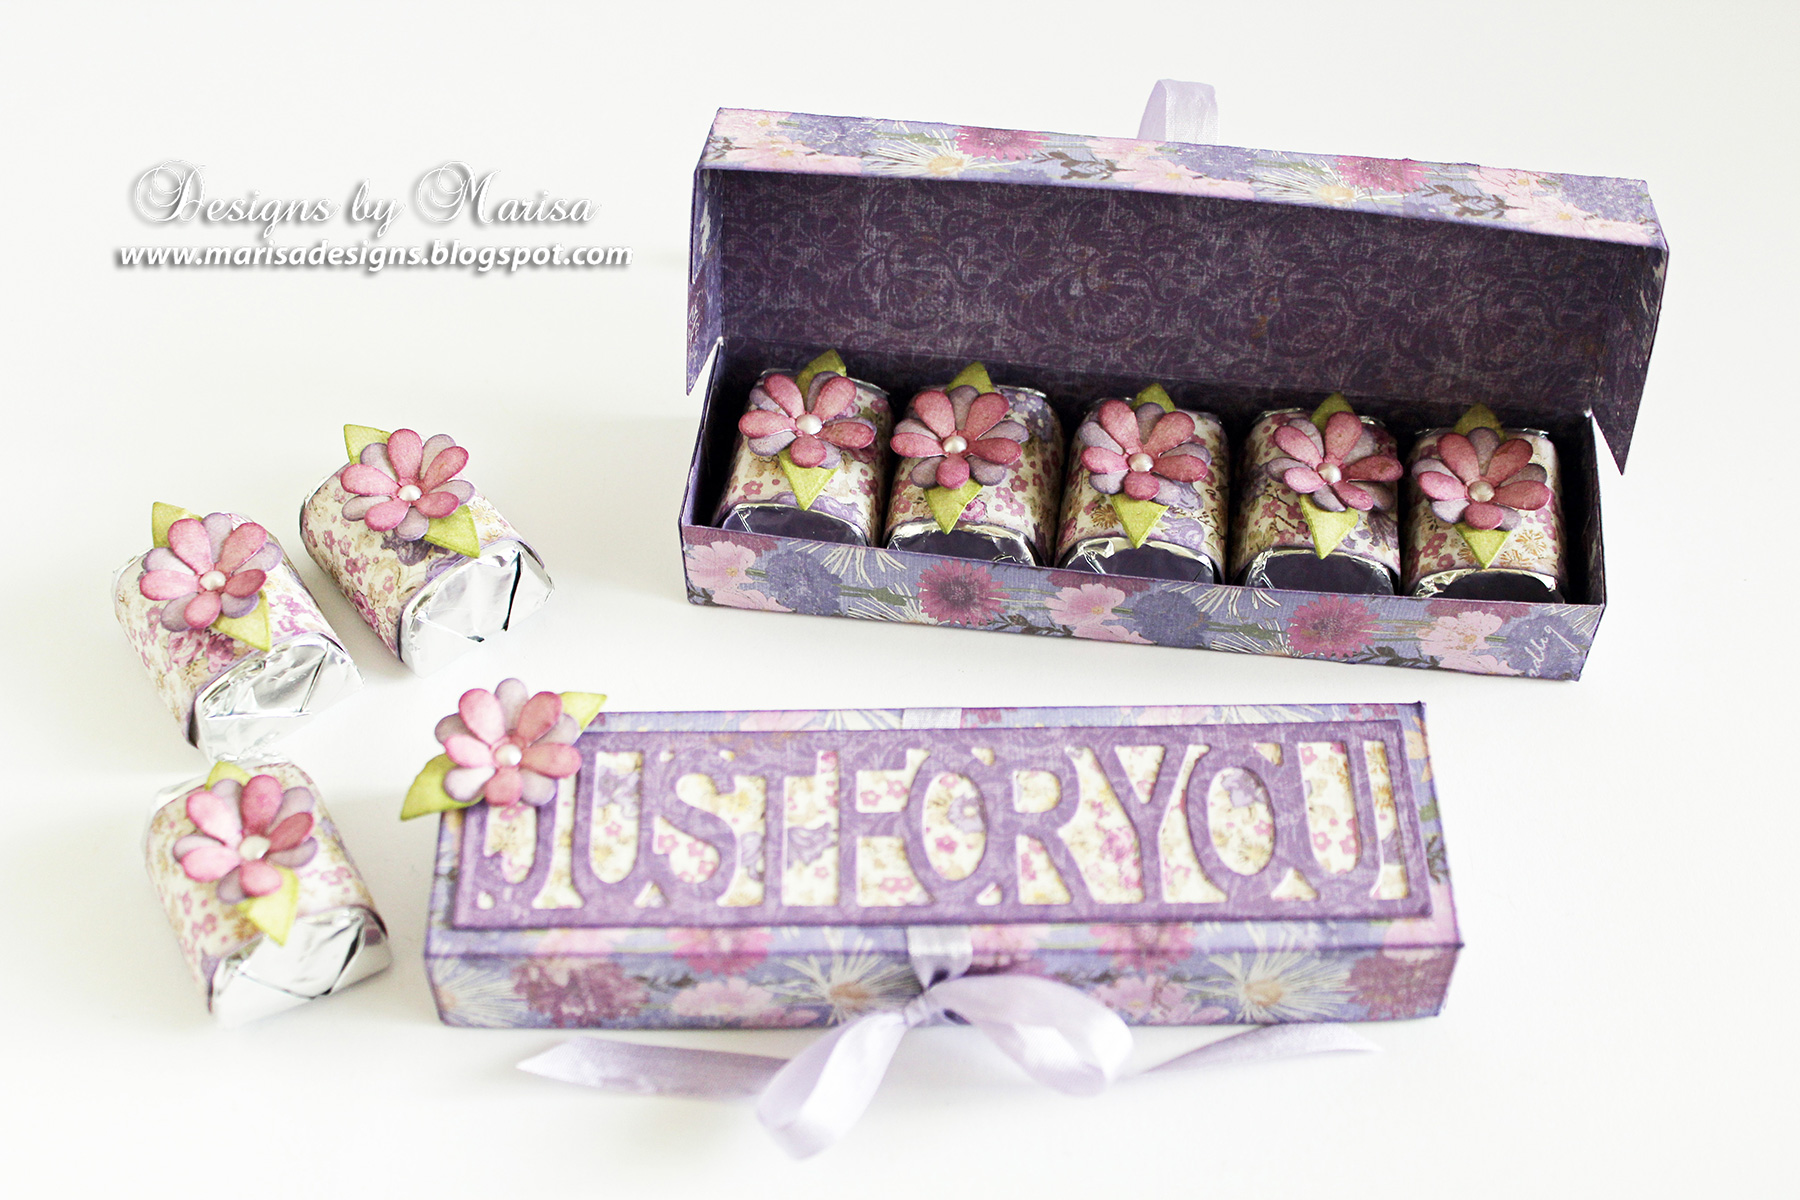
Just For You Box by Marisa Job for Spellbinders using S6-133 Just For You Box dies. #spellbinders #papercrafting #diecutting #handmade #giftbox

  1. To add “I Love You” to candy, die cut letters and heart with the dies included in the set. Glue letters and heart to candy as pictured below.

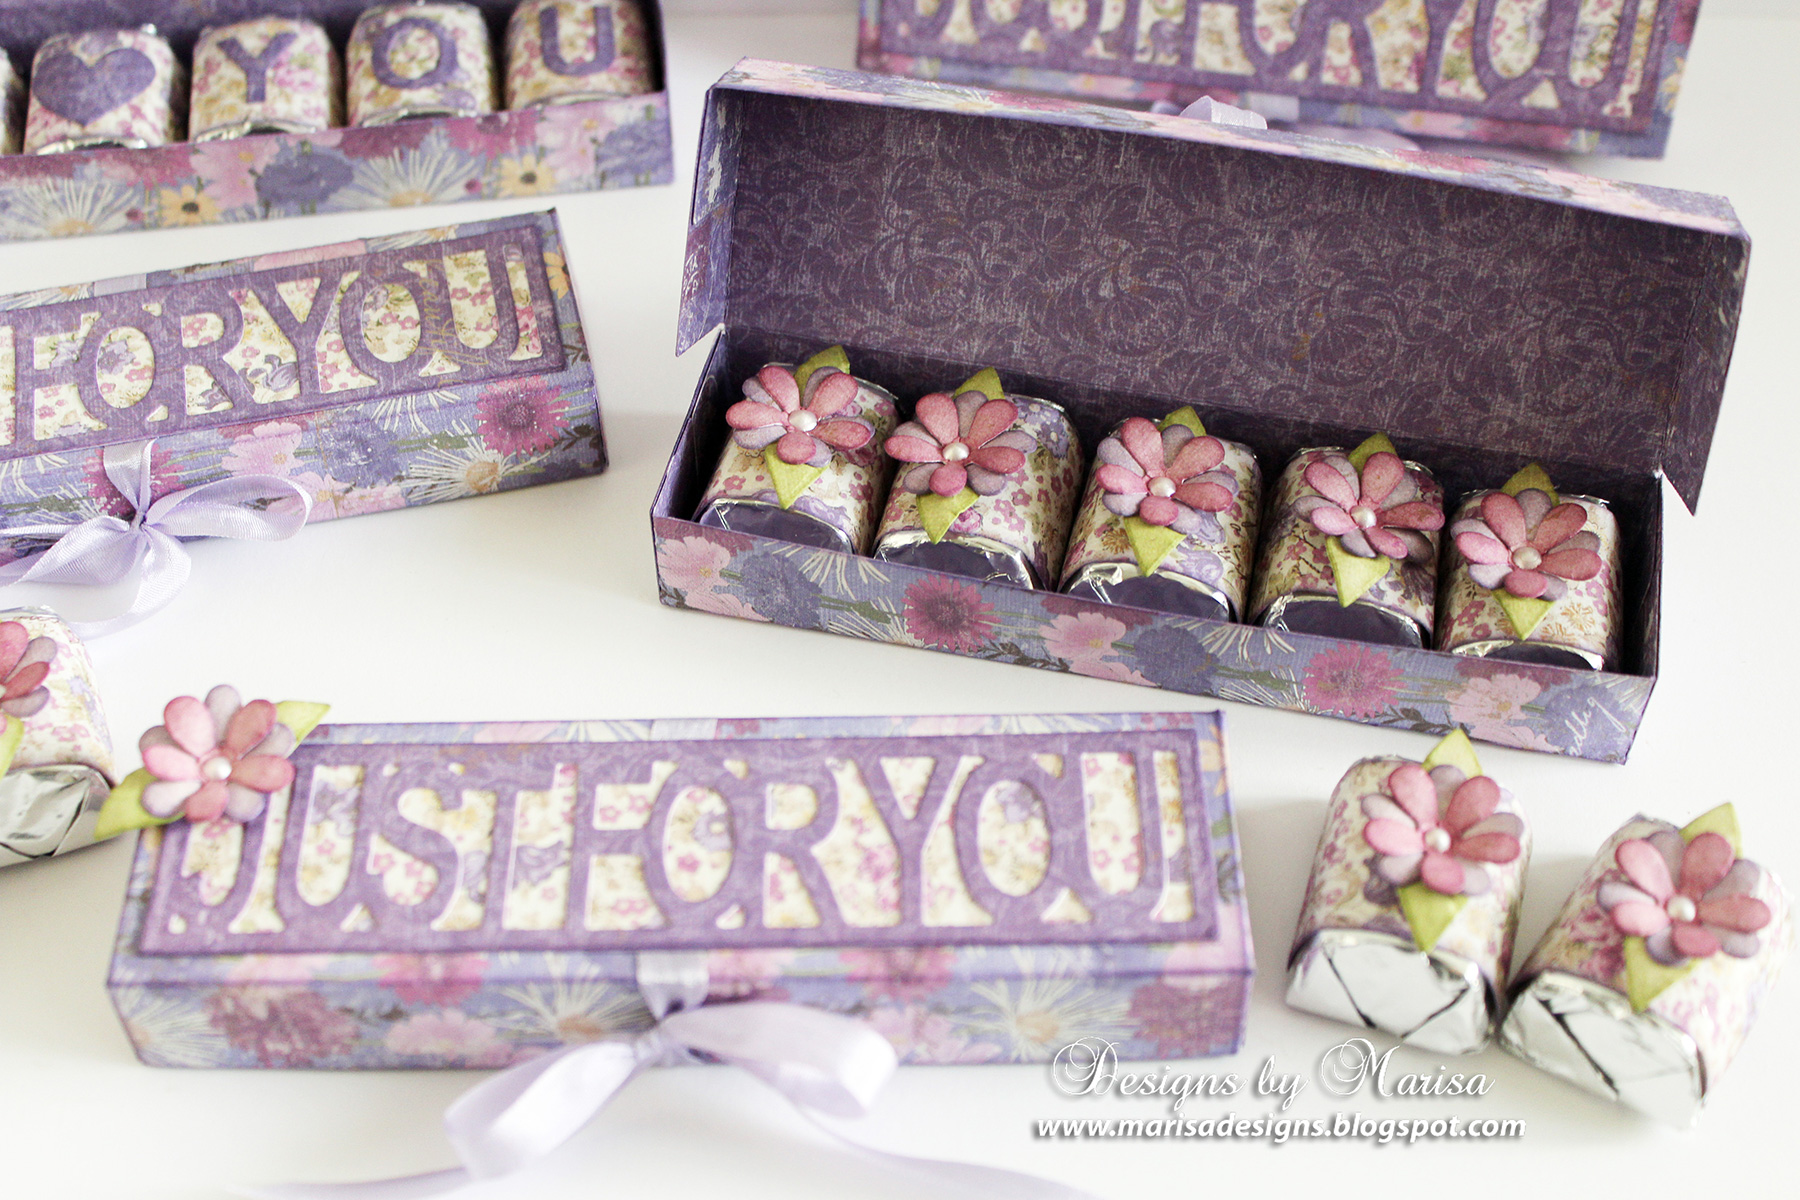
Just For You Box by Marisa Job for Spellbinders using S6-133 Just For You Box dies. #spellbinders #papercrafting #diecutting #handmade #giftbox Just For You Box by Marisa Job for Spellbinders using S6-133 Just For You Box dies. #spellbinders #papercrafting #diecutting #handmade #giftbox


Spellbinders Supplies:

Other Supplies:

Designer cardstock: Maja Design – Enjoying Outdoors Paper Collection, May Arts Silk Ribbon, Hershey’s Nuggets Chocolate, Nuvo Crystal Drops – Ivory Seashell, Ranger Distress Inks – Dusty Concord, Seedless Preserves and Peeled Paint, Double Stick Tape. Thanks for visiting and have a wonderful week! Marisa Job www.marisadesigns.blogspot.com

Leave a comment

Your email will not be published. Please note, comments need to be approved before they are published.


  • HOW TO USE PRESS PLATES WITH MULTIPLE INKS | CREATE YOUR WAY HOLIDAY, BPR-050, BPI-049, BPI-003

    BP-001

    How to Use Multiple Ink Colors with BetterPress Registration Plates

    Create a colorful Christmas card while learning how to apply multiple ink colors to BetterPress registration plates. In this detailed tutorial, you’ll use the Festive Evergreens Registration Press + Foil Plate & Die Set to press a holiday doorway scene in three colors, combining the built-in registration system with a simple masking technique. The registration template positions the coordinating plates so each layer aligns with...

  • How to Make a Colorful Foiled Butterfly Card with Glimmer II

    BP-351

    How to Make a Colorful Foiled Butterfly Card with Glimmer II

    Combine hot foiling, alcohol-marker coloring, ink blending, and dimensional shaping to create a colorful butterfly card that sparkles from every angle. In this step-by-step tutorial, you’ll learn how to foil detailed butterflies and a floral background with the Glimmer II Hot Foil System, add bold color, and shape the butterfly wings for a realistic raised effect. The Bright Butterflies and Thanks In Bloom Press +...

  • How to Heat Emboss with BetterPress Plates: Snowman Christmas Card

    BP-001

    How to Heat Emboss with BetterPress Plates: Snowman Christmas Card

    BetterPress plates can do more than create letterpress impressions and hot-foiled designs. In this detailed Christmas card tutorial, you’ll learn how to apply clear sticky ink to a BetterPress plate and use white embossing powder to produce a crisp, heat-embossed snowflake background. The tutorial also covers pressing and die cutting a sentiment, assembling three detailed snowmen, and arranging the finished elements on an A2 card....