Posted by Spellbinders Team on May 05, 2018

Perfect Match Inspiration | Friends of a Feather with Norine

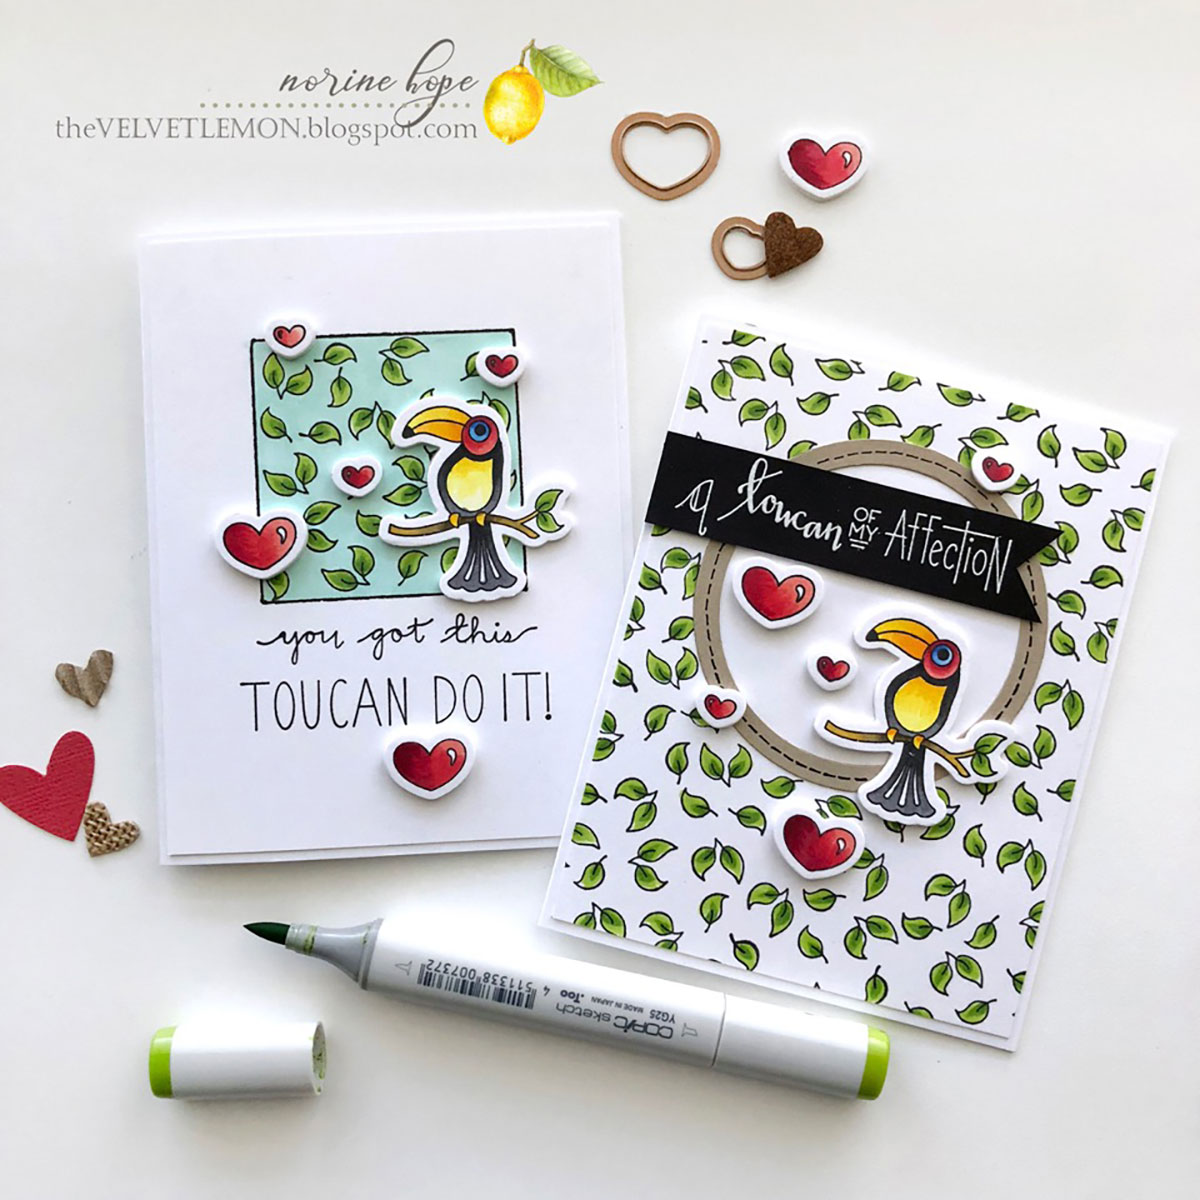
Hello again Spellbinder friends and fans!  Norine Borys from The Velvet Lemon back again!  I have loved being here on the blog this week, and I consider it a privilege to share with you the projects I’ve created with the new collection Perfect Match by Debi Adams, which was so generously provided by Spellbinders Paper Arts!  See here and here for my previous posts using this collection. Perfect Match Collection by Debi Adams- Inspiration Friends of a Feather with Norine for Spellbinders using: S4-116 - Standard Circles Small SDS-126 - Friends of a Feathers  #spellbinders #neverstopmaking #cardmaking #diecutting #handmadecard   Today’s cards feature the stamp and die set called Friends of a Feather! And again with the cute puns! They just don’t get old! This set is perfect for making encouragement cards and cards expressing love and affection! This time I pulled out and dusted off the Copic markers. They were feeling a little neglected I think.
Perfect Match Collection by Debi Adams- Inspiration Friends of a Feather with Norine for Spellbinders using: S4-116 - Standard Circles Small SDS-126 - Friends of a Feathers  #spellbinders #neverstopmaking #cardmaking #diecutting #handmadecard  

Perfect Match Collection by Debi Adams- Inspiration Friends of a Feather with Norine for Spellbinders using: S4-116 - Standard Circles Small SDS-126 - Friends of a Feathers  #spellbinders #neverstopmaking #cardmaking #diecutting #handmadecard  

Perfect Match Collection by Debi Adams- Inspiration Friends of a Feather with Norine for Spellbinders using: S4-116 - Standard Circles Small SDS-126 - Friends of a Feathers  #spellbinders #neverstopmaking #cardmaking #diecutting #handmadecard  

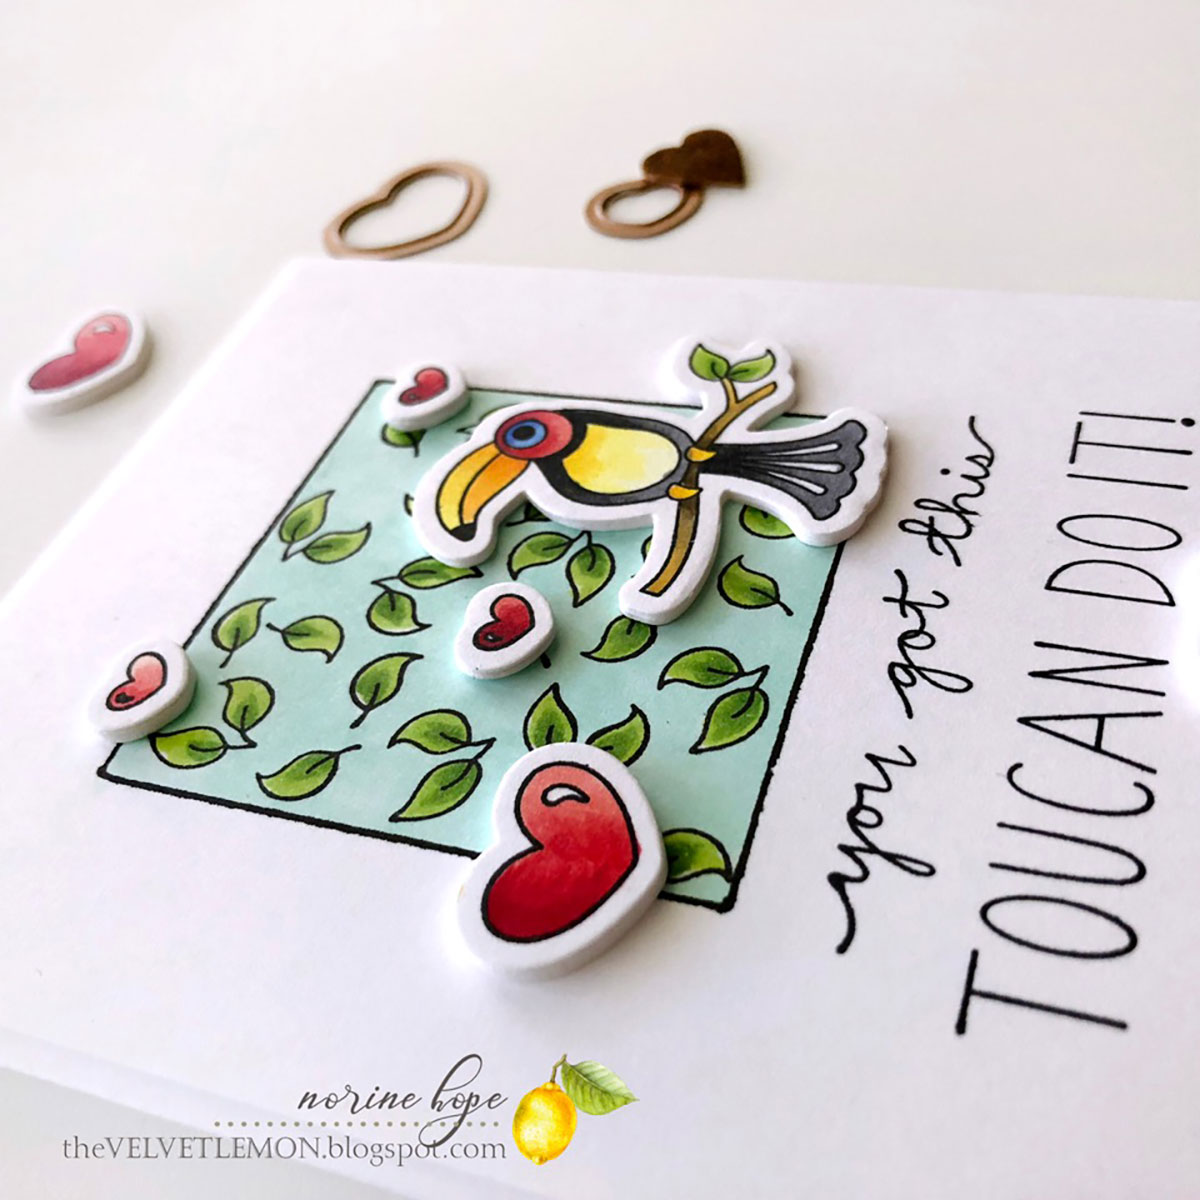
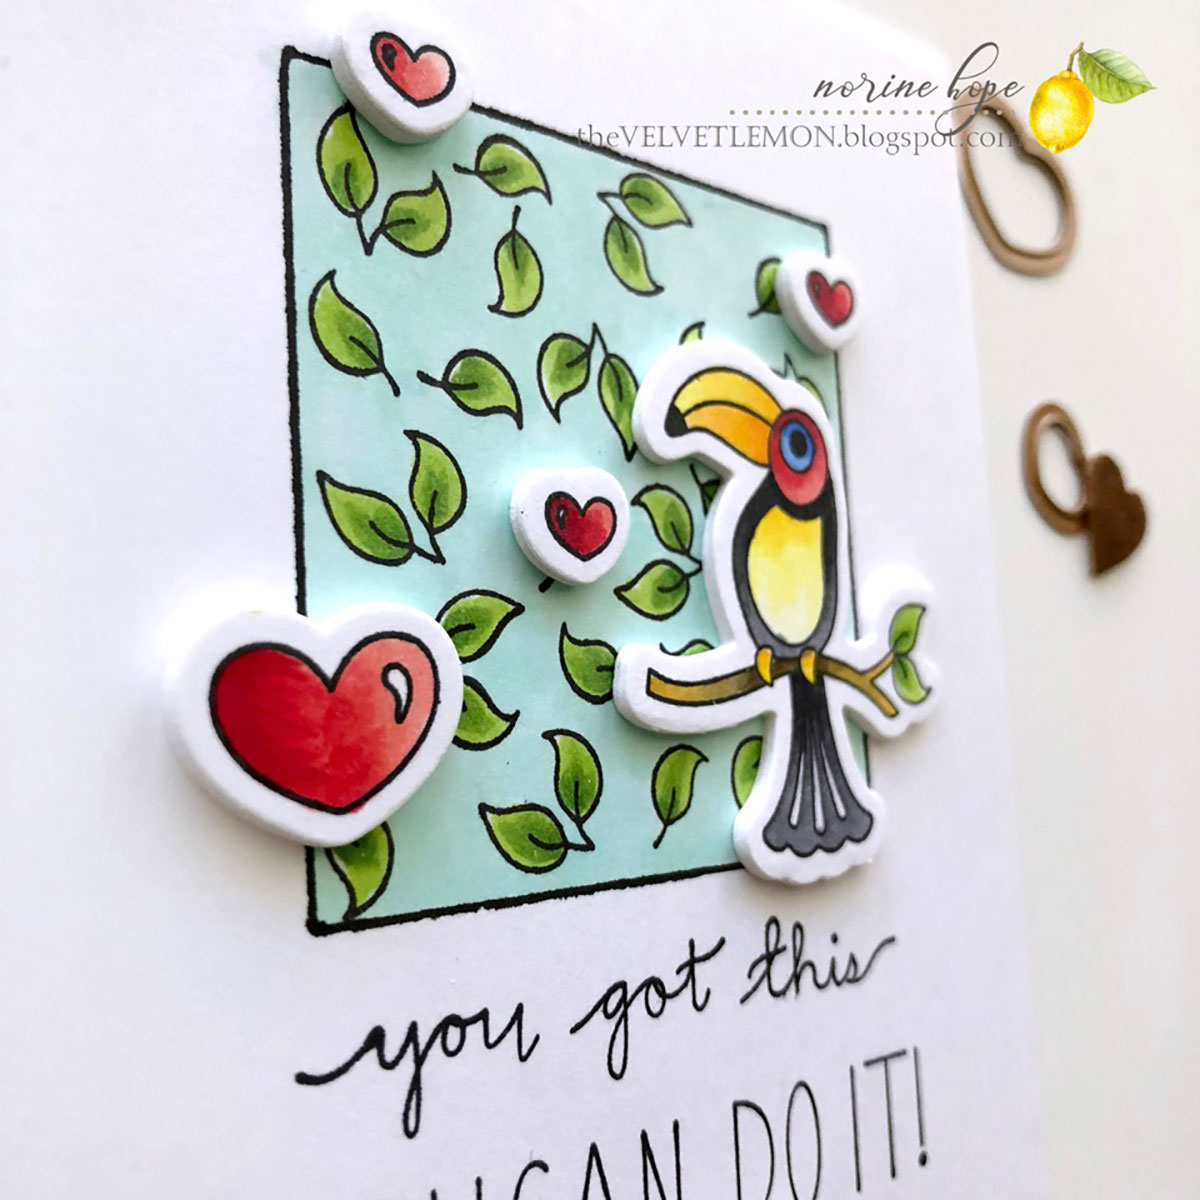
This card was created by first cutting a square window from some masking paper, with the Classic Squares Lg dies. I laid down the positive portion of the die-cut square onto a piece of Neenah Solar White card stock, in the exact position where I wanted it to be placed. Then I laid the surrounding negative portion down around the square. I did it this way, because I found that just laying the negative outside portion down by eyeball was not a good guarantee of it being centered or straight. Then I removed the inner portion of masking paper and filled the square opening with randomly stamped leaf images. I stamped with Simon Says Intense black ink - suitable for coloring with Copic markers. Before removing the outside mask, I used the inner edges of the paper to draw a black square. After removing the outside mask, I filled in the square with Copic ink. Then I lined up the two sentiments, one at a time, and stamped the sentiments.  (I love the combination of cursive and printed lettering). On a second piece of Neenah Solar White cardstock, I stamped a variety of hearts and the Toucan. I colored those in with Copic markers as well, referring to online images of Toucans to get some idea of correct coloration. Then I die-cut the colored images, plus three more layers of each of the hearts and the bird. I layered those die-cuts together with Tombow Mono Multi Liquid adhesive and adhered each to the card front. Finally, I adhered the card front to a card base of Neenah Solar White cardstock.

Perfect Match Collection by Debi Adams- Inspiration Friends of a Feather with Norine for Spellbinders using: S4-116 - Standard Circles Small SDS-126 - Friends of a Feathers  #spellbinders #neverstopmaking #cardmaking #diecutting #handmadecard  

Perfect Match Collection by Debi Adams- Inspiration Friends of a Feather with Norine for Spellbinders using: S4-116 - Standard Circles Small SDS-126 - Friends of a Feathers  #spellbinders #neverstopmaking #cardmaking #diecutting #handmadecard  

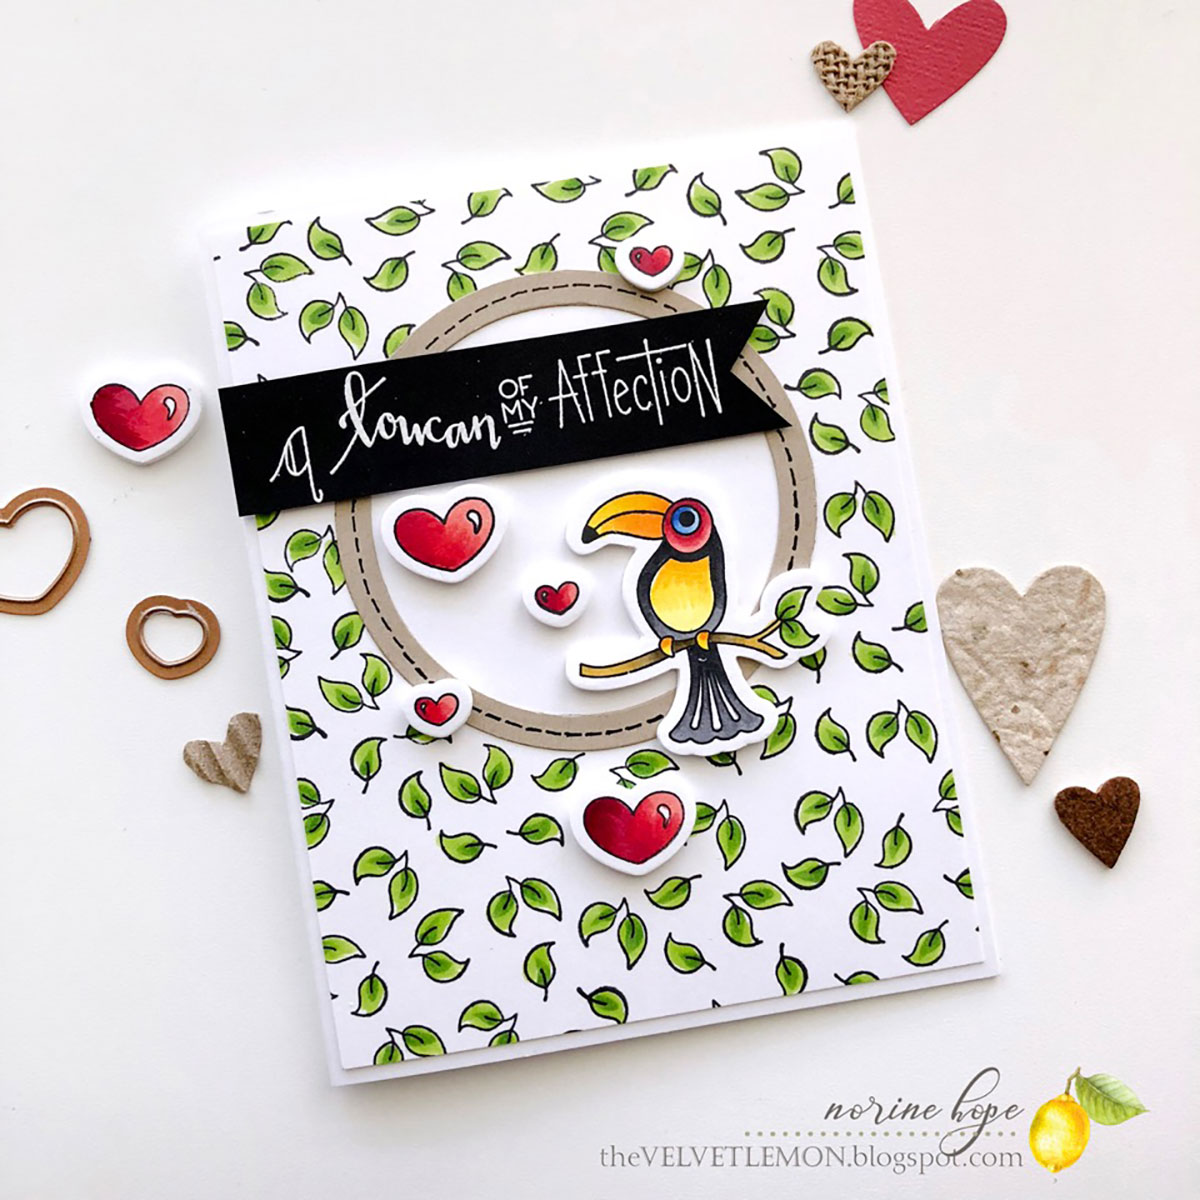
This last card might be my favorite from the whole week! For this card I did the reverse of what I’ve described above with the masking paper. I cut a circle from the masking paper using the Standard Circle dies, Sm. I placed that mask where I wanted the circle to be left bare. Then I filled in around the circle by stamping with the same two mini leaf stamps that I used on the card above. I colored all of the leaves, but this time I left the background white. Next I used 2 of the Standard Circle dies to cut a narrow circle frame from kraft cardstock, and drew a stitched line around the circle with a Copic Multiliner pen. I adhered the frame in place over the colored leaves background, framing the opening. Then I stamped the Toucan and several of the hearts onto Neenah Solar White cardstock. I colored each with Copic markers and die-cut them when finished. Once again, I die-cut 3 extra layers of cardstock or, in a few cases, a single layer of white fun foam. I glued each layer on top of each other and finally onto the card front itself.  This time, I stamped the sentiment onto black cardstock with Versafine ink and white embossing powder to heat emboss. I cut the sentiment strip into a fishtail banner and adhered it across the top of the stamped and colored card front.

Spellbinders Supplies:

Other Supplies:

Neenah Solar White card stock, Neenah Desert Storm card stock,  Copic markers, Simon Says Intense Black ink, Eclipse masking paper. This completes my week of guest blogging for Spellbinders!  I’ve been so grateful for the generosity of both product and spirit shown by each one I’ve been in contact with!  And I’ve loved working with the Perfect Match Collection, with it’s wonderfully simple drawings and cute puns! Thank you Spellbinders for inviting me, and thank YOU readers for stopping by today to see what I’ve created!  I hope my projects have inspired you in some way! SaveSave

4 comments

Your cards are so cute, and I love your leafy backgrounds.

BeverlyBL,

These are the CUTEST, Norine!! Love what you did with the products!

Rubeena Ianigro,

Wonderful cards !!

Pooja,

We love puns at our house! Norine, you did a great job with these cards – love em’!

Susie Lessard,

Leave a comment

Please note, comments need to be approved before they are published.


  • Spellbinders Beginners Blog Post Series - Common Cardmaking Mistakes (and How to Fix Them)

    Beginner’s Guide to Cardmaking

    Common Cardmaking Mistakes and How to Fix Them: A Beginner's Guide

    Mistakes happen to every cardmaker, from beginners to experienced crafters. This comprehensive guide shares practical solutions for fixing common cardmaking mistakes, including stamping, die cutting, foiling, BetterPress, ink blending, stenciling, coloring, heat embossing, and more, so you can confidently rescue your handmade cards instead of starting over.

  • How to make a Polar Bear Christmas Card with Alcohol Markers, HUR93909, S7-291, S5-619

    CS-8-100

    How to make a Polar Bear Christmas Card with Alcohol Markers

    Hello, cardmaking friends! It’s Mona Tóth here, and I’m so happy to be back on the Spellbinders blog. Today, I’m sharing a Christmas step-by-step card tutorial featuring the Polar Friends Stamp and Die Set by Simon Hurley. This card was inspired by the Christmas advertisements I remember seeing on television when I was a child in the 1990s. They often featured polar bears surrounded by...

  • Interactive Scrapbook Layout Using the Turn the Page Collection by Esther Glas, SCSP-037, SCSE-054, SCSE-039, SCSR-016, E3D-186, STP-279, SDS-232, S2-473, S7-298, S7-295

    E3D-186

    Interactive Scrapbook Layout Using the Turn the Page Collection by Esther Glas

    Hello, crafty friend! I’m Adrienne Boese, better known online as Alice Scraps Wonderland. I love a good interactive scrapbook page! It can be something as simple as a pocket or something more intricate like a waterfall mechanism or flips. Today, we are going to focus on one of those simple techniques - a pocket!  It’s the perfect technique to dip your toes into the interactive...