

Posted by Anonymous
on June 15, 2019

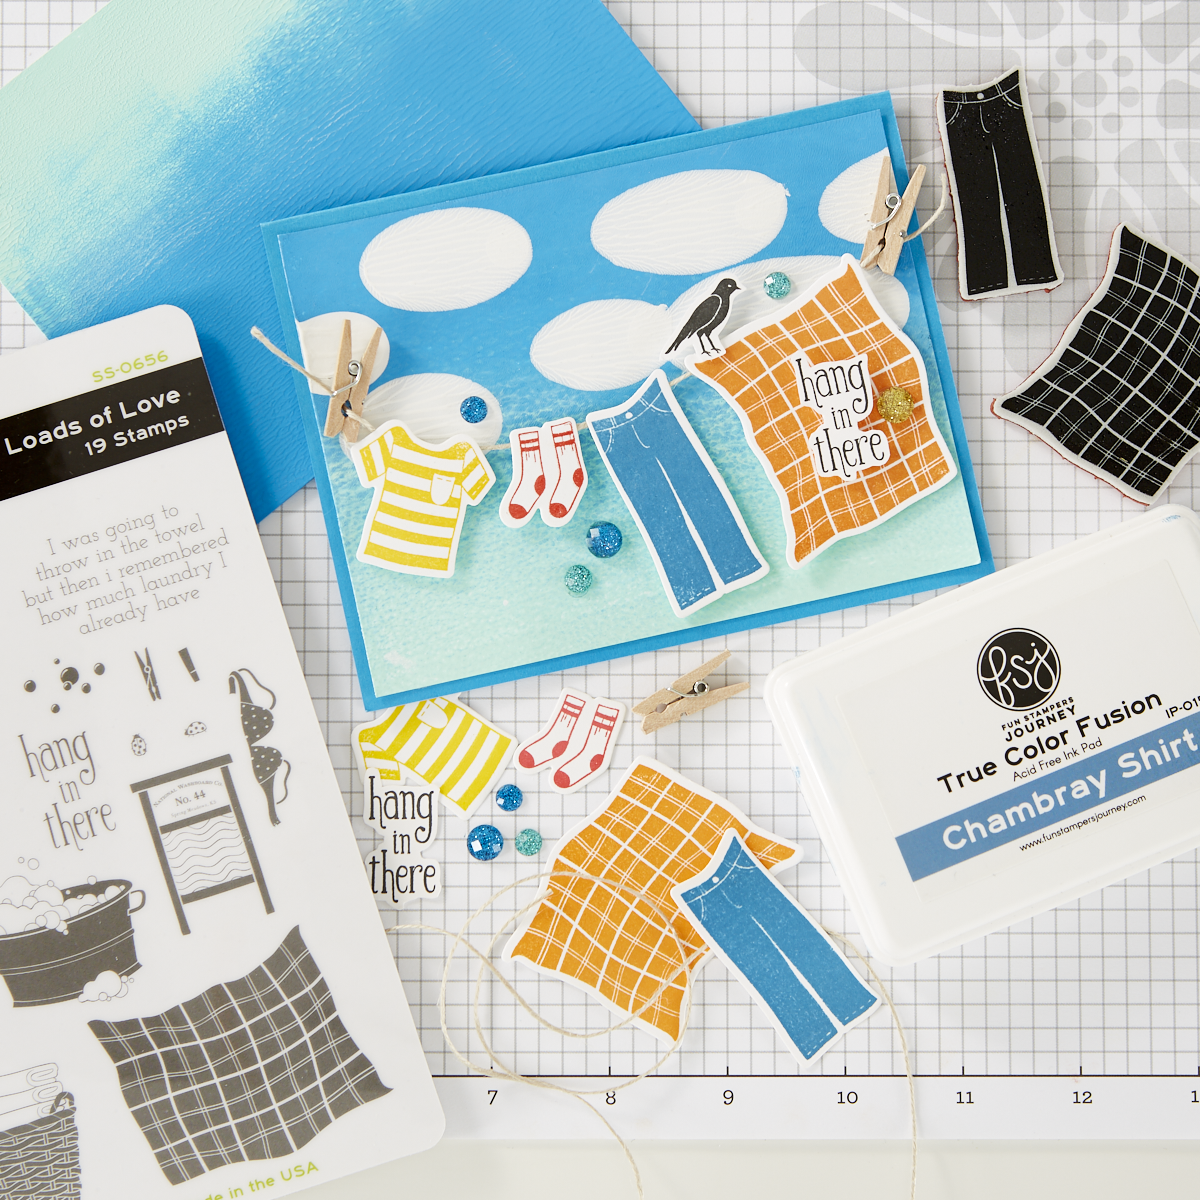
Hey crafty friends! Have you been loving the Easy Breezy Spring collection from Fun Stampers Journey? Today let's look at an absolutely darling card featuring the Loads of Love stamp set. Along the way, we'll teach you a simple mixed media technique for adding puffy painted clouds to the background of your cards.
To begin the background, add Beach Ball and Cool Pool acrylic paint onto a non-porous surface - like an acrylic sheet or a large clear block. (We used more Beach Ball and just a little Cool Pool.)
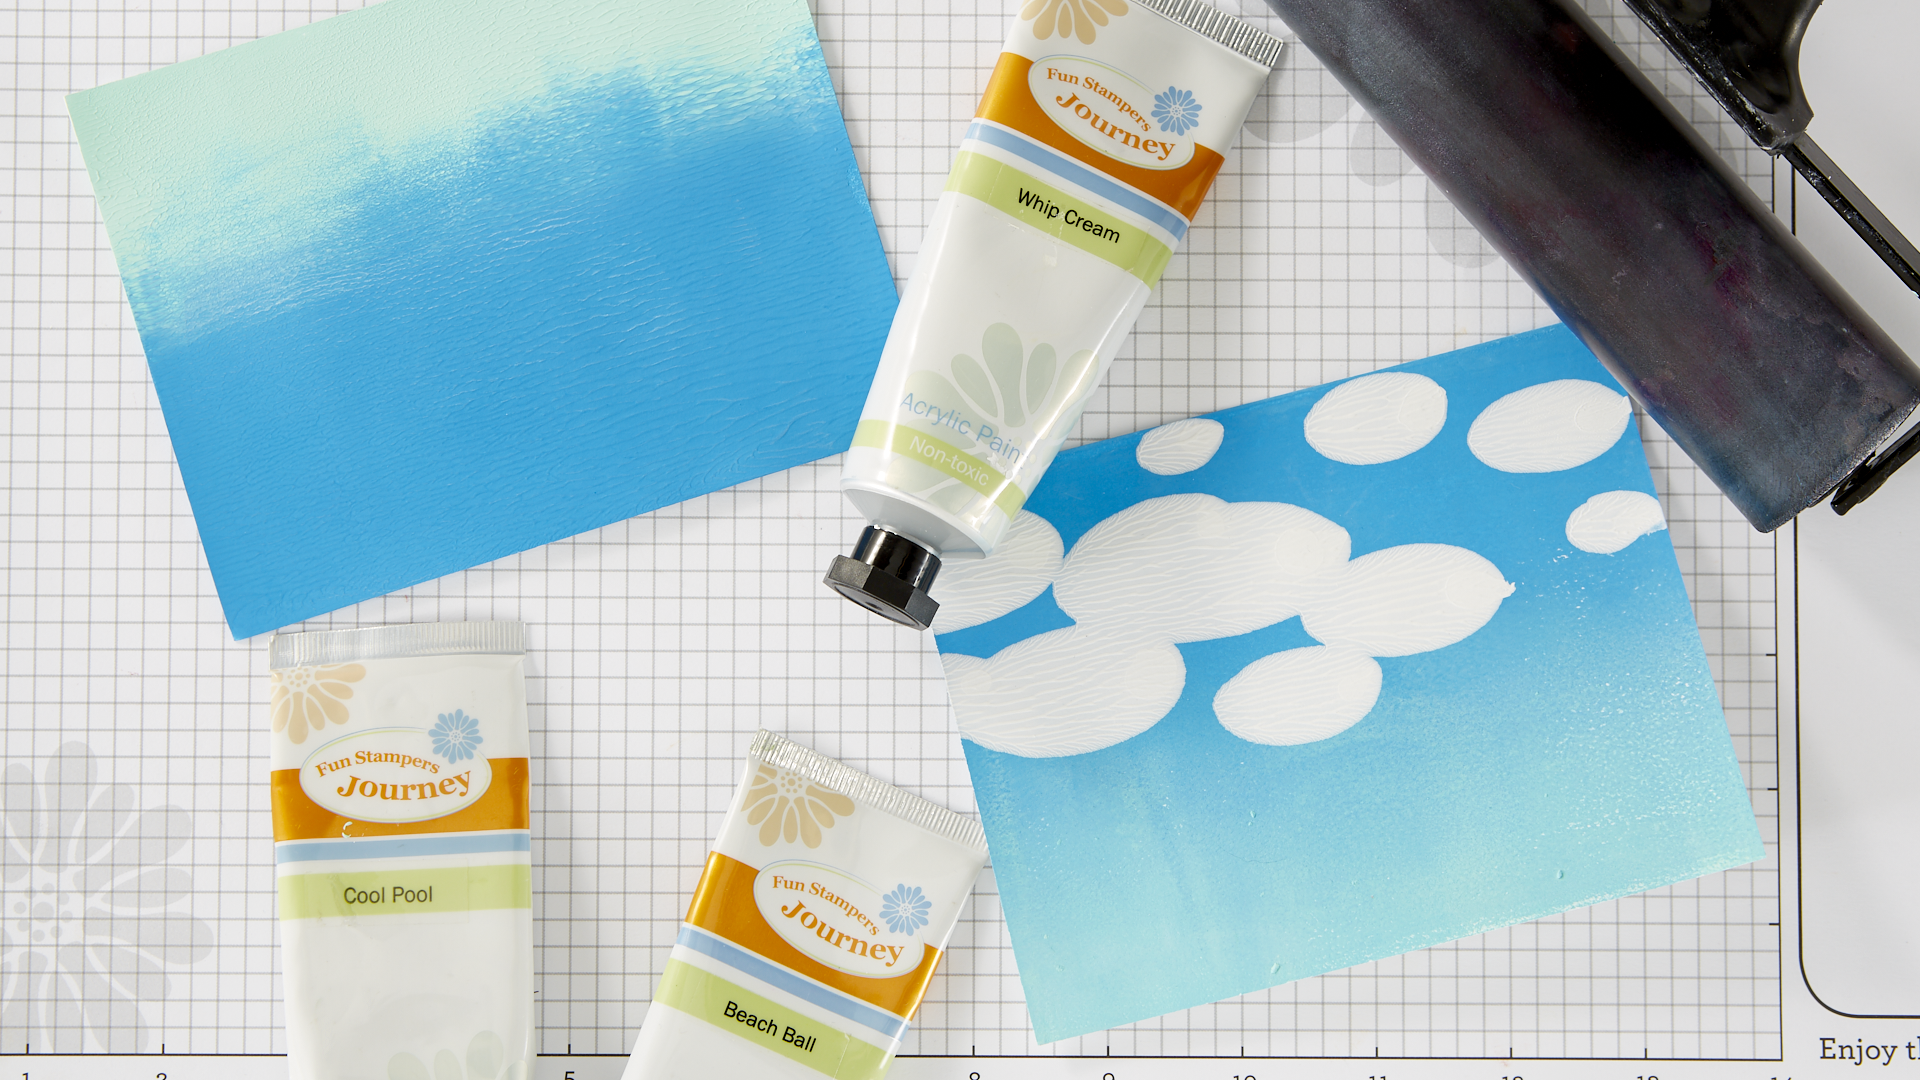
Use a brayer to blend and spread the paint across the clear block. Then roll the brayer over a card-size panel of Whip Cream cardstock.
Here's a tip! After you do that, there will still be plenty of paint on your brayer. Go ahead and roll another card panel or two so you'll have them for other projects.
After the panel is dry, it's time to add the puffy white clouds. Add dots of Whip Cream acrylic paint directly onto the cardstock panel. Using a clean brayer, roll over the panel one time to spread out the white dots. Don't brayer back and forth - just roll over it once to stretch out the shape of the paint dots.
Next, stamp and die-cut the colorful laundry. Trim a length of thread, and add two mini clothespins to "hang" the laundry line on your card.
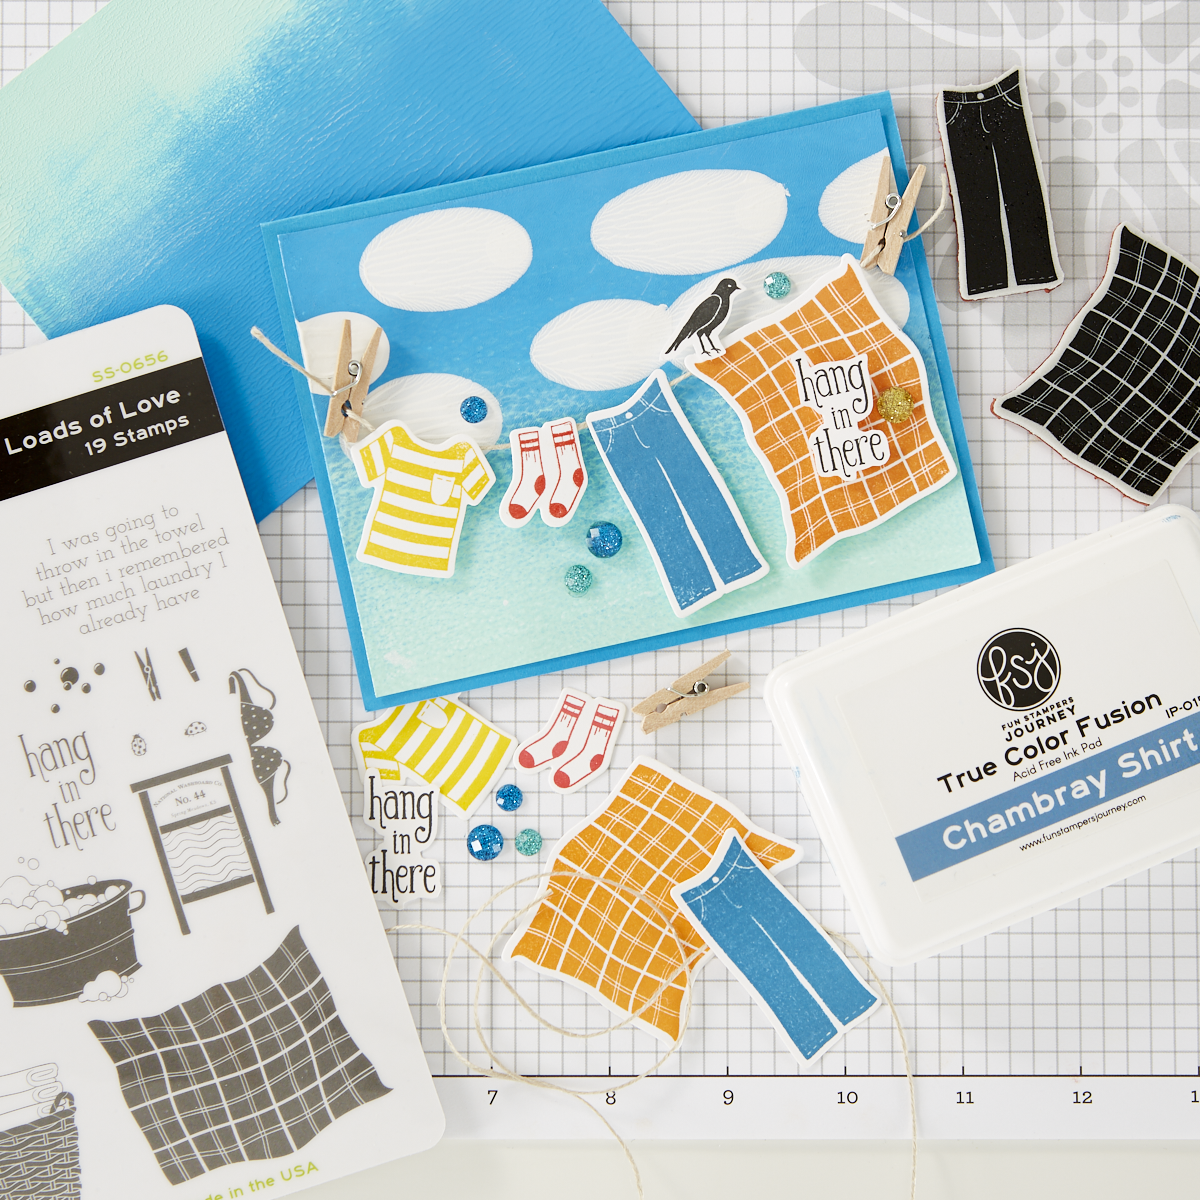
This sky technique would be so pretty for a variety of card ideas. What other stamps are in your stash that would look fabulous with a beautiful blue sky background?
This project was featured on an FSJ Tryday Friday video. We come to you LIVE each Friday afternoon, on Facebook and YouTube, with a fun new technique or idea to try. Watch this video and see Kim Kesti create this card, and learn more tips along the way! Then, be sure to subscribe to our YouTube channel so you never miss a video!
Card Supplies: Loads of Love Stamp Set | Loads of Love Die Set | Acrylic Paint: Beach Ball, Cool Pool, Whip Cream | Brayer
Looking for the entire Easy Breezy Launch Party? Watch it here:























































































