
Video: Creature Companions with Making Faces Collection
on January 22, 2019

Video: Creature Companions with Making Faces Collection

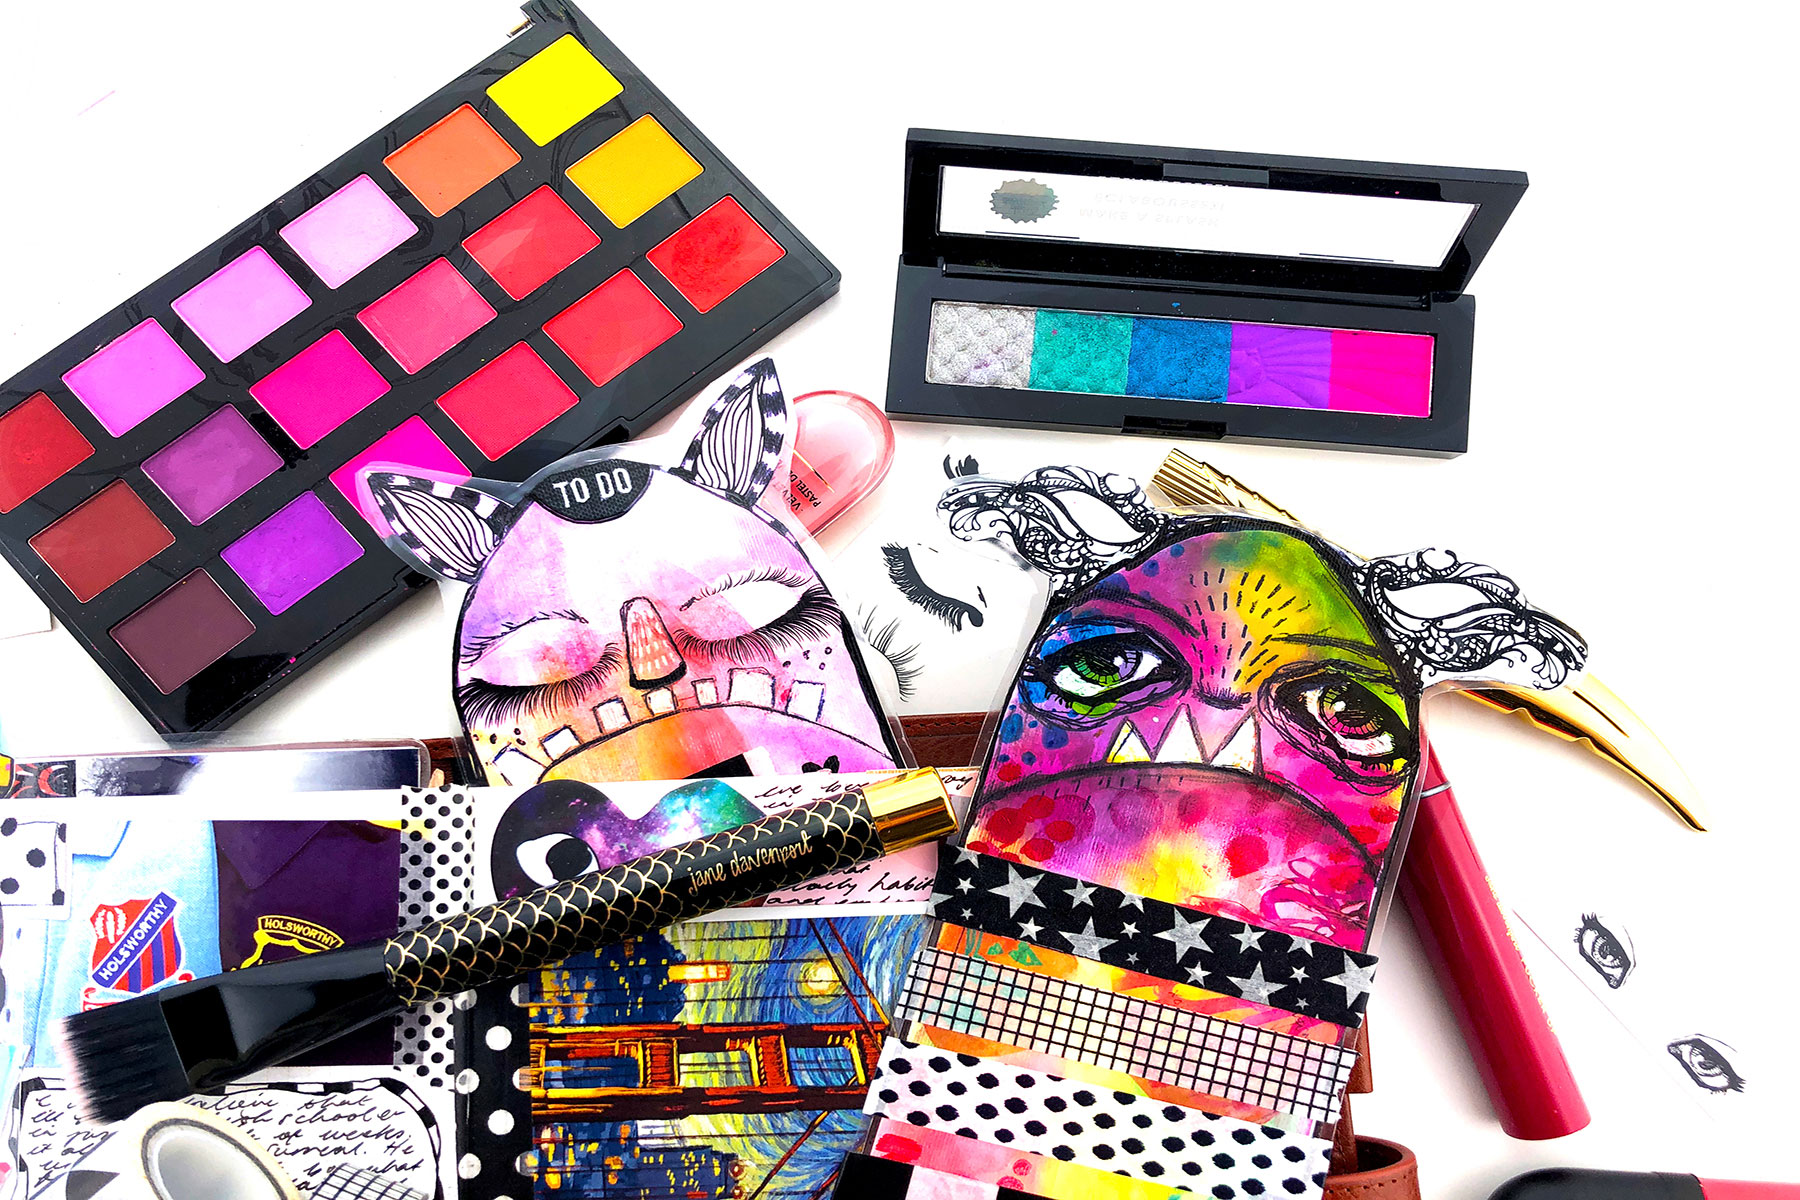
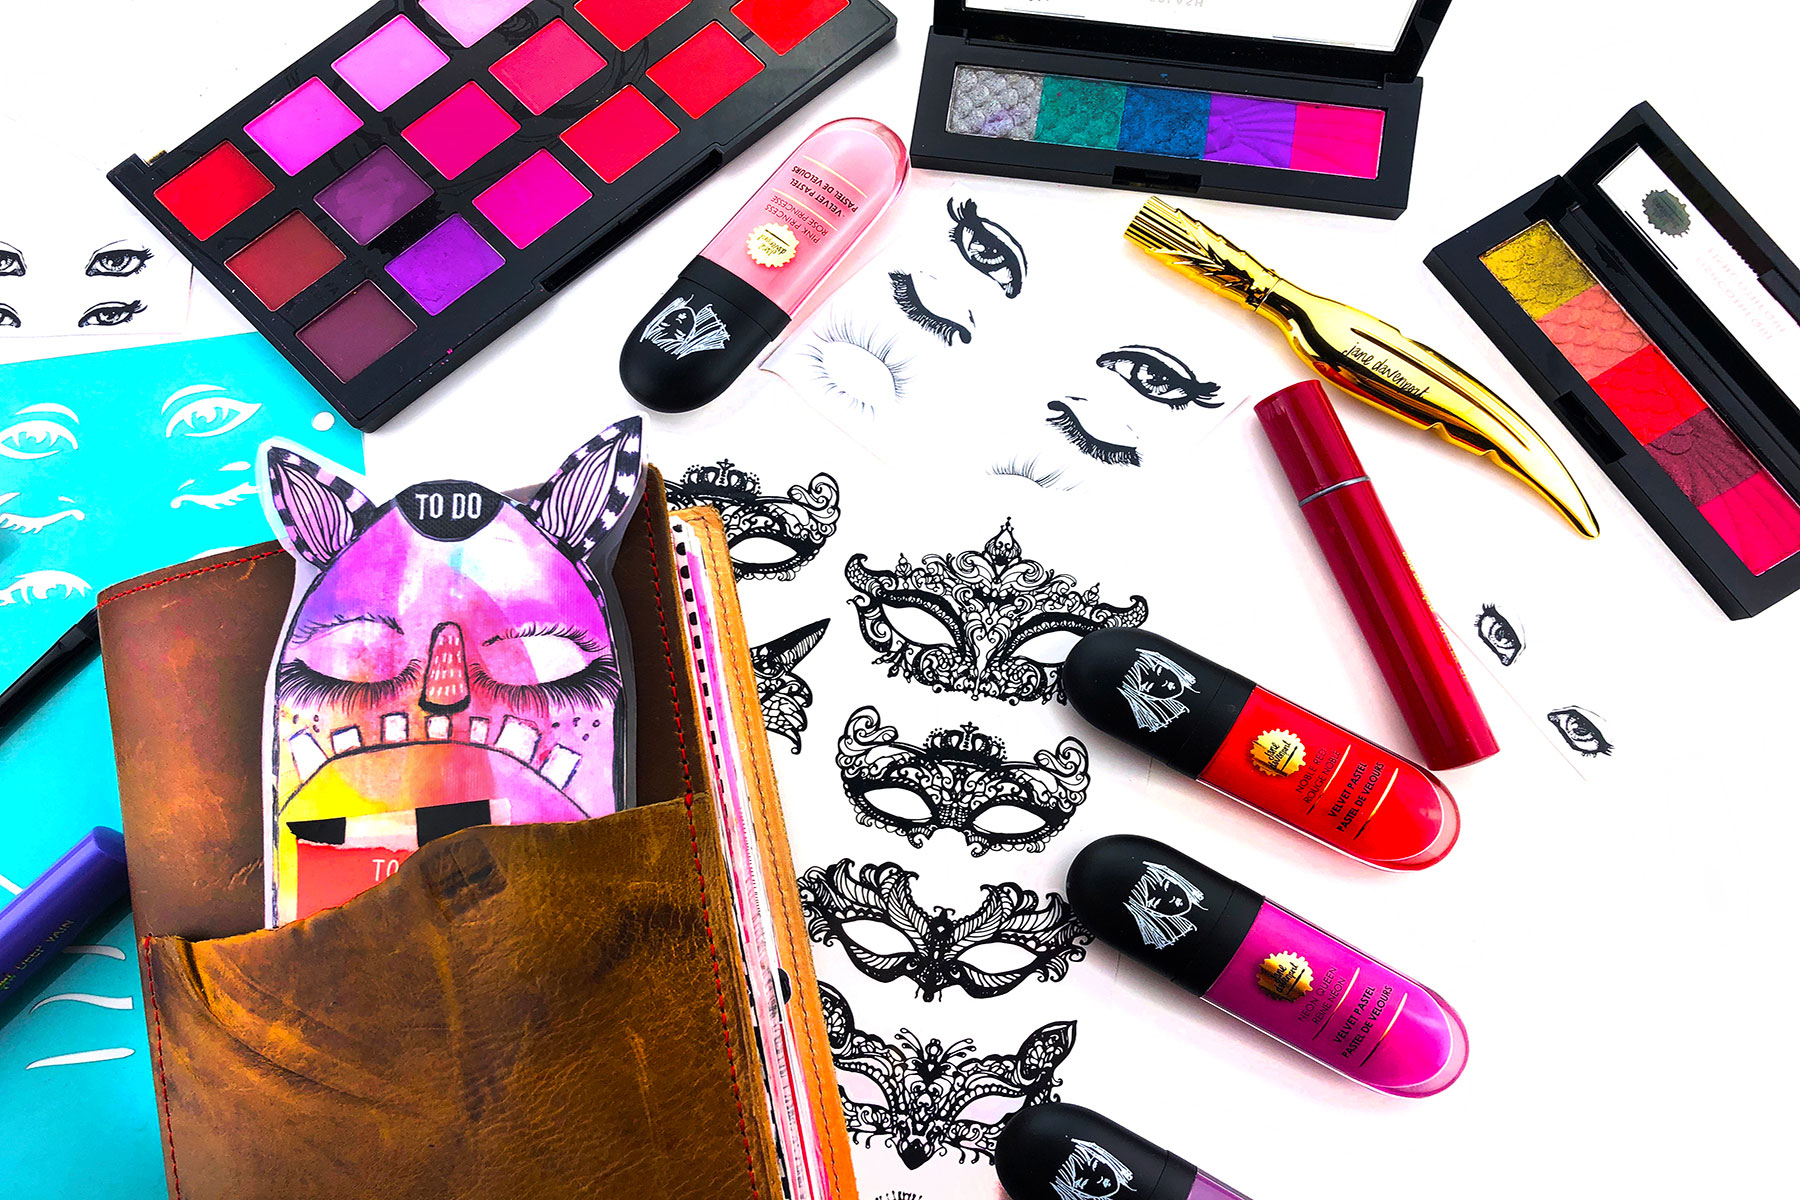
Hello Spellbinders and Davenpeeps! My Name is Courtney Diaz from Little Raven Ink and I've been asked to share a quirky little project using the new Jane Davenport Range Making Faces! I am so excited to be back on the blog today with this fun little project that you can quickly create for yourself or to send to a friend! Today we will be creating a Creature Companion to hold our washi tape samples, not only can they do that but these kooky little guys can also serve as a Today Marker for your planners or as an Errands Dashboard!

Video: Creature Companions by Courtney Diaz featuring Making Faces Collection by Jane Davenport for Spellbinder

I have created a video tutorial for this project for you today to follow along with, I for one am a visual learner so whenever I can, I will show you through video how I create with the Spellbinders products... Enjoy!

VIDEO TUTORIAL

Watch video tutorial below or on Youtube to learn how to make this project: I love using the Jane Davenport range to really reflect my style and my favorite things - Monsters! I love that her range can be twisted and pulled into so many creative directions no matter what your art style!
Video: Creature Companions by Courtney Diaz featuring Making Faces Collection by Jane Davenport for Spellbinder

She really has created such a user friendly and unique range with the makeup inspired products! The Palette Pastels are by far my absolute favorites! I know there will be something in the range that will make you heart sing.

Video: Creature Companions by Courtney Diaz featuring Making Faces Collection by Jane Davenport for Spellbinder

Spellbinders Supplies:

Other Supplies:

Watercolour Paper, Gesso, Black ballpoint pen, White Gel Pen, Glue Stick, Laminating Pouches, Laminator, Clear Acrylic Stamp Block, Scissors

Video: Creature Companions by Courtney Diaz featuring Making Faces Collection by Jane Davenport for Spellbinder

Thank you so much for joining me for another project with Team Spellbinders! I cannot wait to see all the creature companions popping up in peoples planners and journals! Thank you once again to the Spellbinders team for inviting me back to play and share my project with the new Making Faces range!
Have a wonderful creative week.
Courtney Diaz

Leave a comment

Your email will not be published. Please note, comments need to be approved before they are published.


  • How to Make a Colorful Foiled Butterfly Card with Glimmer II

    BP-351

    How to Make a Colorful Foiled Butterfly Card with Glimmer II

    Combine hot foiling, alcohol-marker coloring, ink blending, and dimensional shaping to create a colorful butterfly card that sparkles from every angle. In this step-by-step tutorial, you’ll learn how to foil detailed butterflies and a floral background with the Glimmer II Hot Foil System, add bold color, and shape the butterfly wings for a realistic raised effect. The Bright Butterflies and Thanks In Bloom Press +...

  • How to Heat Emboss with BetterPress Plates: Snowman Christmas Card

    BP-001

    How to Heat Emboss with BetterPress Plates: Snowman Christmas Card

    BetterPress plates can do more than create letterpress impressions and hot-foiled designs. In this detailed Christmas card tutorial, you’ll learn how to apply clear sticky ink to a BetterPress plate and use white embossing powder to produce a crisp, heat-embossed snowflake background. The tutorial also covers pressing and die cutting a sentiment, assembling three detailed snowmen, and arranging the finished elements on an A2 card....

  • How to Use the Reverse Foiling Technique on a Colorful Window Card

    BP-001

    How to Use the Reverse Foiling Technique on a Colorful Window Card

    Create a bright, modern card while learning how to use the negative foil left behind after hot foiling. In this step-by-step tutorial, you’ll foil the detailed Windows with a View design, use a solid plate to reverse foil the remaining image, and turn selected windows into dimensional embellishments. An ink-blended striped background, BetterPress sentiment, and sparkling gems complete the design. This project is ideal for...































