Video Friday | Swirl Frame Cards with Olga
on March 23, 2018

Video Friday | Swirl Frame Cards with Olga

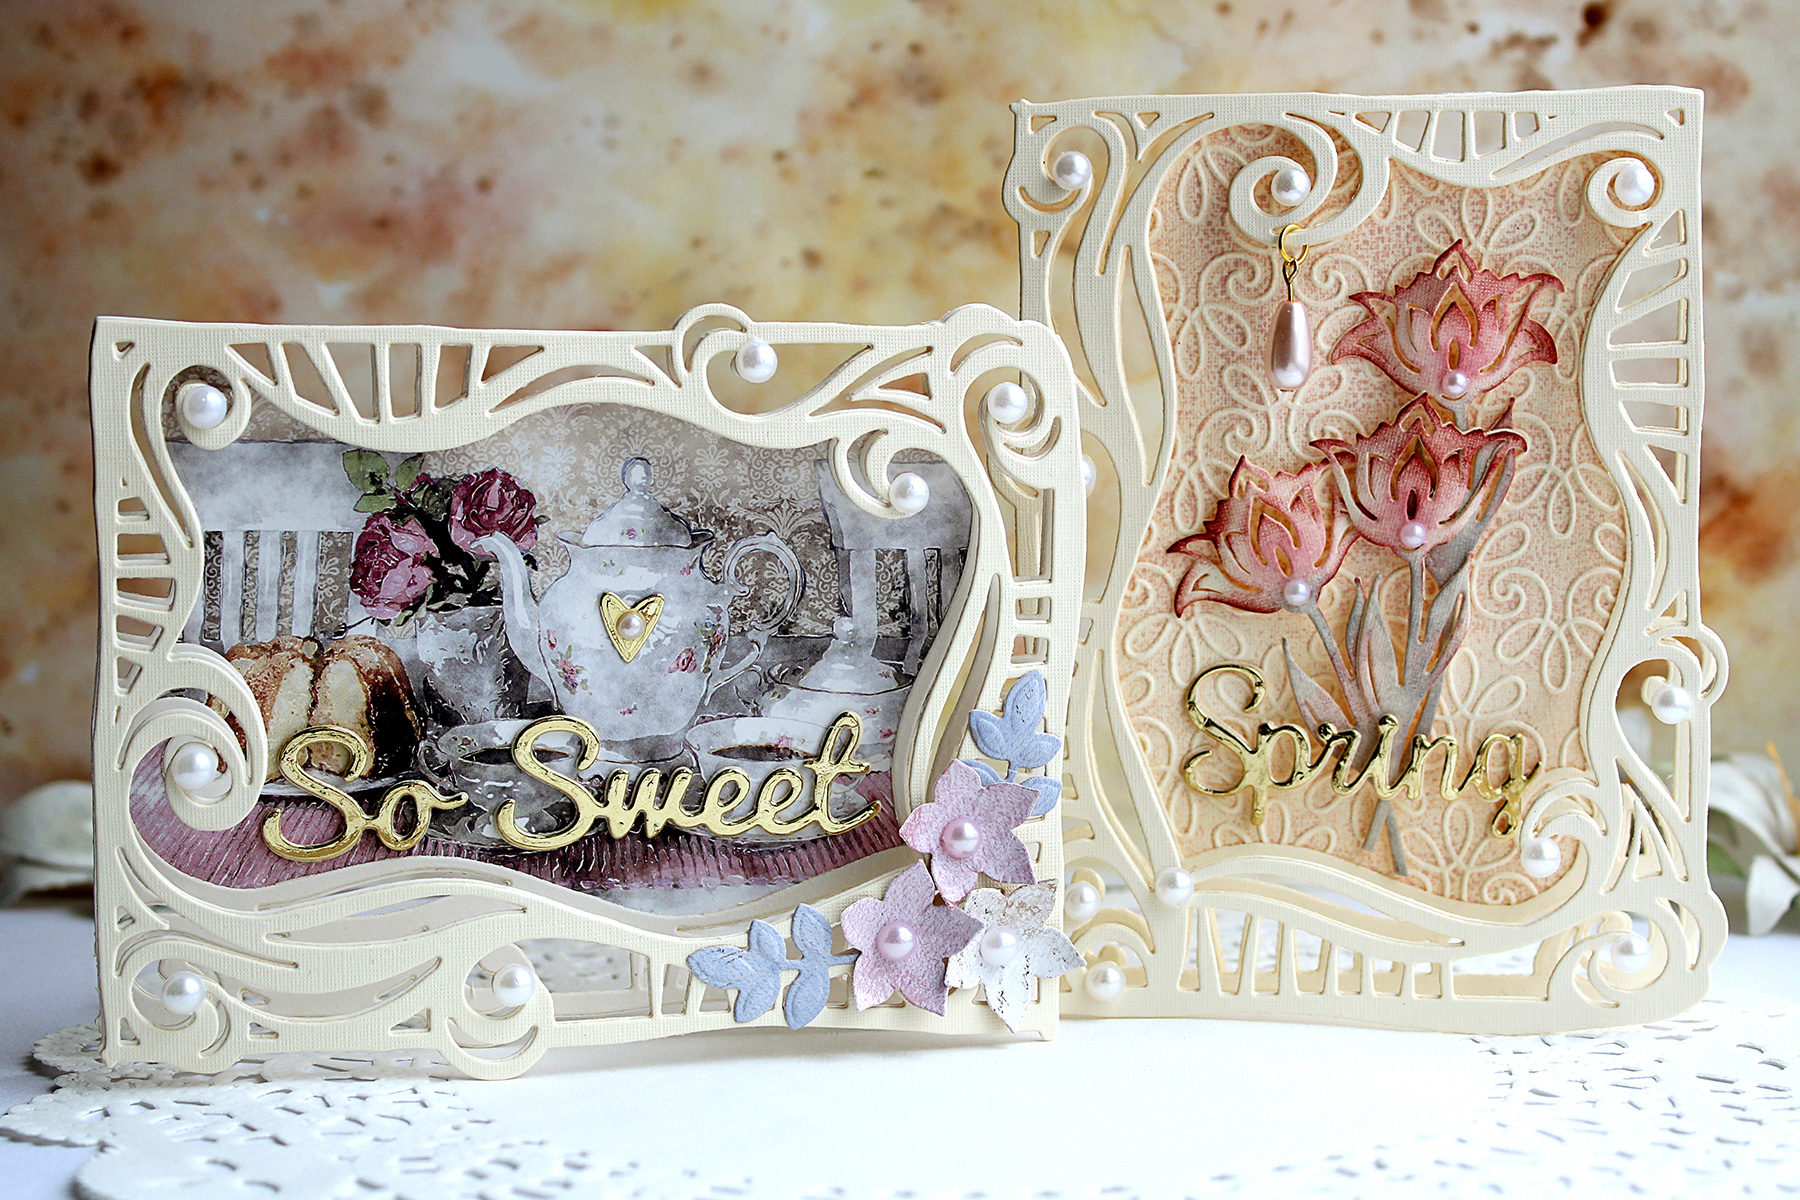
Hi, it's Olga , today I am super excited to share 2 cards that I have created using Swirl Frame die from the latest On the Wings of Love collection by Joanne Fink . This die is perfect for creating framed cards and it can be both landscape or portrait oriented:
Video Friday | Swirl Frame Cards with Olga for Spellbinders using: S5-354 Swirl Frame, S3-308 Seasonal Words, S4-563 Phrase Set One, S5-338 Wreath Elements, S5-350 Borders, SES-013 Flourish Stitch #spellbinders #neverstopmaking #diecutting #handmadecard

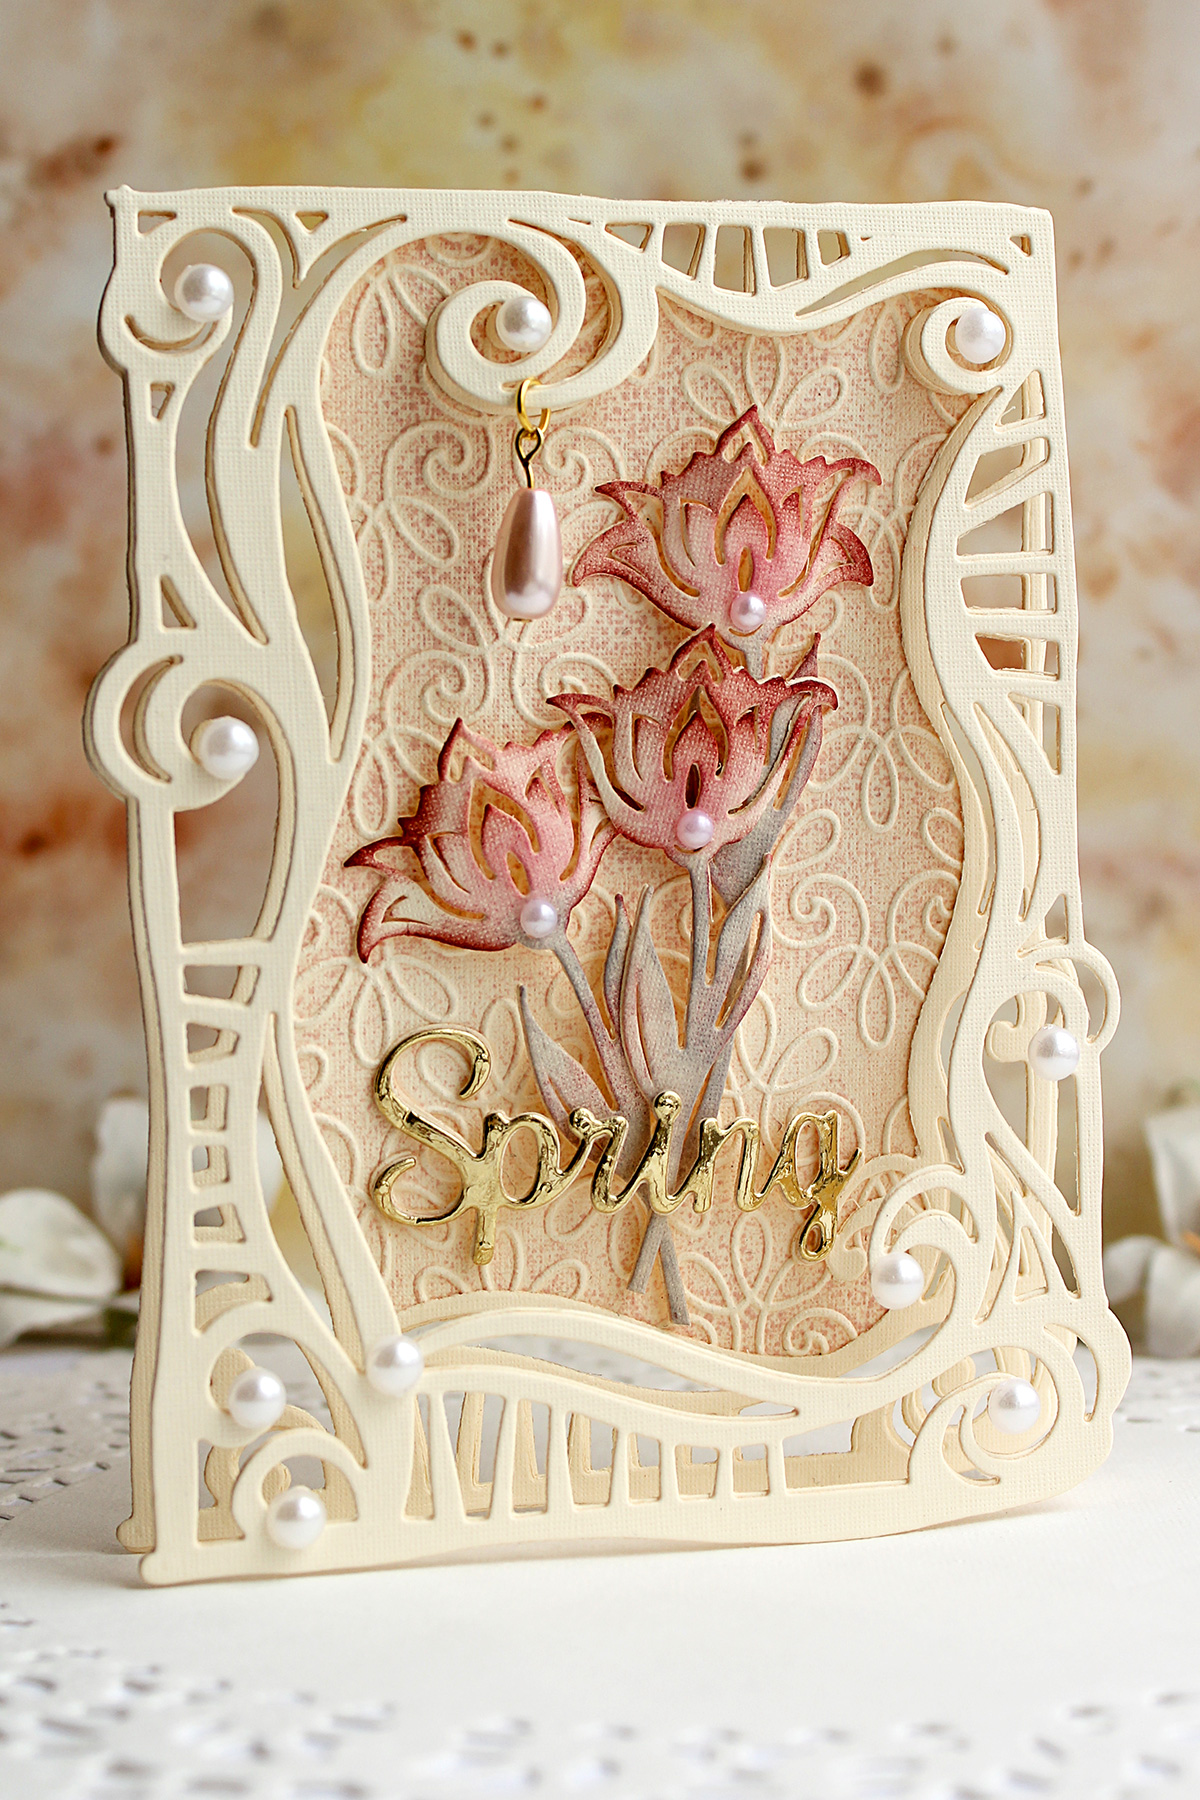
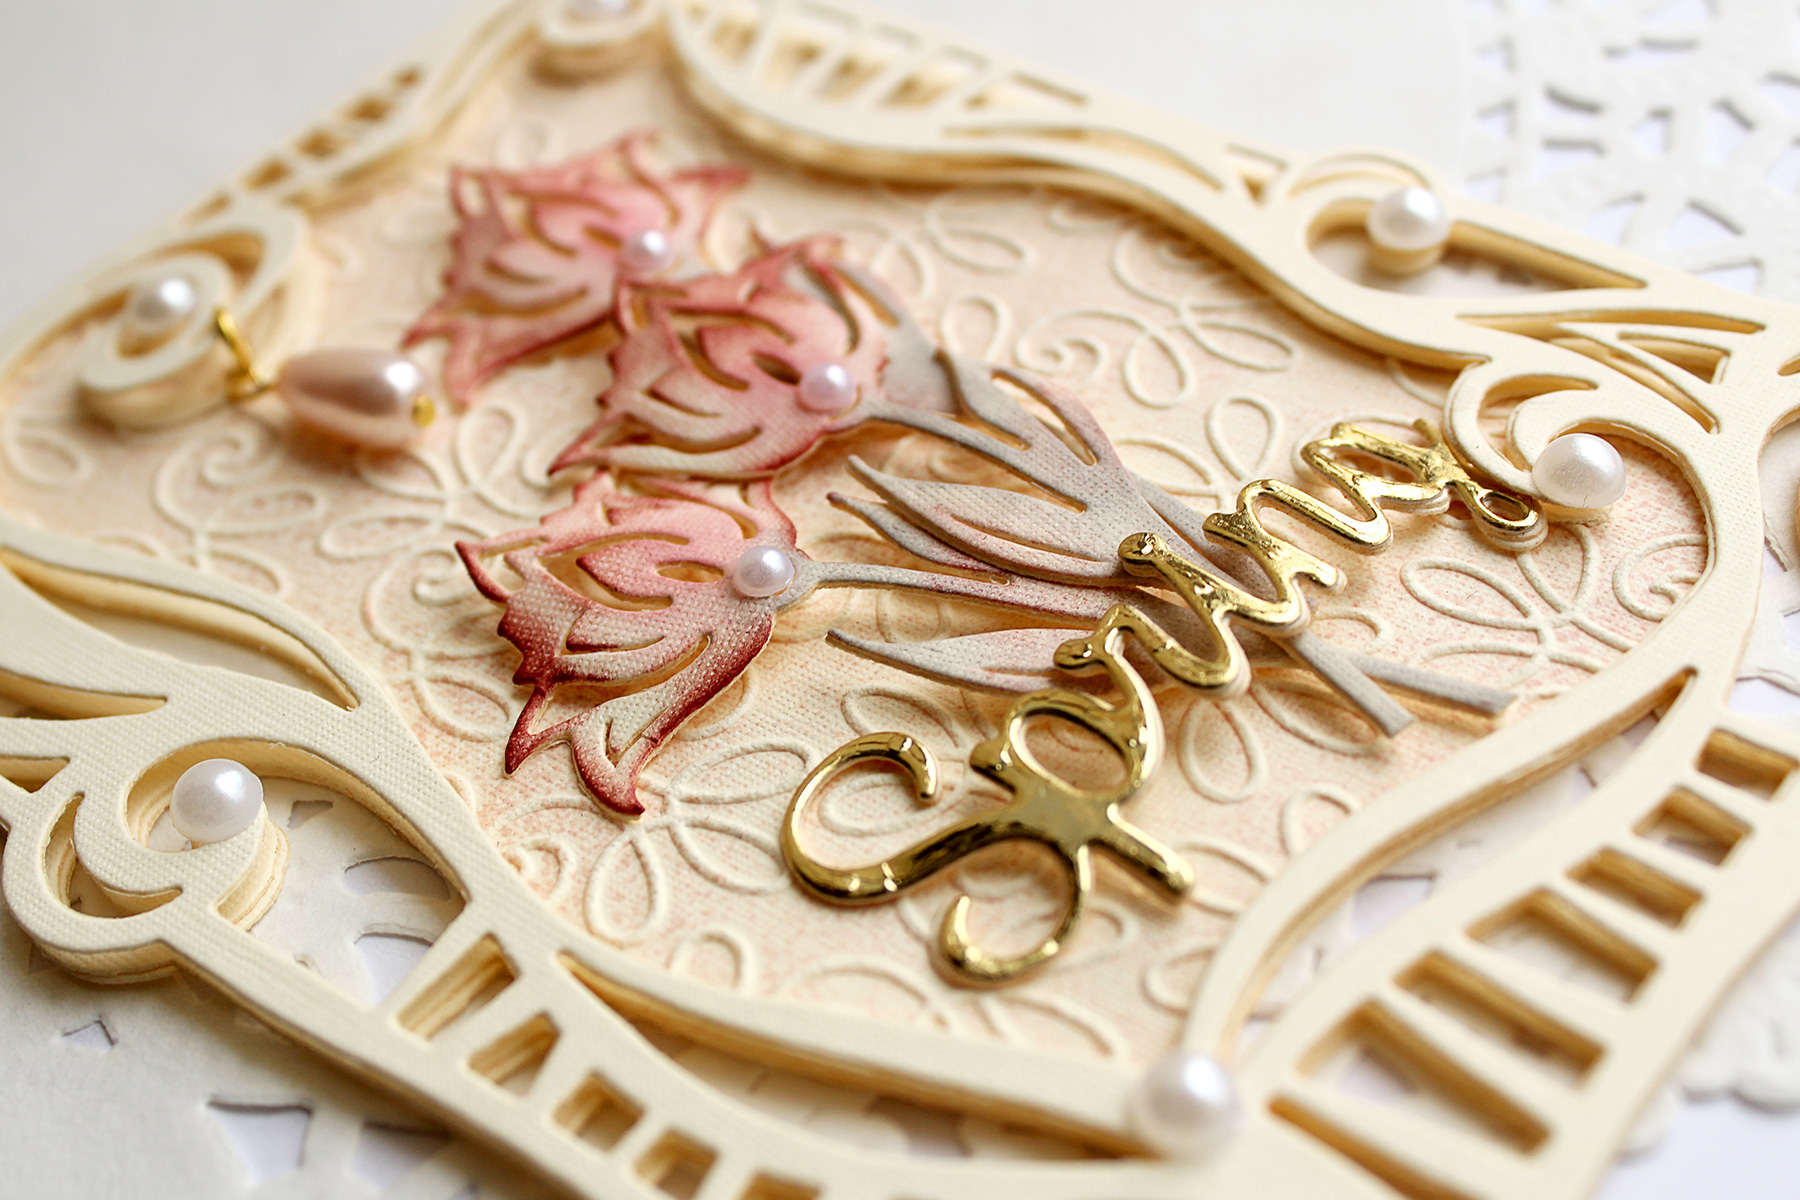
The first card I've made is portrait oriented. I created a shaped frame card base first and then added an embossed insert. For the focal image I have used a tulip die that is also a part of the Swirl Frame set . The die cuts are colored with Distress Inks and the gold foiled sentiment is attached right on top of the flower arrangement:

Video Friday | Swirl Frame Cards with Olga for Spellbinders using: S5-354 Swirl Frame, S3-308 Seasonal Words, S4-563 Phrase Set One, S5-338 Wreath Elements, S5-350 Borders, SES-013 Flourish Stitch #spellbinders #neverstopmaking #diecutting #handmadecard

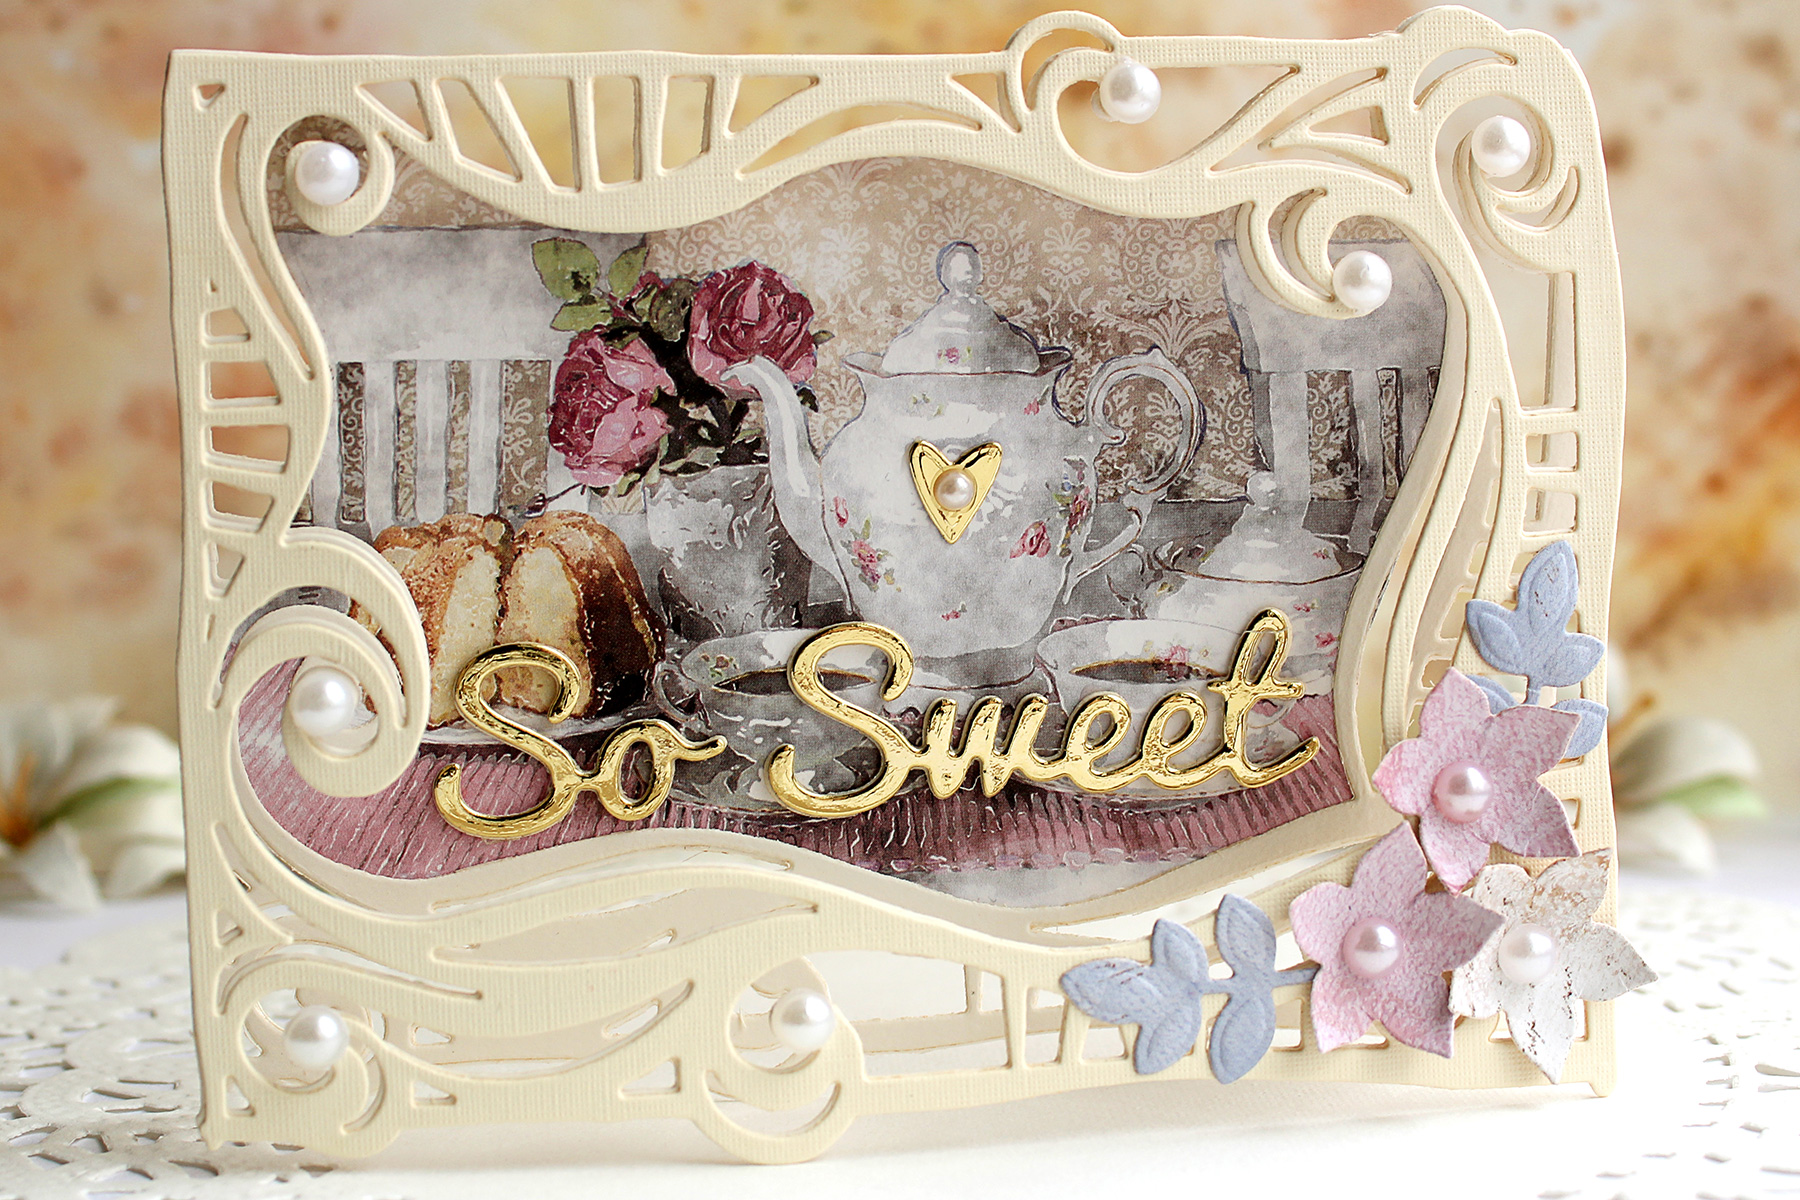
The second card is landscape oriented and this time I have used a little still life from a patterned paper sheet to create an insert. You will find the instructions on how to do it in the video below - it is also a great way to incorporate a photograph into your card!

Video Friday | Swirl Frame Cards with Olga for Spellbinders using: S5-354 Swirl Frame, S3-308 Seasonal Words, S4-563 Phrase Set One, S5-338 Wreath Elements, S5-350 Borders, SES-013 Flourish Stitch #spellbinders #neverstopmaking #diecutting #handmadecard

To finish off the first card I have attached a large half pearl to the end of each swirl on a frame and some smaller pearls to each tulip. I have also added a hanging tear drop pearl to the protruding swirl at the top of the frame.

Video Friday | Swirl Frame Cards with Olga for Spellbinders using: S5-354 Swirl Frame, S3-308 Seasonal Words, S4-563 Phrase Set One, S5-338 Wreath Elements, S5-350 Borders, SES-013 Flourish Stitch #spellbinders #neverstopmaking #diecutting #handmadecard

I have used a golden sentiment for the still life card as well - just stuck it down onto the patterned paper. This time I have also added some flowers and leaves at the corner of the frame - they are cut out of the same patterned paper sheet to match the rest of the card. Then again I've added some pearls as finishing touches.

Video Friday | Swirl Frame Cards with Olga for Spellbinders using: S5-354 Swirl Frame, S3-308 Seasonal Words, S4-563 Phrase Set One, S5-338 Wreath Elements, S5-350 Borders, SES-013 Flourish Stitch #spellbinders #neverstopmaking #diecutting #handmadecard

You will find the full step by step instructions on how to make both cards in the video tutorial below. Please feel free to ask any questions - I am always happy to answer them!

VIDEO TUTORIAL

Watch the video tutorial for the step by step guide on how to make this project. Watch below or on Youtube : Thank you so much for visiting today, I hope you enjoyed the tutorial and got inspired! Have a fabulous crafty weekend!

Spellbinders Supplies:

Other supplies:

Patterned paper sheet by Maja Design - Coffee in the Arbour, Distress Inks (Tattered Rose, Victorian Velvet, Aged Mahogany, Hickory Smoke), pearl embellishments.​

Leave a comment

Your email will not be published. Please note, comments need to be approved before they are published.

1 comment

Loly Borda,

Both cards are beautiful! Thanks for the inspiration of cutting the shape of the card with the die, I love the details on the flowers and the tea pot. Awesome job! TFS


  • How to Color BetterPress Scenes with Watercolor and Colored Pencils, BP-383, STNB-020, DC378

    AF724

    How to Color BetterPress Scenes with Watercolor and Colored Pencils

    Want to move beyond simple ink blending when using layering stencils? In this tutorial, you'll learn how to combine BetterPress printing, stencil coloring, watercolor painting, and colored pencil shading to create a detailed scenic card. By mixing coloring mediums, you can build additional texture, depth, and realism while using supplies you may already have in your craft room. This project features the Scenic Kyoto Press...

  • How to Use Reverse Foiling for Elegant Christmas Cards, BP-345, BP-314, S4-1452, BP-312, S5-526, S5-647

    BP-312

    How to Use Reverse Foiling for Elegant Christmas Cards

    Get more from your hot foil supplies by learning how to use the reverse foiling technique. In this step-by-step Christmas card tutorial, you'll create a beautiful snowflake background using leftover foil, then pair it with a dimensional poinsettia arrangement and festive sentiment. Reverse foiling is a fantastic way to reduce waste while creating an entirely different look from your original foiled design. Using the A2...

  • How to Make Felt Christmas Ornaments with Festive Felt Dies, S7-302, S7-303, S7-305, PE-104

    Categories:Die Cutting

    How to Make Felt Christmas Ornaments with Festive Felt Dies

    Create charming handmade felt Christmas ornaments using the Festive Felt Christmas Dies by Lollie & Grace. In this step-by-step tutorial, you'll learn how to die-cut felt, assemble layered ornament designs, add decorative stitching, embellish with sequins and beads, and finish your ornaments with hanging loops for Christmas decorating. This project is perfect for holiday crafters who enjoy working with felt and creating handmade decorations. These festive...