Posted by Channin Pelletier
on December 09, 2023


Our next LIVE Make-Along event is this weekend! Join Channin Pelletier to make along with the November 2023 My Monthly Hero Kit. Gather your supplies and create a card with Channin from start to finish.
👉🏼 When: Sunday, December 10 at noon PT/3pm ET
👉🏼 Where: Hero Arts Facebook and YouTube
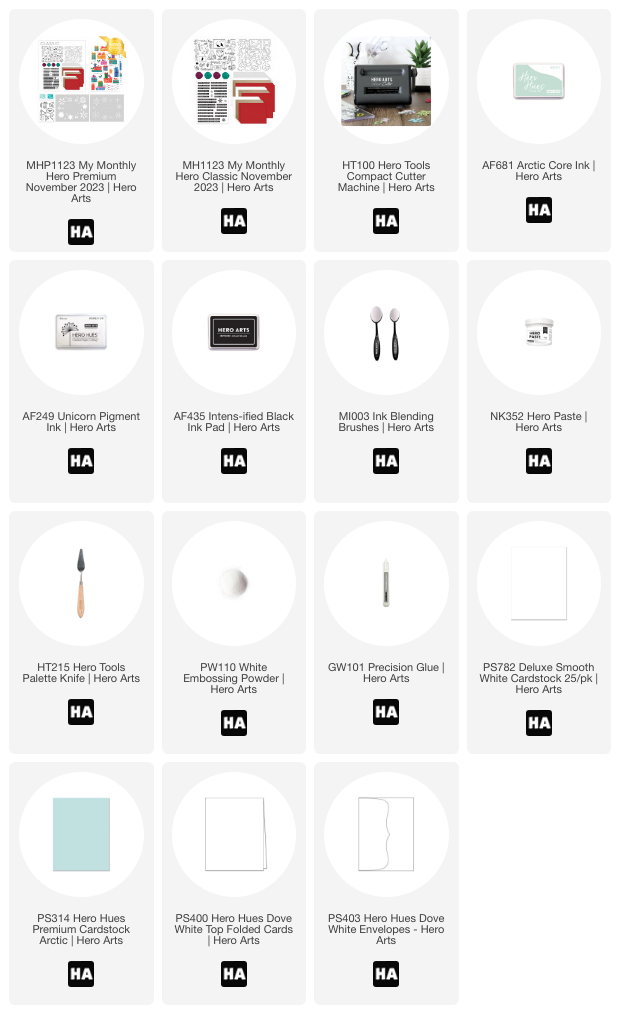
In addition to the sold out November My Monthly Hero Premium Kit, the following supplies will be used:
HT100 Die-cutting Machine
AF681 Arctic Core Ink
AF435 INTENS-ified Black Ink
AF249 Unicorn Pigment Ink
MI003 Ink Blending Brushes
HT215 Hero Tools Palette Knife
NK352 Hero Paste
PW110 White Embossing Powder
PS781 Deluxe Smooth White Cardstock
PS314 Arctic Hero Hues Cardstock
PS400 Dove White Top Folded Cards
PS403 Hero Hues Dove White Envelopes
GW101 Precision Glue
Full Adhesive Post-it Note
Foam Adhesive
Low-tack Tape
Copic Markers:
BEAR: Snout/ears: E30 + E31; Body: E31 + E33; Nose: E37 + E29
PENGUIN: Body: C-1, C-3, C-5 + C-7; Beak: Y15 + YR23
MOUSE: Body: E35, E37 + E29; Ears: RV11 + R22
HAT/SCARF: BG10 + BG34
Instructions:
- Use the included rectangles to die cut 2 large and 1 small postage stamp out of Deluxe Smooth White Cardstock.
- Position the larger rectangle die over one of the large postage stamp diecuts so it will cut the rectangle in half, then die cut to create a medium postage stamp.
- Stamp the bear, penguin and mouse from the Peeking Critters Clear Stamp Set onto a full adhesive post-it note then fussy cut the images out.
- Place post-it note images over postage stamp rectangles then ink blend with Arctic Core Ink. When finished ink-blending, remove post-it note images.
- Stamp the bear, penguin and mouse images onto the postage stamp rectangles in INTENS-ified Black Ink. Set rectangles aside to allow the ink to dry.
- Trim Arctic cardstock to 4 1/4” x 5 1/2”.
- Position the base stencil (the one with bigger openings) from the Color Layering Snowflake Stencil set over the arctic panel and ink blend with Arctic Core Ink.
- Position the detail stencil from the Color Layering Snowflake Stencil set over the panel and then apply Hero Paste over stencil with a palette knife. Remove stencil and clean it. Set the panel aside to dry.
- Position the base snowflake stencil over the envelope flap and ink-blend LIGHTLY with Arctic Core Ink. Remove and then position the detail snowflake stencil over and ink-blend Arctic ink heavily over the envelope.
- 10. Stamp a sentiment from the Mail Art Clear Stamp Set in Unicorn Pigment Ink onto a scrap of Arctic cardstock. Pour white embossing powder over and then heat set with heat tool. Die cut sentiment with coordinating die set.
- Copic color the images on the postage stamp rectangles.
- Adhere Arctic panel to the front of an A2 top folding Dove White card base.
- Adhere rectangles and sentiment to card front with foam adhesive.
If you cannot join us for the live event, no problem! The video will be available to watch on replay on YouTube or Facebook whenever it is convenient for you.
We hope to see you there!

Click on products to shop: