Candlewick Classics Collection Inspiration | Handmade Projects with Anya
on November 08, 2019

Candlewick Classics Collection Inspiration | Handmade Projects with Anya

Good morning everyone! My name is Anya Lunchenko and I am so honored to be a guest designer on the Spellbinders blog today! I got a chance to play with the beautiful Candlewick Classic collection by Becka Feeken. I have three projects to share today, but am sure there will be a whole lot more coming using these dies!

Spellbinders Candlewick Classics Collection by Becca Feeken - Inspiration | Handmade Projects with Anya Lunchenko

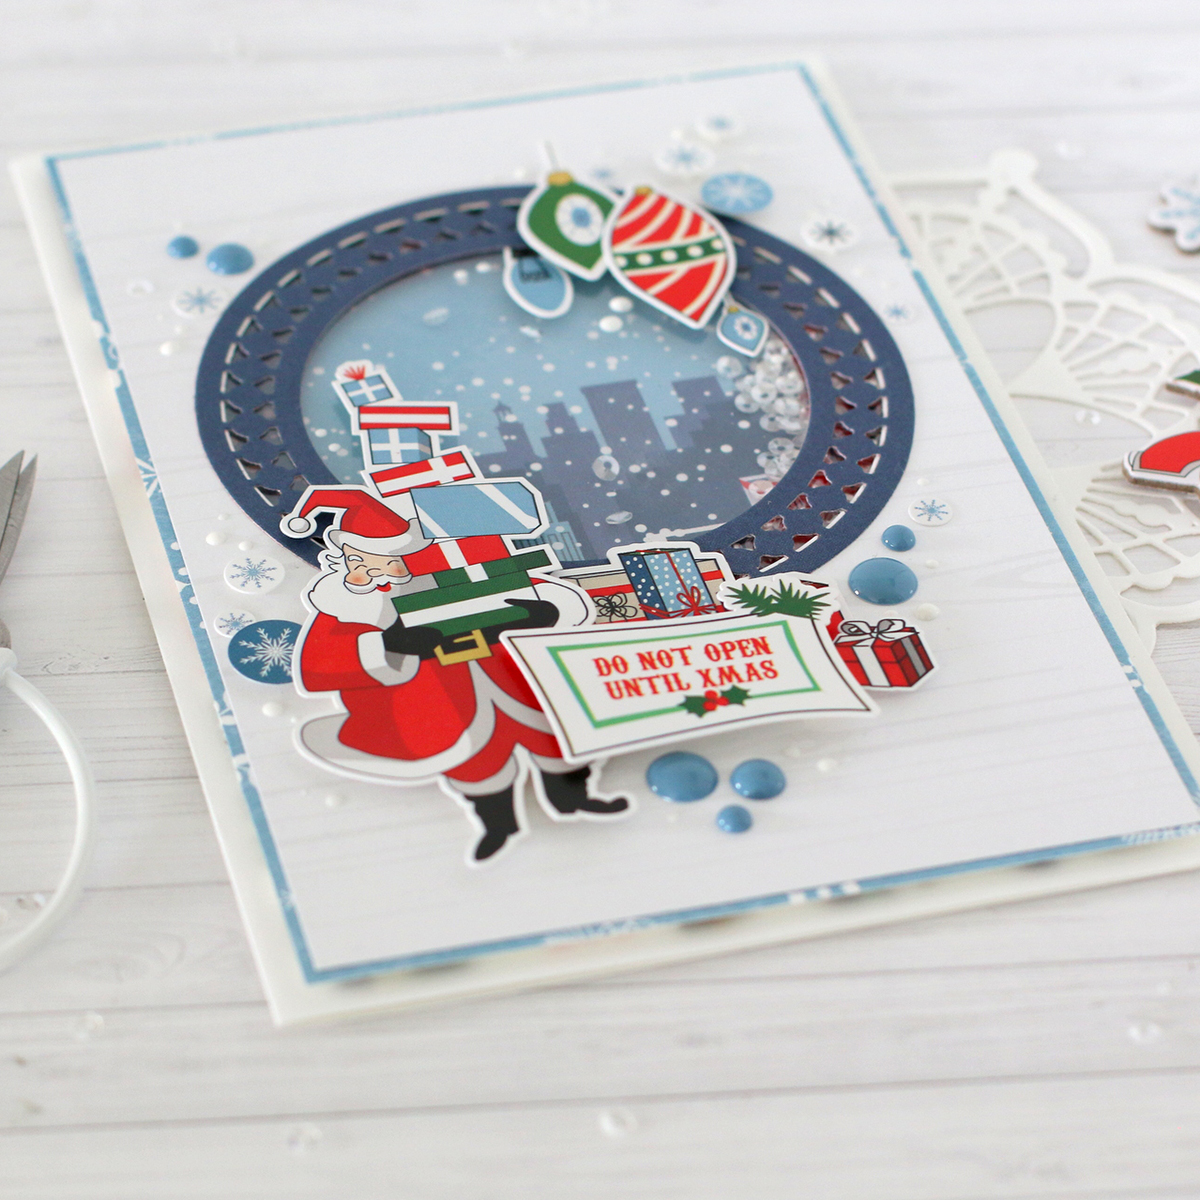
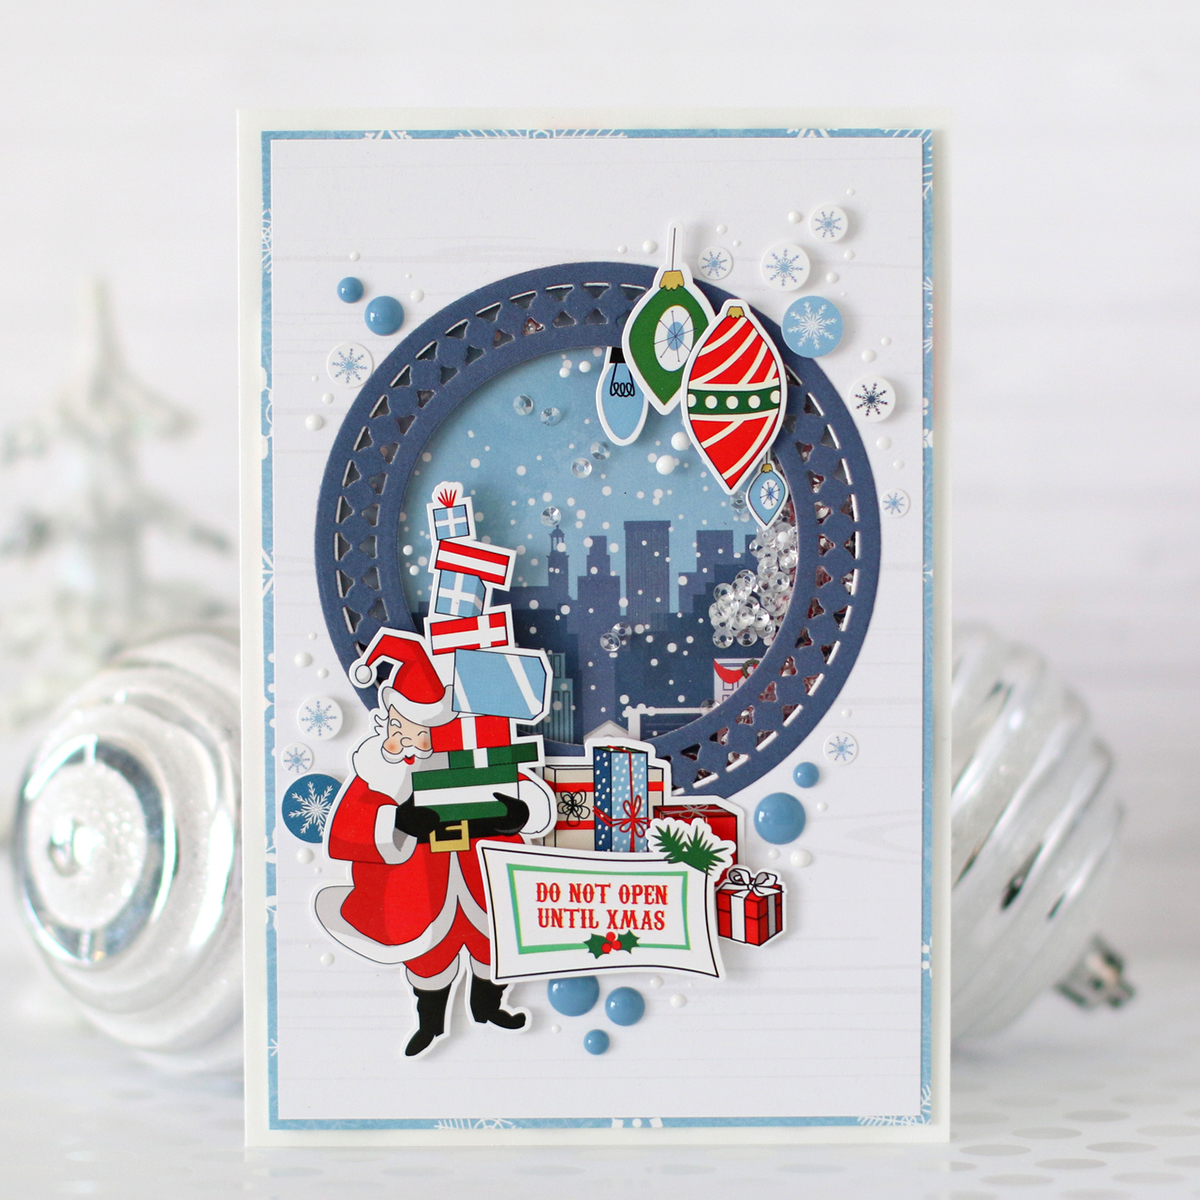
For my first card I used a medium sized circle from the Candlewick Circles Dies and used it to create a shaker Christmas card. I love how it dresses up the shaker window here!

Spellbinders Candlewick Classics Collection by Becca Feeken - Inspiration | Handmade Projects with Anya Lunchenko

I raised the front panel of the card, letting the shaker sit underneath. Also, I added a few popped up stickers by Carta Bella around the window and finished the card with some enamel dots and scattered Nuvo Drops in white.

Spellbinders Candlewick Classics Collection by Becca Feeken - Inspiration | Handmade Projects with Anya Lunchenko

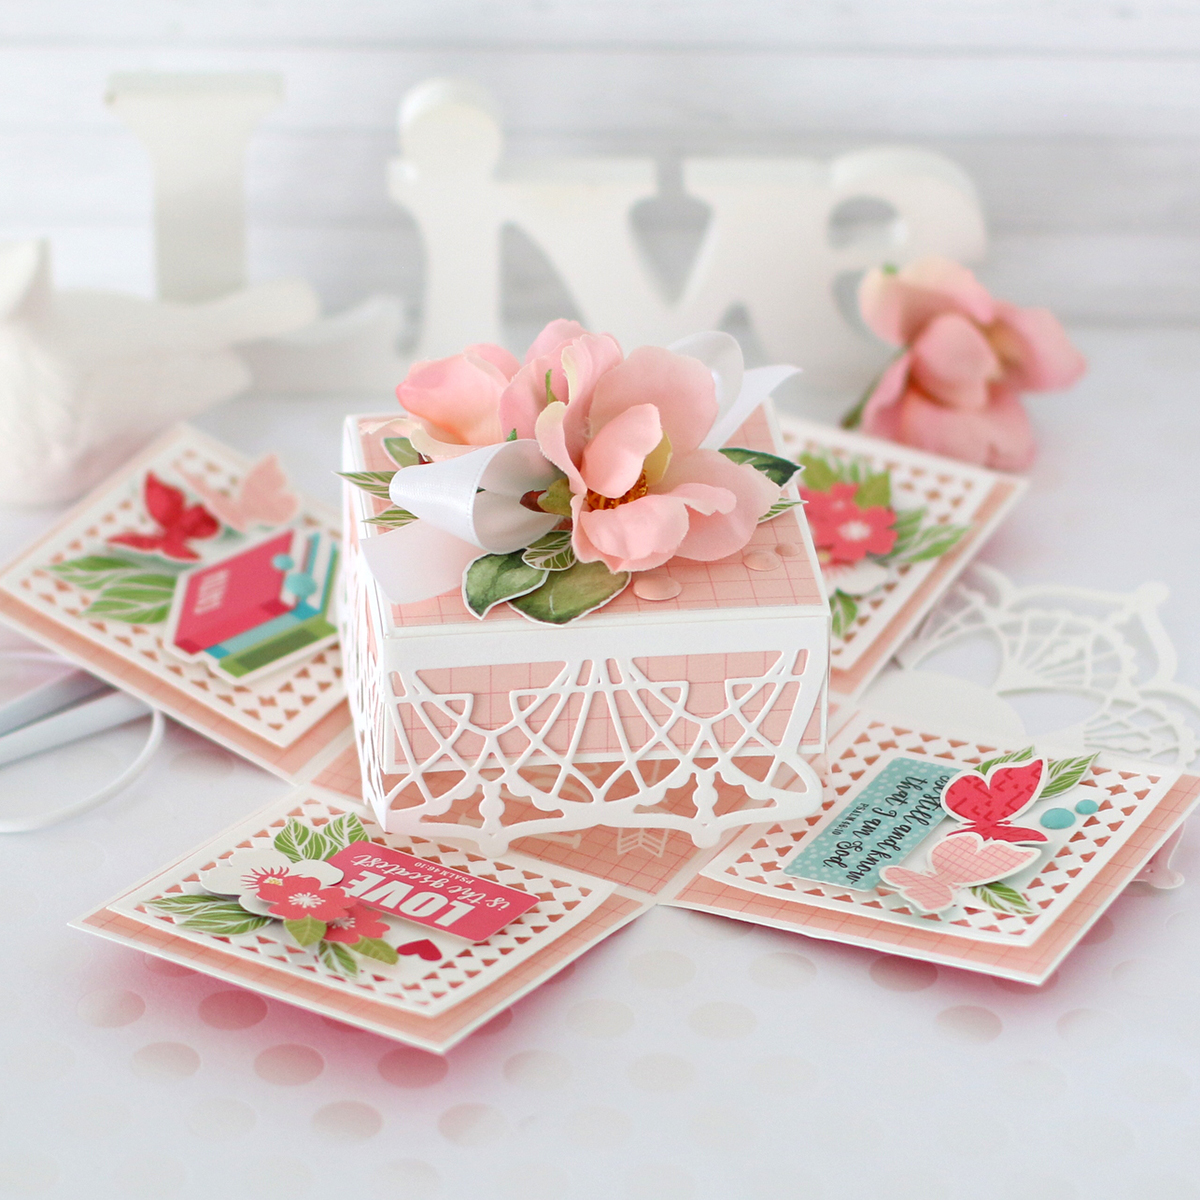
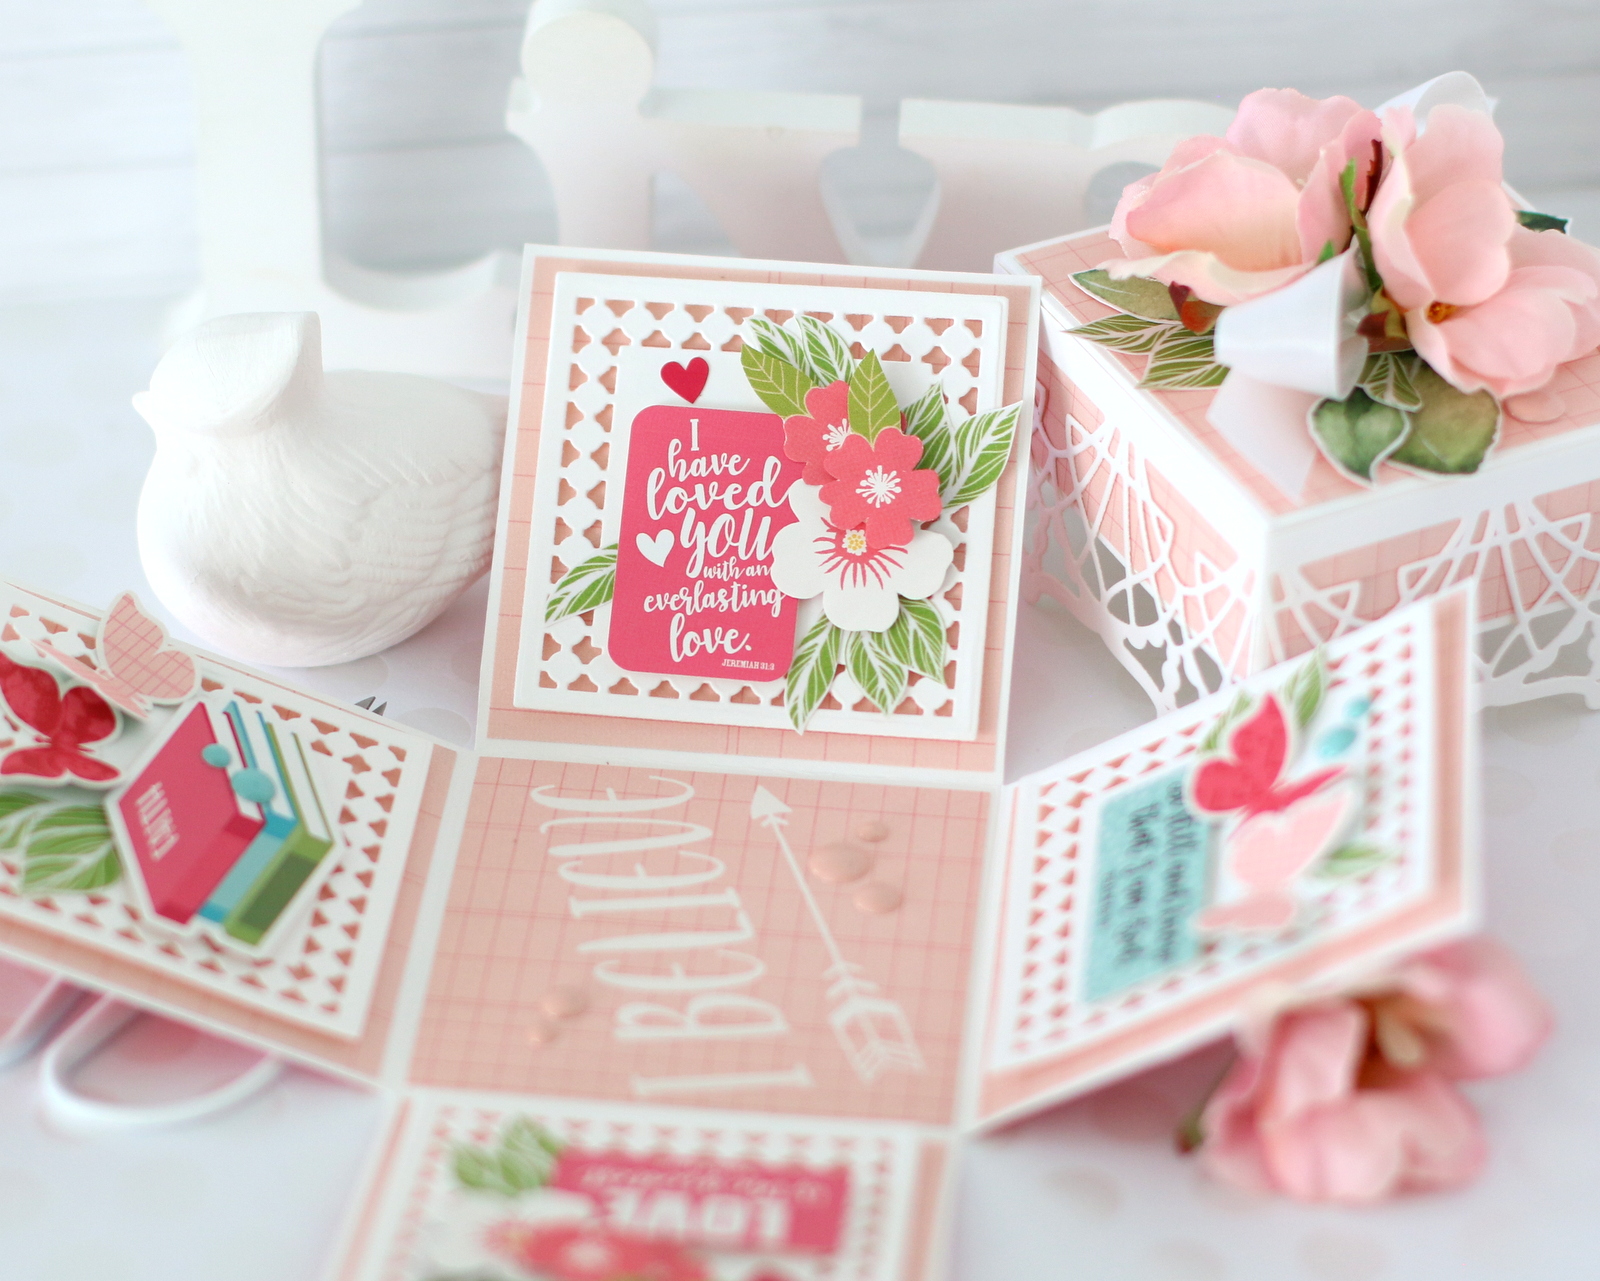
Some of my favorite things to create are exploding boxes, and when I saw the square dies from the Candlewick collection I knew I had to make one! The construction of such a box is pretty simple and it leaves room for your imagination to decorate one of these.

Spellbinders Candlewick Classics Collection by Becca Feeken - Inspiration | Handmade Projects with Anya Lunchenko

For this box, I used a small square die from the Candlewick Squares Dies to cut four pieces from white cardstock and added one to each of the panels with pop dots, which were further decorated with bits and pieces from one of the collections by Echo Park.

Spellbinders Candlewick Classics Collection by Becca Feeken - Inspiration | Handmade Projects with Anya Lunchenko

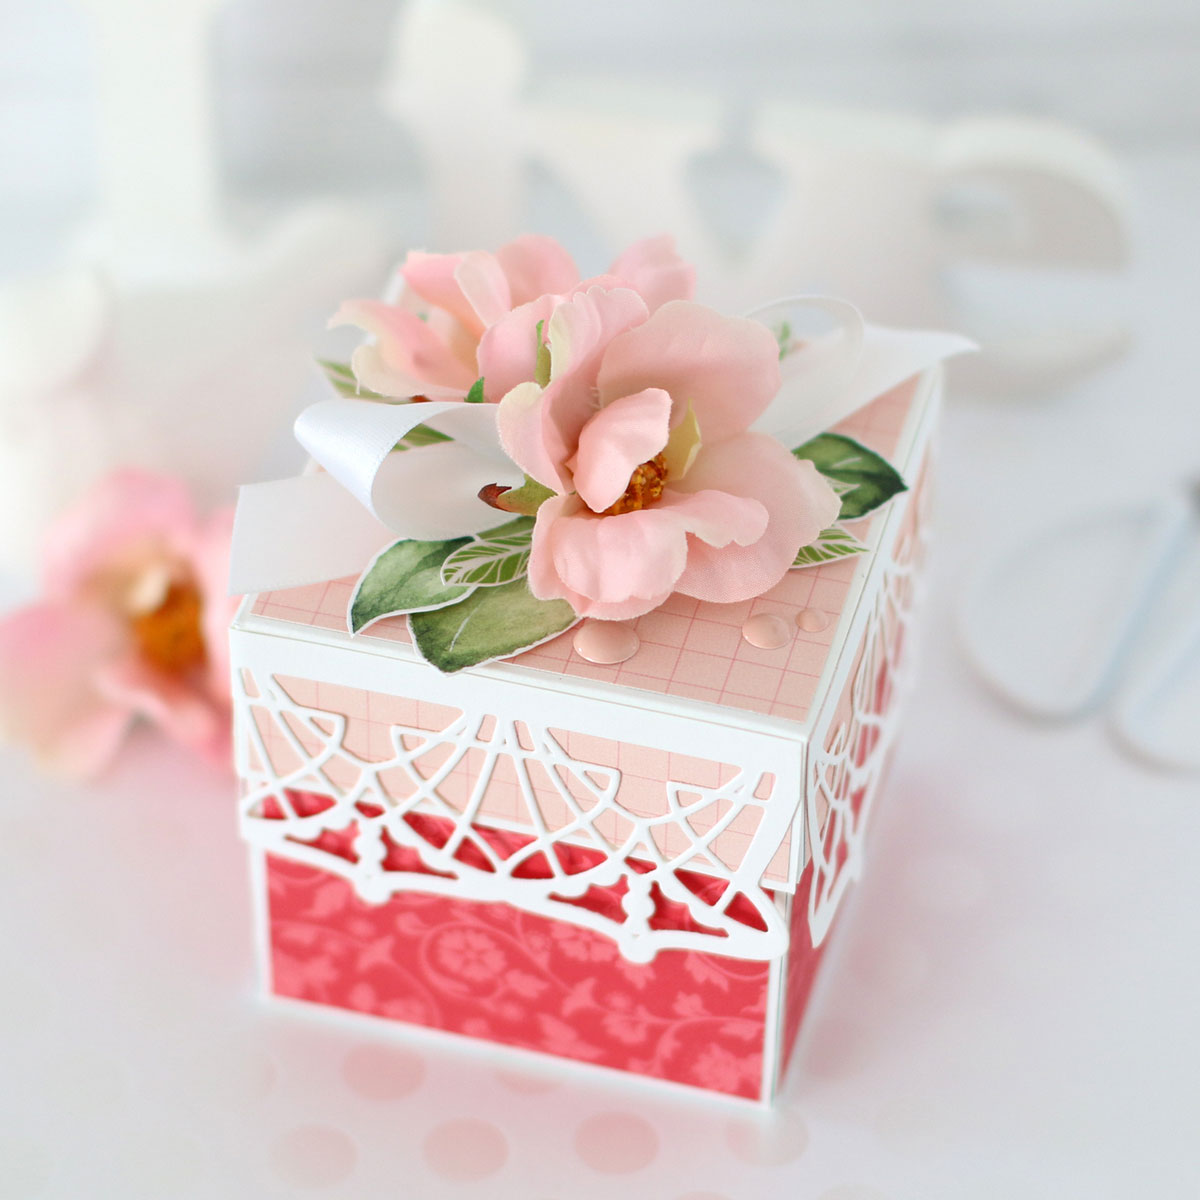
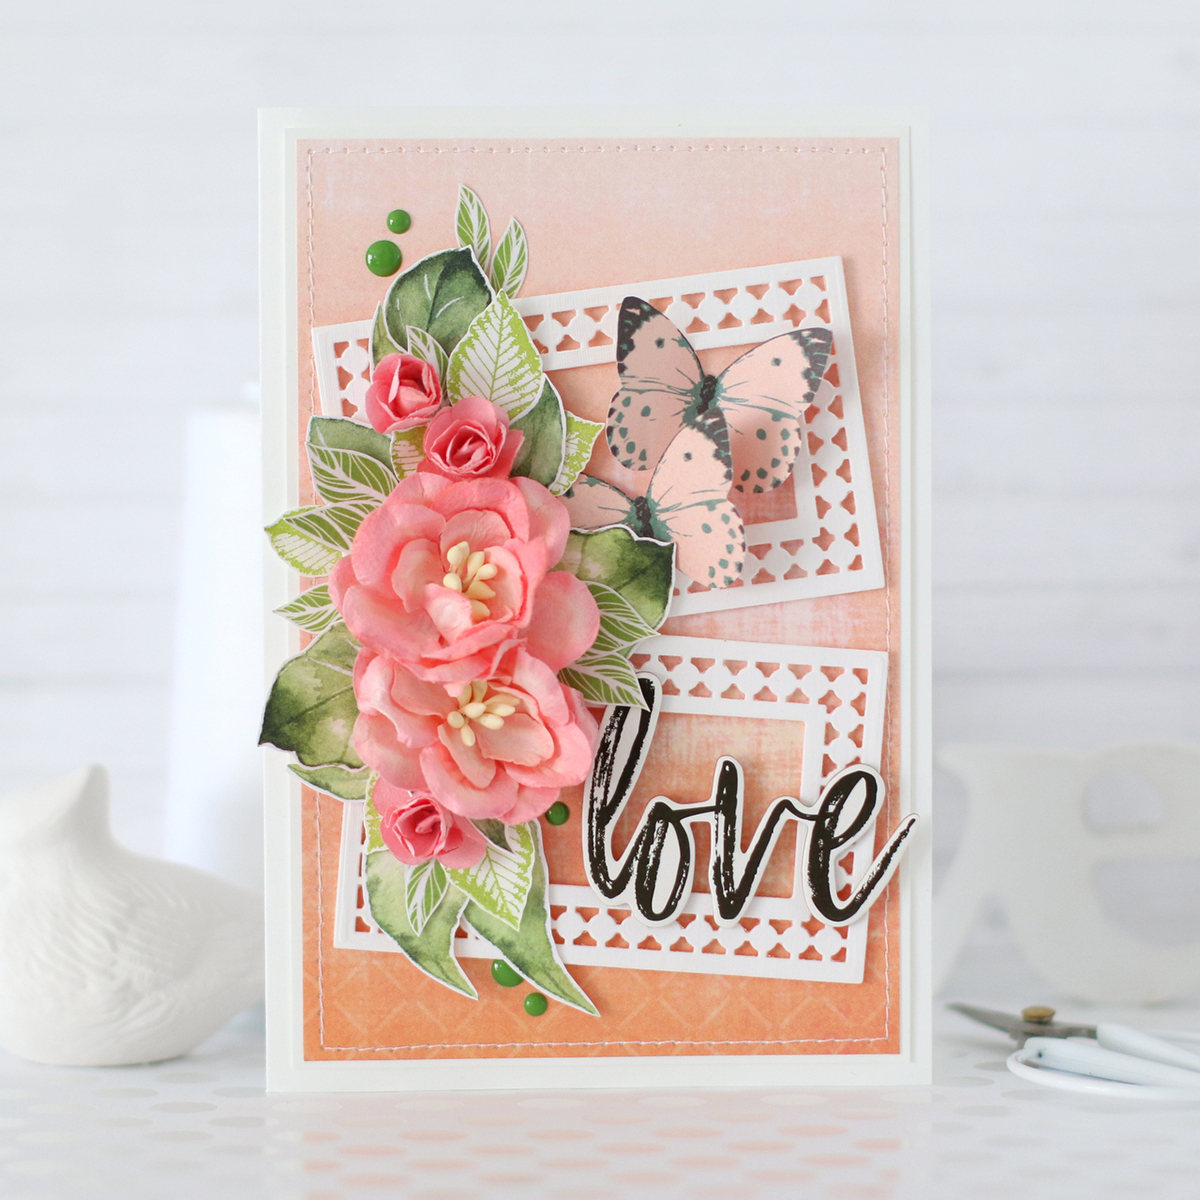
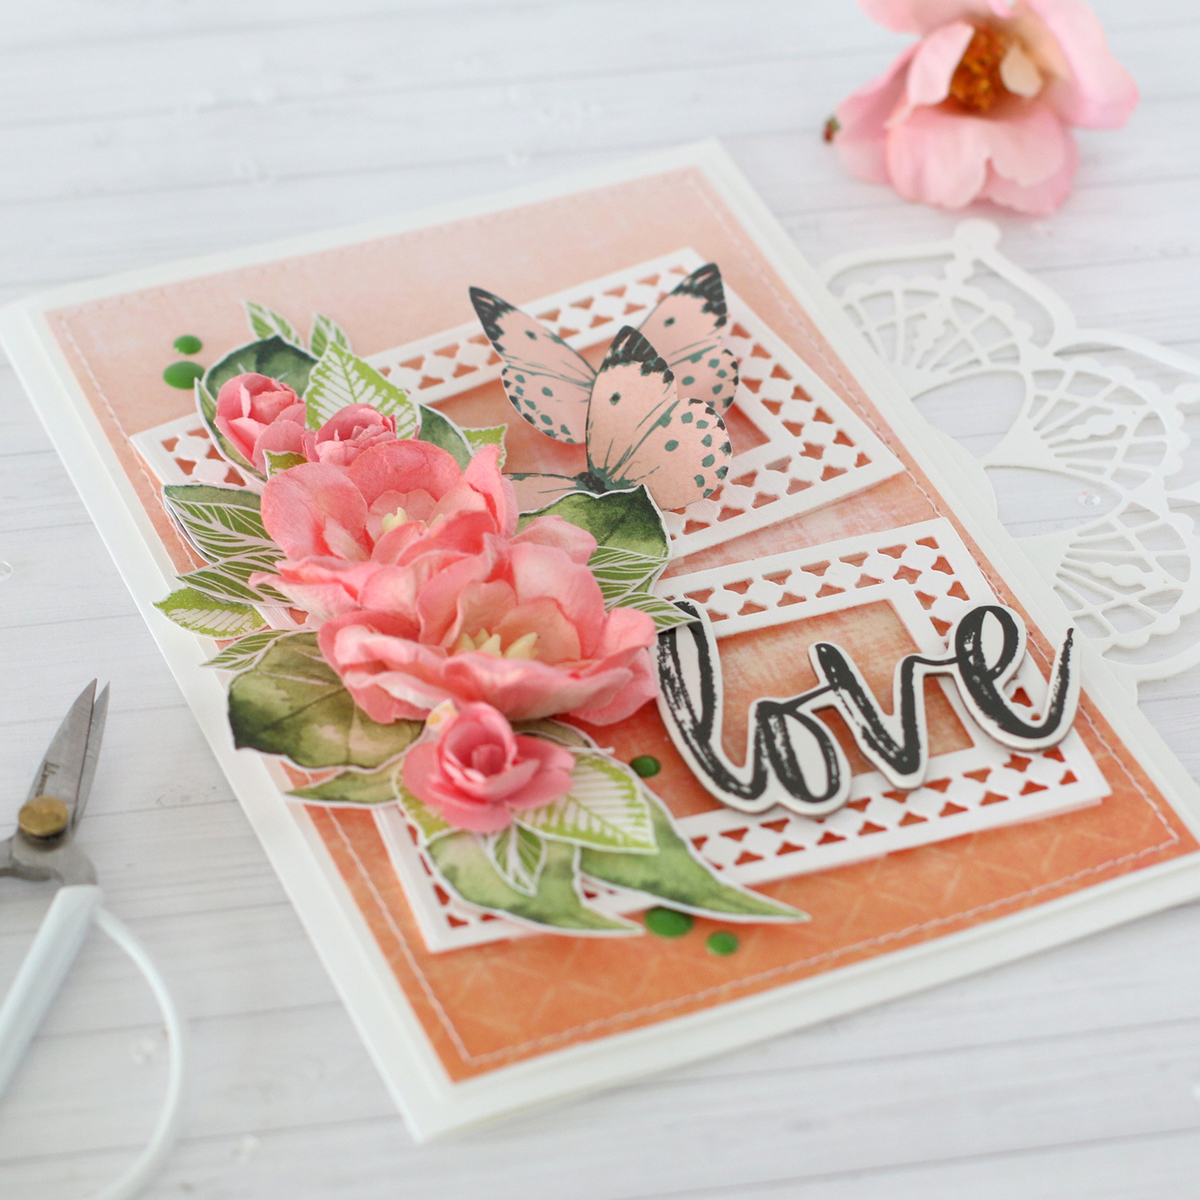
I decorated the top of the lid with a bow, two flowers from my stash and a few fussy cut leaves. But the biggest impact to this part of the box was made with the gorgeous Doily Border Dies! This box measures 2.75” square, which is a perfect size to add that decorative border. I cut two border pieces, folded each one in half and added them to a finished box lid. This little element made such a big difference! Can't wait to use it again and again in my future exploding boxes! Spellbinders Candlewick Classics Collection by Becca Feeken - Inspiration | Handmade Projects with Anya Lunchenko My last project for today is another card, where I used two of the smaller sized rectangular dies from the same Candlewick collection to use as frames on the card, that served as grounding pieces for a floral cluster. This simple step connects all the elements on the card and adds an elegant feel that I adore so much.

Spellbinders Candlewick Classics Collection by Becca Feeken - Inspiration | Handmade Projects with Anya Lunchenko

For a little bit more dimension, once again I used skinny strips of foam tape to these frames before adhering them to a card. After finding a perfect placement, I then decorated with flowers and foliage around them. There are endless possibilities you can use these dies for! I hope I've inspired you to take another look at this delicate Candlewick collection and create something beautiful with this product!

Spellbinders Supplies:

Also, these products were used: Neenah White Cardstock; Merry Christmas Collection by Carta Bella; Forward with Faith collection and Enamel Dots by Echo Park; Tombow Liquid Adhesive; Scrapbook Adhesives Foam Dots; Scotch Foam Tape; White Nuvo Drops; Chipboard by Simple Stories; fussy cut pieces from Websters Pages paper; White silk ribbon and flowers. Thank you for visiting Spellbinders blog dear creative friends! If you'd like, you may visit me at my blog for upcoming projects using this line at anyalstudio.blogspot.com or follow me on Instagram @anyalstudio. Thank you Spellbinders for having me!
Leave a comment

Your email will not be published. Please note, comments need to be approved before they are published.

2 comments

Marilyn Gray,

Beautiful!

Pam TAS,

Hi Anya love your colourful and very pretty work gorgeous
thanks for sharing Pam X


  • HOW TO USE PRESS PLATES WITH MULTIPLE INKS | CREATE YOUR WAY HOLIDAY, BPR-050, BPI-049, BPI-003

    BP-001

    How to Use Multiple Ink Colors with BetterPress Registration Plates

    Create a colorful Christmas card while learning how to apply multiple ink colors to BetterPress registration plates. In this detailed tutorial, you’ll use the Festive Evergreens Registration Press + Foil Plate & Die Set to press a holiday doorway scene in three colors, combining the built-in registration system with a simple masking technique. The registration template positions the coordinating plates so each layer aligns with...

  • How to Make a Colorful Foiled Butterfly Card with Glimmer II

    BP-351

    How to Make a Colorful Foiled Butterfly Card with Glimmer II

    Combine hot foiling, alcohol-marker coloring, ink blending, and dimensional shaping to create a colorful butterfly card that sparkles from every angle. In this step-by-step tutorial, you’ll learn how to foil detailed butterflies and a floral background with the Glimmer II Hot Foil System, add bold color, and shape the butterfly wings for a realistic raised effect. The Bright Butterflies and Thanks In Bloom Press +...

  • How to Heat Emboss with BetterPress Plates: Snowman Christmas Card

    BP-001

    How to Heat Emboss with BetterPress Plates: Snowman Christmas Card

    BetterPress plates can do more than create letterpress impressions and hot-foiled designs. In this detailed Christmas card tutorial, you’ll learn how to apply clear sticky ink to a BetterPress plate and use white embossing powder to produce a crisp, heat-embossed snowflake background. The tutorial also covers pressing and die cutting a sentiment, assembling three detailed snowmen, and arranging the finished elements on an A2 card....