Card Club Kit Extras! November Edition
on November 05, 2018

Card Club Kit Extras! November Edition

Hello-hello, Spellbinders' fans! We're so glad you are LOVING our November kits! To bring you even more inspiration with our Card Kit of the Month products we decided to begin sharing monthly inspiration featuring Card Club Kit Extras!
Did you know, you can get awesome extra products to go along with your Card Kit of the Month? Or maybe you are not a Club member yet, but would like to give our extras a try - you can do so here.
Today we have 3 projects to share featuring the awesome Deer Santa Diecut Shapes Set, Deer Santa Paper Pad, Deer Santa Sentiment Stickers and Deer Santa Chipboard Stickers.

Jingle All The Way Card
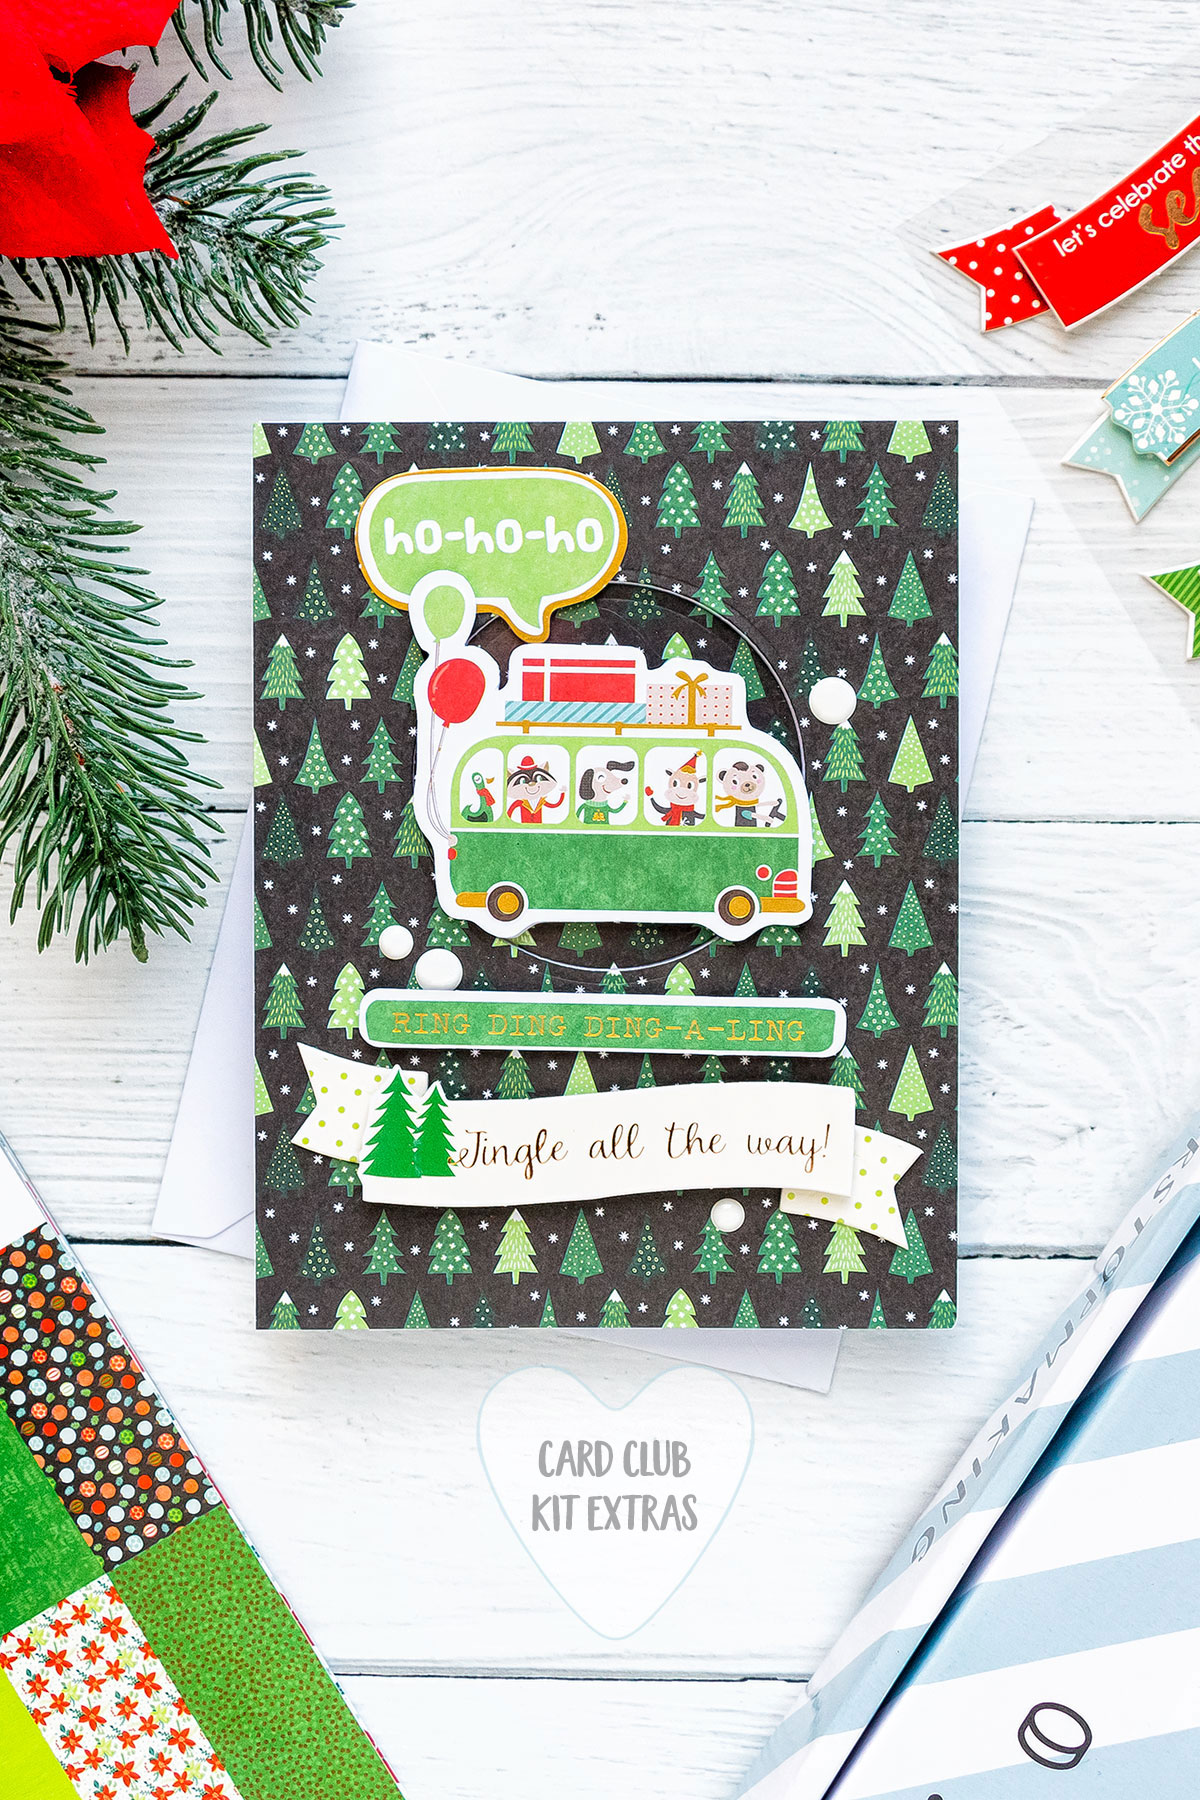
Spellbinders Card Club Kit Extras! November Edition - Handmade Christmas Cards #spellbinders #SpellbindersClubKits

Spellbinders Card Club Kit Extras! November Edition - Handmade Christmas Cards #spellbinders #SpellbindersClubKits Spellbinders Card Club Kit Extras! November Edition - Handmade Christmas Cards #spellbinders #SpellbindersClubKits

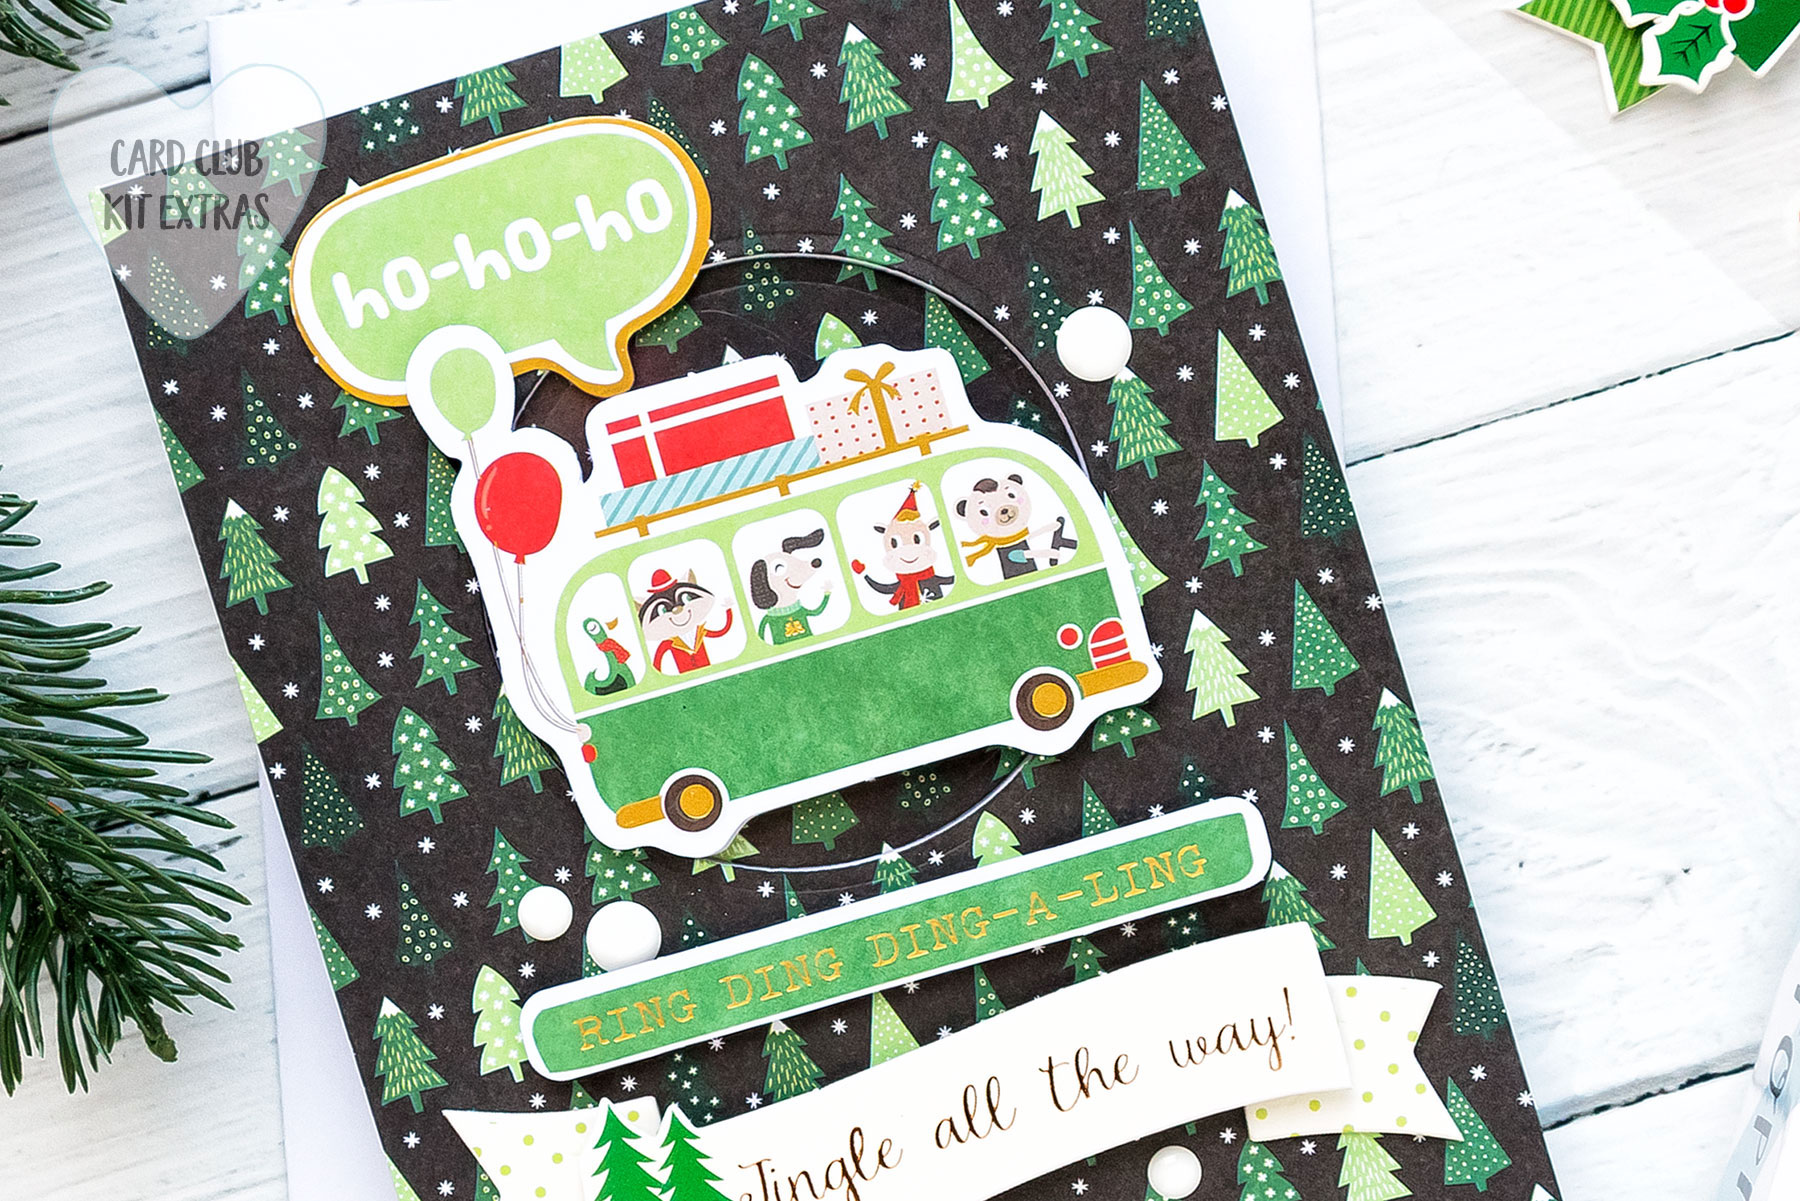
Ho Ho Ho Card - Instructions:

  • Trim patterned paper to 4 1x4 x 5 1/2", align with card front. Open card base and die-cut circle opening in both.
  • Adhere patterned paper circle inside the card.
  • Adhere a piece of clear acetate onto card base (you can re-use plastic acetate from the chipboard stickers).
  • Adhere patterned paper panel on top.
  • Foam mount bus onto the card. Adhere the 2nd bus die cut (you get 2 of each die cuts in this kit) on the inside of your card to hide foam adhesive.
  • Adhere "Ho Ho Ho" speech bubble.
  • Foam mount sentiment.
  • Adhere chipboard sentiment sticker.

Merry Christmas Card

Spellbinders Card Club Kit Extras! November Edition - Handmade Christmas Cards #spellbinders #SpellbindersClubKits

Spellbinders Card Club Kit Extras! November Edition - Handmade Christmas Cards #spellbinders #SpellbindersClubKits Spellbinders Card Club Kit Extras! November Edition - Handmade Christmas Cards #spellbinders #SpellbindersClubKits

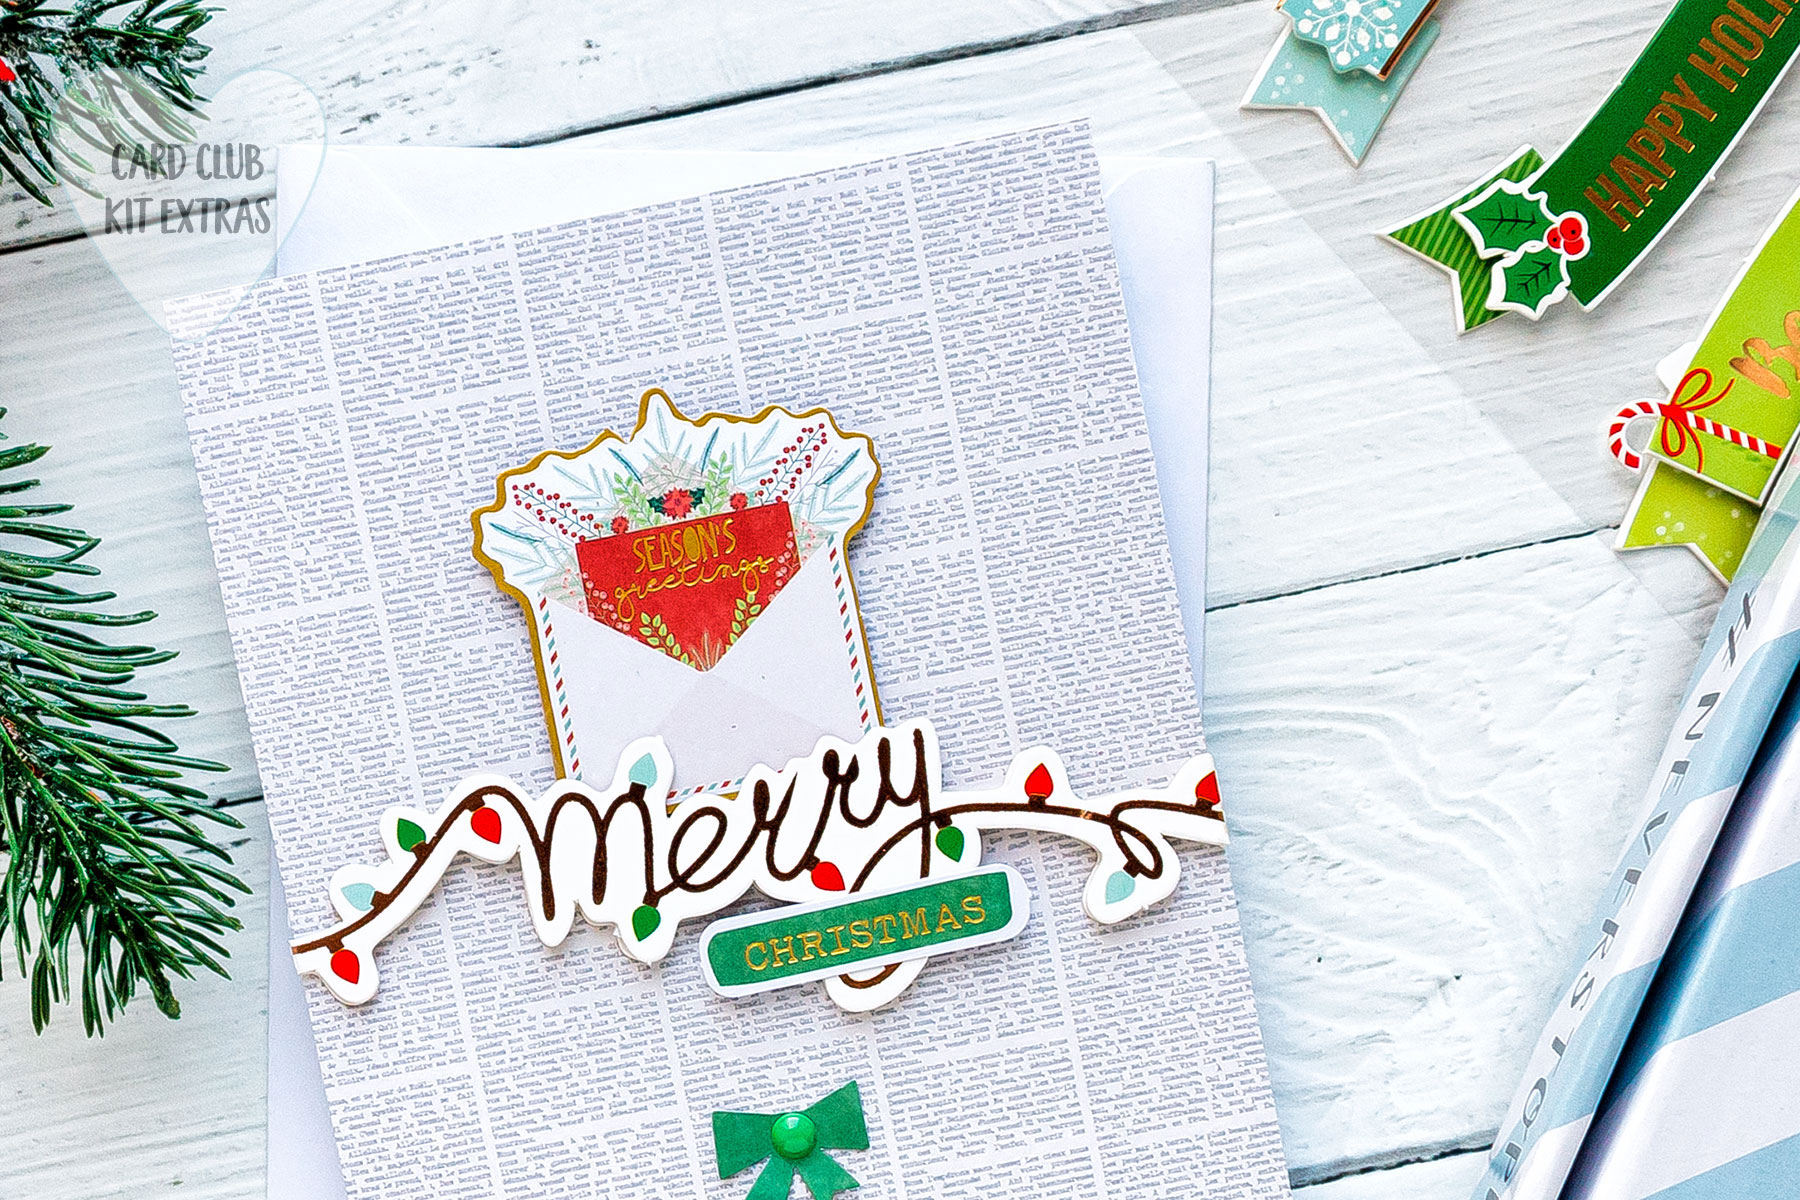
Merry Christmas Card - Instructions:

  • Cover front of an A2 card with patterned paper.
  • Adhere "Merry" chipboard sentiment.
  • Foam mount "Season's Greetings" envelope.
  • Adhere "Christmas" over the "Merry" chipboard piece.
  • Adhere tiny bow.
  • Embellish bow center using an enamel dot.

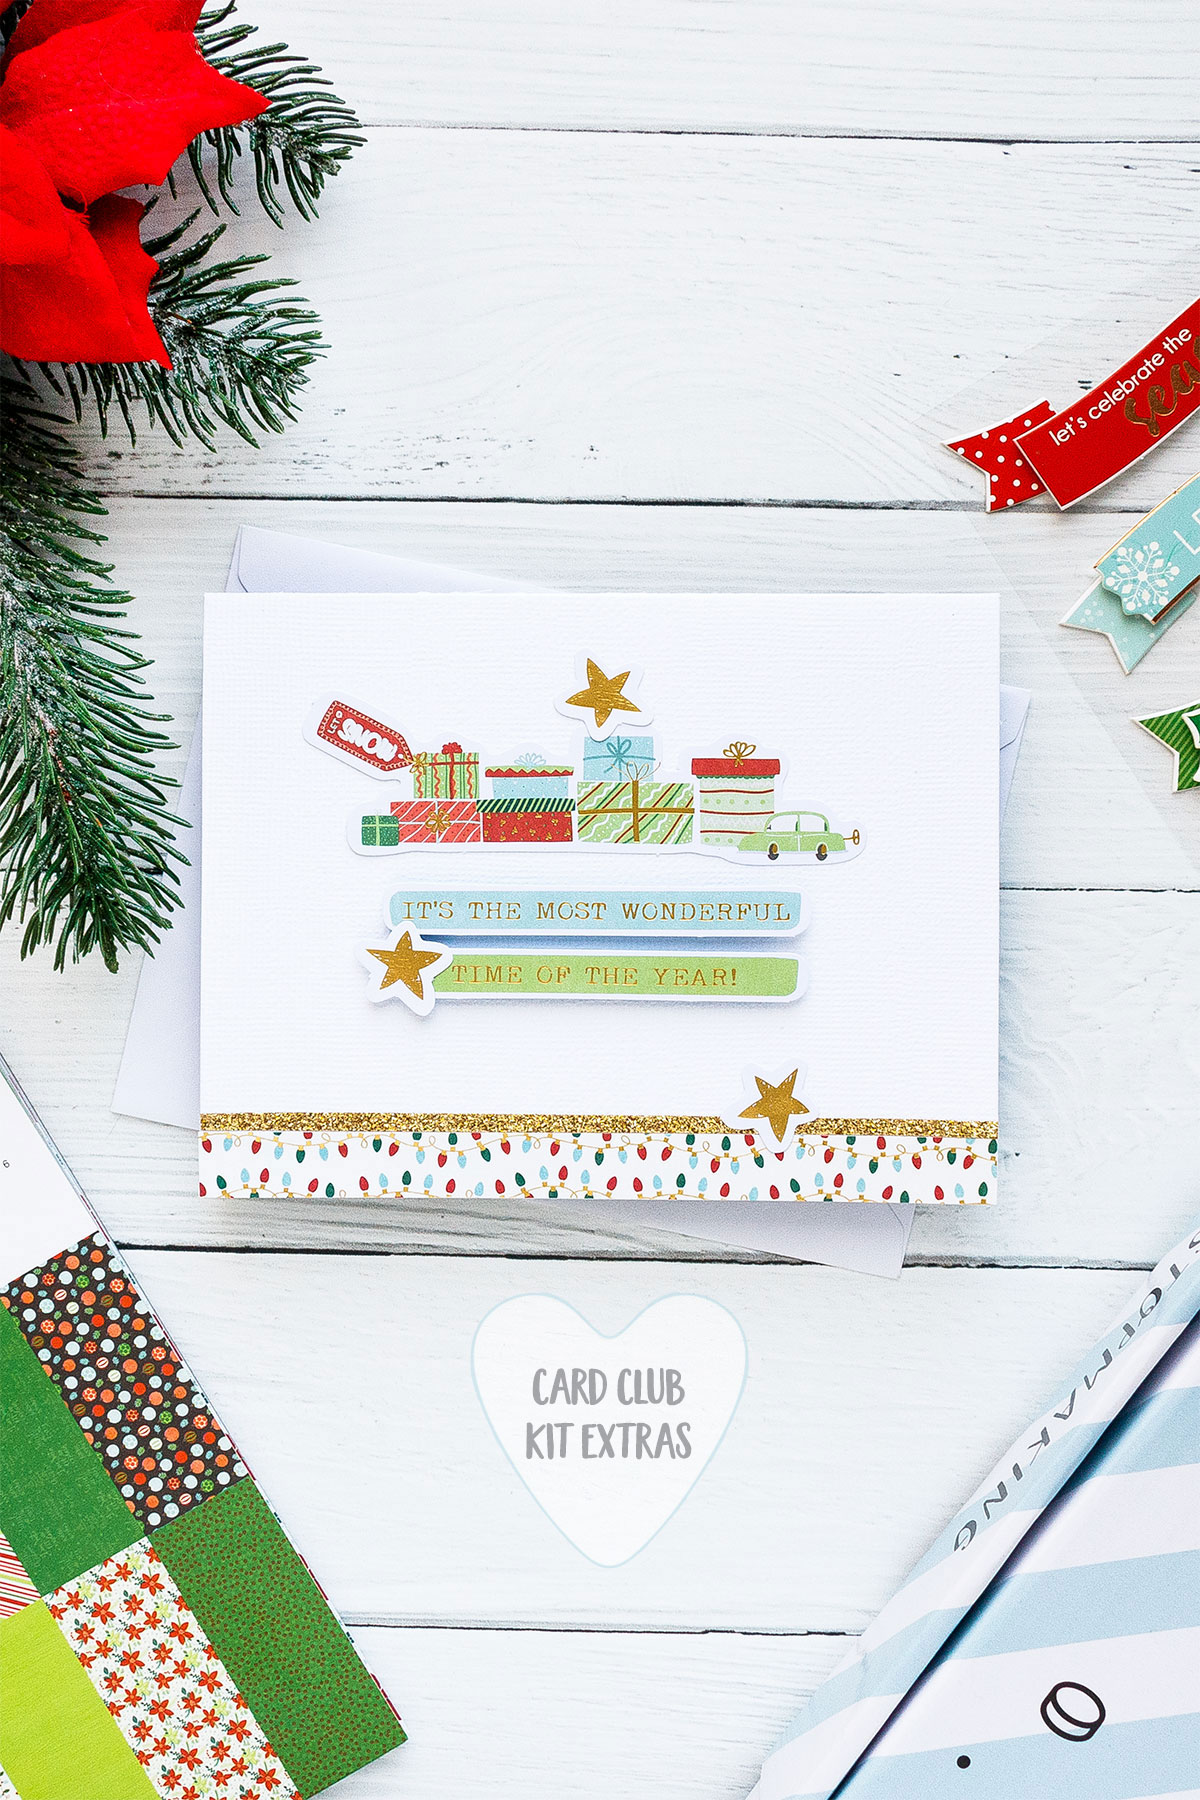
Most Wonderful Time of the Year Card
Spellbinders Card Club Kit Extras! November Edition - Handmade Christmas Cards #spellbinders #SpellbindersClubKits

Spellbinders Card Club Kit Extras! November Edition - Handmade Christmas Cards #spellbinders #SpellbindersClubKits Spellbinders Card Club Kit Extras! November Edition - Handmade Christmas Cards #spellbinders #SpellbindersClubKits

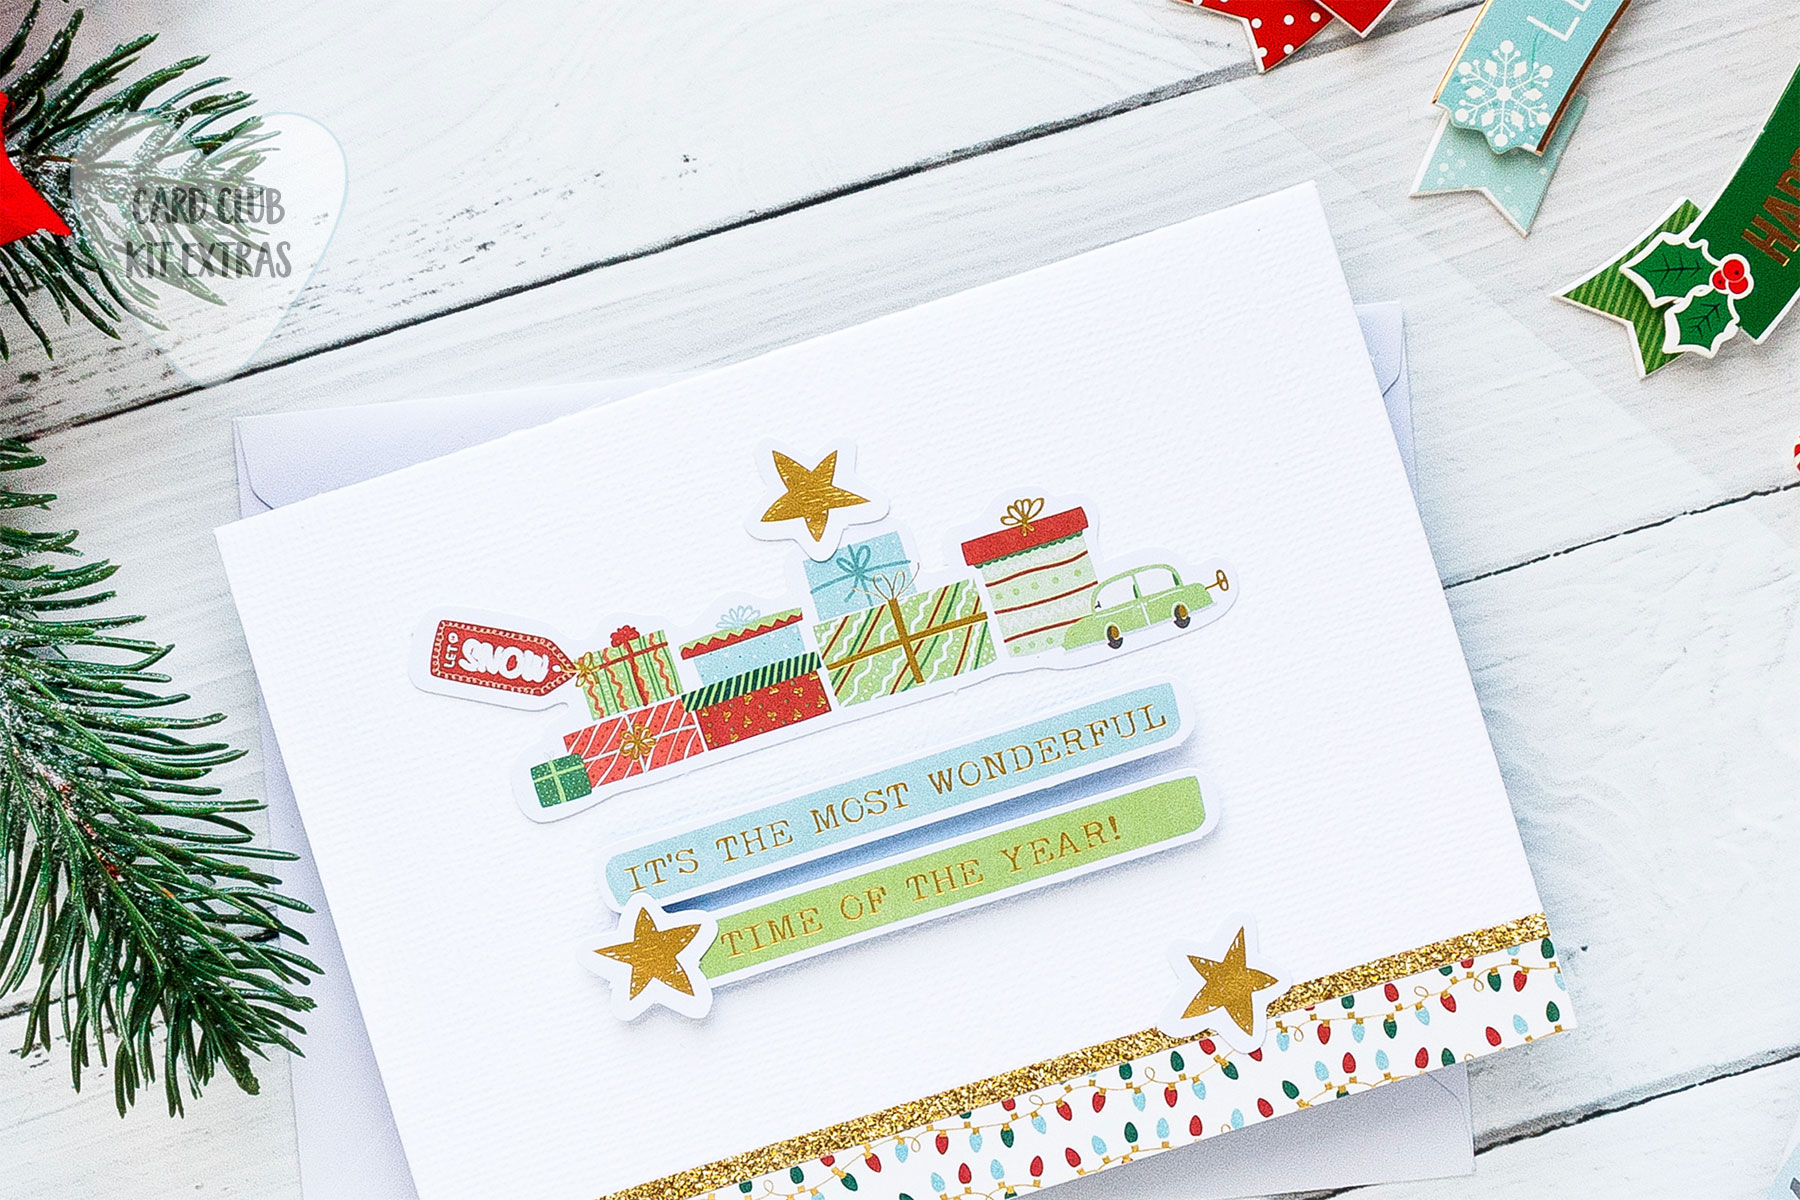
Most Wonderful Time of the Year Card - Instructions:

  • Adhere gold glitter tape along the bottom edge of an A2 landscape card.
  • Trim patterned paper to 1/2" wide, adhere over the glitter tape.
  • Adhere gifts and car printed die cut.
  • Foam mount sentiment pieces.
  • Adhere gold star printed die cuts.

Spellbinders Supplies:

Leave a comment

Your email will not be published. Please note, comments need to be approved before they are published.

2 comments

Yana Smakula,

thank you, Andre! Glad you like them :)

Andre M.,

These elements are fab for making quick cards and the results are so lovely.


  • HOW TO USE PRESS PLATES WITH MULTIPLE INKS | CREATE YOUR WAY HOLIDAY, BPR-050, BPI-049, BPI-003

    BP-001

    How to Use Multiple Ink Colors with BetterPress Registration Plates

    Create a colorful Christmas card while learning how to apply multiple ink colors to BetterPress registration plates. In this detailed tutorial, you’ll use the Festive Evergreens Registration Press + Foil Plate & Die Set to press a holiday doorway scene in three colors, combining the built-in registration system with a simple masking technique. The registration template positions the coordinating plates so each layer aligns with...

  • How to Make a Colorful Foiled Butterfly Card with Glimmer II

    BP-351

    How to Make a Colorful Foiled Butterfly Card with Glimmer II

    Combine hot foiling, alcohol-marker coloring, ink blending, and dimensional shaping to create a colorful butterfly card that sparkles from every angle. In this step-by-step tutorial, you’ll learn how to foil detailed butterflies and a floral background with the Glimmer II Hot Foil System, add bold color, and shape the butterfly wings for a realistic raised effect. The Bright Butterflies and Thanks In Bloom Press +...

  • How to Heat Emboss with BetterPress Plates: Snowman Christmas Card

    BP-001

    How to Heat Emboss with BetterPress Plates: Snowman Christmas Card

    BetterPress plates can do more than create letterpress impressions and hot-foiled designs. In this detailed Christmas card tutorial, you’ll learn how to apply clear sticky ink to a BetterPress plate and use white embossing powder to produce a crisp, heat-embossed snowflake background. The tutorial also covers pressing and die cutting a sentiment, assembling three detailed snowmen, and arranging the finished elements on an A2 card....