Cuppa Coffee, Cuppa Tea Inspiration | Coffee Woman Card with Melissa Phillips
on August 30, 2018

Cuppa Coffee, Cuppa Tea Inspiration | Coffee Woman Card with Melissa Phillips

Hello again! Melissa Phillips joining you today with another card created with the darling, new die collection from Sharon Sowell, the Cuppa Coffee, Cuppa Tea Collection. I am smitten! You can catch my first guest post featuring this collection here.
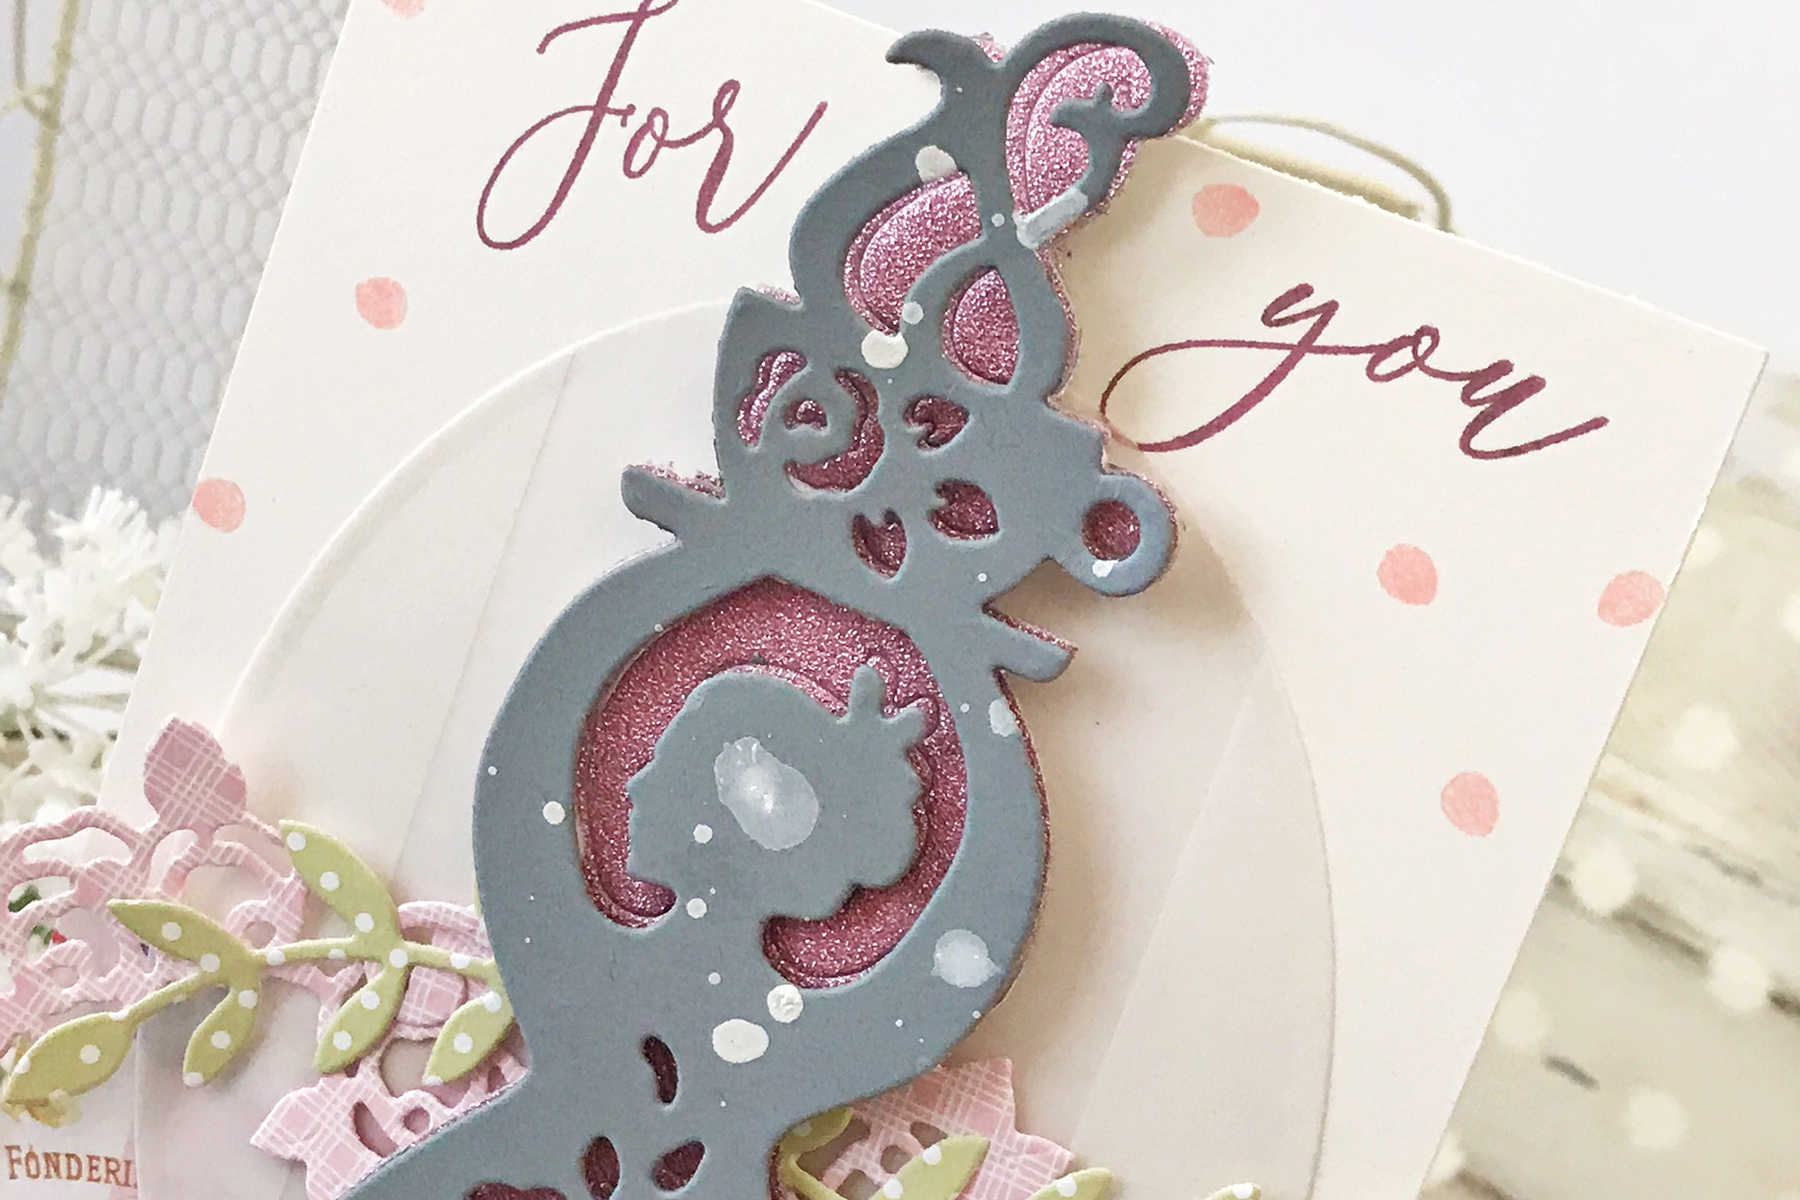
Spellbinders Cuppa Coffee, Cuppa Tea Collection by Sharyn Sowell - Inspiration | Coffee Woman Card with Melissa Phillips featuring S4-951 Coffee Woman, S2-299 Cuppa Love, S5-332 Hemstitch Ovals #neverstopmaking #spellbinders #sharynsowell #diecutting #handmadecard #coffeewoman

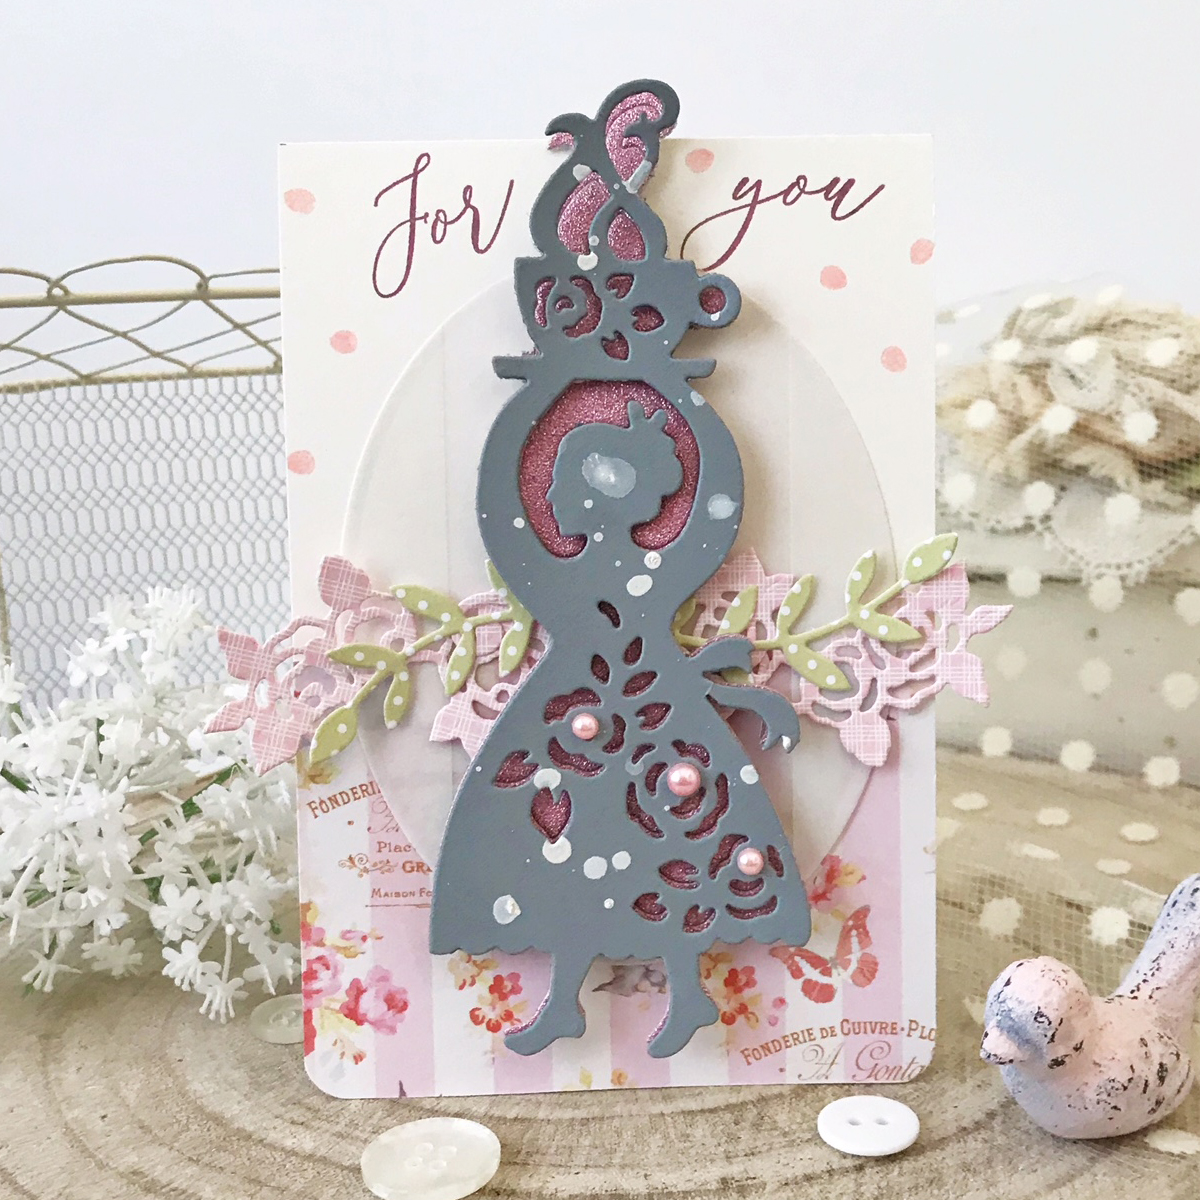
This card uses the gorgeous Coffee Woman dies.  I am in awe of the creativity of this beautiful set.

Spellbinders Cuppa Coffee, Cuppa Tea Collection by Sharyn Sowell - Inspiration | Coffee Woman Card with Melissa Phillips featuring S4-951 Coffee Woman, S2-299 Cuppa Love, S5-332 Hemstitch Ovals #neverstopmaking #spellbinders #sharynsowell #diecutting #handmadecard #coffeewoman

I cut two of my Coffee Woman images, with the bottom layer cut from pink glitter cardstock, and the top layer cut from a soft grey.  Instead of removing the cut outs from the die cuts on my glitter cardstock layer, I left them intact, so that the pink would show through the soft grey layer.

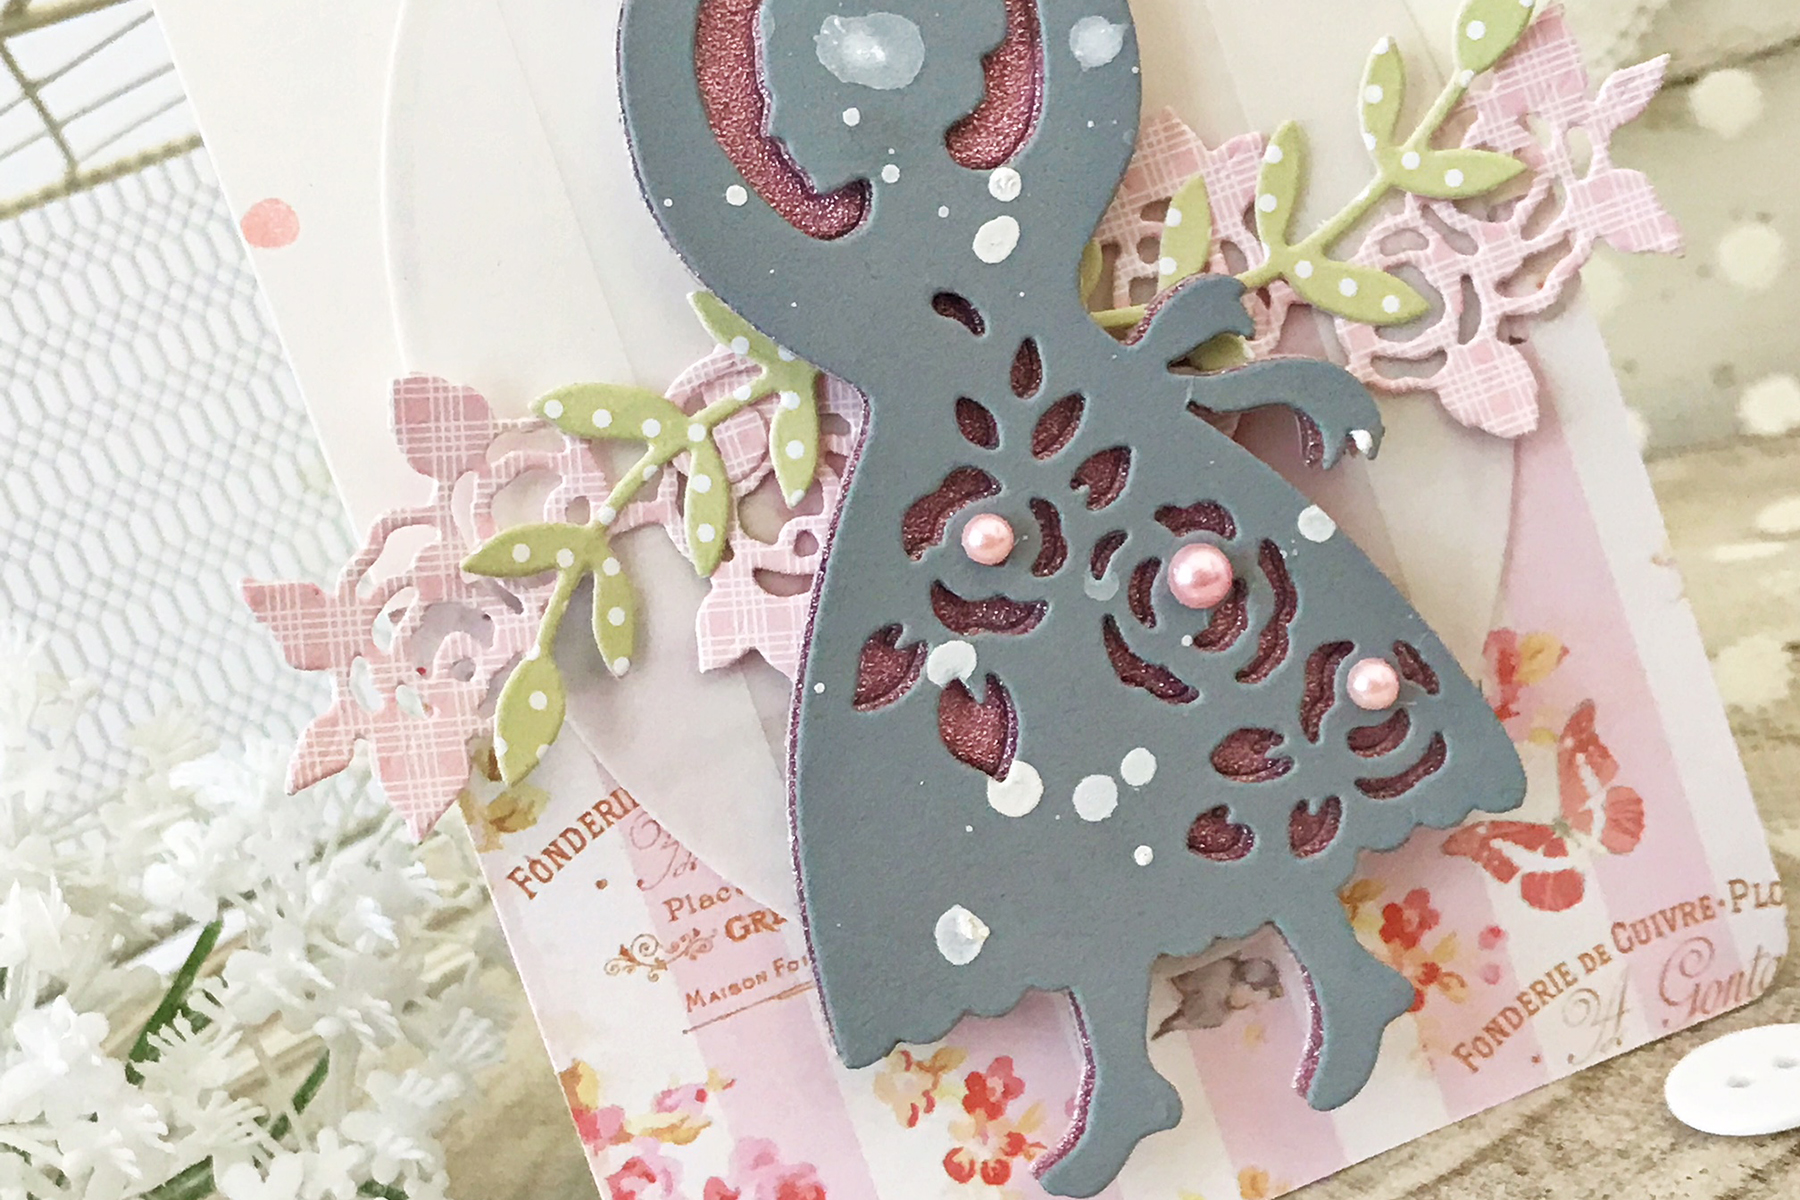
Spellbinders Cuppa Coffee, Cuppa Tea Collection by Sharyn Sowell - Inspiration | Coffee Woman Card with Melissa Phillips featuring S4-951 Coffee Woman, S2-299 Cuppa Love, S5-332 Hemstitch Ovals #neverstopmaking #spellbinders #sharynsowell #diecutting #handmadecard #coffeewoman

Before adhering my Coffee Woman die cuts to the center of my card, I attached floral die cuts, cut from patterned paper.  The pink flowers were cut using this same die set, while the green leaves were cut using the Cuppa Love set.  I added a bit of character by adding white shimmer paint and adhesive pearls. The Coffee Woman dies are enchanting and truly feel like something right out of a fairy tale.

Spellbinders Supplies:

Other Supplies:

Patterned paper: Prima and Papertrey Ink:  Cardstock:  Papertrey Ink and DCWV; Stamps and Ink:  Papertrey Ink;  Adhesive pearls:  Kaisercraft;  Adhesive:  Beacon and Tombow Thank you for visiting! Melissa

Leave a comment

Your email will not be published. Please note, comments need to be approved before they are published.

1 comment

Annette Reed,

This is lovely. I realized that if you cut the handle off of the cup it could be a bowl of soup. Perfect for a get well soon card. I may just have to buy it and try it. Thanks for the inspiration!


  • How to Make a Colorful Foiled Butterfly Card with Glimmer II

    BP-351

    How to Make a Colorful Foiled Butterfly Card with Glimmer II

    Combine hot foiling, alcohol-marker coloring, ink blending, and dimensional shaping to create a colorful butterfly card that sparkles from every angle. In this step-by-step tutorial, you’ll learn how to foil detailed butterflies and a floral background with the Glimmer II Hot Foil System, add bold color, and shape the butterfly wings for a realistic raised effect. The Bright Butterflies and Thanks In Bloom Press +...

  • How to Heat Emboss with BetterPress Plates: Snowman Christmas Card

    BP-001

    How to Heat Emboss with BetterPress Plates: Snowman Christmas Card

    BetterPress plates can do more than create letterpress impressions and hot-foiled designs. In this detailed Christmas card tutorial, you’ll learn how to apply clear sticky ink to a BetterPress plate and use white embossing powder to produce a crisp, heat-embossed snowflake background. The tutorial also covers pressing and die cutting a sentiment, assembling three detailed snowmen, and arranging the finished elements on an A2 card....

  • How to Use the Reverse Foiling Technique on a Colorful Window Card

    BP-001

    How to Use the Reverse Foiling Technique on a Colorful Window Card

    Create a bright, modern card while learning how to use the negative foil left behind after hot foiling. In this step-by-step tutorial, you’ll foil the detailed Windows with a View design, use a solid plate to reverse foil the remaining image, and turn selected windows into dimensional embellishments. An ink-blended striped background, BetterPress sentiment, and sparkling gems complete the design. This project is ideal for...