

Posted by Spellbinders Team
on August 21, 2017

Hi everyone! Alli Roth here from Partyography and today I’m excited to share these Ooh La La party favor boxes using Stacey Caron’s French Alphabet Stamps Set. Whether you’re celebrating a bridal shower, baby shower or your child’s birthday, Paris themed parties are always a good idea and these stamps are perfect for adding that extra bit of French flair.
 Start by assembling your gable box. If you have the Contour Celebrations Party Box Steel Rule Die you could also use this!
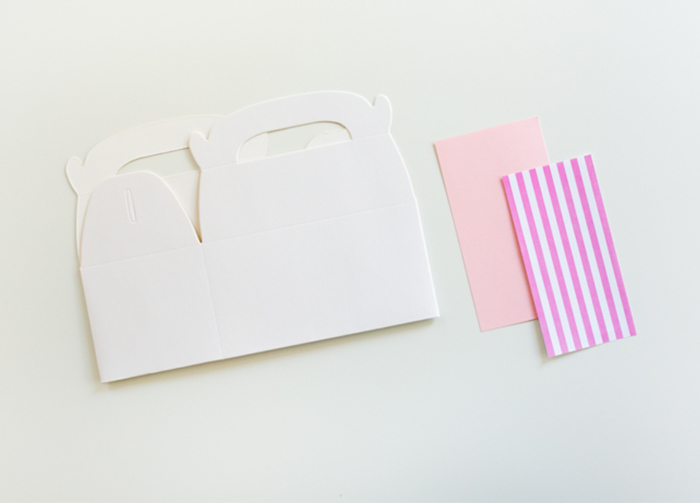 Next cut your pink and striped pink cardstock according to the size you need. For reference, my striped cardstock was 2 ¼ x 5 ¼”. I cut the pink cardstock to 3 x 5 ¾”. Glue the striped cardstock on top of the light pink cardstock.
 Using the French Alphabet Stamps Set, stamp “Ooh La La” or any phrase you like onto your striped cardstock. I also liked the idea of using names to personalize each party favor box.

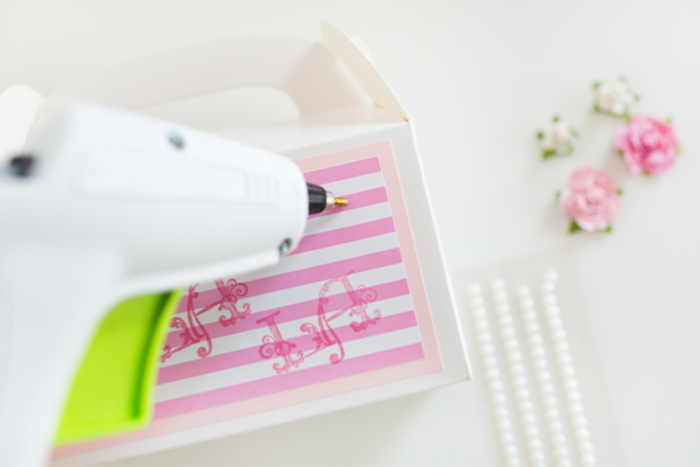
 Glue the stamped cardstock onto the box and add pearls and paper flowers to your liking. I liked how girly and pretty the box feels with the extra embellishments.
 To finish things off, add ribbon and a bow with more pearls!
 You can fill these boxes with French macarons or play jewelry for a little girl’s party. The options are endless and I think all of your party guests will love bringing home a little bit of Paris from the celebration.
For more ideas and inspiration, visit: Partyography By Alli.
Spellbinders® Supplies:
Next cut your pink and striped pink cardstock according to the size you need. For reference, my striped cardstock was 2 ¼ x 5 ¼”. I cut the pink cardstock to 3 x 5 ¾”. Glue the striped cardstock on top of the light pink cardstock.
Using the French Alphabet Stamps Set, stamp “Ooh La La” or any phrase you like onto your striped cardstock. I also liked the idea of using names to personalize each party favor box.
Glue the stamped cardstock onto the box and add pearls and paper flowers to your liking. I liked how girly and pretty the box feels with the extra embellishments.
To finish things off, add ribbon and a bow with more pearls!
You can fill these boxes with French macarons or play jewelry for a little girl’s party. The options are endless and I think all of your party guests will love bringing home a little bit of Paris from the celebration.
For more ideas and inspiration, visit: Partyography By Alli.
Spellbinders® Supplies:
- SCSR-002 Contour Celebrations Party Box Steel Rule Die
- SBS-152 French Alphabet Stamps Set Ooh La La Collection by Stacey Caron
- Pink ink pad
- White gable boxes (4 x 5 1/8”)
- Cardstock
- Ribbon
- Pearl stickers
- Paper flowers
- Glue


