


Posted by Spellbinders Team
on February 03, 2017

Hi all. Happy to be back sharing this guest post with you. The start of a new year is an exciting time for many reasons, not the least of which is the release of new products from all the designers at Spellbinders. In this post, I wanted to introduce you to a few of my new die designs by demonstrating 4 ways to to use your die cuts. I love taking commercial products and putting my own twist on them. The techniques in this post will allow you to truly make your artwork your own.
Layering
 The traditional way to use dies is to adhere your die cut to the surface of your artwork. Layering takes this one step further. Simply take multiple die cuts, either elements from one die set or several different, individual dies, and layer the pieces on top of each other. This adds depth, dimension, and flow to your piece. Notice in "Universe" that the layering, along with the different sizes of the die cuts, gives a sense of depth, distance and movement - echoing what you might see when looking into the sky.
 Steering Wheel
Shadowing
Steering Wheel
Shadowing
 Shadowing takes layering one step further. Start by making multiple cuts of the same die shapes. You can do this with one or more dies at the same time. Adhere one die cut to the surface of your project. Take the same shape and adhere a second cut of the same die on top of the first. But...shift it to the right or left, top or bottom slightly. In this way, you will create a natural shadow to the shape and create instant depth. In my piece, "Be" you can see that I shadowed three cuts of the focal die from my Ray of Light die set.
 Ray of Light
Reversing
Ray of Light
Reversing
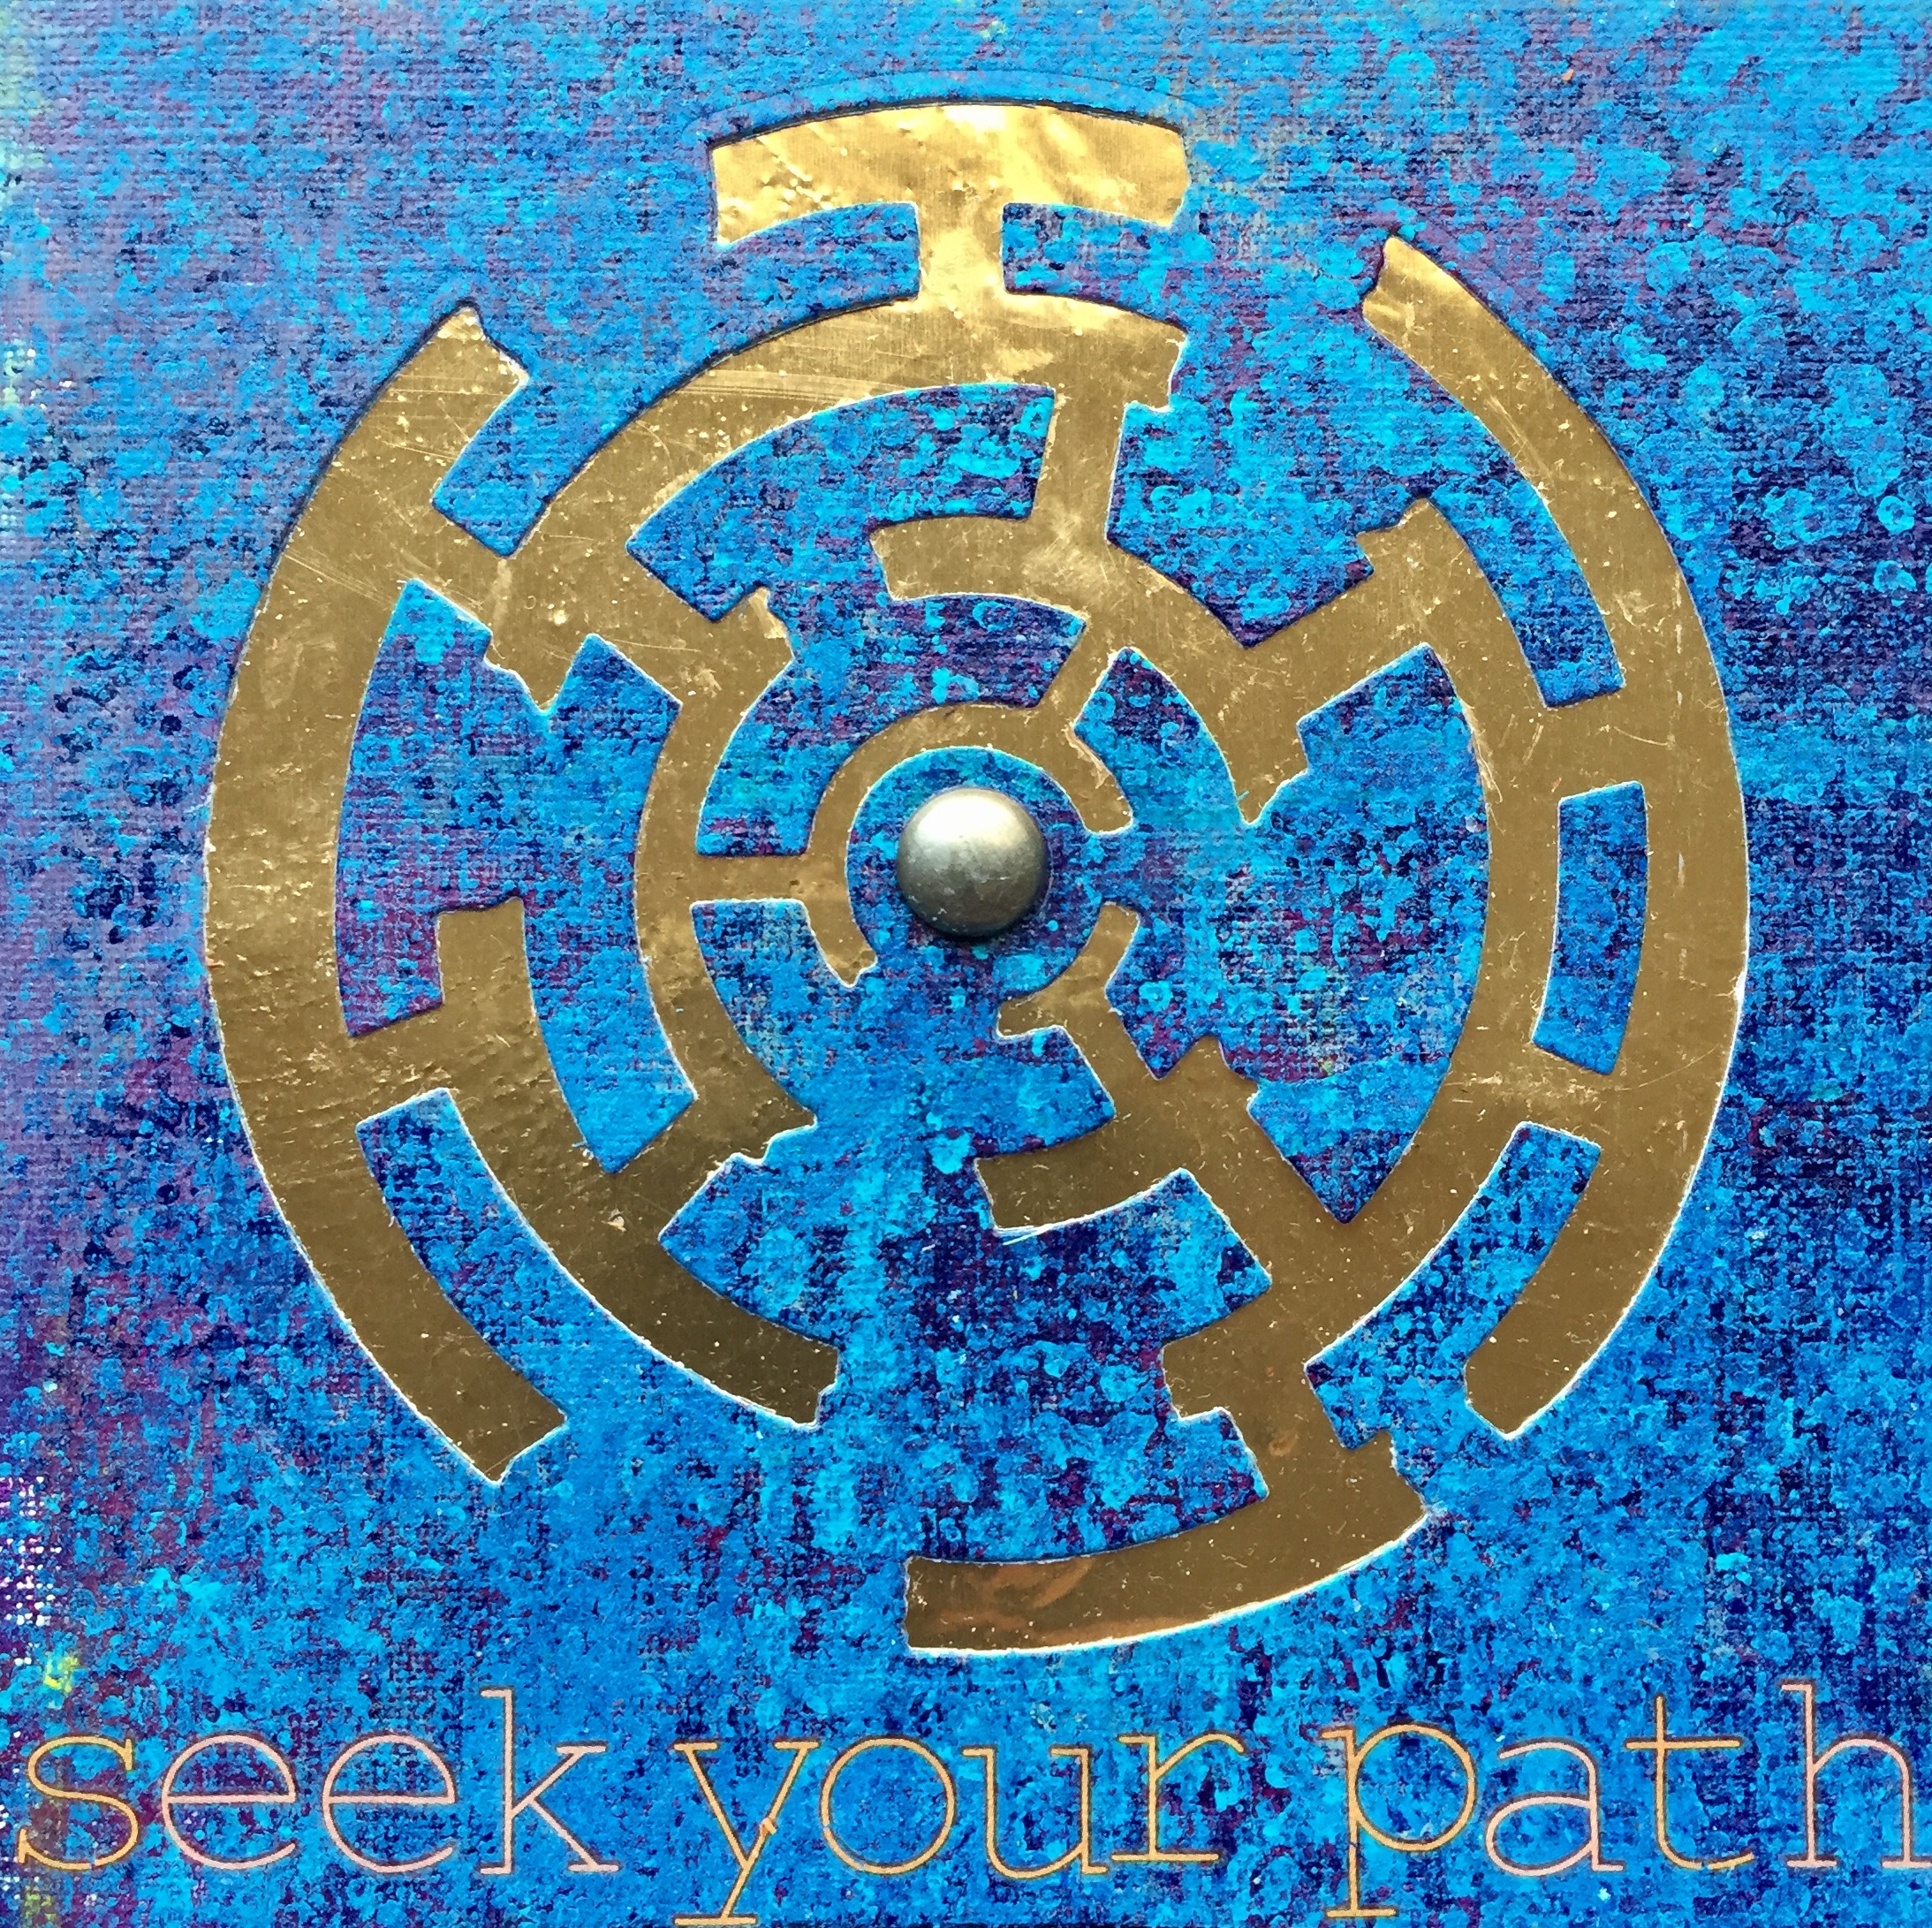 So very often after we cut out our dies, we discard the remainder. This is sometimes called fall-off or waste. I will often use that part and sometimes I even like it better than the die cut itself. One approach with this fall-off is to use the negative or reverse of the die. This works better with some designs than with others but it can have quite an impact. When using the negative and layering it over a contrasting substrate you still see the die design, but it is the underlayer that is highlighted. In my piece "Be", the shimmer of the gold foil becomes the focal point and it is better integrated into the artwork then if it were simply glued on the surface.
 Maze
Stacking
Maze
Stacking
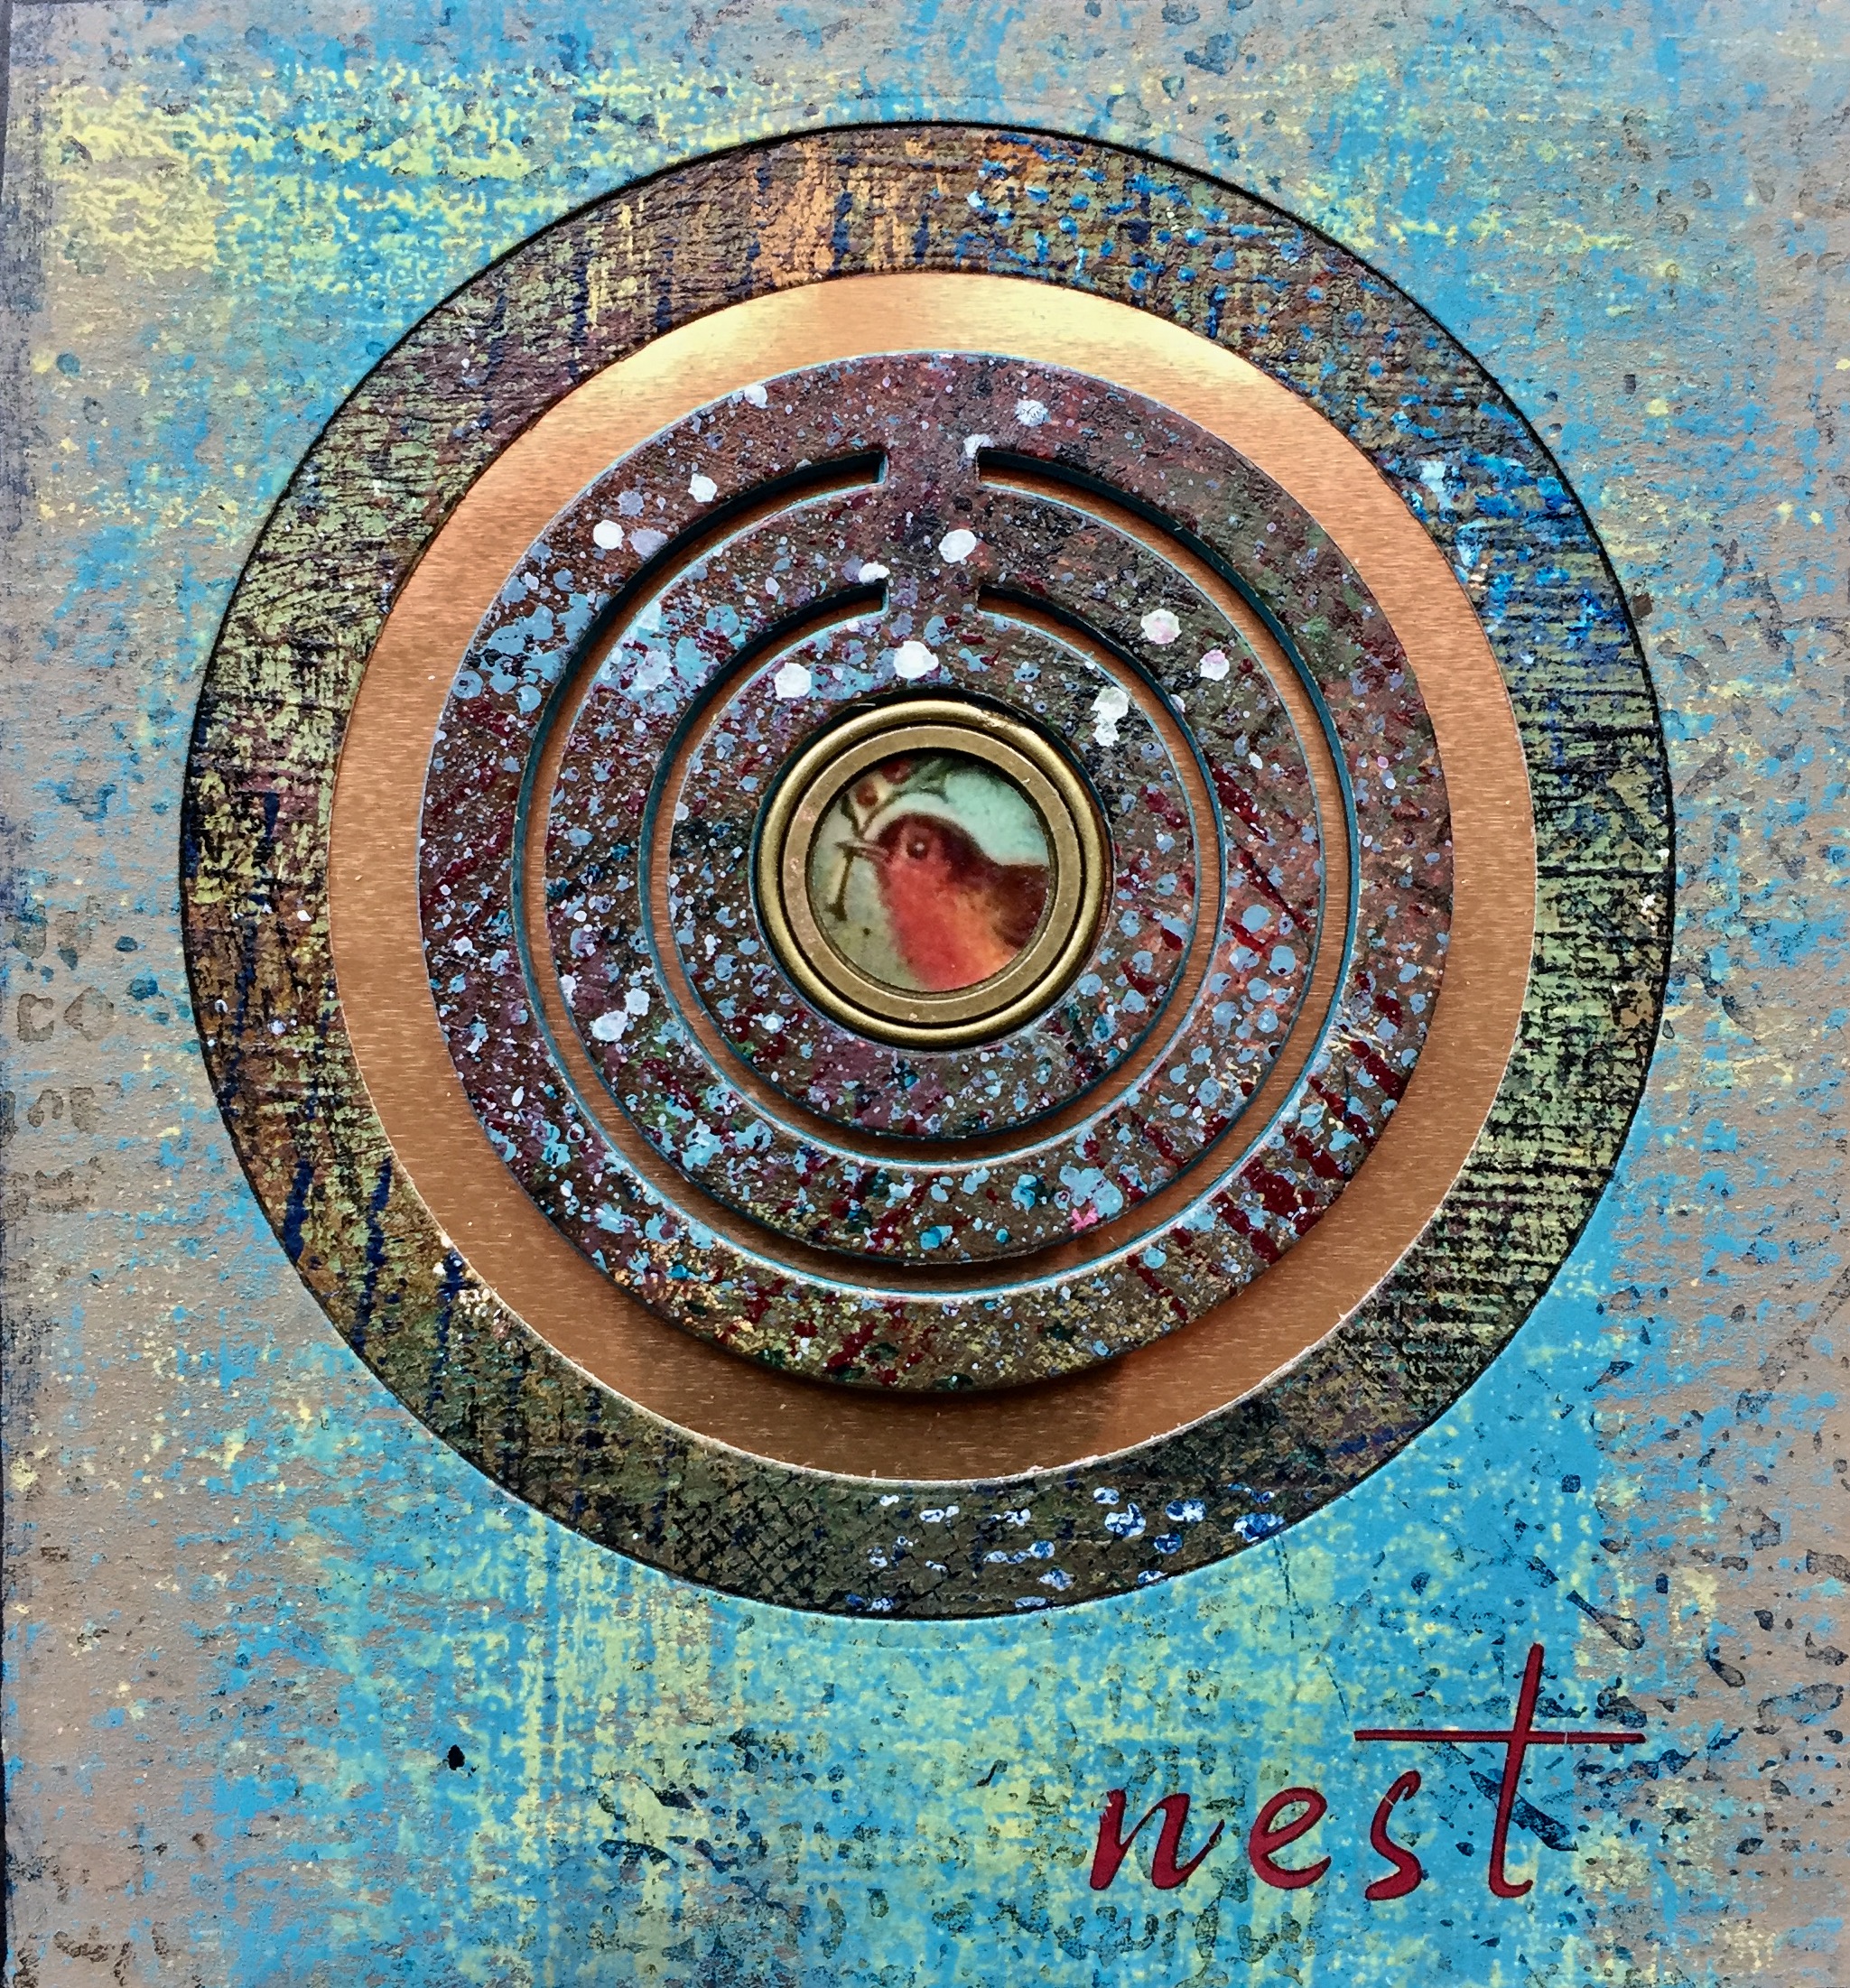 If you know my work, you know that I love to create dimension. One way I do that with die cuts is to stack. This is simple to do but can have a huge impact. Run the same die through your machine multiple times so that you have many cuts of the same shape. Adhere each of these shapes, one on top of the other, so that you end up with a dimensional object rather than a flat die cut.
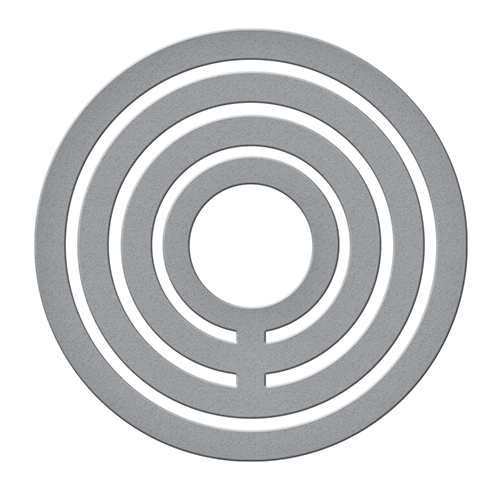
 I usually cut 12 shapes from card stock and then cut 1 shape from my own hand painted paper to use as the top layer. As a bonus, when you use a die shape that has an opening like the center circle in my Loop De Loop die, you can inset a dimensional embellishment, adding even more depth and dimension to your work.
 Loop De Loop
Thanks so very much for spending your time with me. My entire collection will be available on March but many new Spellbinders products can already be in your hands right now.
Loop De Loop
Thanks so very much for spending your time with me. My entire collection will be available on March but many new Spellbinders products can already be in your hands right now.
The traditional way to use dies is to adhere your die cut to the surface of your artwork. Layering takes this one step further. Simply take multiple die cuts, either elements from one die set or several different, individual dies, and layer the pieces on top of each other. This adds depth, dimension, and flow to your piece. Notice in "Universe" that the layering, along with the different sizes of the die cuts, gives a sense of depth, distance and movement - echoing what you might see when looking into the sky.
Steering Wheel
Shadowing
Shadowing takes layering one step further. Start by making multiple cuts of the same die shapes. You can do this with one or more dies at the same time. Adhere one die cut to the surface of your project. Take the same shape and adhere a second cut of the same die on top of the first. But...shift it to the right or left, top or bottom slightly. In this way, you will create a natural shadow to the shape and create instant depth. In my piece, "Be" you can see that I shadowed three cuts of the focal die from my Ray of Light die set.
Ray of Light
Reversing
So very often after we cut out our dies, we discard the remainder. This is sometimes called fall-off or waste. I will often use that part and sometimes I even like it better than the die cut itself. One approach with this fall-off is to use the negative or reverse of the die. This works better with some designs than with others but it can have quite an impact. When using the negative and layering it over a contrasting substrate you still see the die design, but it is the underlayer that is highlighted. In my piece "Be", the shimmer of the gold foil becomes the focal point and it is better integrated into the artwork then if it were simply glued on the surface.
Maze
Stacking
If you know my work, you know that I love to create dimension. One way I do that with die cuts is to stack. This is simple to do but can have a huge impact. Run the same die through your machine multiple times so that you have many cuts of the same shape. Adhere each of these shapes, one on top of the other, so that you end up with a dimensional object rather than a flat die cut.
I usually cut 12 shapes from card stock and then cut 1 shape from my own hand painted paper to use as the top layer. As a bonus, when you use a die shape that has an opening like the center circle in my Loop De Loop die, you can inset a dimensional embellishment, adding even more depth and dimension to your work.
Loop De Loop
Thanks so very much for spending your time with me. My entire collection will be available on March but many new Spellbinders products can already be in your hands right now.























































































6 comments
Many thanks Deb. My hope is that people can see that die cuts can be used in very unconventional ways that really lend them to mixed media.
Thanks much Susan. And yes…keep on cutting!
Wonderful tips and techniques Seth, amazing how you can achieve so many different effects with your dies, the possibilities are endless! Deb xo
What a great post, thank you, I must look properly at my negatives next time, and keep on cutting for the stacking! xx
Thanks so much Debi :-)