Die D-Lites Inspiration | Playful Critter Cards with Gemma
Posted by Spellbinders Team on March 21, 2019

Die D-Lites Inspiration | Playful Critter Cards with Gemma

Hello everyone, this is Gemma from mygirllollipop.com. I am thrilled to be guest designing on the Spellbinders blog today, showcasing the new Die D‐Lites collection. For all my cards today, I’ve also used some lovely cardstock from Fun Stampers Journey for my die cut pieces.

Card 1: Tiger, Oh My!

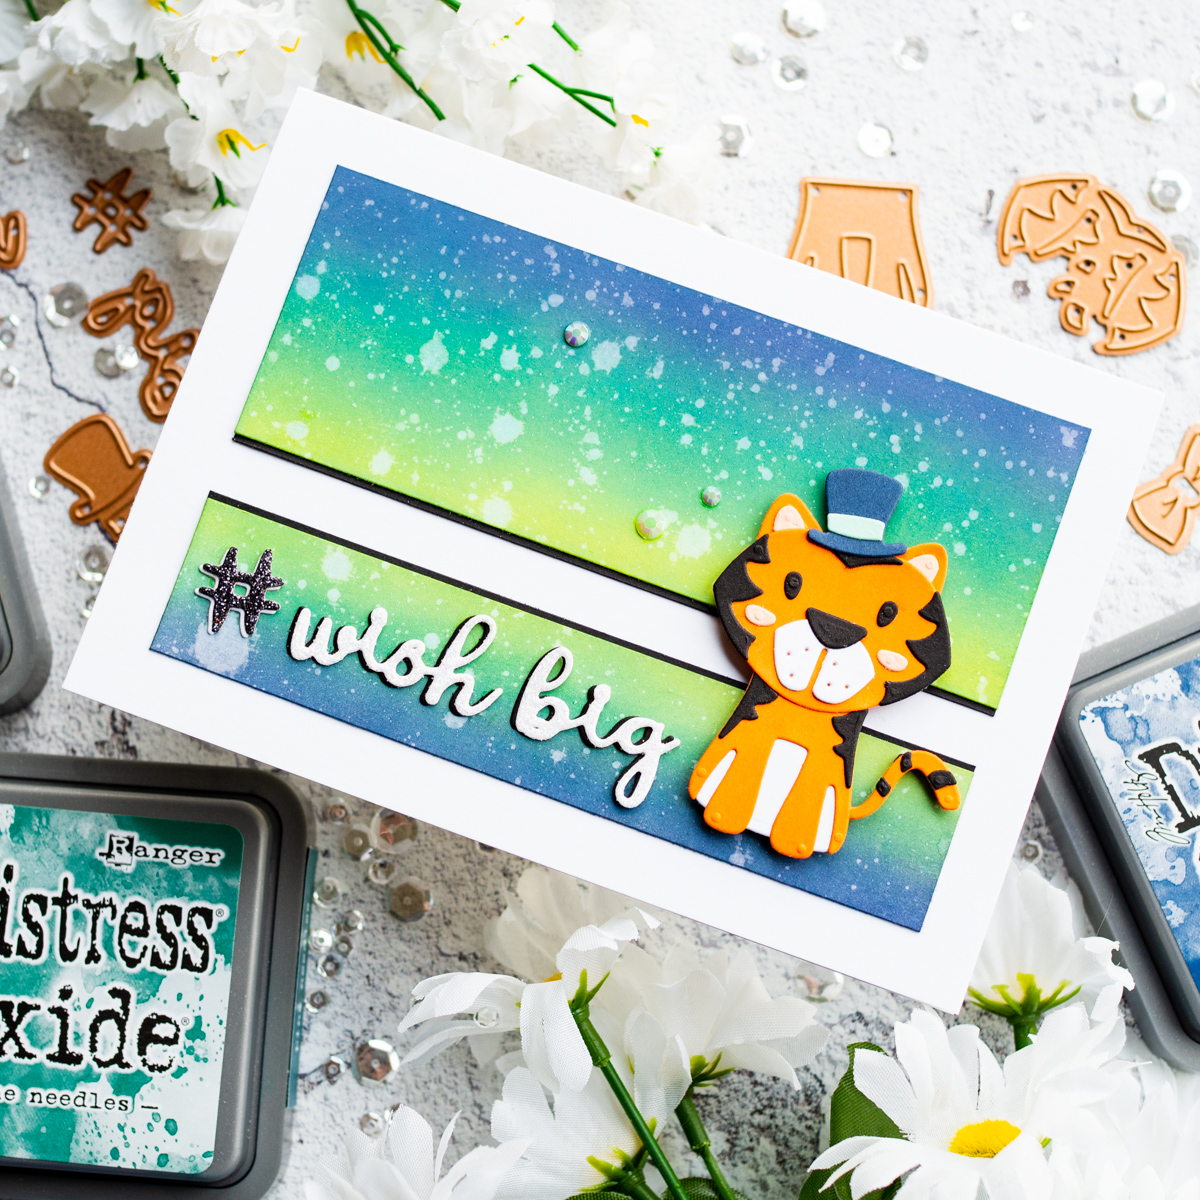
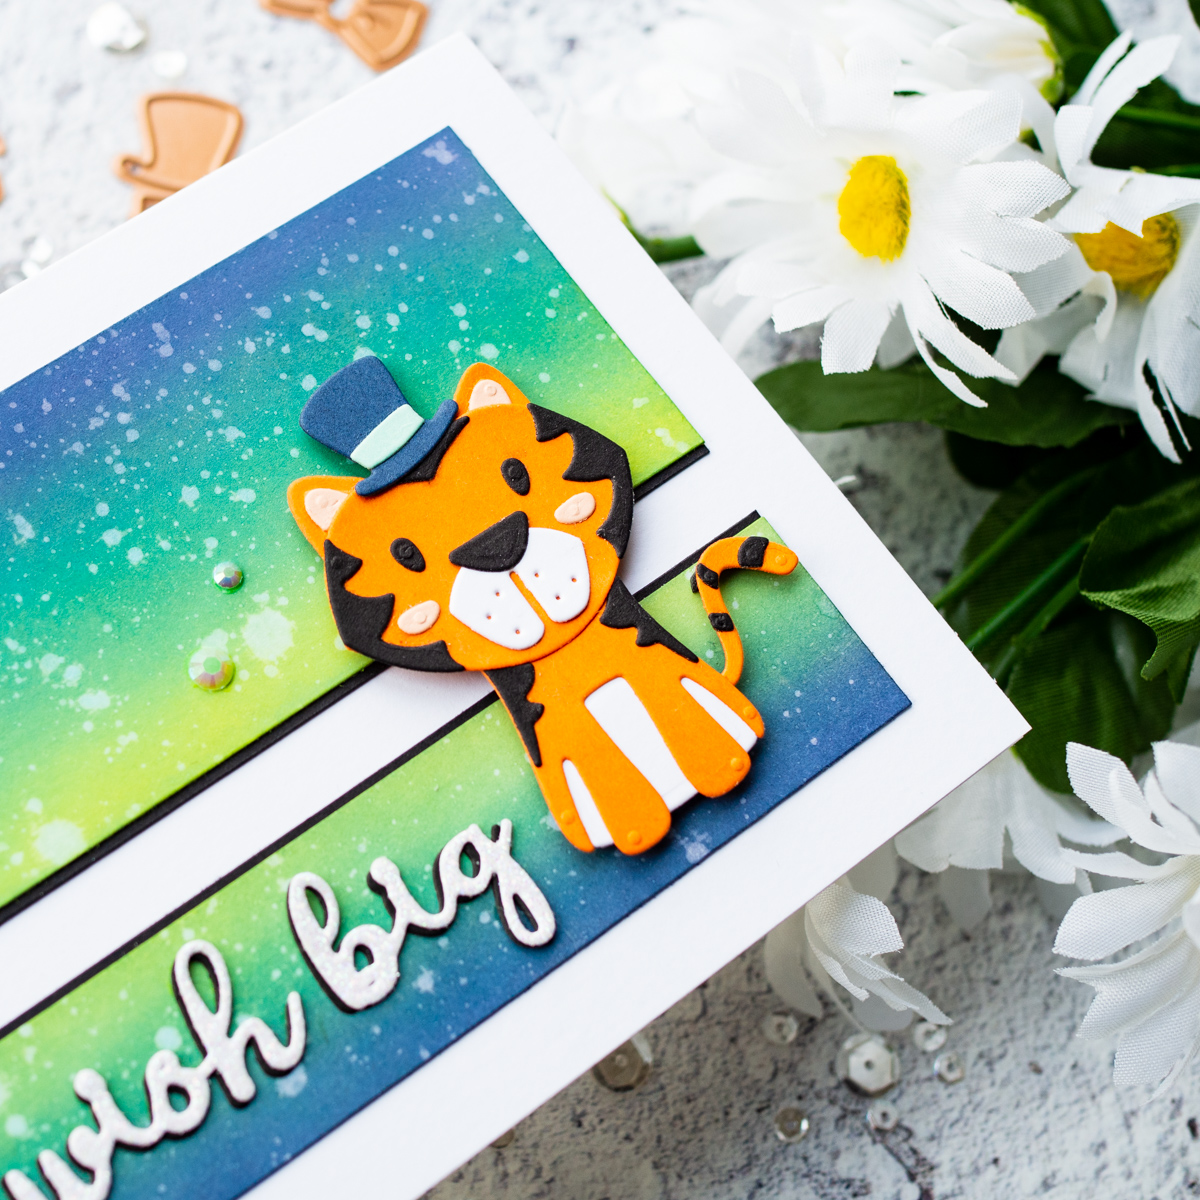
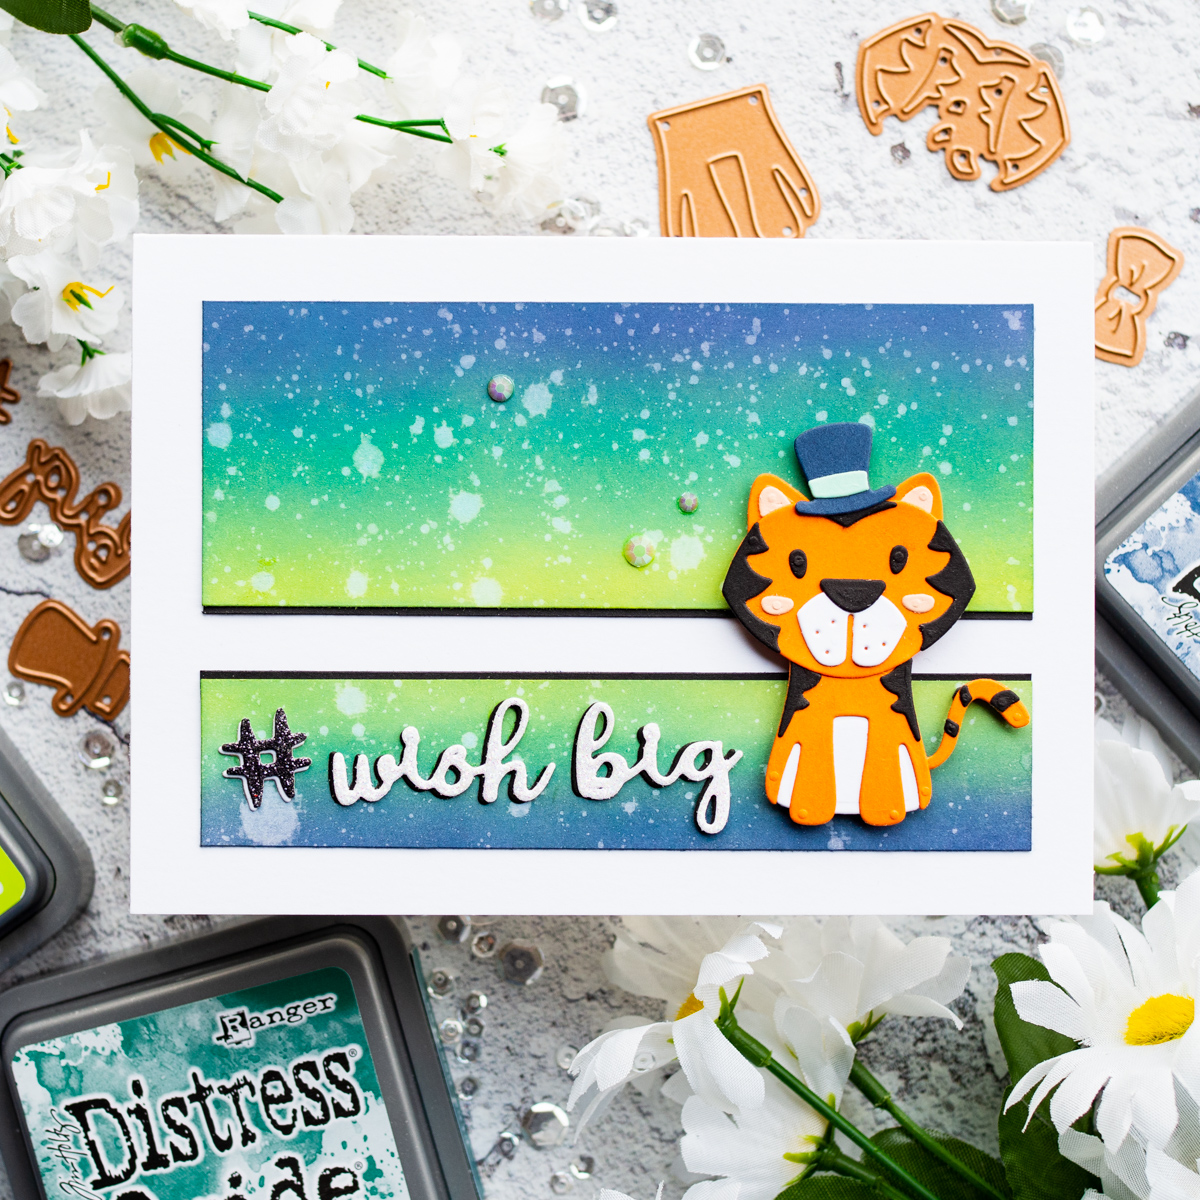
The Tiger, Oh My! D‐Lites set is the star of my first card today. This set comes with a great choice of accessories. I chose to dress my tiger in a top hat ‐ doesn’t he look smart!
Spellbinders Die D-Lites Inspiration | Playful Critter Cards with Gemma

I chose the following FSJ card and used my Spellbinders Platinum 6 machine to die cut all the pieces: For my background, I cut two pieces of white card and blended on distress oxide inks in Twisted Citron, Pine Needles and Chipped Sapphire. I then spritzed it with water for lots of droplet details.

Spellbinders Die D-Lites Inspiration | Playful Critter Cards with Gemma

I added some thin black strips to the inked panels, then layered them onto my card base. I used some dies from the Wild About You D‐Lites set to create my sentiment. I layered glitter card stock over contrasting plain card to give each die cut a shadow. This also adds some dimension to the sentiment. To finish, I adhered a few pearl white jewels on the top panel.

Spellbinders Die D-Lites Inspiration | Playful Critter Cards with Gemma

Card 2: Drive Thru’

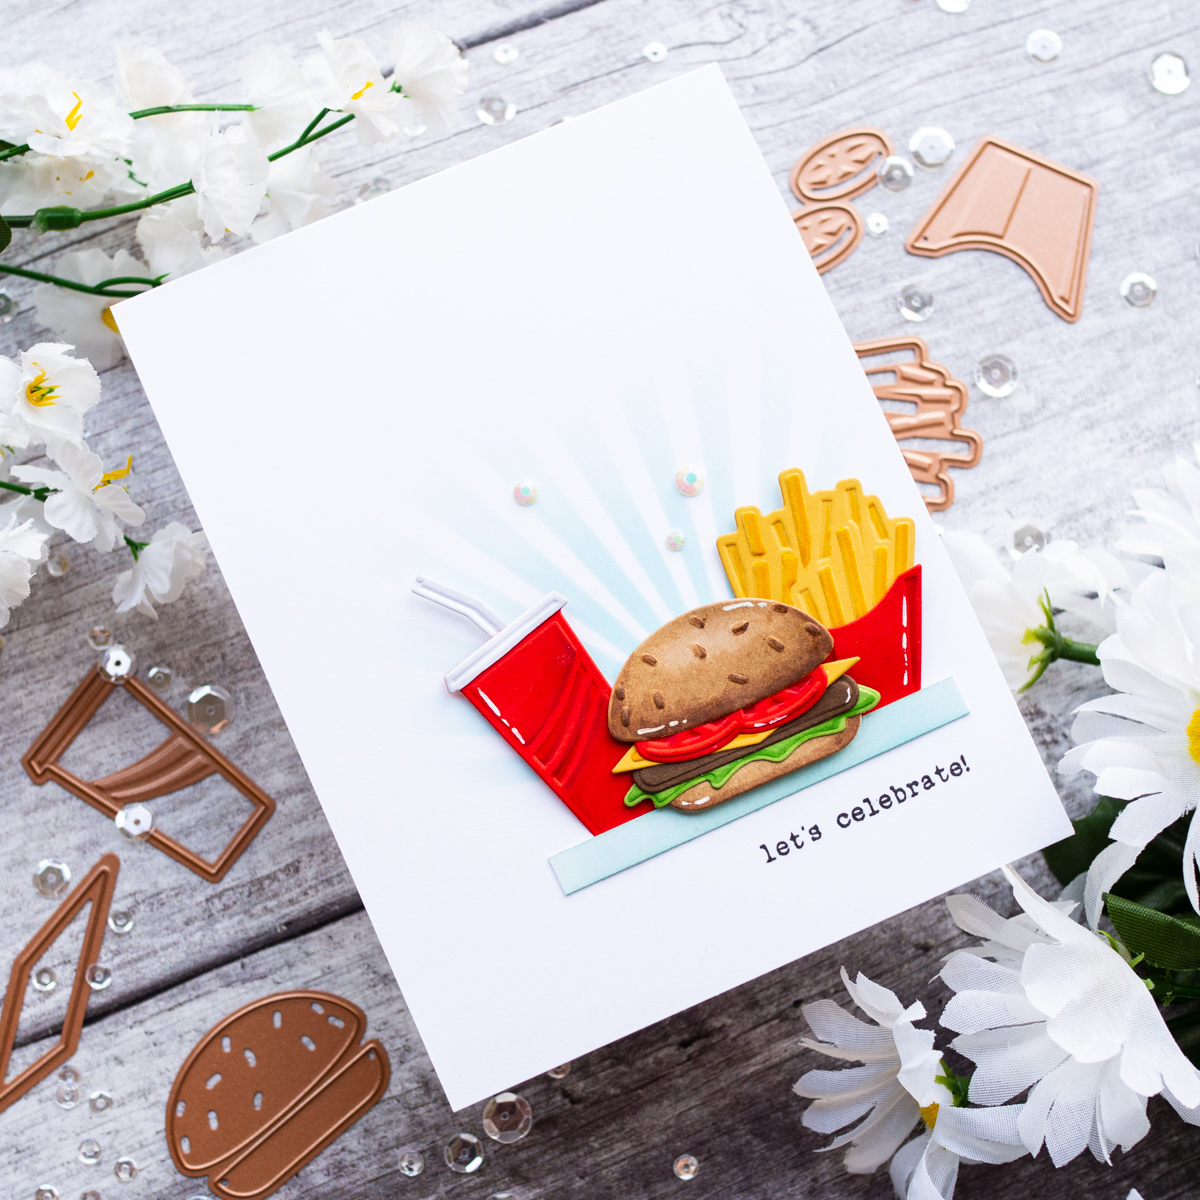
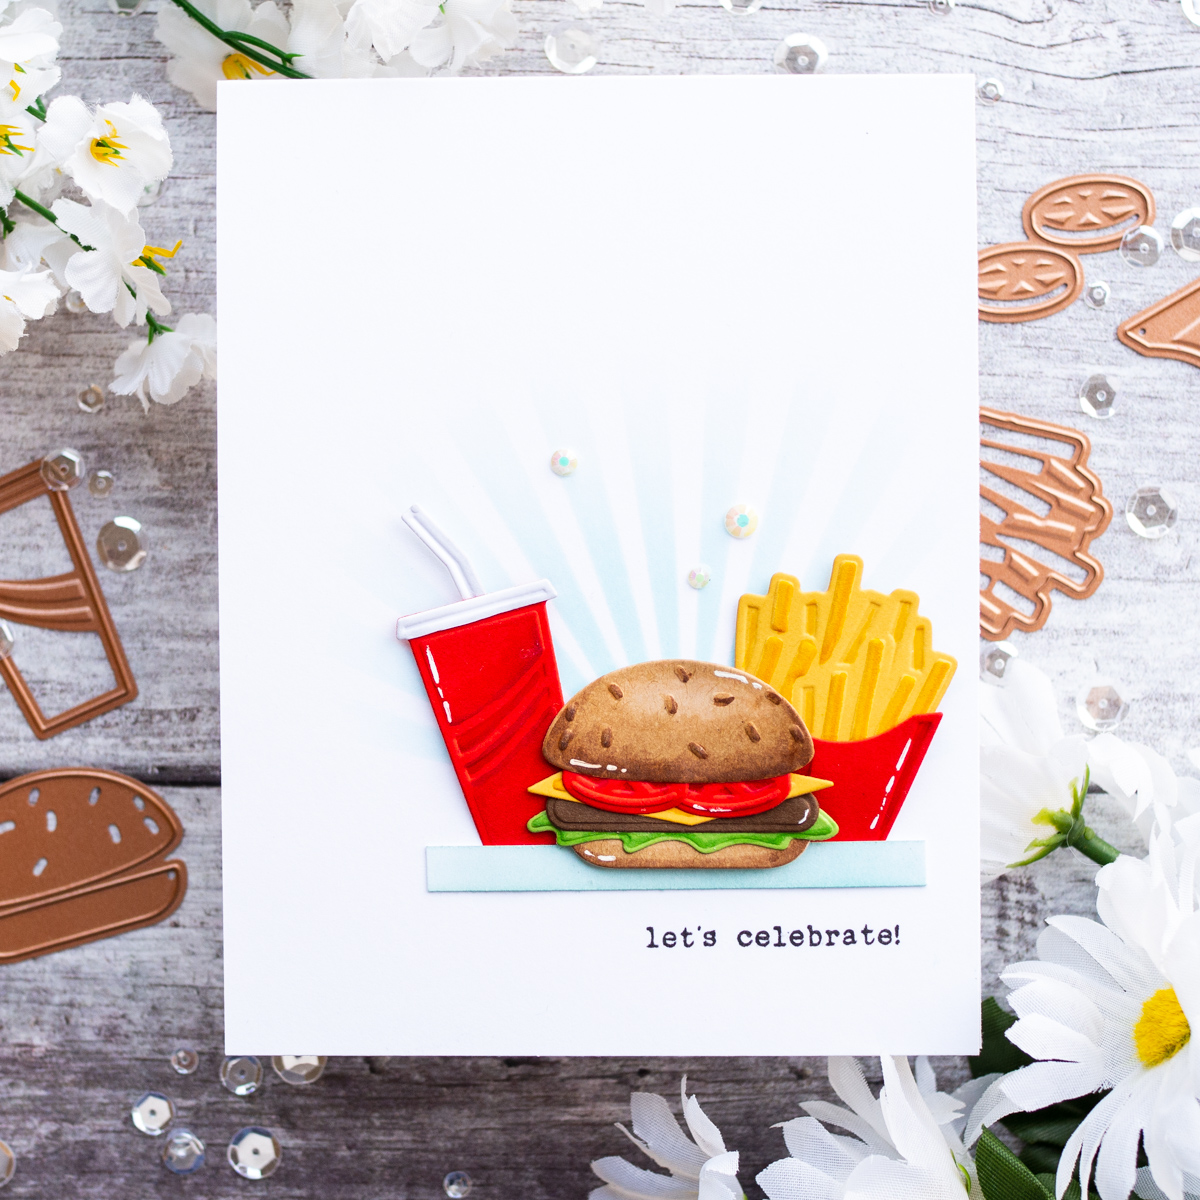
I used the Drive Thru' D‐Lites set for my second card. I think this set is perfect for masculine birthday cards. It would be great for invitations too.
Spellbinders Die D-Lites Inspiration | Drive Thru’ Let's Celebrate Greeting Card with Gemma

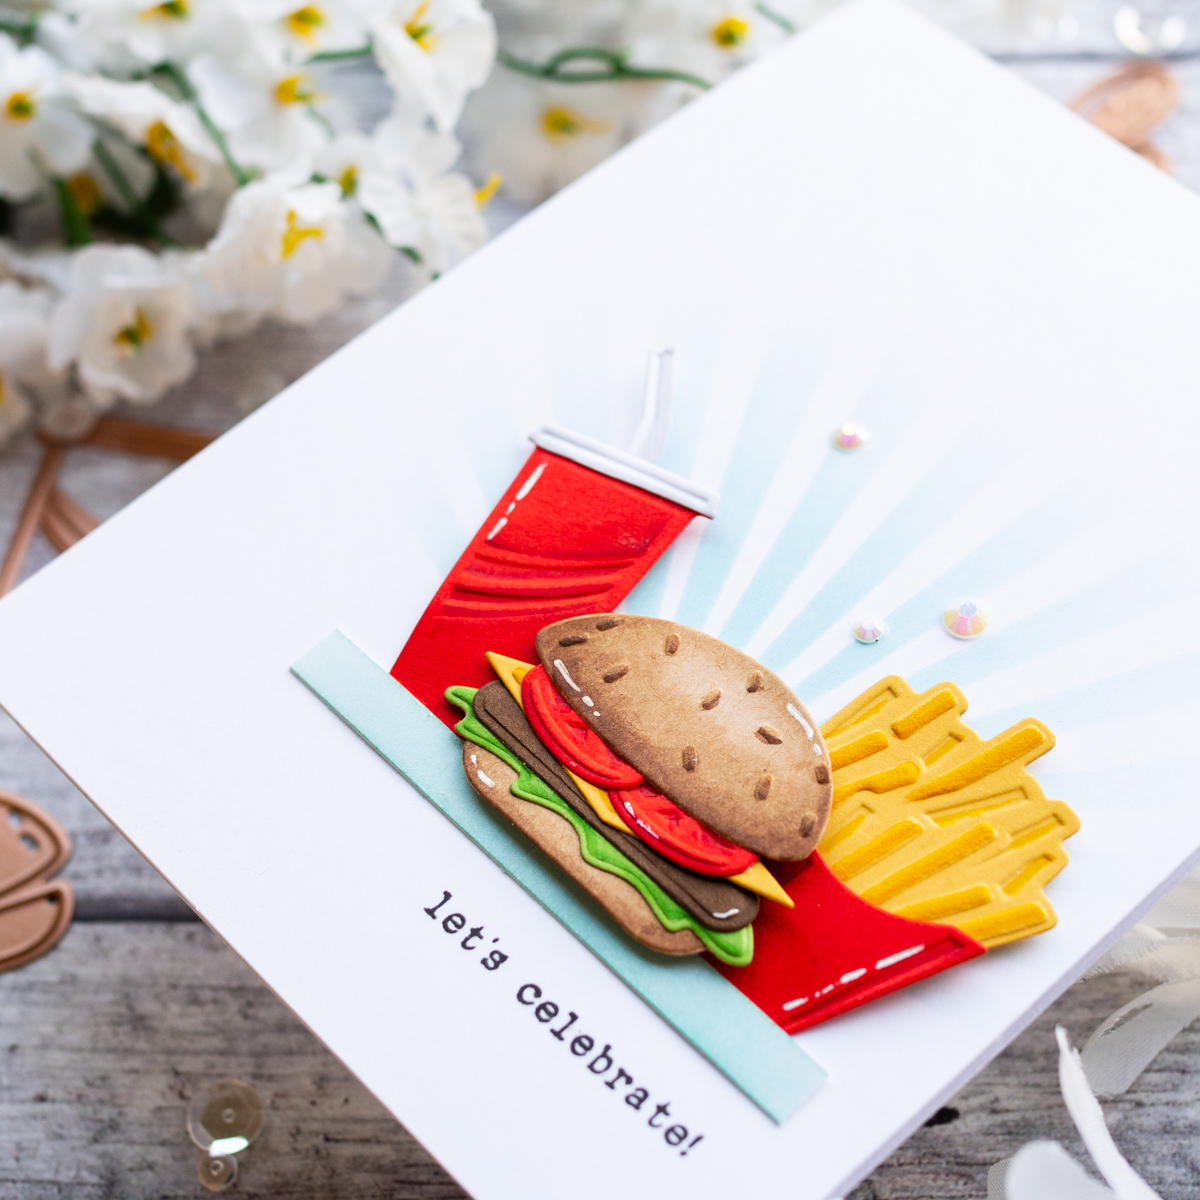
These are the colours of FSJ cardstock I chose: I used white card to die cut the straw and another cup, to add a contrasting lid. Once I’d die cut them, I ran them through my die cutting machine again, this time using the embossing sandwich, to get those fantastic embossed details. I then added some quick shading with my copic markers, to highlight the embossing even more.

Spellbinders Die D-Lites Inspiration | Drive Thru’ Let's Celebrate Greeting Card with Gemma

On my card base, I used a stencil and some distress oxide inks to add some rays. I added a strip of cardstock to help ground my die cut images, then stamped a greeting underneath. I added the drink and fries to the card using some liquid glue at the base and some foam squares towards the top for dimension, I then added the burger with foam tape, and some pearl white jewels for a finishing touch.

Spellbinders Die D-Lites Inspiration | Drive Thru’ Let's Celebrate Greeting Card with Gemma

Card 3: Lion, Oh My!

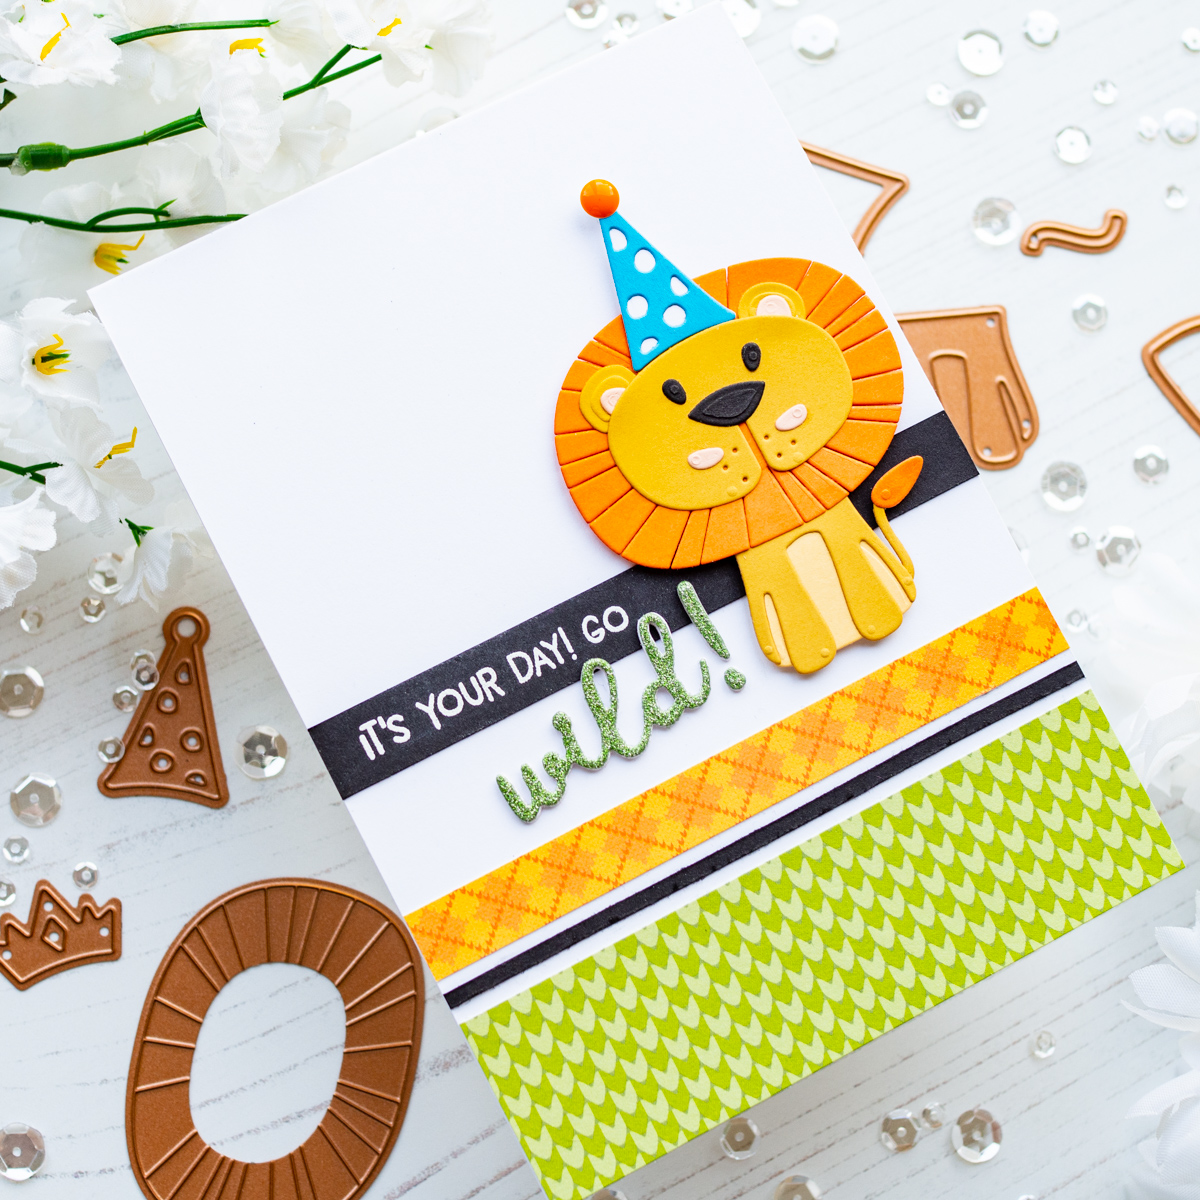
On my last card, I used the cute Lion, Oh My! D‐Lites set. I love the accessories that are included in this and the other sets in the collection. It’s fun to customize the characters for different looks.

Spellbinders Die D-Lites Inspiration | Playful Critter Cards with Gemma

I die cut all the pieces using the following FSJ card: I adhered all the pieces together with liquid glue and added an orange enamel dot to the top of the hat.

Spellbinders Die D-Lites Inspiration | Playful Critter Cards with Gemma

For the sentiment, I heat embossed a stamped greeting onto a black card strip, using white embossing powder. To finish the greeting, I added a die cut word from the Wild About You D‐Lites set. I layered together two white die cuts and finished with a green glitter top layer. To add some colour to the background, I added some strips of patterned paper to the card base, along with a thin black card strip to bring it all together.

Spellbinders Die D-Lites Inspiration | Playful Critter Cards with Gemma

Spellbinders Supplies:

Other supplies:

Hello Bluebird Jungle Littles stamp set; Hello Bluebird Typed Everyday stamp set; MFT Radiating Rays stencil; Lawn Fawn Knit Picky Fall papers; DCVW Glitzy cardstock; Lawn Fawn glitter card; Distress oxide inks; Copic Markers; Doodlebug Sprinkles Tangerine; Pretty Pink Posh Pearl White jewels; Versafine onyx black ink; WOW Opaque Bright White Super Fine embossing powder, WOW clear embossing ink; Lawn Fawn liquid glue; Foam squares. Thank you for joining me today for a look at the new Spellbinders D‐Lites collection. A big thank you to the Spellbinders team for inviting me to guest design with them. Have a fabulous day, Gemma

Leave a comment

Please note, comments need to be approved before they are published.


  • Spellbinders Beginners Blog Post Series - Common Cardmaking Mistakes (and How to Fix Them)

    Beginner’s Guide to Cardmaking

    Common Cardmaking Mistakes and How to Fix Them: A Beginner's Guide

    Mistakes happen to every cardmaker, from beginners to experienced crafters. This comprehensive guide shares practical solutions for fixing common cardmaking mistakes, including stamping, die cutting, foiling, BetterPress, ink blending, stenciling, coloring, heat embossing, and more, so you can confidently rescue your handmade cards instead of starting over.

  • How to make a Polar Bear Christmas Card with Alcohol Markers, HUR93909, S7-291, S5-619

    CS-8-100

    How to make a Polar Bear Christmas Card with Alcohol Markers

    Hello, cardmaking friends! It’s Mona Tóth here, and I’m so happy to be back on the Spellbinders blog. Today, I’m sharing a Christmas step-by-step card tutorial featuring the Polar Friends Stamp and Die Set by Simon Hurley. This card was inspired by the Christmas advertisements I remember seeing on television when I was a child in the 1990s. They often featured polar bears surrounded by...

  • Interactive Scrapbook Layout Using the Turn the Page Collection by Esther Glas, SCSP-037, SCSE-054, SCSE-039, SCSR-016, E3D-186, STP-279, SDS-232, S2-473, S7-298, S7-295

    E3D-186

    Interactive Scrapbook Layout Using the Turn the Page Collection by Esther Glas

    Hello, crafty friend! I’m Adrienne Boese, better known online as Alice Scraps Wonderland. I love a good interactive scrapbook page! It can be something as simple as a pocket or something more intricate like a waterfall mechanism or flips. Today, we are going to focus on one of those simple techniques - a pocket!  It’s the perfect technique to dip your toes into the interactive...