

Posted by Spellbinders Paper Arts
on December 02, 2017

Are you ready for another quick make? This month I've been showing you how to make die cut ornaments for gifts, for fun and as a part of a family activity. I'm Becca Feeken with Amazing Paper Grace and I'm back with the third in a three part series on Diecut Ornament Making. Today I'm going to show you a round, eight gored ornament using S6-129 Bella Rose Lattice Layering Frame. If you missed my post with Ornament 1 in the series, click HERE, Ornament 2 in the series, click HERE.
 Gather a tassel, bow and embroidery thread. Cut eight ovals with inserts from S6-129 Bella Rose Lattice Layering Frame. I used the heart motifs from S5-330 Lunette Arched Borders for the insert on mine. I also cut two small snowflakes from S3-302 Die D-Lite Snowflakes.
 Fold all eight ovals in half, rights sides together.
 Using Glossy Accents, glue all eight folded elements together. Do this by placing one folded element on table, glue exposed top and stack another element on top of glue. Repeat until all eight pieces are finished. Glue snowflakes back to back on thread with tassel and glue thread to edge of stack.
 To finish, close the circle by putting glue on the last piece on top and gluing it to the first piece on the bottom of the stack. Embellish by putting a button and bow on top. Your ornament will lay flat for storage, as shown below. If you want your ornament to retain a consistent shape, simply arrange the gores so that they are even and add a dollop of hot glue at top of ornament.


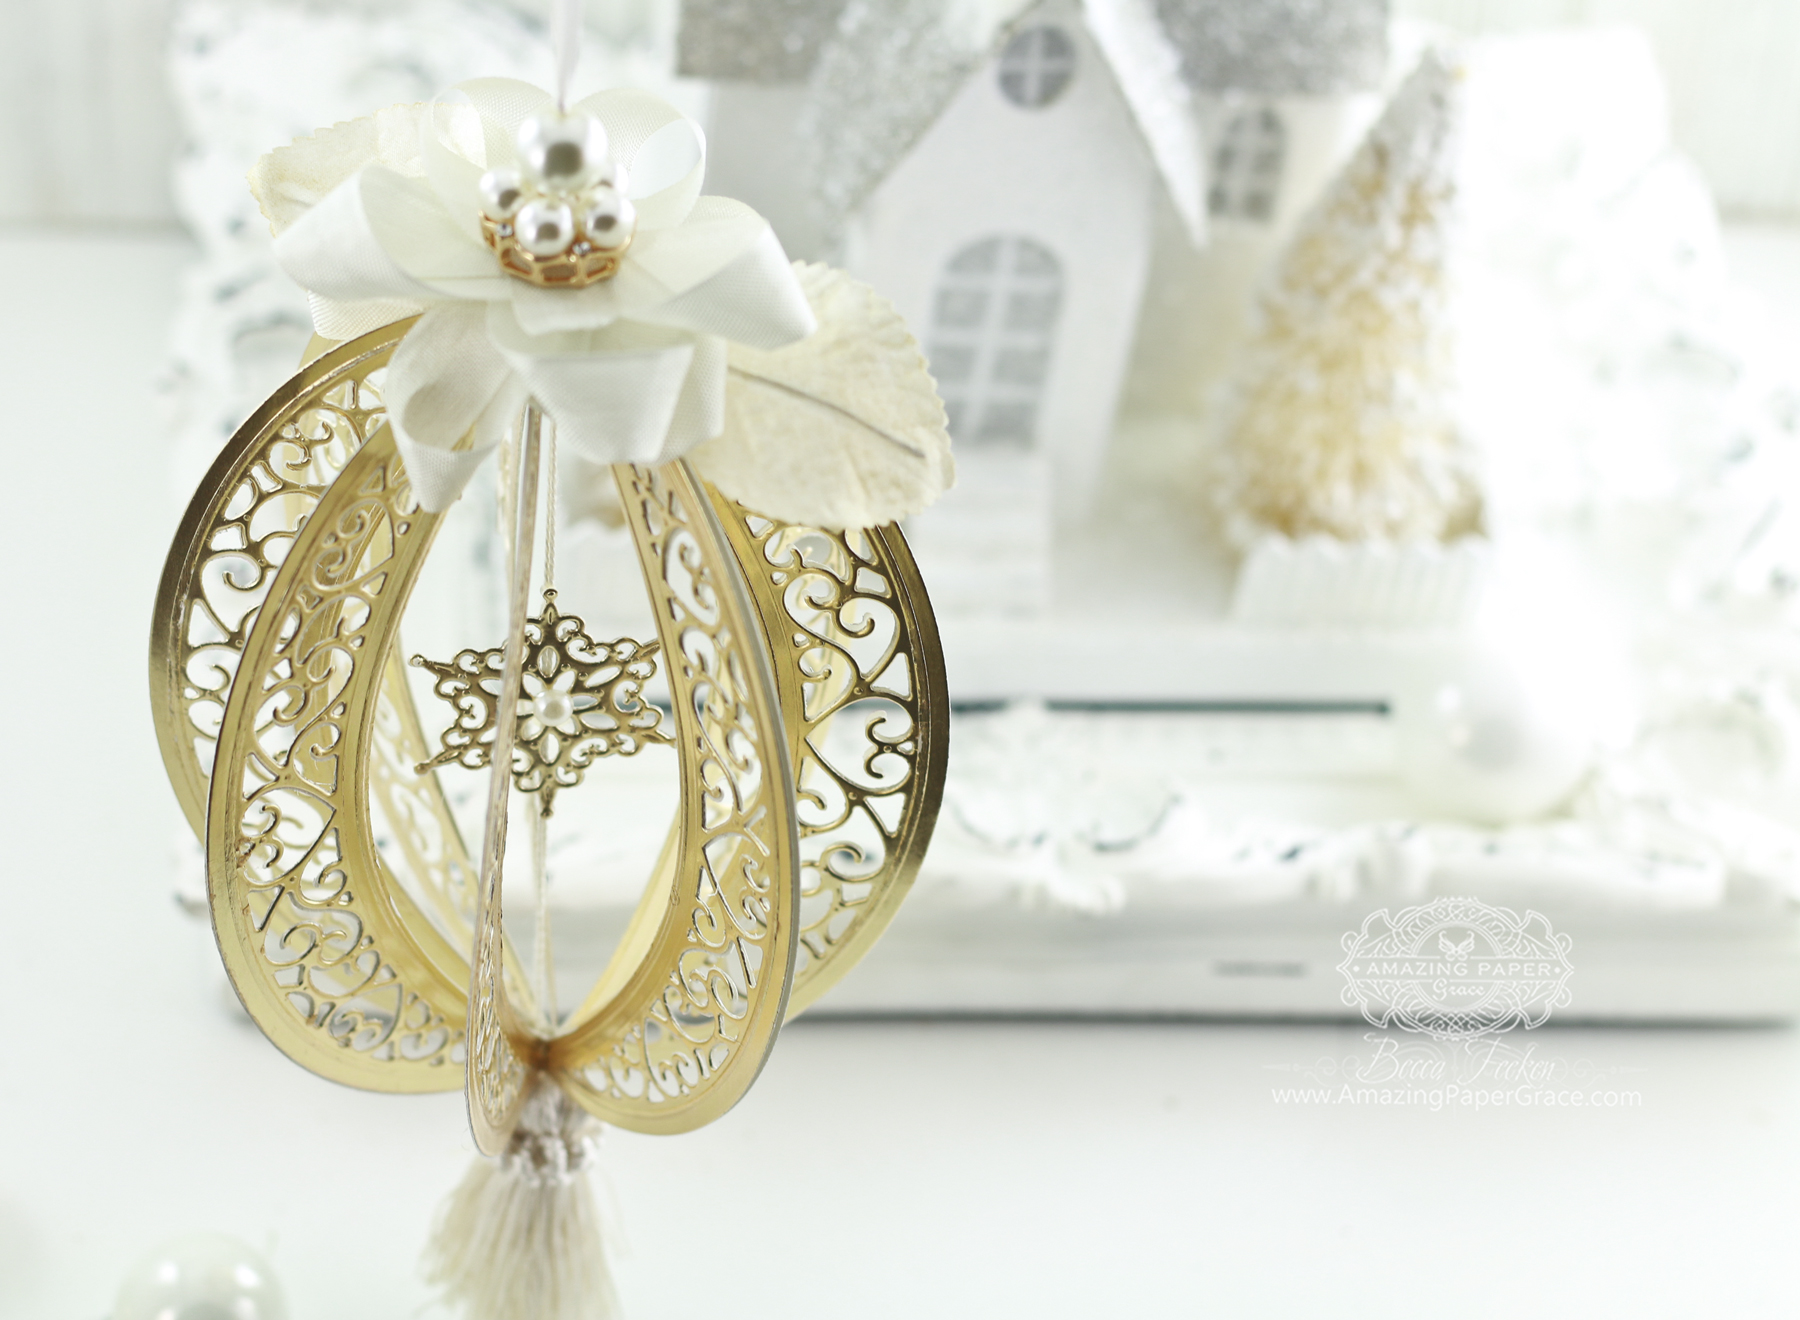

Assemble Your Diecut Ornament:
Gather a tassel, bow and embroidery thread. Cut eight ovals with inserts from S6-129 Bella Rose Lattice Layering Frame. I used the heart motifs from S5-330 Lunette Arched Borders for the insert on mine. I also cut two small snowflakes from S3-302 Die D-Lite Snowflakes.
Fold all eight ovals in half, rights sides together.
Using Glossy Accents, glue all eight folded elements together. Do this by placing one folded element on table, glue exposed top and stack another element on top of glue. Repeat until all eight pieces are finished. Glue snowflakes back to back on thread with tassel and glue thread to edge of stack.
To finish, close the circle by putting glue on the last piece on top and gluing it to the first piece on the bottom of the stack. Embellish by putting a button and bow on top. Your ornament will lay flat for storage, as shown below. If you want your ornament to retain a consistent shape, simply arrange the gores so that they are even and add a dollop of hot glue at top of ornament.
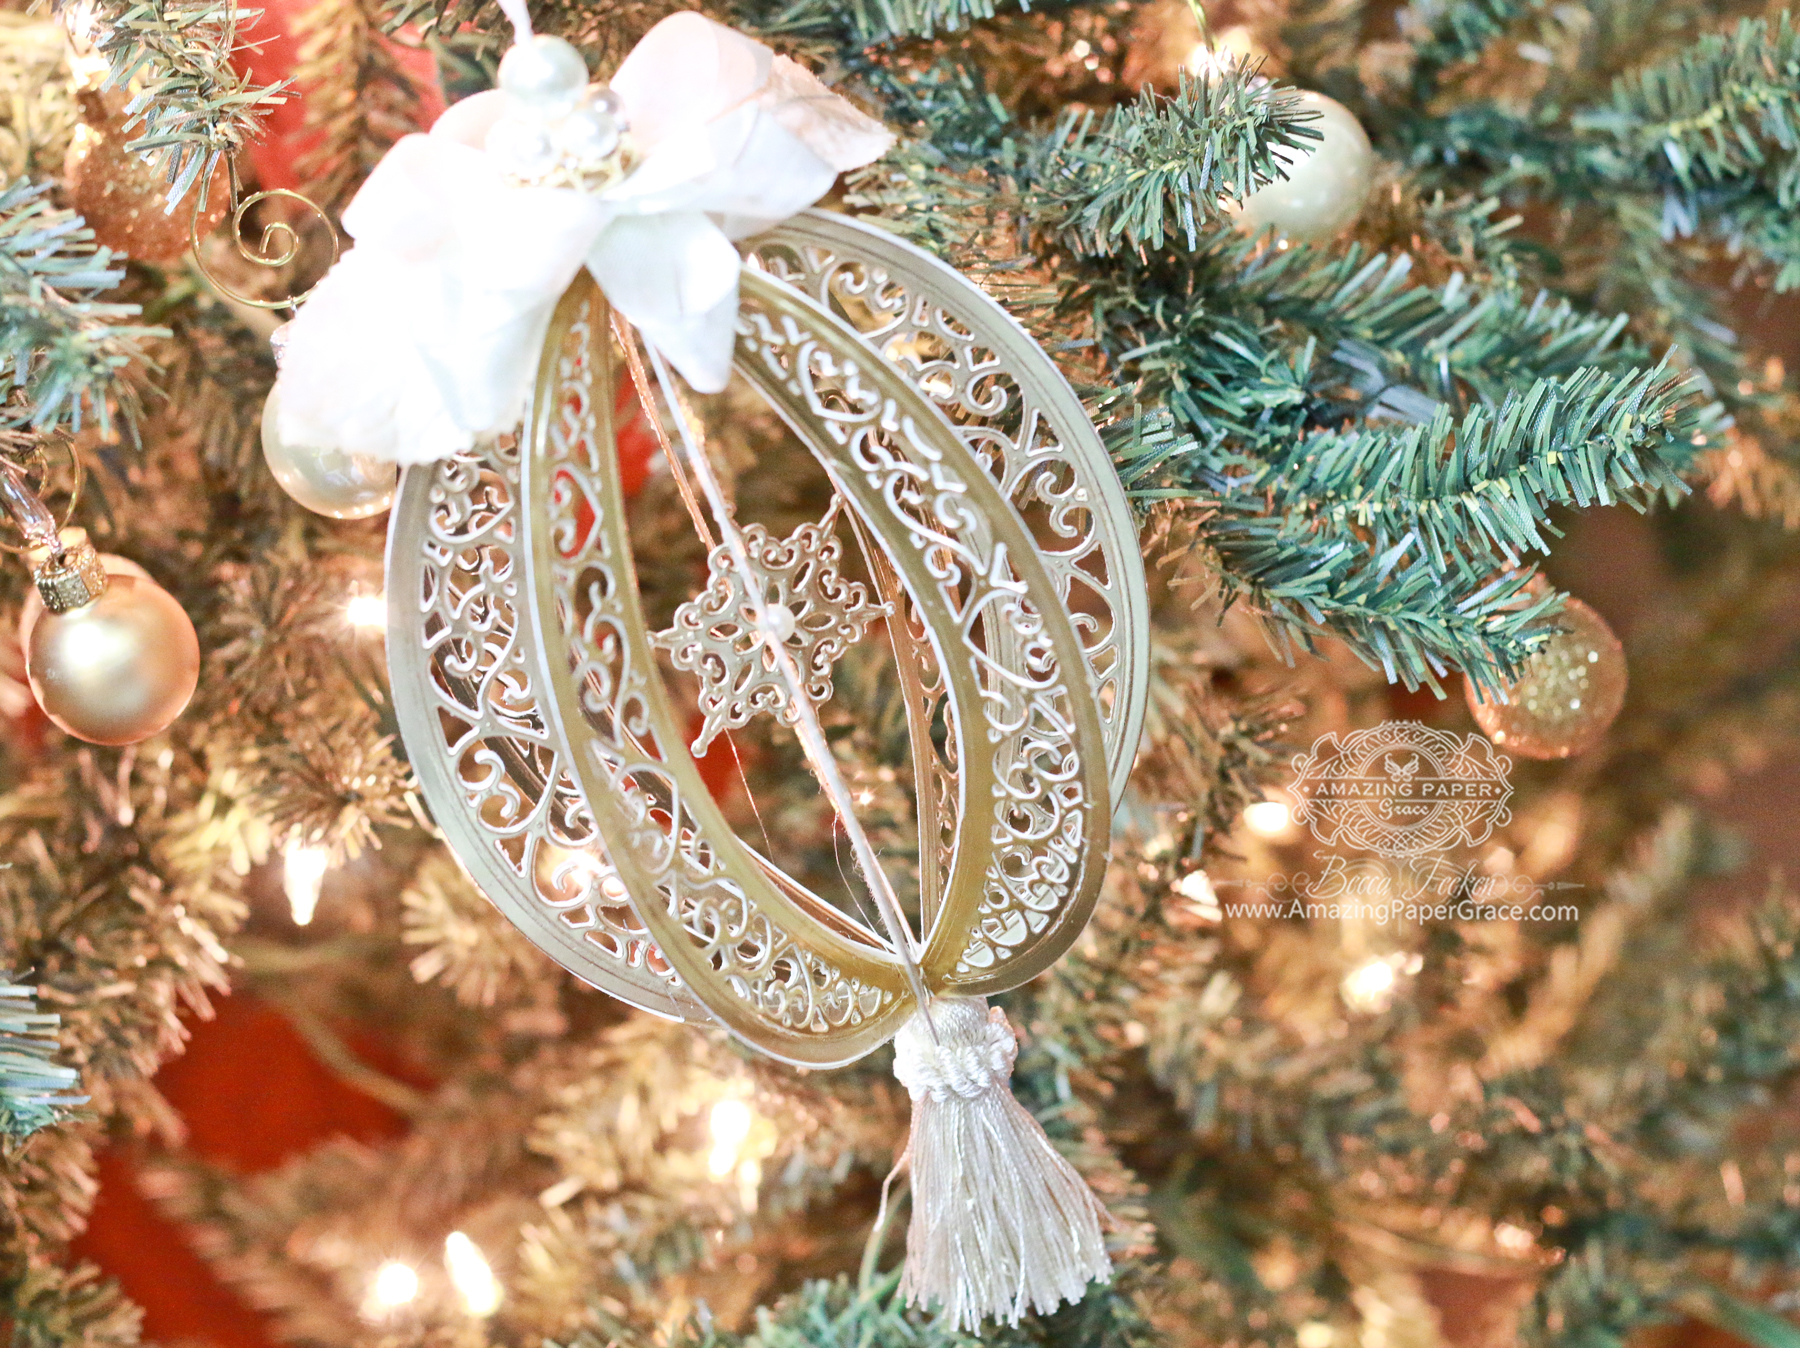
Spellbinders Supplies:
- S6-129 Bella Rose Lattice Layering Frame
- S5-330 Lunette Arched Borders
- S3-302 Die D-Lite Snowflakes
- PE-100 Platinum™ 6 Die Cutting And Embossing Machine – 6" Platform
- T-001 Tool ‘N One™
Other Supplies:
Gold Foil Cardstock, Ranger Glossy Accents, Seam Binding, Decorative Button, Decorative Leaves, Pearl Cotton Thread, Hot Glue Gun. I love finding projects using dies, other than what they were originally made to do. Handmade ornaments are like the icing on the cake. Have a look in your stash to see what you can repurpose for your tree! Sending hugs! Becca Feeken – www.amazingpapergrace.com























































































44 comments
What a beautiful, delicate creation!
Simply put STUNNING! Becca, this ornament is just so beautiful! Keep up the great work!
Thank you so much Janet! These are easy to make :-) I hope you’ll give it a try!!
Kristine, it tickles me that you remember that honeycomb ornament – it was a first :-) I’ve seen a lot of people reproduce my original guide and it may be time for an update!! I am thinking to bring it into the current day with a rerelease – it was fun!!
Ooooh, I think that would be lovely, Beverly!!