Flower Garden Inspiration | Bird On Cherry Branch + Copic Coloring with Cynde. Video
on February 27, 2018

Flower Garden Inspiration | Bird On Cherry Branch + Copic Coloring with Cynde. Video

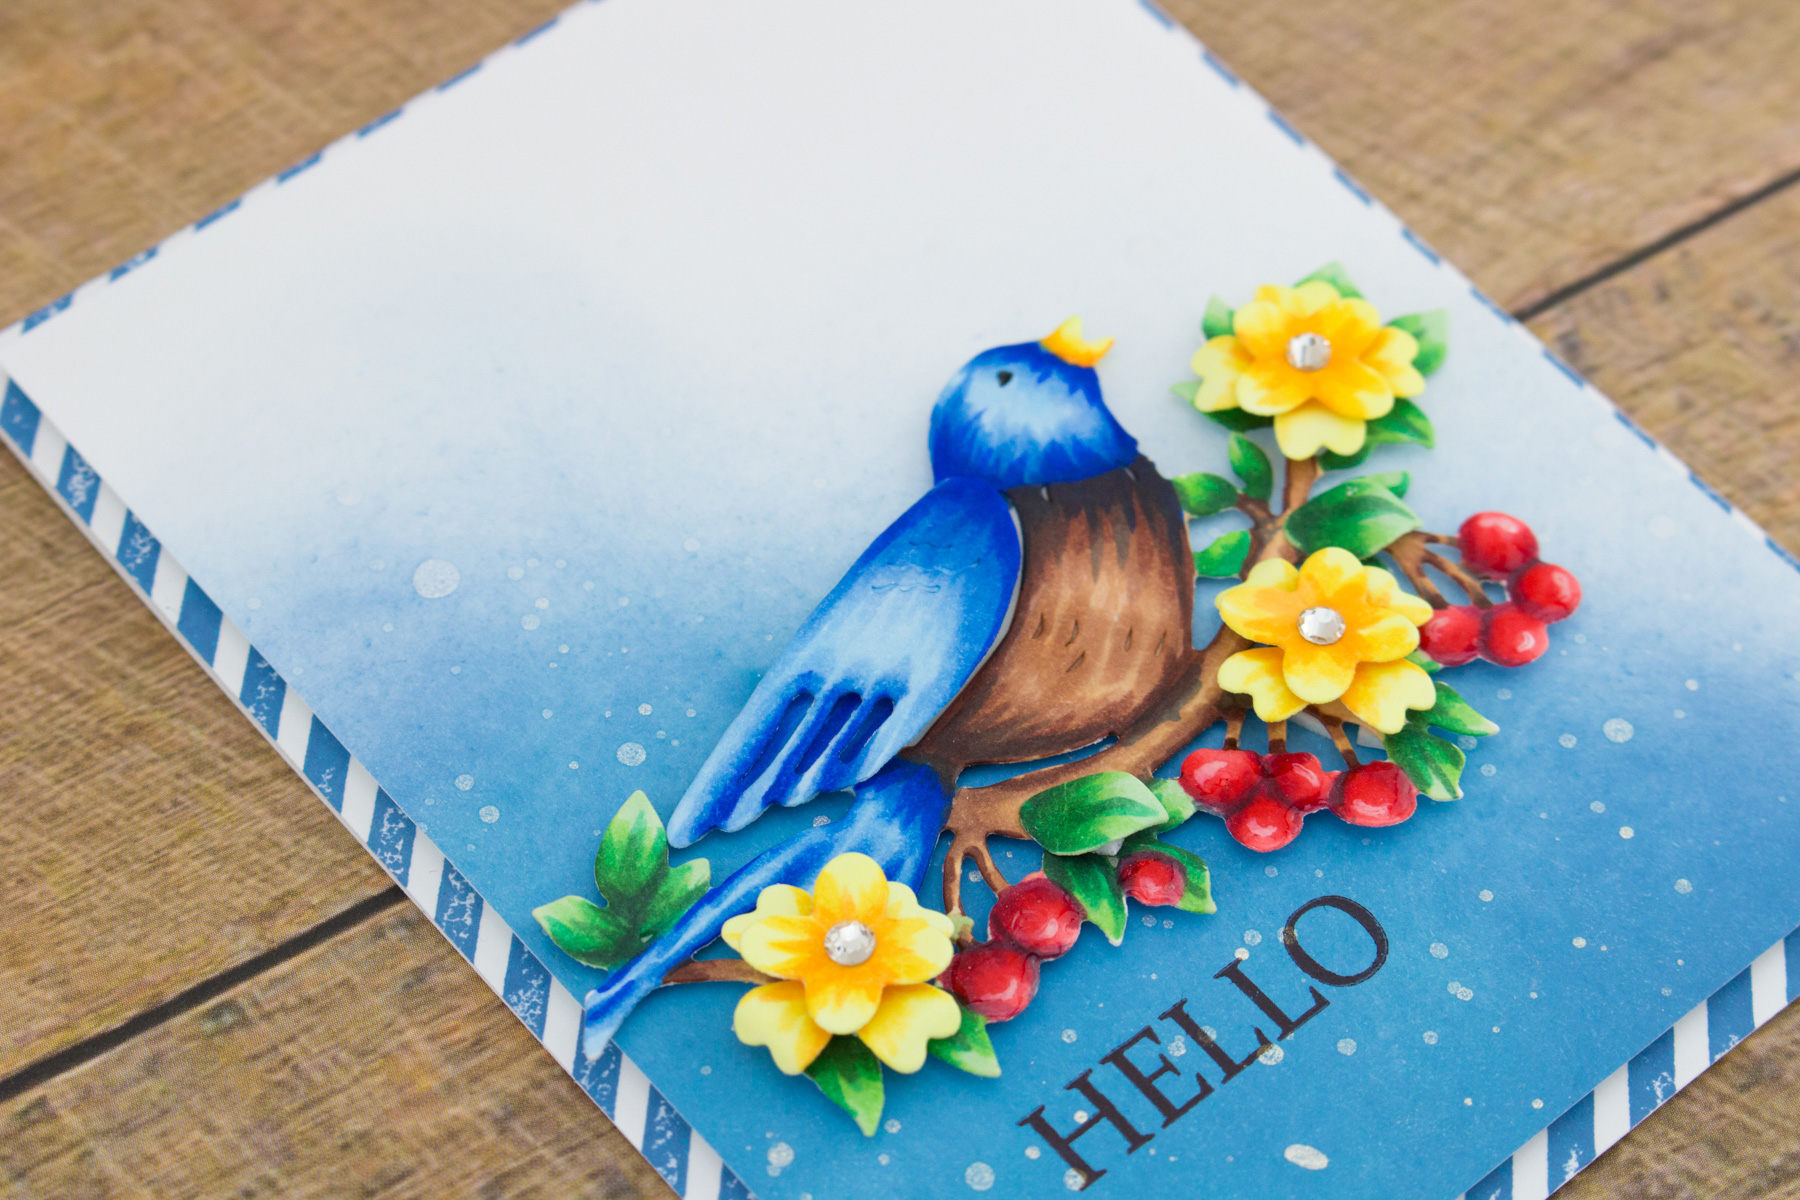
Hey folks! This is Cynde Whitlow and I’m from The Pink Envelope . Thanks so much for stopping by! I’m here today to share a video, where I show you how I make a card using the Bird On Cherry Branch Dies by Sharyn Sowell and Copic Coloring. If you’re interested in seeing what I did with the Botanical Butterfly and the Botanical Dragonfly you can see those here and here .

Flower Garden Collection by Sharyn Sowell - Inspiration | Bird On Cherry Branch + Copic Coloring with Cynde. Video tutorial featuring S2-285 Bird on Cherry Branch #spellbinders #diecutting #handmadecard #copiccoloring #adultcoloring

I started by die cutting the entire Bird On Cherry Branch Die Set from alcohol friendly cardstock. I chose bold bright colors for al of my coloring. I knew I wanted the bird to be blue and the cherries red, so I picked the other colors around those two. When you are coloring with alcohol markers, it’s always a good idea to have a piece of scrap paper underneath your work. If you color over a nonporous surface the ink that’s saturating through your cardstock has no place to go so it tries to reabsorb through you cardstock and it can cause you colors to bleed.

Flower Garden Collection by Sharyn Sowell - Inspiration | Bird On Cherry Branch + Copic Coloring with Cynde. Video tutorial featuring S2-285 Bird on Cherry Branch #spellbinders #diecutting #handmadecard #copiccoloring #adultcoloring

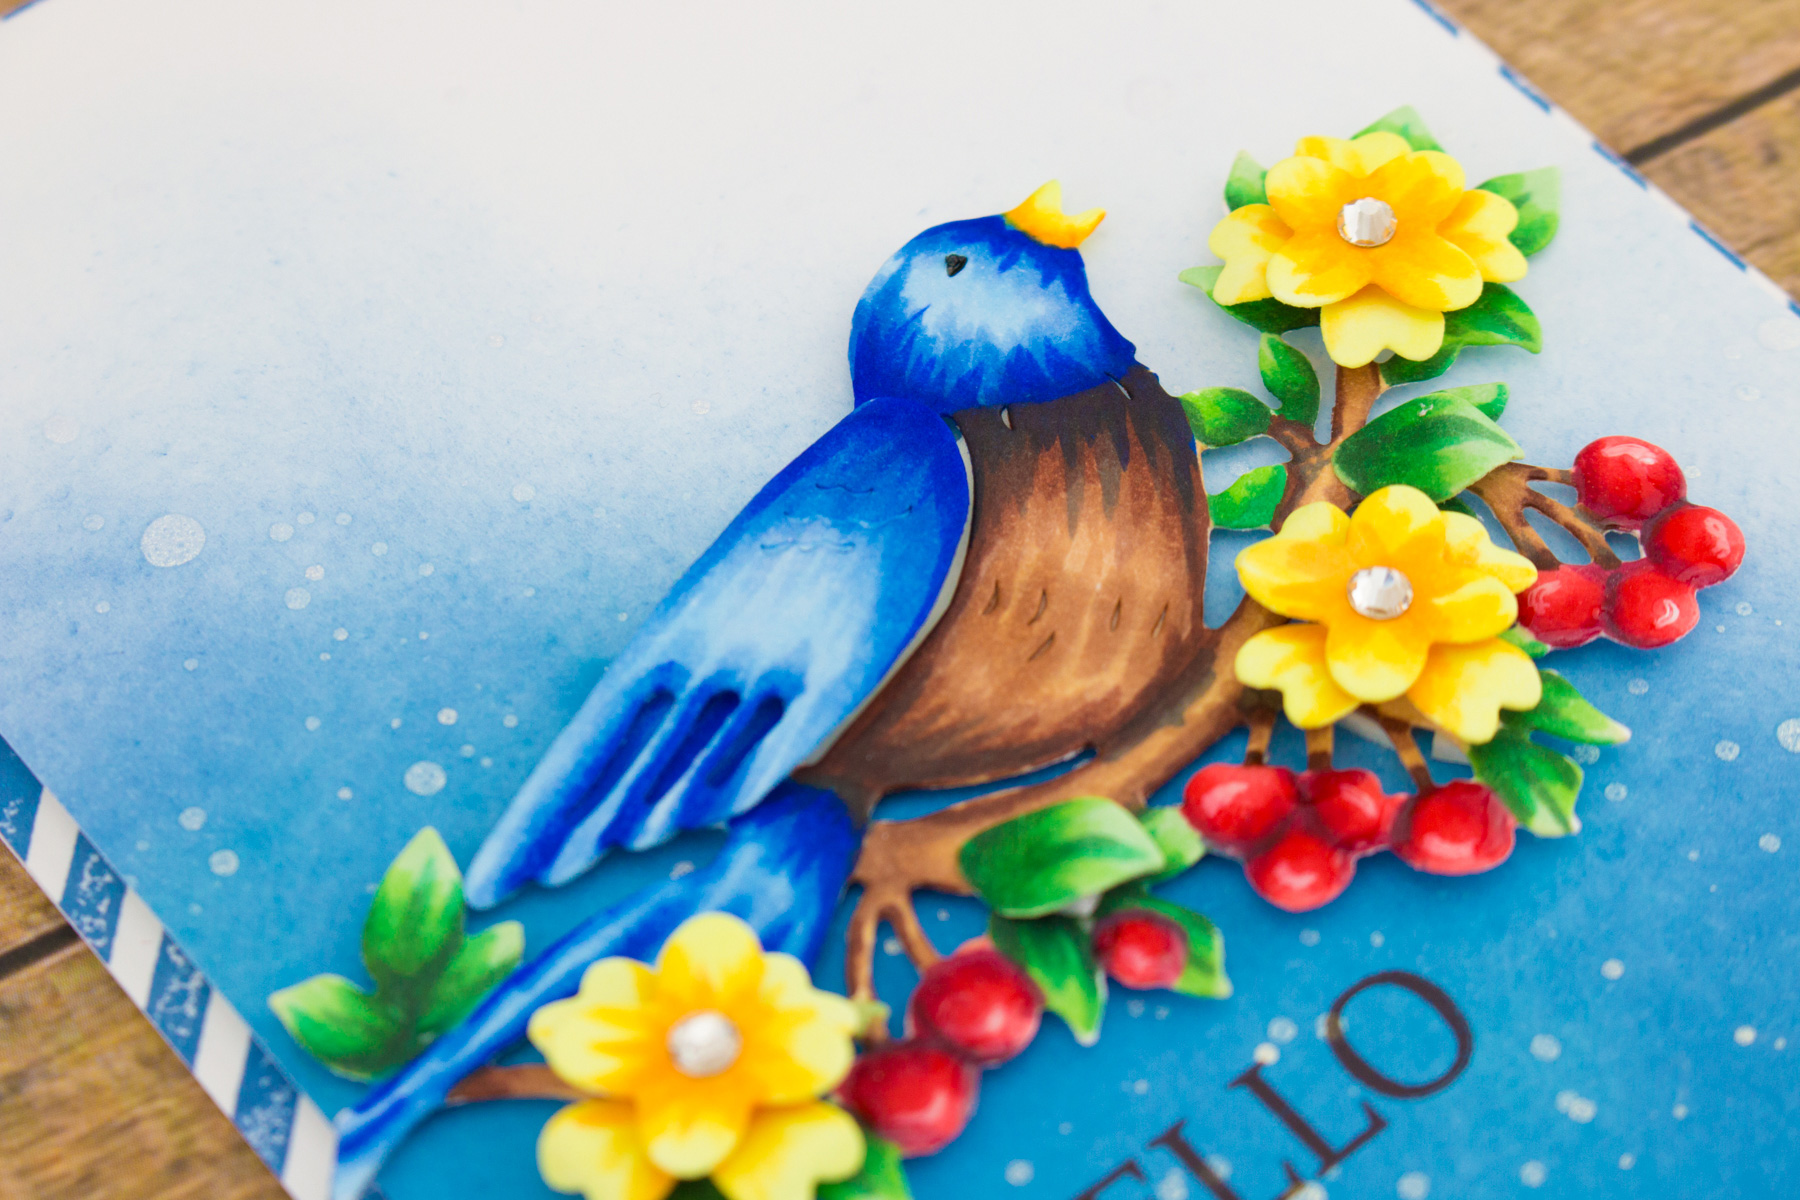
I colored the die cut the flowers and leaves from Bird On Cherry Branch as well. I added dimensional foam tape to the flowers to build them up so they would look more dimensional once I attached them to the larger die cut.

Flower Garden Collection by Sharyn Sowell - Inspiration | Bird On Cherry Branch + Copic Coloring with Cynde. Video tutorial featuring S2-285 Bird on Cherry Branch #spellbinders #diecutting #handmadecard #copiccoloring #adultcoloring

To give the cherries a little more character, I added some lacquer to them and let them dry. Do be sure they are completely dry before you add any foam tape to the back. For my panel, I did some ink blending with a blue ink. I started in the lower left of the panel and made sure to fade it out to white in the upper right. Once that was done, I splattered some shimmer spray across the front.

Flower Garden Collection by Sharyn Sowell - Inspiration | Bird On Cherry Branch + Copic Coloring with Cynde. Video tutorial featuring S2-285 Bird on Cherry Branch #spellbinders #diecutting #handmadecard #copiccoloring #adultcoloring

I made sure to trim my card panel down 1/8” on all sides, then stamped a sentiment in black dye ink. Then I attached the entire bird die cut to the front of the ink blended panel. Using the same ink that I used for ink blending, I stamped a diagonal stripe background another 4.25”x 5.5” panel.

Video Tutorial

Watch video tutorial below or on YouTube to learn how to make this project.

Spellbinders Supplies:

Other supplies:

Neenah Solar White Cardstock, Coic Markers, Nuvo Craft Adhesive, Tim Holtz Faded Jeans Distress Oxide, Gold Shimmer Spray, Dimensional Foam Tape, Double Sided Adhesive, Studio Kaita Silver Foil Crsytals, Craft Pick, Craft Stylus. That’s it folks! I truly hope you enjoyed my cards today! I look forward to using more of the Flower Garden Collection . Thanks again so much for stopping by! Until next time!

Leave a comment

Your email will not be published. Please note, comments need to be approved before they are published.


  • How to Heat Emboss with BetterPress Plates: Snowman Christmas Card

    BP-001

    How to Heat Emboss with BetterPress Plates: Snowman Christmas Card

    BetterPress plates can do more than create letterpress impressions and hot-foiled designs. In this detailed Christmas card tutorial, you’ll learn how to apply clear sticky ink to a BetterPress plate and use white embossing powder to produce a crisp, heat-embossed snowflake background. The tutorial also covers pressing and die cutting a sentiment, assembling three detailed snowmen, and arranging the finished elements on an A2 card....

  • How to Use the Reverse Foiling Technique on a Colorful Window Card

    BP-001

    How to Use the Reverse Foiling Technique on a Colorful Window Card

    Create a bright, modern card while learning how to use the negative foil left behind after hot foiling. In this step-by-step tutorial, you’ll foil the detailed Windows with a View design, use a solid plate to reverse foil the remaining image, and turn selected windows into dimensional embellishments. An ink-blended striped background, BetterPress sentiment, and sparkling gems complete the design. This project is ideal for...

  • CLEAN & SIMPLE CHRISTMAS CARD WITH FROSTY SKATES, S5-1566, BP-393, S4-1292

    BP-393

    Clean and Simple Christmas Card with Frosty Skates

    Give the Frank Garcia Christmas Blush Collection a contemporary twist with this clean and simple Christmas card. Learn how to assemble pastel ice skates, add winter foliage, and finish the design with a hot-foiled sentiment and silver gems.