Glimmer Hot Foil System | Letterpress Techniques for Holiday Cards. Video
Hello Spellbinders' fans! This is Yana Smakula and in this blog post & video tutorial I will show you how you can create a beautiful Letterpressed Holiday cards using our new Spellbinders Glimmer Hot Foil system. I’ll talk about best papers to use and will share several tips and tricks with you in this video.
If you are new to the Glimmer Hot Foil system be sure to watch our Introductory video and Basics of Foiling video to learn more.
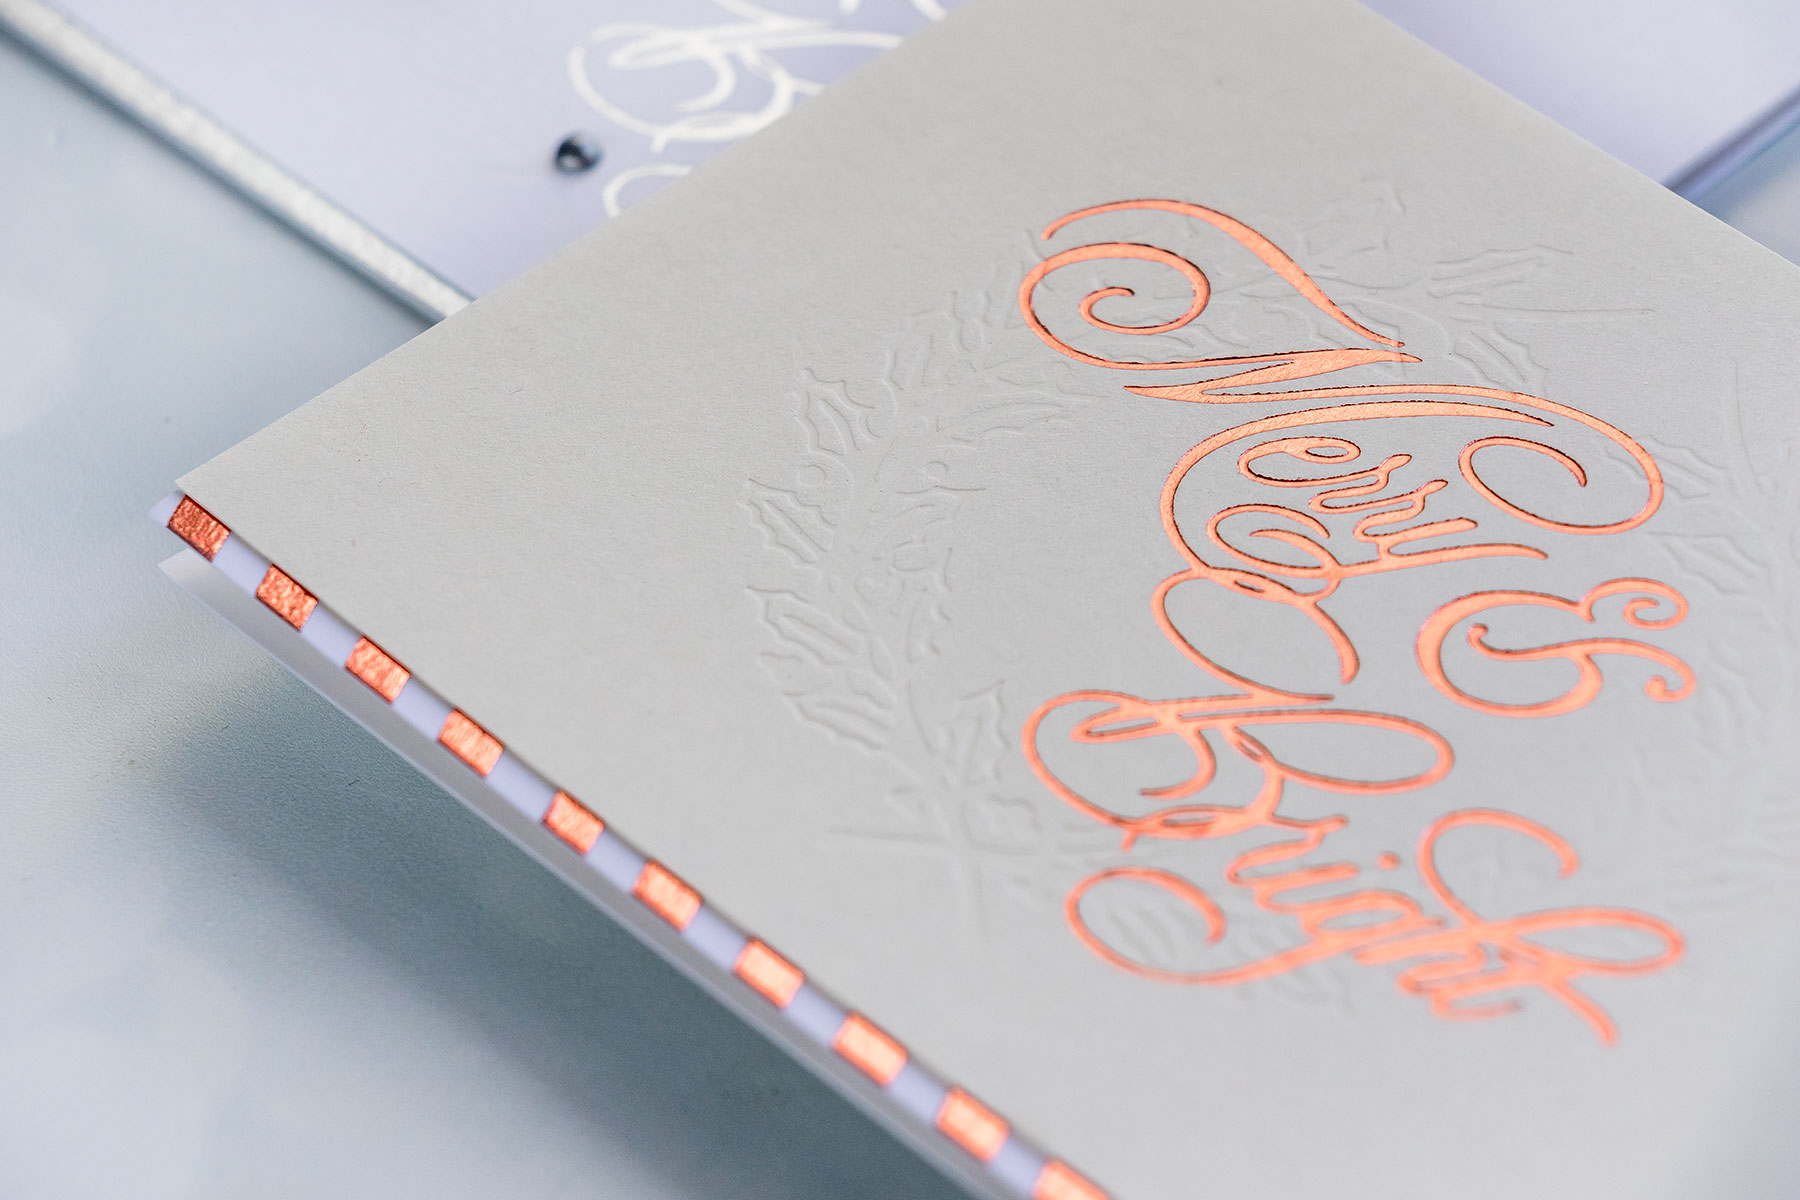
Letterpress technique is very hard to show on camera or on photos, but it displays beautifully in real life, there’s nothing out there quite like it. Letterpress is different from embossing or debossing as it leaves the back side of you paper completely flat. Letterpress is a popular technique used in business cards and also wedding invitations. We’re excited to bring letterpress to cardmaking.
When you combine foiling and letterpressing the order in which you do things matters. It is best to foil first and letterpress later as foiling over a letterpresses image will not give you optimal results. It’s best to use specialty paper for letterpress such as watercolor or letterpress paper. If you don’t have either of those you can still letterpress with our Glimmer Hot Foil system and plates on regular smooth cardstock. It’s best to use 110 lb cardstock or thicker for great results.
Instructions:
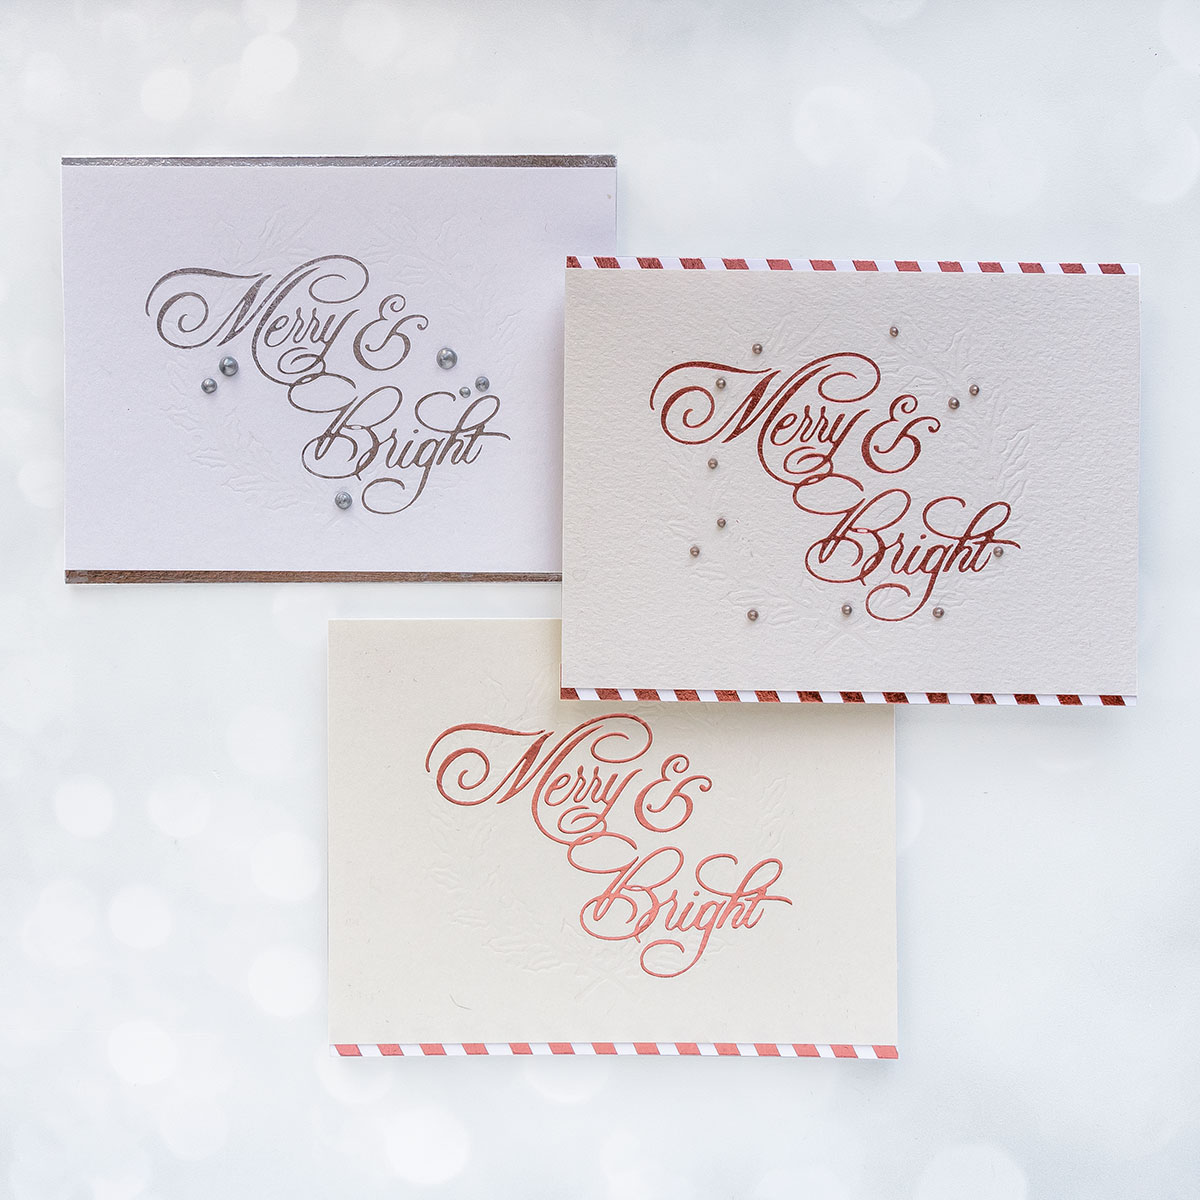
Hot Foil Merry & Bright in Silver foil on letterpress paper before I adding lettepressing.
Letterpess the Wreath. To do so first position Wreath Glimmer Hot Foil plate on foiled panel and secure place using small pieces of low tack tape. Be careful to not place the low tack tape over your foiled design as the tape will lift up the foil.
Use regular shims that come with Glimmer machine and also a cardstock shim for better results. Send through your die cut machine to letterpress.
Adhere your foiled and letterpressed panels onto A2 white top folding card bases,
Embellish with liquid pearls.

VIDEO TUTORIAL
Watch video tutorial below or on Youtube to learn how to make this project:
We hope you enjoyed this video tutorial and will give this idea a try!
Our August 2026 Clear Stamp & Die of the Month preview & tutorials are here! Join the Clear Stamp & Die of the Month Club and receive an expertly designed clear stamp and coordinating die set each month, complete with inspiration. Plus, members get store savings, extra deals, gifts, and more. This stamp set features made-in-the-USA stamps from high-quality photopolymer for clear, crisp impressions. Our stamps...

Our July 2026 2D Embossing Folder of the Month preview & tutorials are here! Exclusive 2D Embossing Folder adds texture and dimension to any project. Size will generally be 5.5" x 8.5" and can be used to make slimline, 5" x 7", and a variety of sized projects. Spellbinders Monthly Clubs are exclusively designed by our in-house creative team, curated with care, and delivered with...
Our August 2026 Stencil of the Month Club preview & tutorials are here! Here’s a look at the design for this month – Holiday Harmony: Please note, new Subscription Sign-Up Window will now open on the 6th of each month and close on the 27th (once existing club members subscriptions have been processed.) If there is additional inventory remaining, then they will be made available for...