Handmade Collection Inspiration | Recipe Card Gift Set by Ashlea
on July 07, 2018

Handmade Collection Inspiration | Recipe Card Gift Set by Ashlea

Hello again! It’s Ashlea and I’m back today with a fun way to use your niche stamps like the Kitchen Stamp and Die set by Stephanie Low. While an idea for a card using this stamp set may evade you, I’ve got an idea that may be perfect as a gift!
Spellbinders Handmade Collection by Stephanie Low - Inspiration | Recipe Card Gift Set by Ashlea #spellbinders #neverstopmaking #stamping #handmade

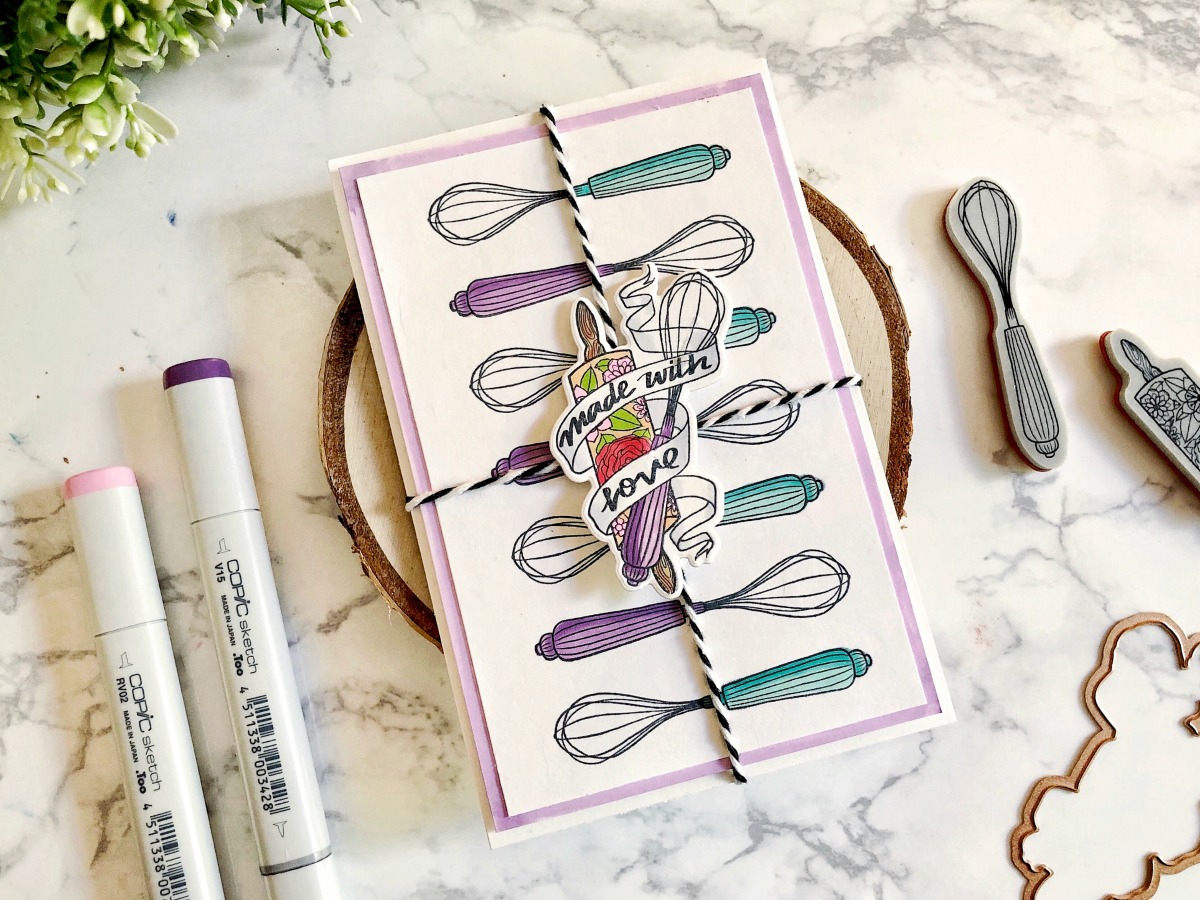
When I first looked at this set I knew I wanted to make a recipe card set. I love that it’s a gift and card combo that can be mailed just as a card can, and that it is so personalized. From the handmade design down to the recipes you write on the card, it’s clear when you give this gift that you’ve put a lot of thought and love into it. (And that’s always the best for giving and receiving!)

Spellbinders Handmade Collection by Stephanie Low - Inspiration | Recipe Card Gift Set by Ashlea #spellbinders #neverstopmaking #stamping #handmade

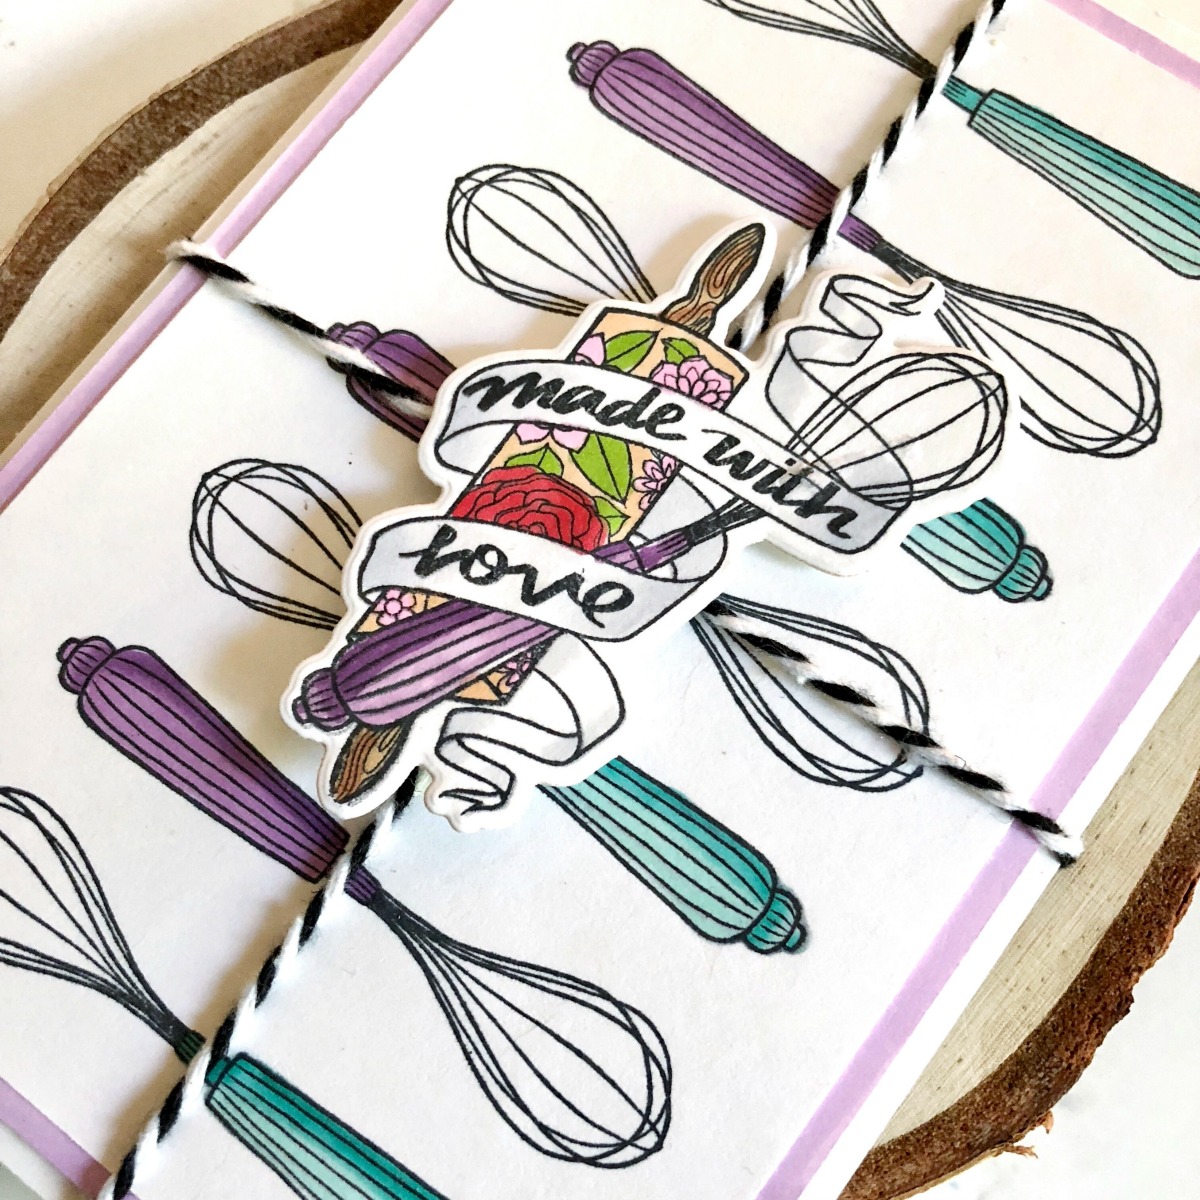
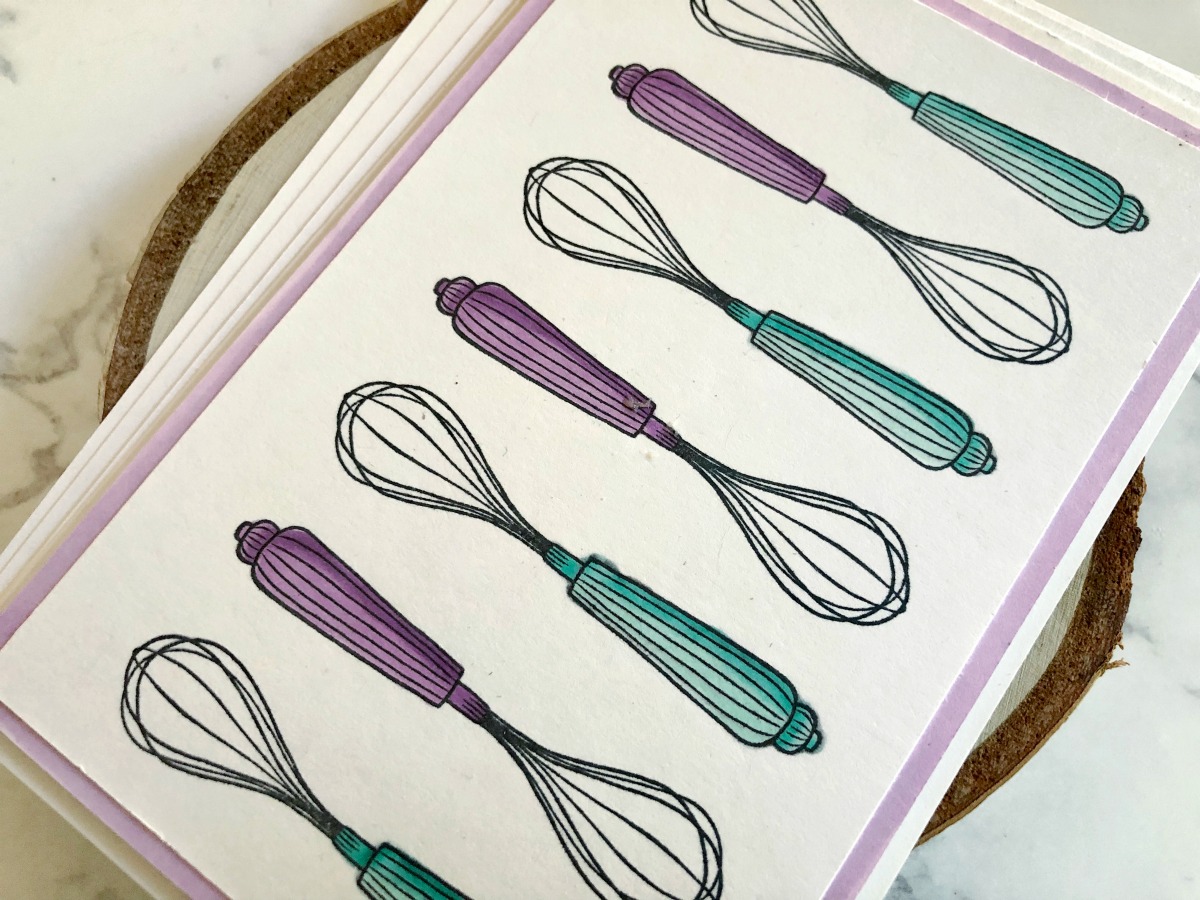
To start, I cut 4 pieces of white card stock to 4”x 6” and trimmed one down even further to 5.5” x 3.5” to serve as the top decorated portion of the set. I used my MISTI to stamp the whisk image stamp in Memento Tuxedo Black ink evenly, leaving an equal amount of space between each whisk. I then turned the whisk stamp upside down and again used my MISTI to stamp it evenly in the spaces between the images I stamped first. Finally, I colored the handles with Copic markers in complimentary colors.

Spellbinders Handmade Collection by Stephanie Low - Inspiration | Recipe Card Gift Set by Ashlea #spellbinders #neverstopmaking #stamping #handmade

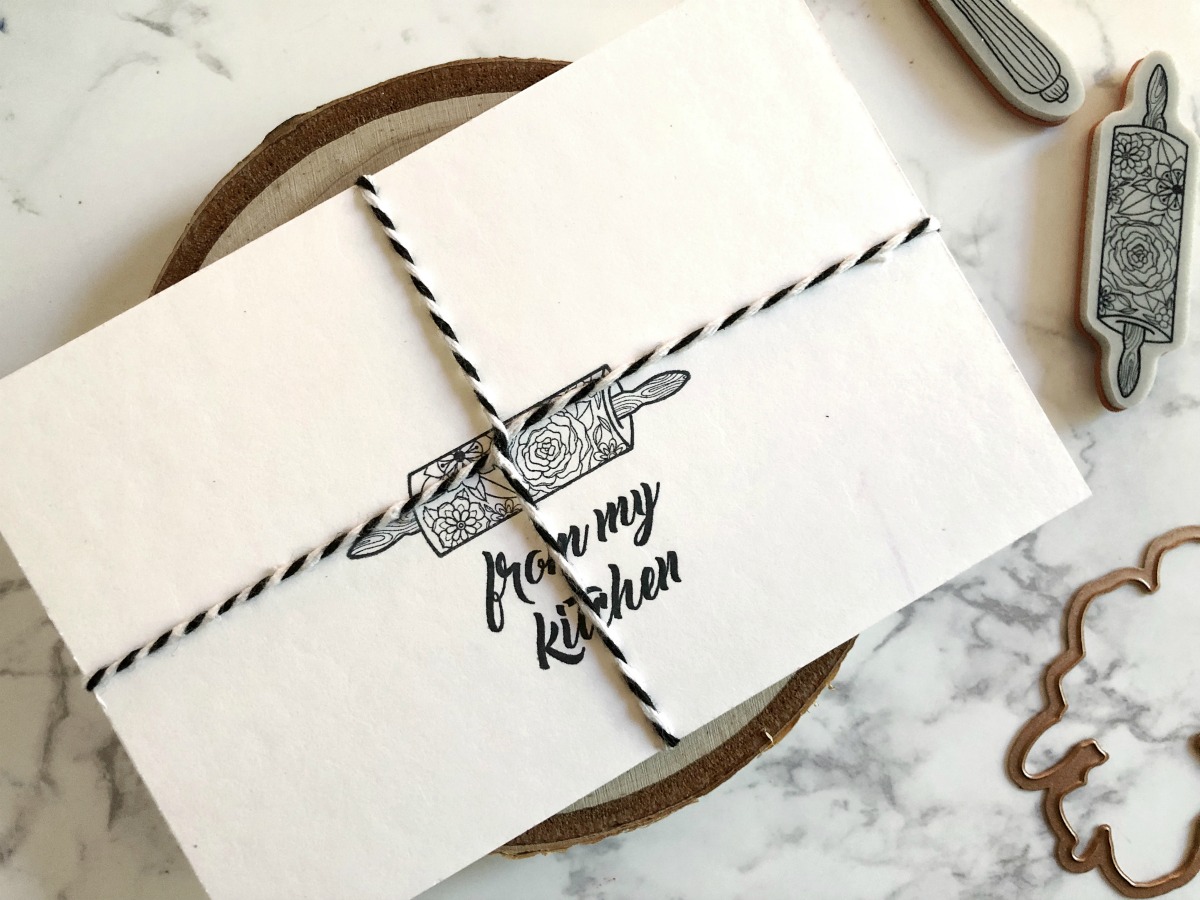
Using a piece of card stock cut to 5.75”x 3.75” I ran a Copic marker in the lightest shade of purple (V12) to create a coordinating color matted background for the whisk panel. I adhered them together with Tombow Mono Multi Glue and made sure to center the whisk panel so the purple matted background showed through equally on all sides. I then used foam tape to center that entire piece onto a 4”x 6” piece of card stock. After I added lines on the recipe cards for writing (and some top secret family recipes) I stamped the rolling pin image and the “from my kitchen” sentiment to the back of each recipe card. I then bound them all together with black and white twine.

Spellbinders Handmade Collection by Stephanie Low - Inspiration | Recipe Card Gift Set by Ashlea #spellbinders #neverstopmaking #stamping #handmade

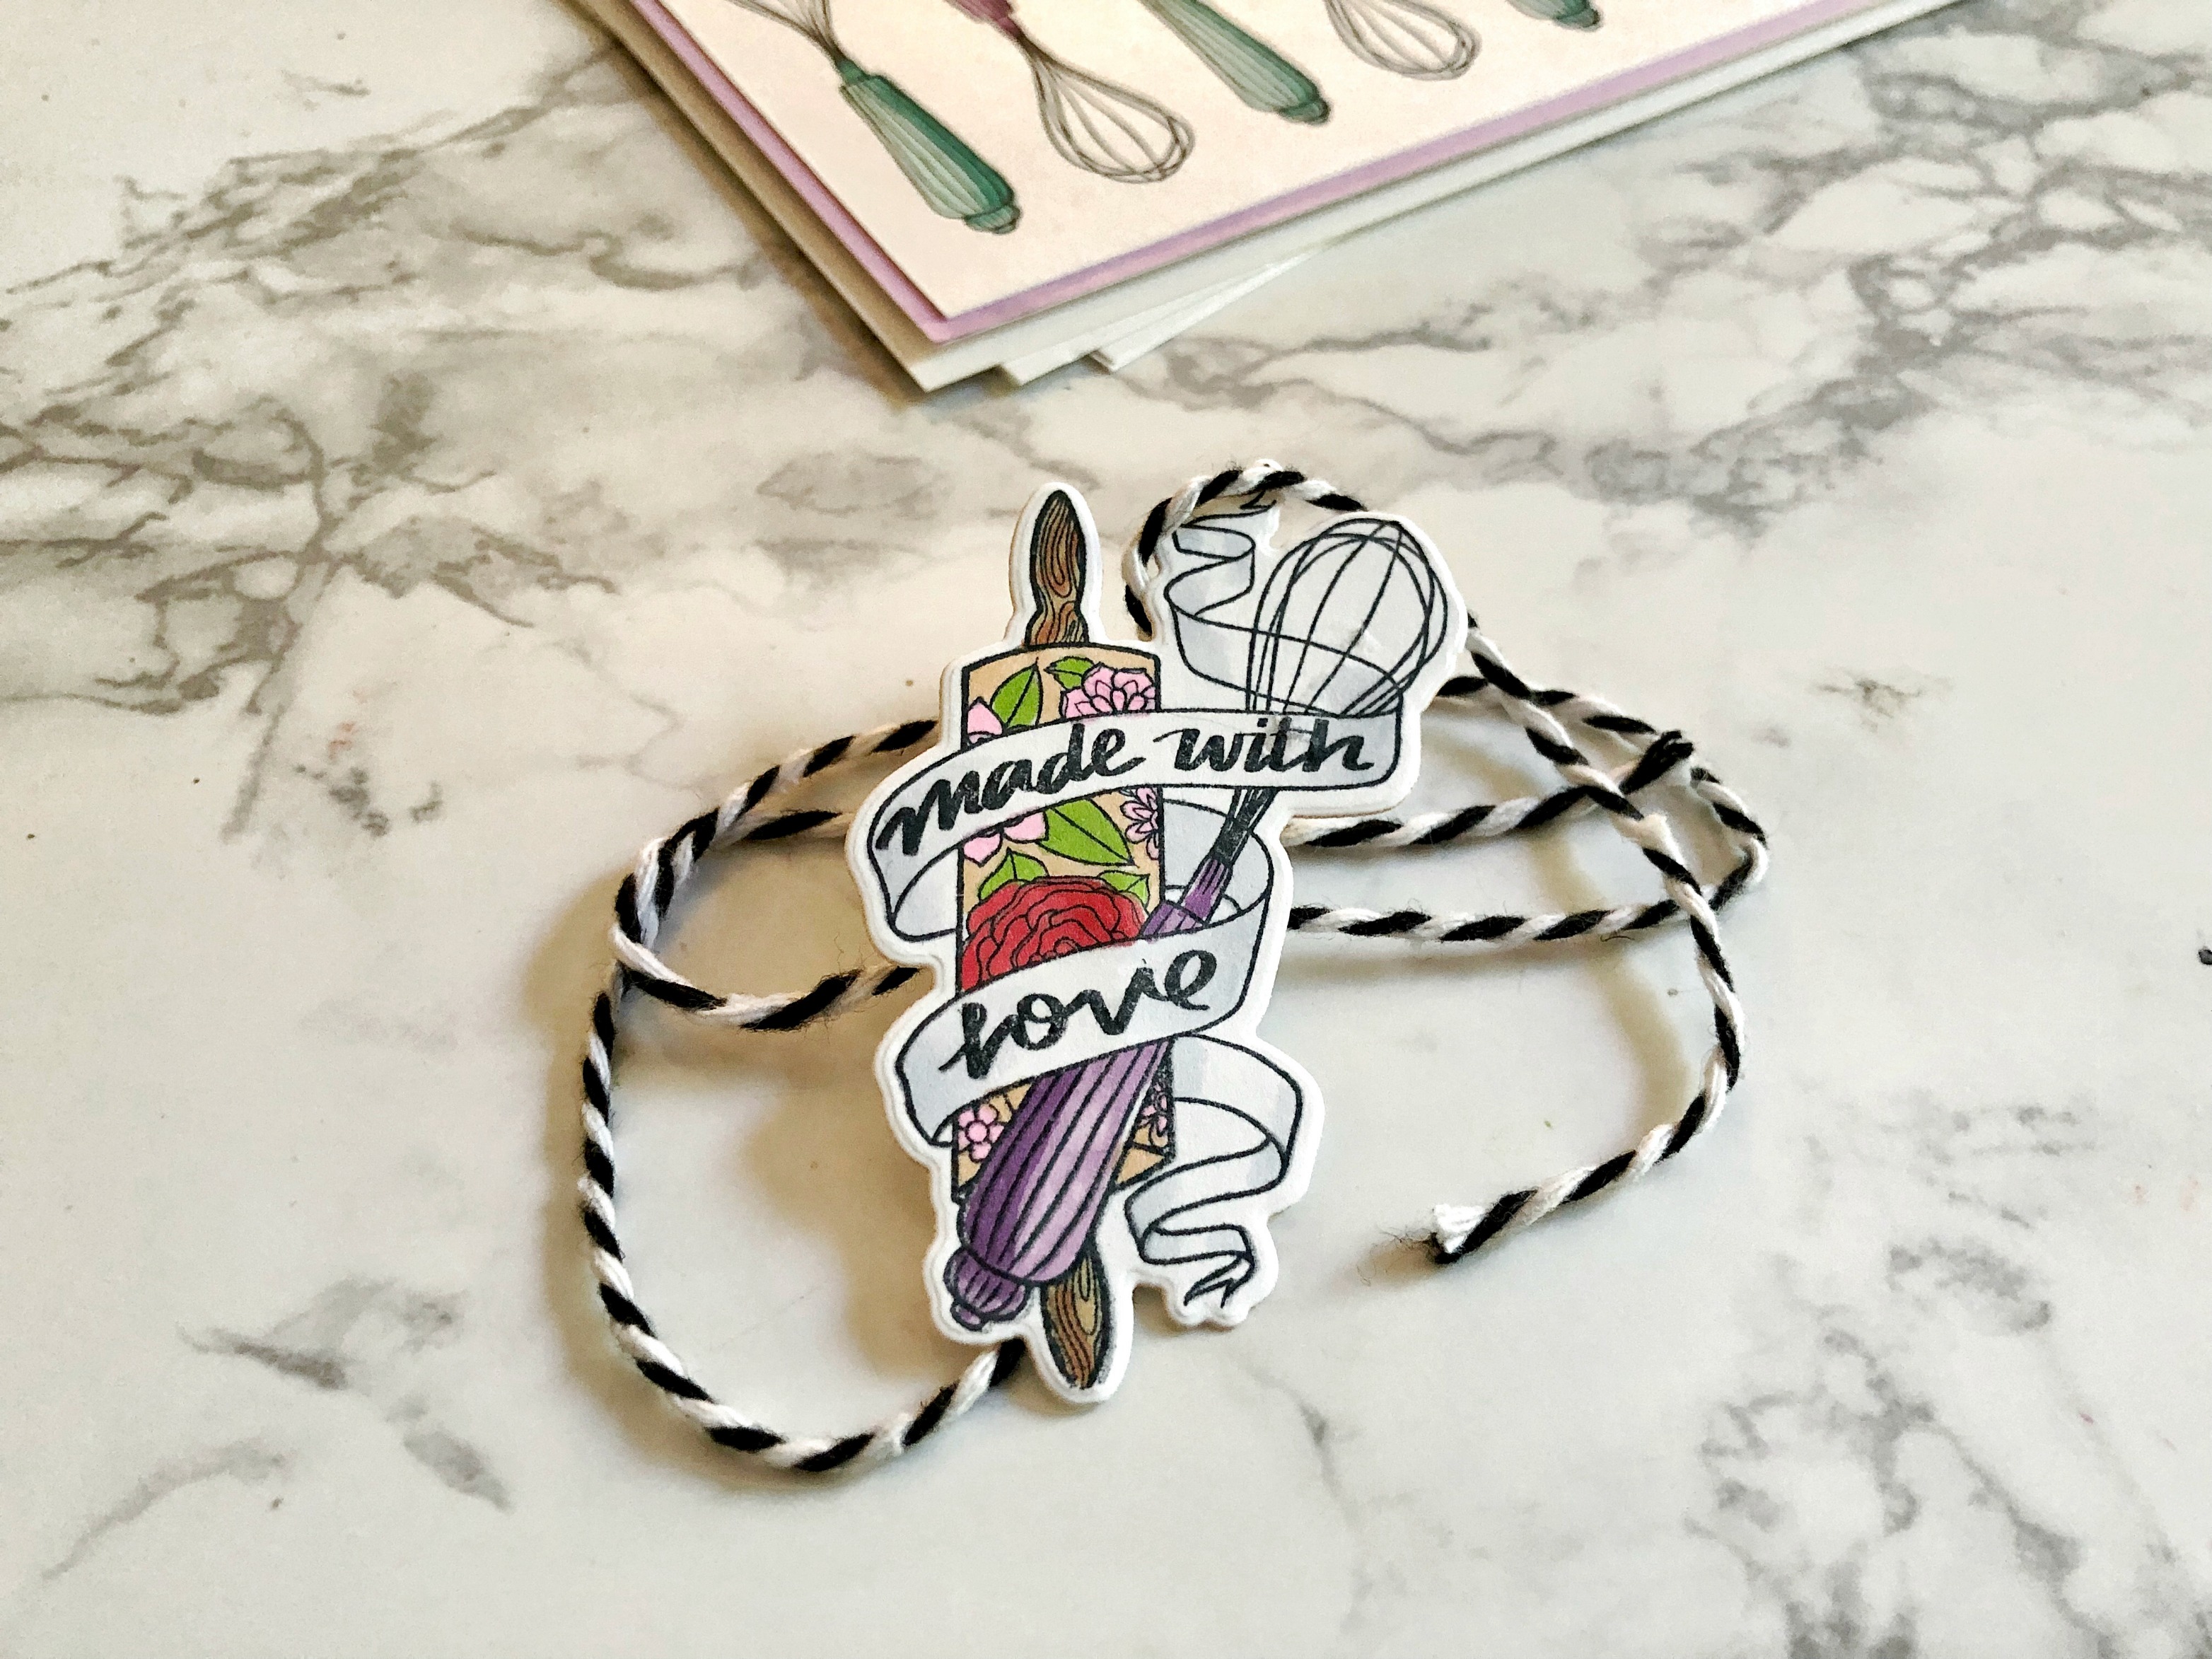
I’m so in love with the banner stamp included in this set. The way it wraps around the whisk and rolling pin is so fun and gives such a great detail to the set. I colored the stamp with Copic markers and used the coordinating die to cut the image out and adhered it with a dot of glue to the front of the twine that holds the cards together. I think this gives such a finished look to the set, almost like a personalized seal. I hope that you have enjoyed reading a bit about how I created this set. I love discovering ideas of new ways to use my stamps and I hope that I was able to give you a bit of inspiration today. Thank you for stopping by! I’ll see you again shortly!

Spellbinders Handmade Collection by Stephanie Low - Inspiration | Recipe Card Gift Set by Ashlea #spellbinders #neverstopmaking #stamping #handmade

SPELLBINDERS SUPPLIES:

OTHER SUPPLIES:

Copic Markers V12, V15, BG15, BG10, E21, R02, YG03; Catherine Pooler Premium White Cardstock; Tombow Mono Multi Glue; MISTI; Memento Tuxedo Black Ink.

Leave a comment

Your email will not be published. Please note, comments need to be approved before they are published.

1 comment

Martha Hang,

The recipe cards are beautiful. Thank you for sharing your thoughts.


  • HOW TO USE PRESS PLATES WITH MULTIPLE INKS | CREATE YOUR WAY HOLIDAY, BPR-050, BPI-049, BPI-003

    BP-001

    How to Use Multiple Ink Colors with BetterPress Registration Plates

    Create a colorful Christmas card while learning how to apply multiple ink colors to BetterPress registration plates. In this detailed tutorial, you’ll use the Festive Evergreens Registration Press + Foil Plate & Die Set to press a holiday doorway scene in three colors, combining the built-in registration system with a simple masking technique. The registration template positions the coordinating plates so each layer aligns with...

  • How to Make a Colorful Foiled Butterfly Card with Glimmer II

    BP-351

    How to Make a Colorful Foiled Butterfly Card with Glimmer II

    Combine hot foiling, alcohol-marker coloring, ink blending, and dimensional shaping to create a colorful butterfly card that sparkles from every angle. In this step-by-step tutorial, you’ll learn how to foil detailed butterflies and a floral background with the Glimmer II Hot Foil System, add bold color, and shape the butterfly wings for a realistic raised effect. The Bright Butterflies and Thanks In Bloom Press +...

  • How to Heat Emboss with BetterPress Plates: Snowman Christmas Card

    BP-001

    How to Heat Emboss with BetterPress Plates: Snowman Christmas Card

    BetterPress plates can do more than create letterpress impressions and hot-foiled designs. In this detailed Christmas card tutorial, you’ll learn how to apply clear sticky ink to a BetterPress plate and use white embossing powder to produce a crisp, heat-embossed snowflake background. The tutorial also covers pressing and die cutting a sentiment, assembling three detailed snowmen, and arranging the finished elements on an A2 card....