

Posted by Spellbinders Team
on September 09, 2022

Hi there, this is Annie Williams and I’m excited to be back on the blog today to share a couple of projects using the new Holiday 3D Embossing Folders from Spellbinders. The gorgeous and versatile designs in this collection inspired me to create three bright and pretty holiday cards with tons of texture.

Gilded Poinsettia Card
The beautiful all-over pattern of the Scenic Poinsettias 3D Embossing Folder is perfect for so many inking or coloring techniques but also looks great as-is. Here I applied a light layer of gold wax to the pattern for this simple and pretty holiday card for a friend.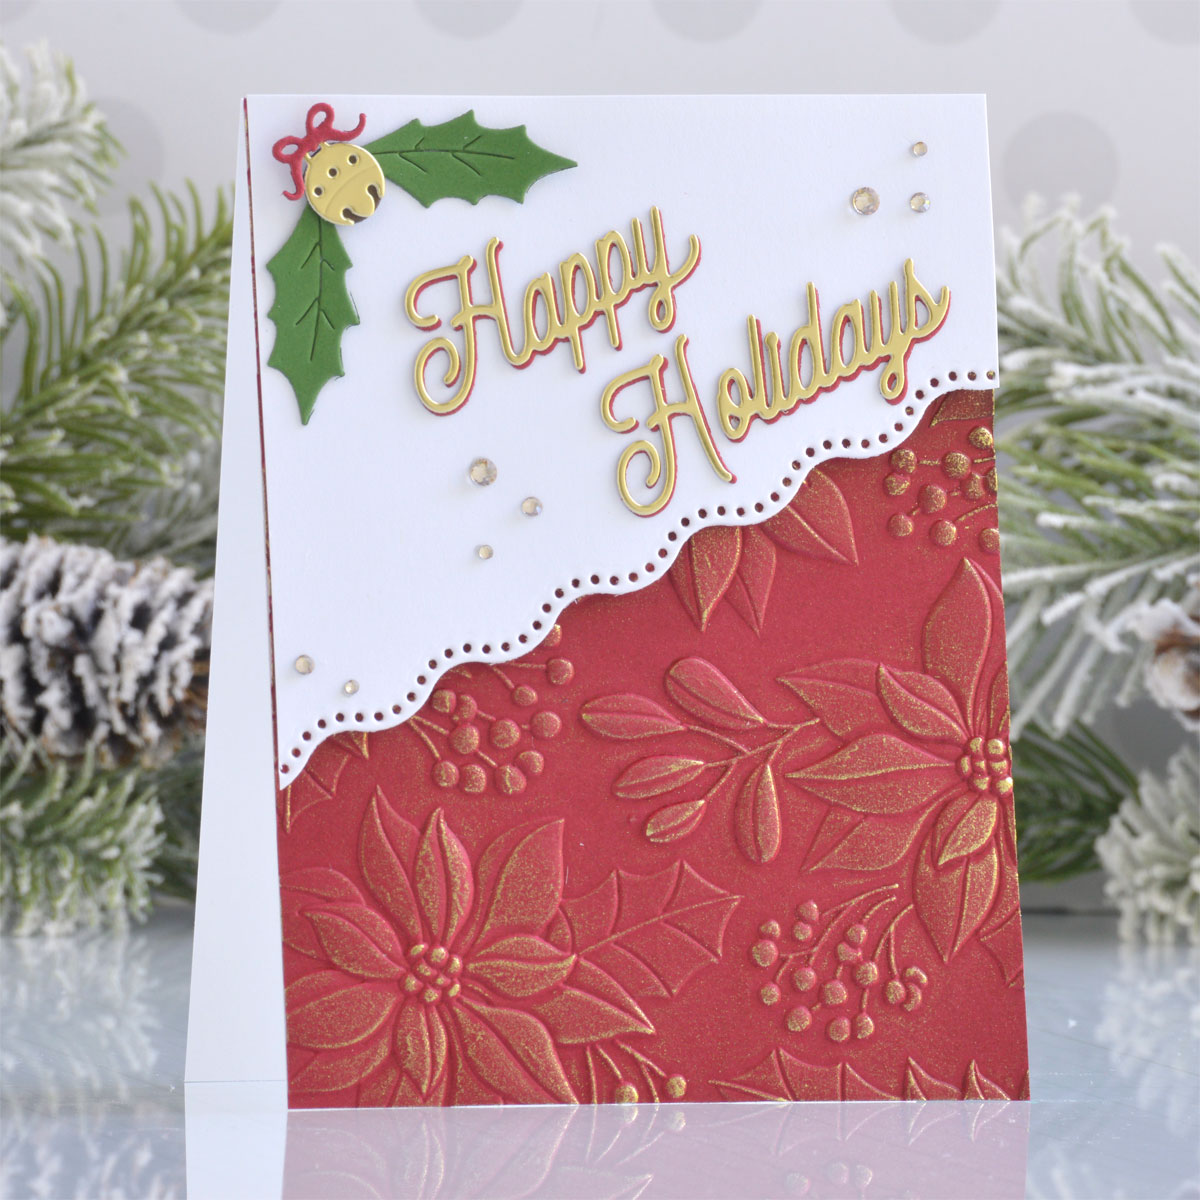
- Trim a piece of Phone Booth Cardstock to 4.25” x 5.5” and emboss it using the Scenic Poinsettias 3D Embossing Folder.
- Lightly apply gold gilding wax to the raised areas of the embossed panel with a blending tool or your finger.
- Trim a piece of white cardstock to 4.25” wide and about 4” tall. Die cut the bottom edge of the panel with one of the border dies from the Winter Borders Die Set on an angle.
- Die cut Phone Booth and Mirror Gold Cardstock using the Classic Happy Holidays Die Set and adhere the layers together with liquid glue, allowing the red layer to peek out from behind like a shadow.
- Die cut Fern, Phone Booth, and Mirror Gold Cardstock using the holly leaf and sleigh bell dies from the Parcel & Post Christmas Decorations and More Holiday Decorations Die Sets.
- Adhere the embossed panel to a top-folding A2-sized white card base with tape runner, then add the die-cut panel on top with foam adhesive.
- Add the sentiment, holly leaves, and sleigh bell to the die-cut panel with liquid glue.
- Embellish with Gold Mix Gems.
Floral Merry Christmas Card
The Dimensional Diamonds 3D Embossing Folder is a versatile and timeless pattern and can create a beautiful backdrop for cards all year long. Here I embossed and sanded white-core cardstock to add soft and subtle texture to this bright and pretty Christmas card.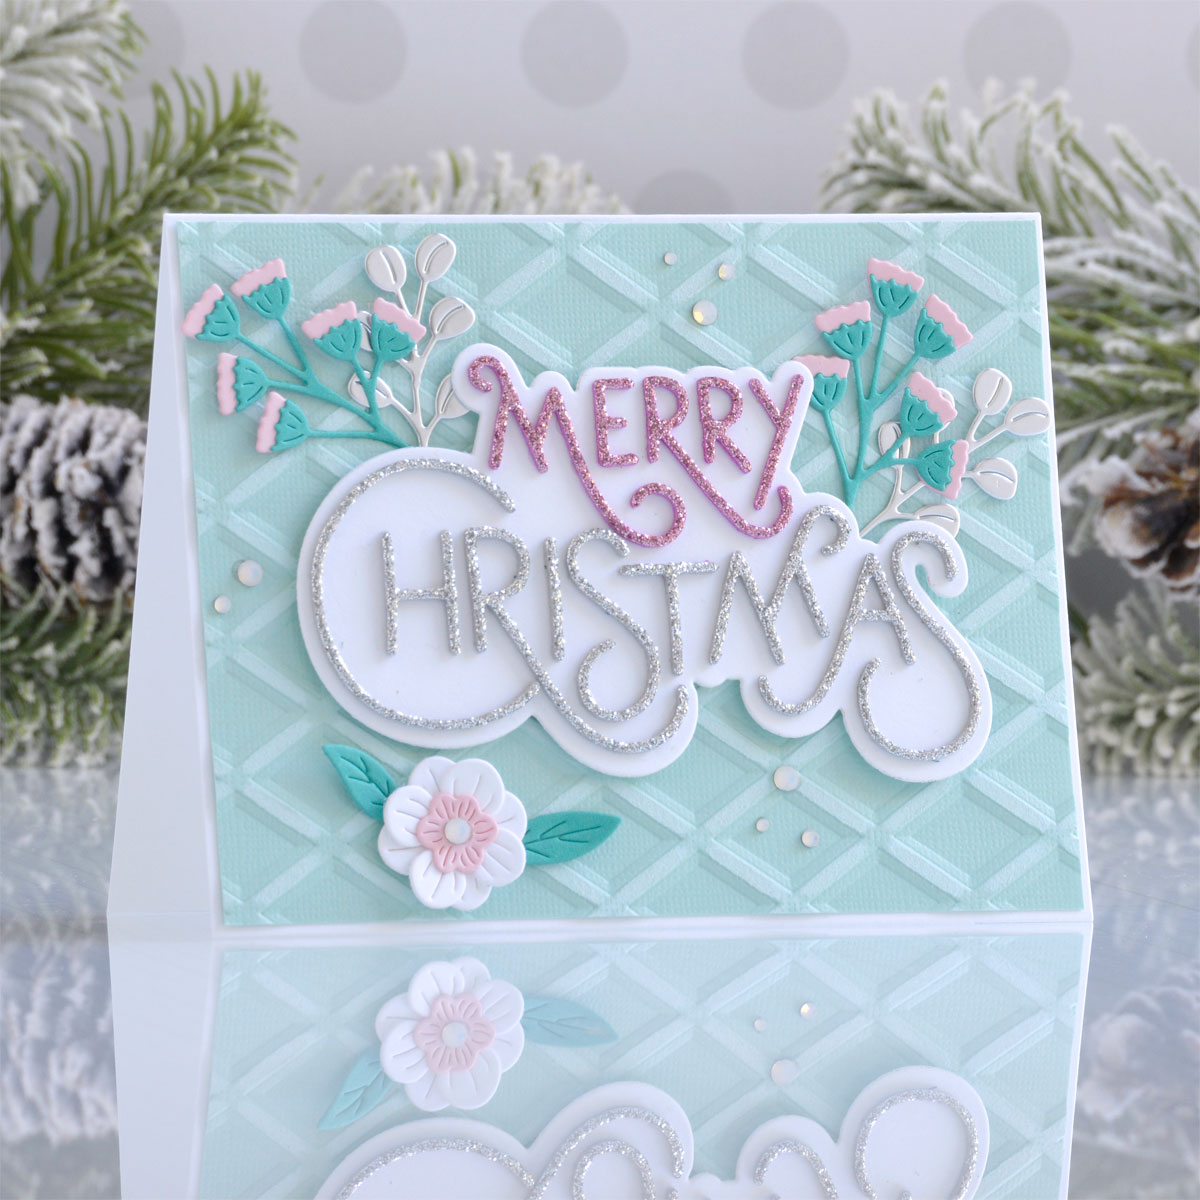
- Trim a piece of aqua white-core cardstock to 4.125” x 5.375” and emboss it with the Dimensional Diamonds 3D Embossing Folder.
- Lightly sand the embossed panel with a sanding block to reveal the white core and create a subtle dual-color background.
- Die cut Bright Pink and Silver Pop-Up Glitter Foam Sheets with the insert die and white cardstock with the outline die from the Stylish Merry Christmas Die Set. Adhere the letters to the outline with liquid glue.
- Die cut Teal Topaz, Pink Sand, Mirror Silver, and white cardstock using the Holiday Blooms Die Set and assemble with liquid glue.
- Adhere the embossed panel to a top-folding A2-sized white card base with tape runner and then pop the sentiment up in the center of the card front with foam adhesive.
- Add the flowers and greenery to the front of the card with liquid glue.
- Embellish with Opal Mix Gems.
Frosty Window Pane Card
Lastly, I thought the Dimensional Diamonds design would work perfectly to create a frosty window pane. I added a cute cardinal and some bright holiday blooms for this merry wishes card.
- Trim a piece of white cardstock to 4.25” x 5.5”, emboss it with the Dimensional Diamonds 3D Embossing Folder, and adhere it to a top-folding A2-sized white card base with a tape runner.
- Die cut Cosmic Sky Cardstock using one of the dies from the Essential Arches Die Set and emboss it with the Dimensional Diamonds 3D Embossing Folder.
- Lightly rub a white pigment ink pad over the raised areas of the embossed arch and then set it aside to dry.
- Die cut Phone Booth, Poppy Field, Onyx, Persimmon, and white cardstock using the Tweet Cardinal Die Set and assemble with liquid glue.
- Die cut Phone Booth, Poppy Field, Beeswax, and Fern Cardstock using the Holiday Blooms Die Set and assemble with liquid glue.
- Apply Cobalt Hot Foil to white cardstock using one of the sentiments from the Glitter Wishes Glimmer Plate Set and cut it out with the coordinating die.
- Adhere the embossed arch to the center of the card front with foam adhesive, then add the cardinal and greenery on top with liquid glue and foam adhesive.
- Pop the sentiment up in the top right corner with more foam adhesive.
Spellbinders Supplies:























































































