Posted by Spellbinders Team
on September 30, 2018

Hello crafty friends, Zsoka is here and I'm back with my third and last blog post in my Jane Davenport Artomology series! If you've missed the previous two, you can find them here and here.
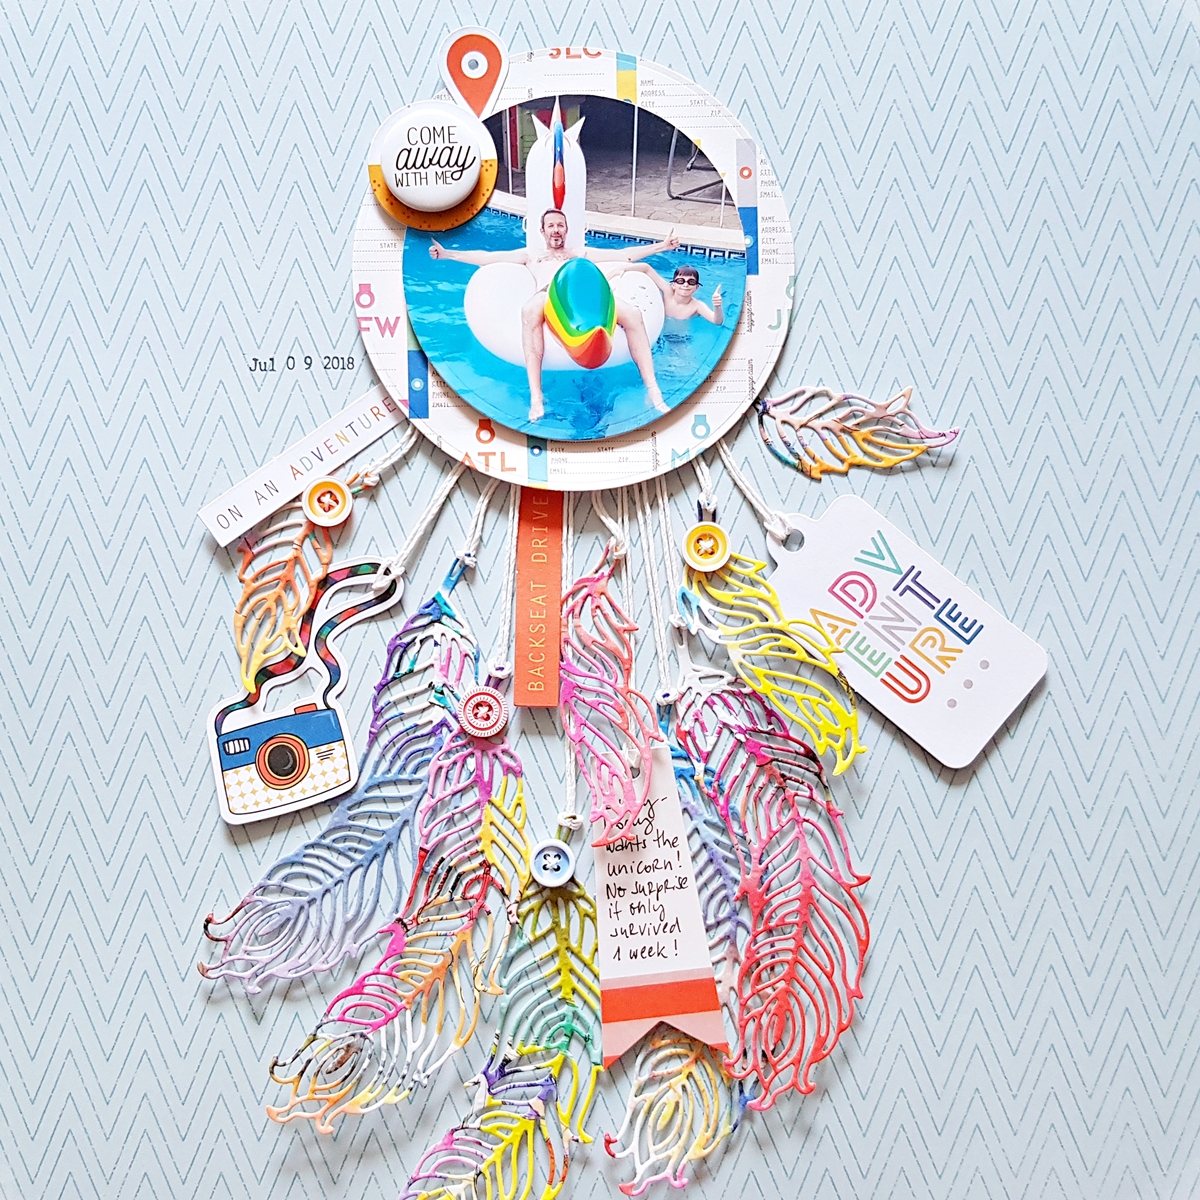
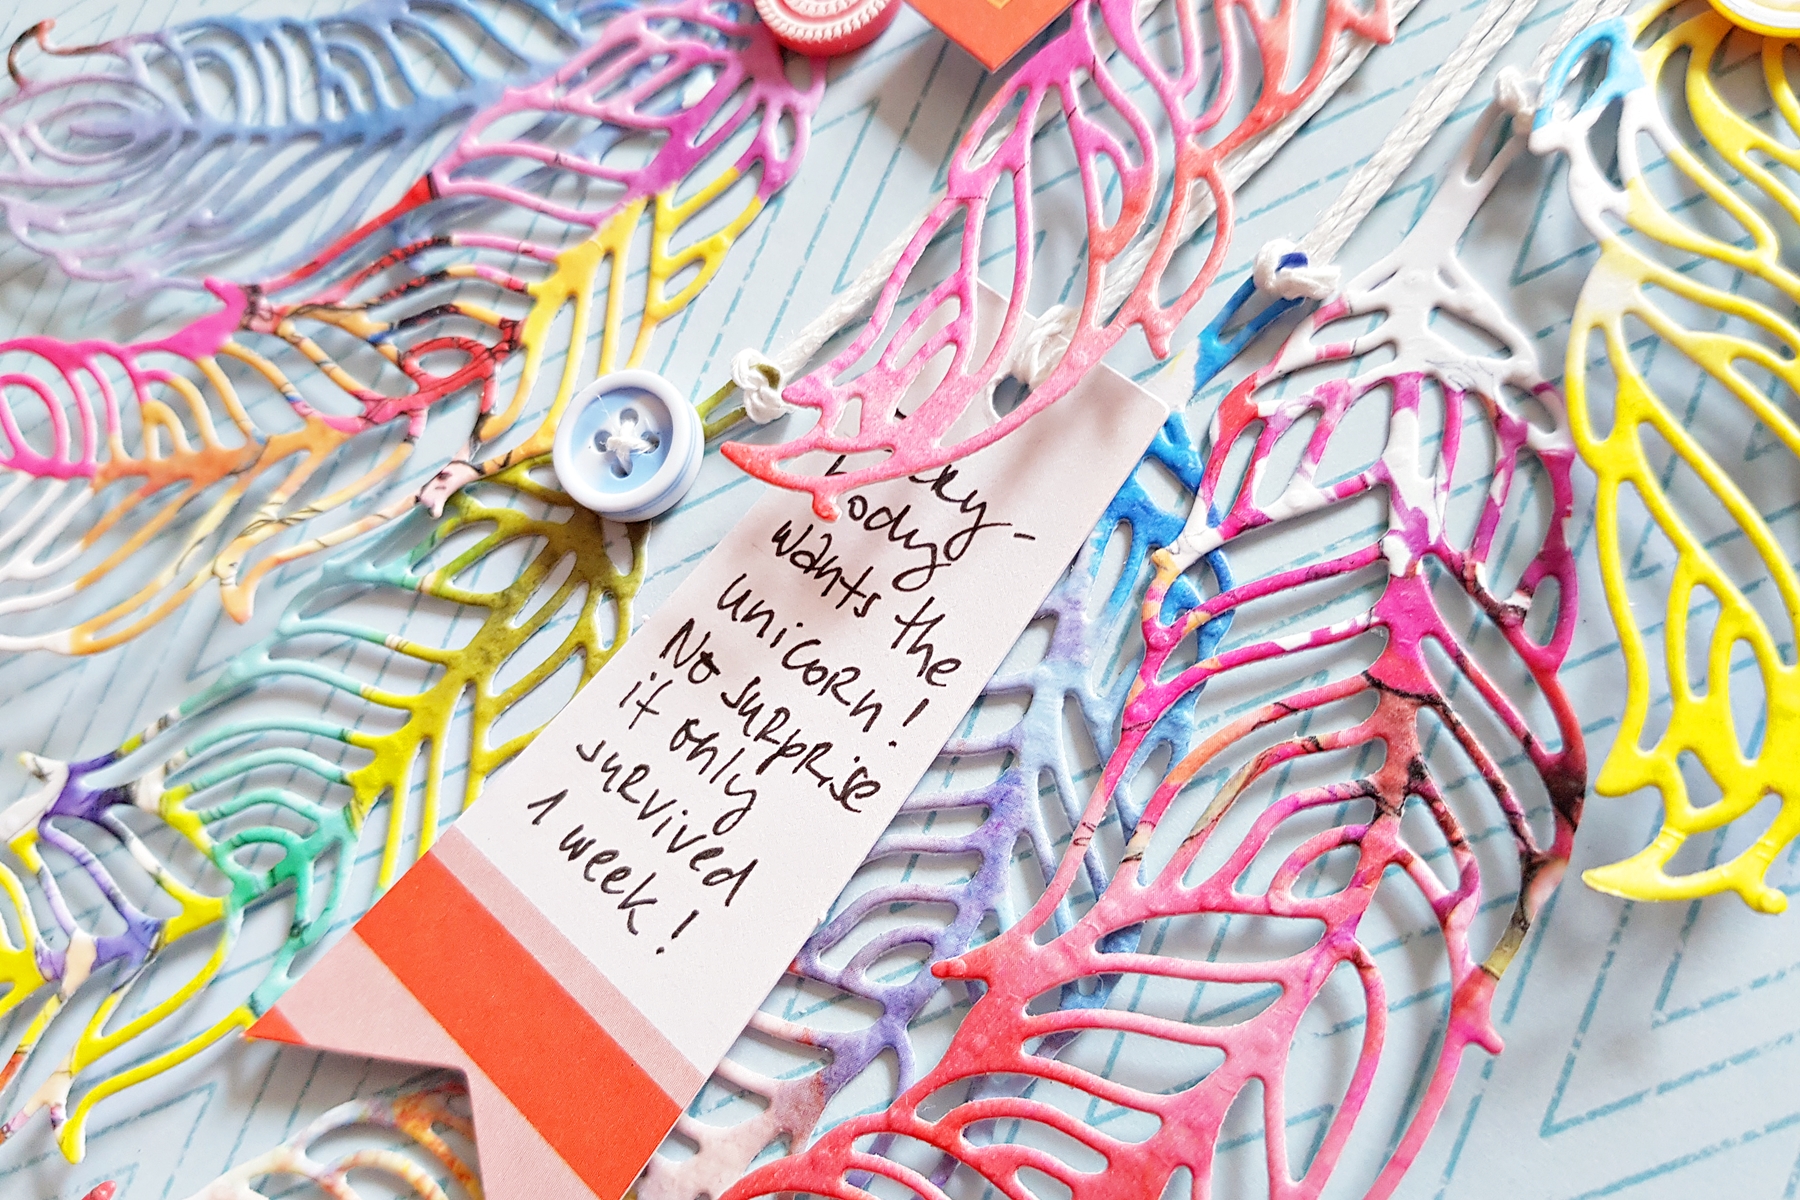
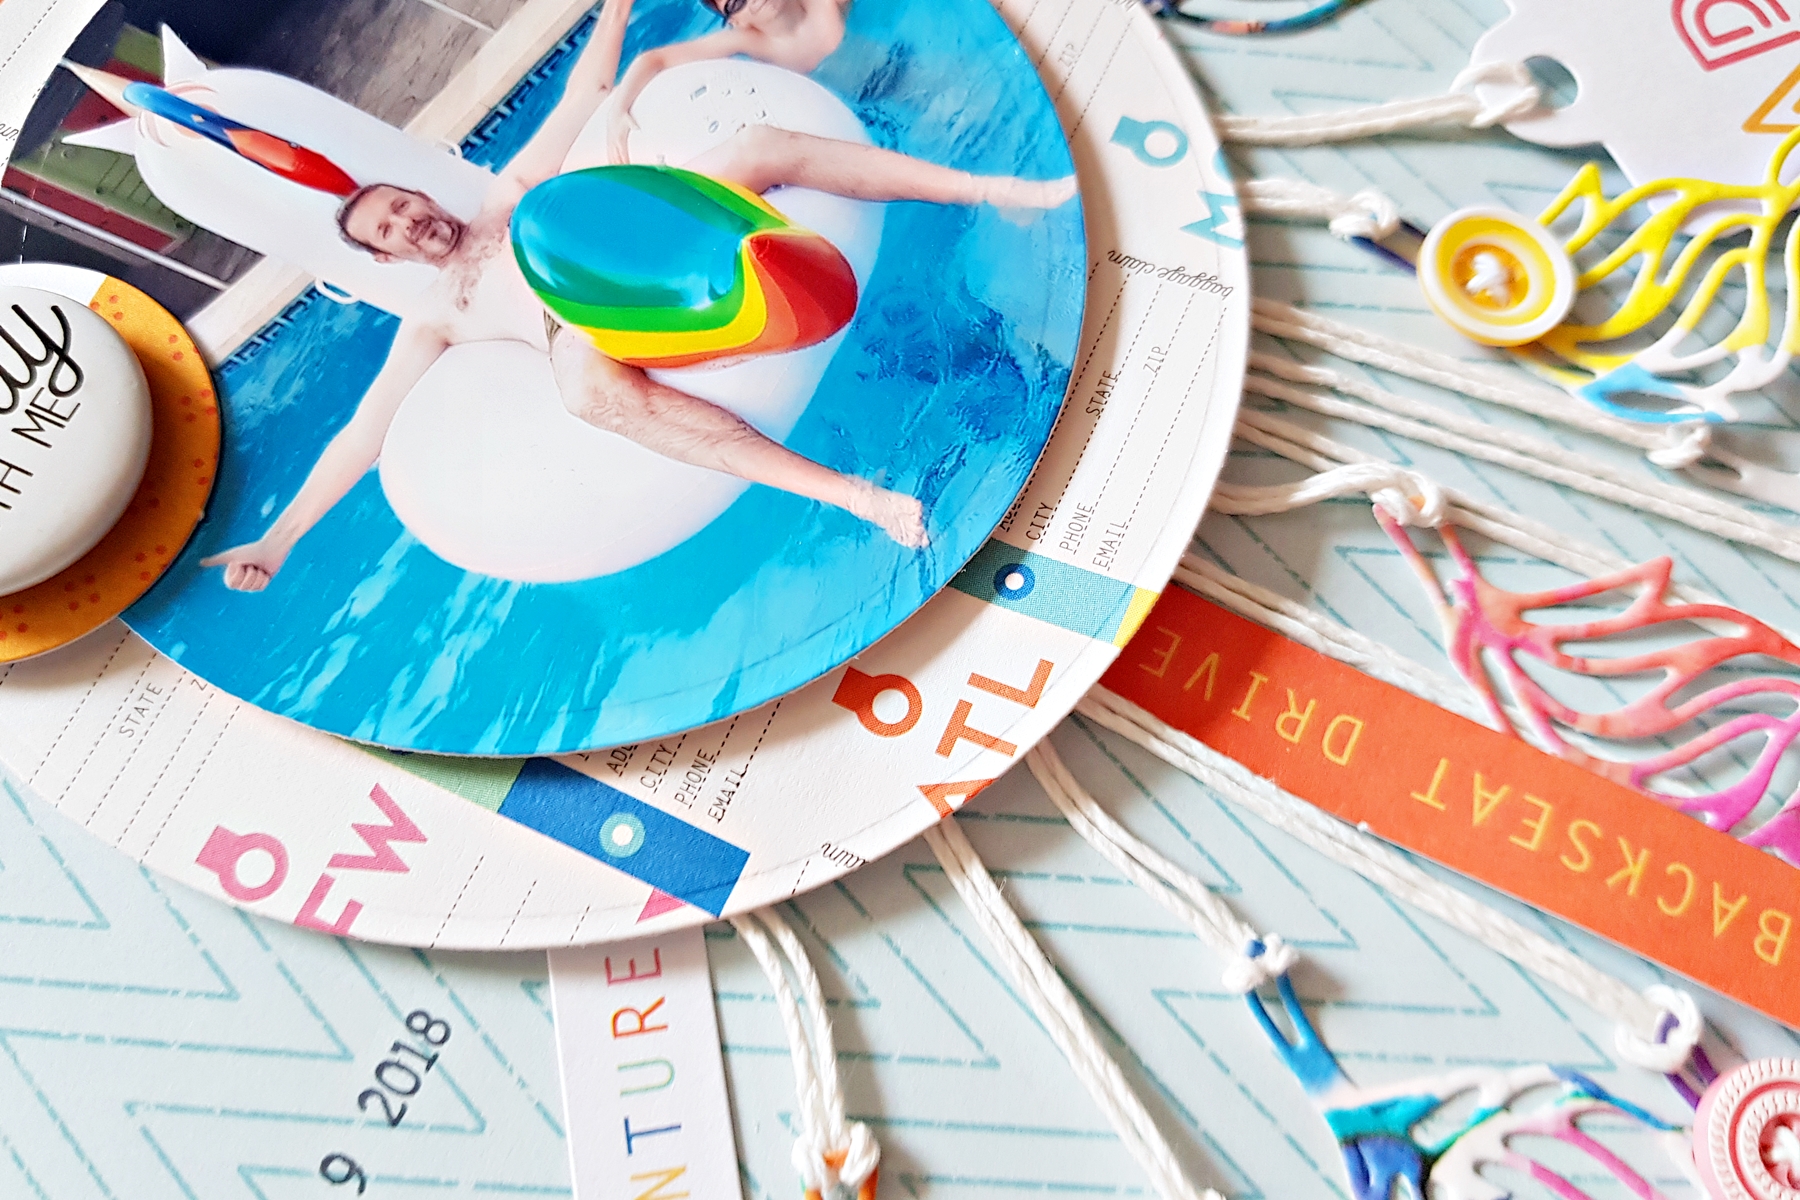
For today's post I've made a scrapbook layout and a card using the Fair Feathers Etched dies. The idea is the same on both, a dream-catcher. Besides the dies I also received a couple of other products from this collection, and I really didn't want to waste them! There are two packages of washi sheets (Washi Girls and Washi Mermaids) and with amazing designs that would make stunning art journal pages, but since I don't do art journals, I decided to come up with something else. I took a sheet from the Washi Girls set, because it's got a rainbow of colors on it, and stuck it on white card stock. I first die cut a circle around the sentiment for my card so I knew what I have left of the paper.
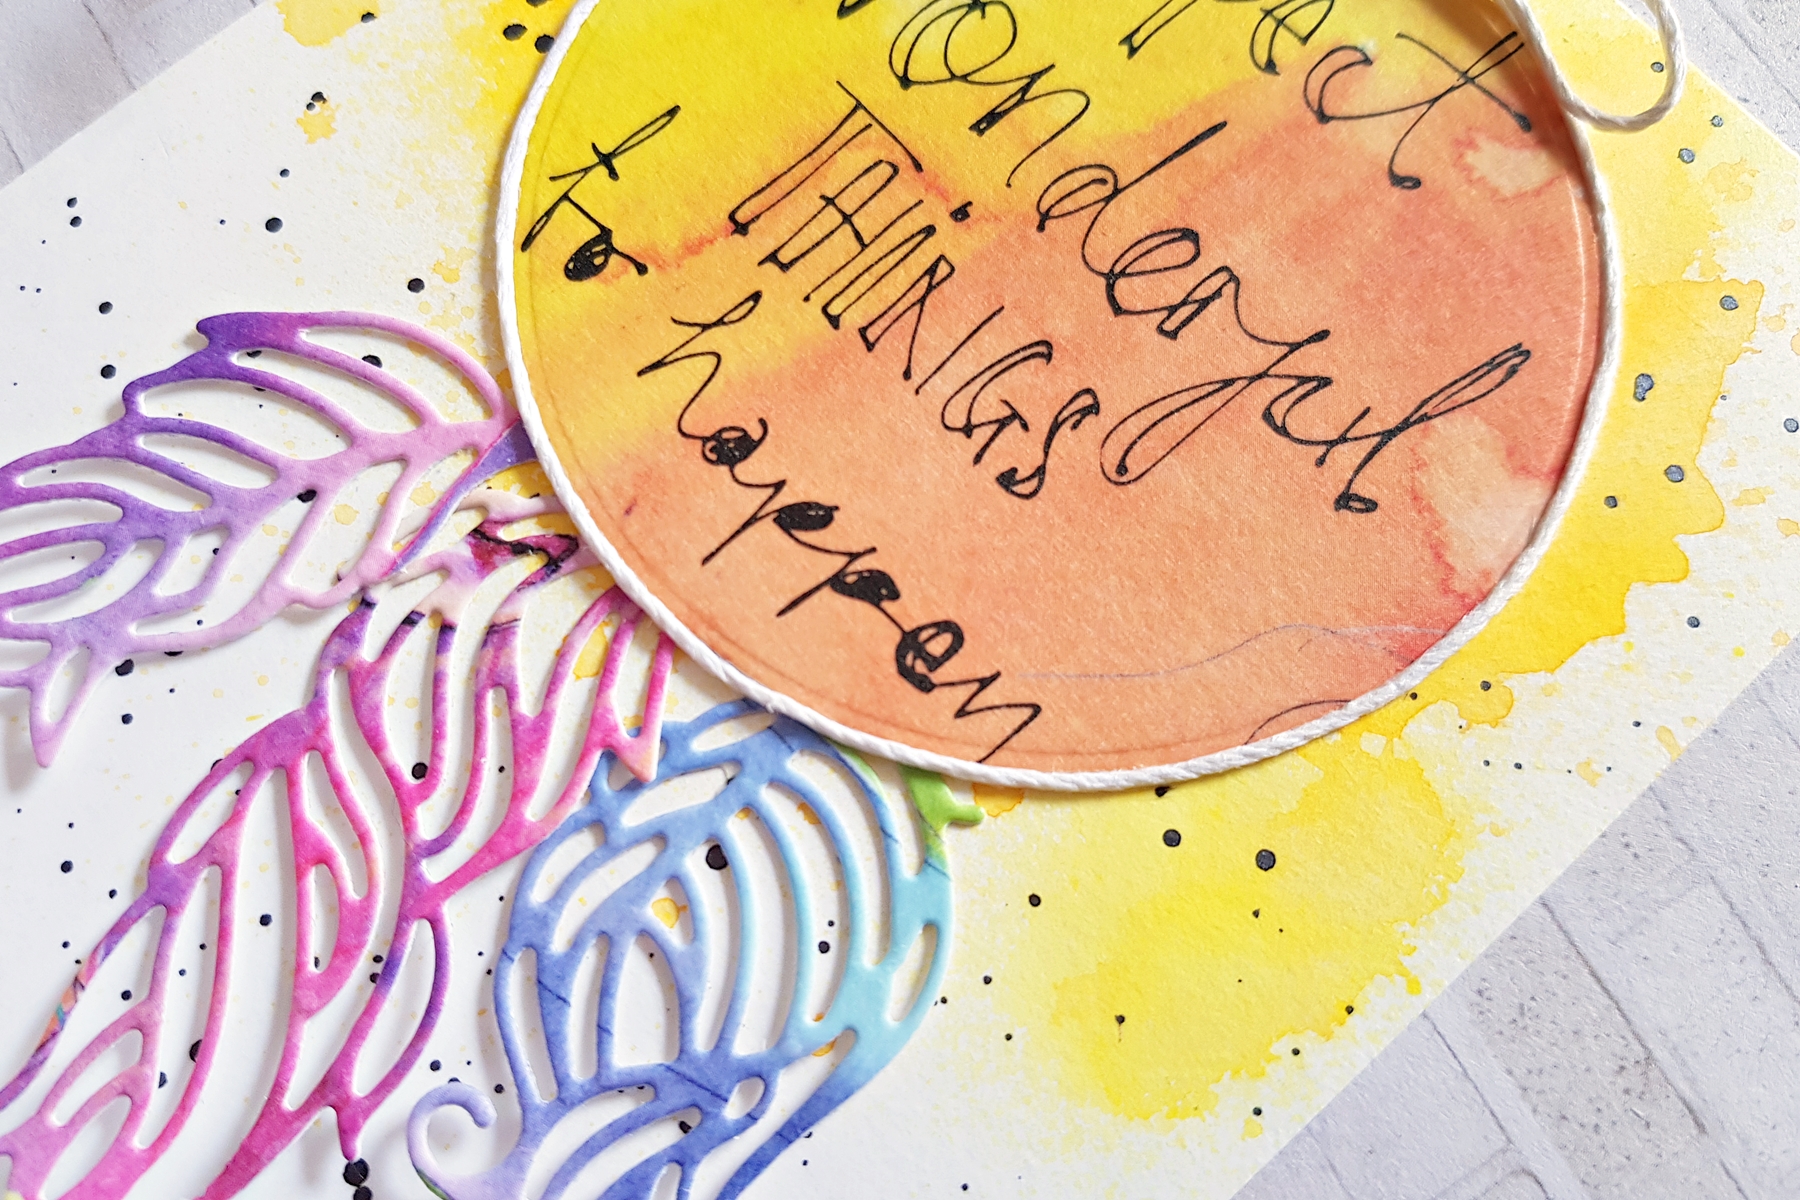
 As for the card...Like I mentioned above, I die cut the text from the washi sheet which I found to be a great sentiment. I used a basic circle die for this. I then added a couple of different yellow watercolors as well as some black splatters to an A2 size white card stock and let it dry. Then I adhered this panel onto an A2 size top folding card base.
 I checked where I wanted to have the circle on my card. Then I just glued 3 feathers on the card front and layered the circle on them. I wrapped some twine around the circle and tied a bow at the top. Done!

 As for the card...Like I mentioned above, I die cut the text from the washi sheet which I found to be a great sentiment. I used a basic circle die for this. I then added a couple of different yellow watercolors as well as some black splatters to an A2 size white card stock and let it dry. Then I adhered this panel onto an A2 size top folding card base.
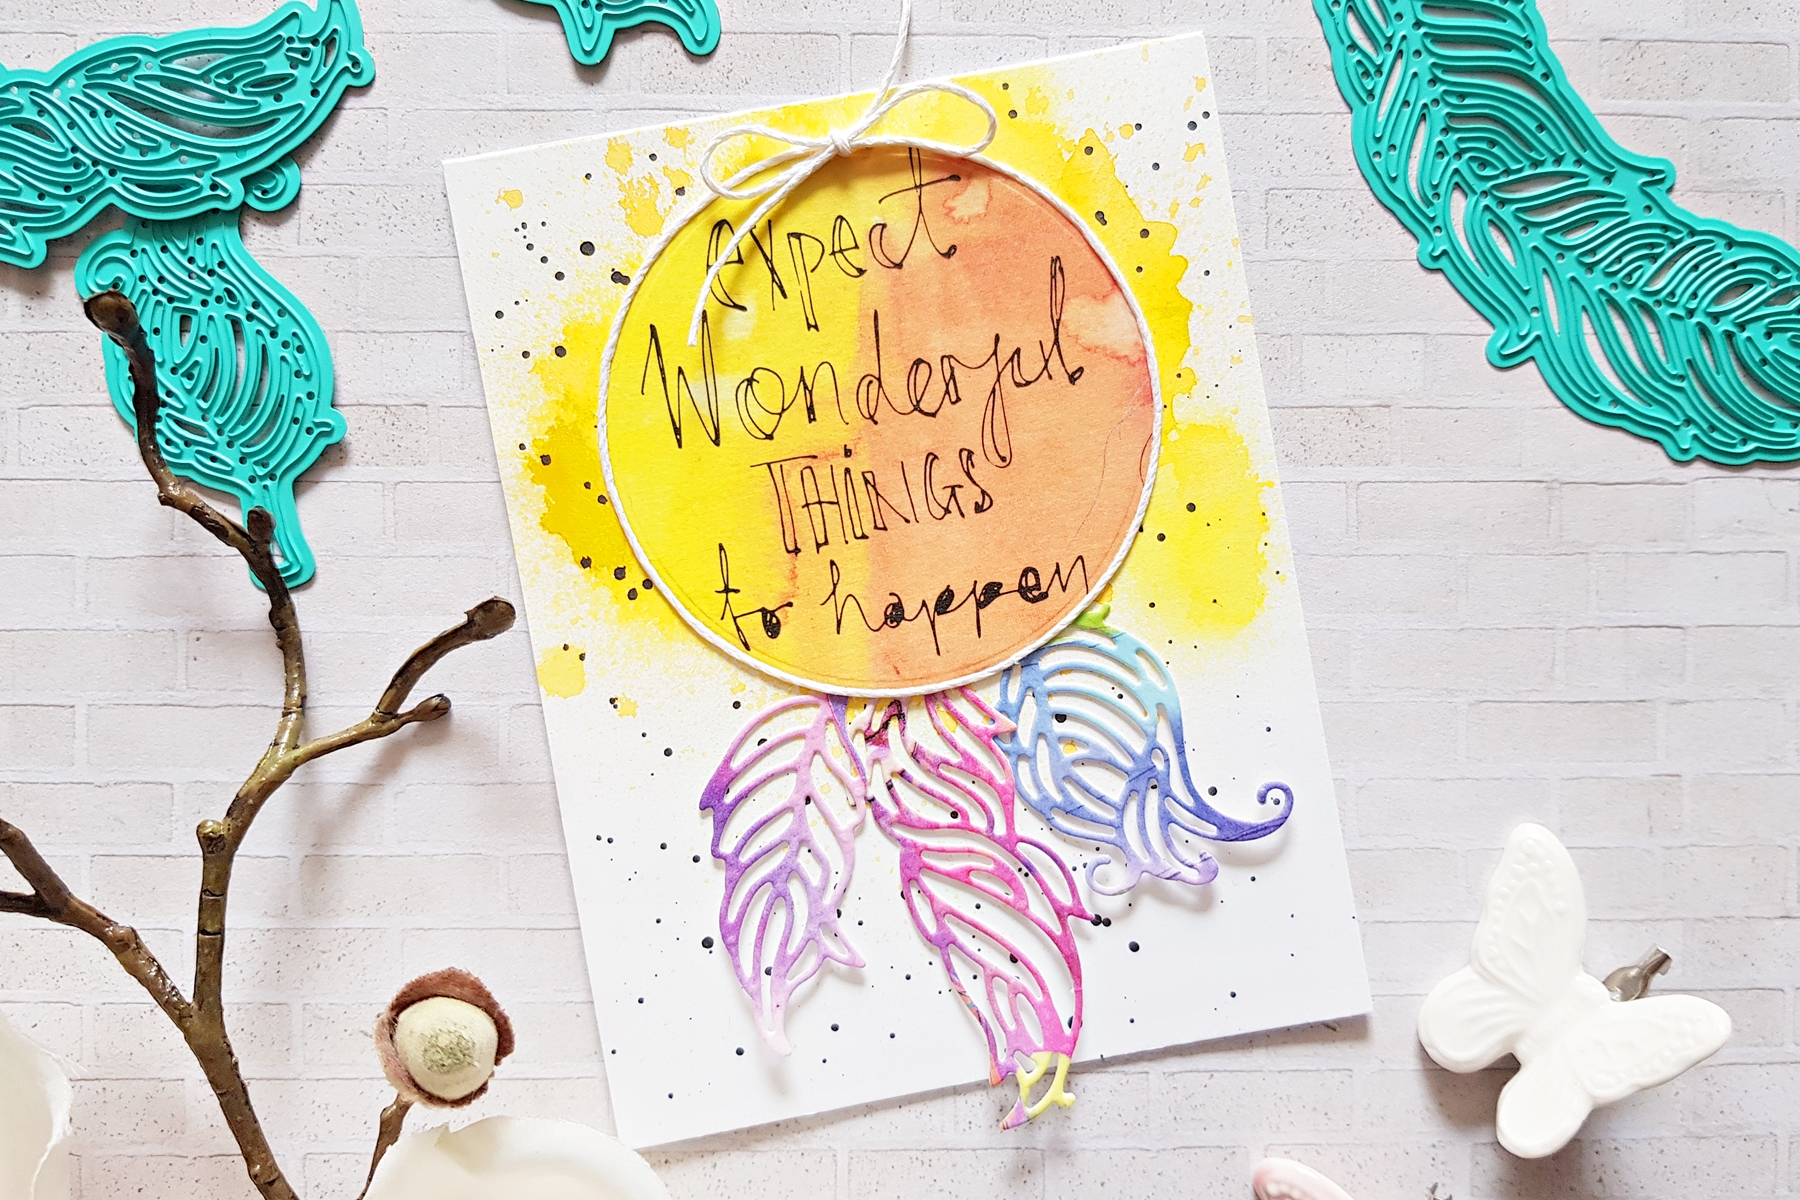 I checked where I wanted to have the circle on my card. Then I just glued 3 feathers on the card front and layered the circle on them. I wrapped some twine around the circle and tied a bow at the top. Done!