Jane Davenport Artomology | Journaling with Artomology Collection with Angela Tombari
on September 20, 2018

Jane Davenport Artomology | Journaling with Artomology Collection with Angela Tombari

Hello everyone! Angela Tombari back with you today sharing a couple of journal pages I made with the Jane Davenport Artomology collection. You can see my first post here.

Spellbinders Jane Davenport Artomology | Journaling with Artomology Collection with Angela Tombari

I think of journaling pretty much like meditation, playing with art supplies and colors is therapeutic, it leaves me peaceful and positively satisfied, no matter the result. Here, I’ve played a lot with colors, especially Jane Davenport Markers and Washi Paper Sheets.

Spellbinders Jane Davenport Artomology | Journaling with Artomology Collection with Angela Tombari

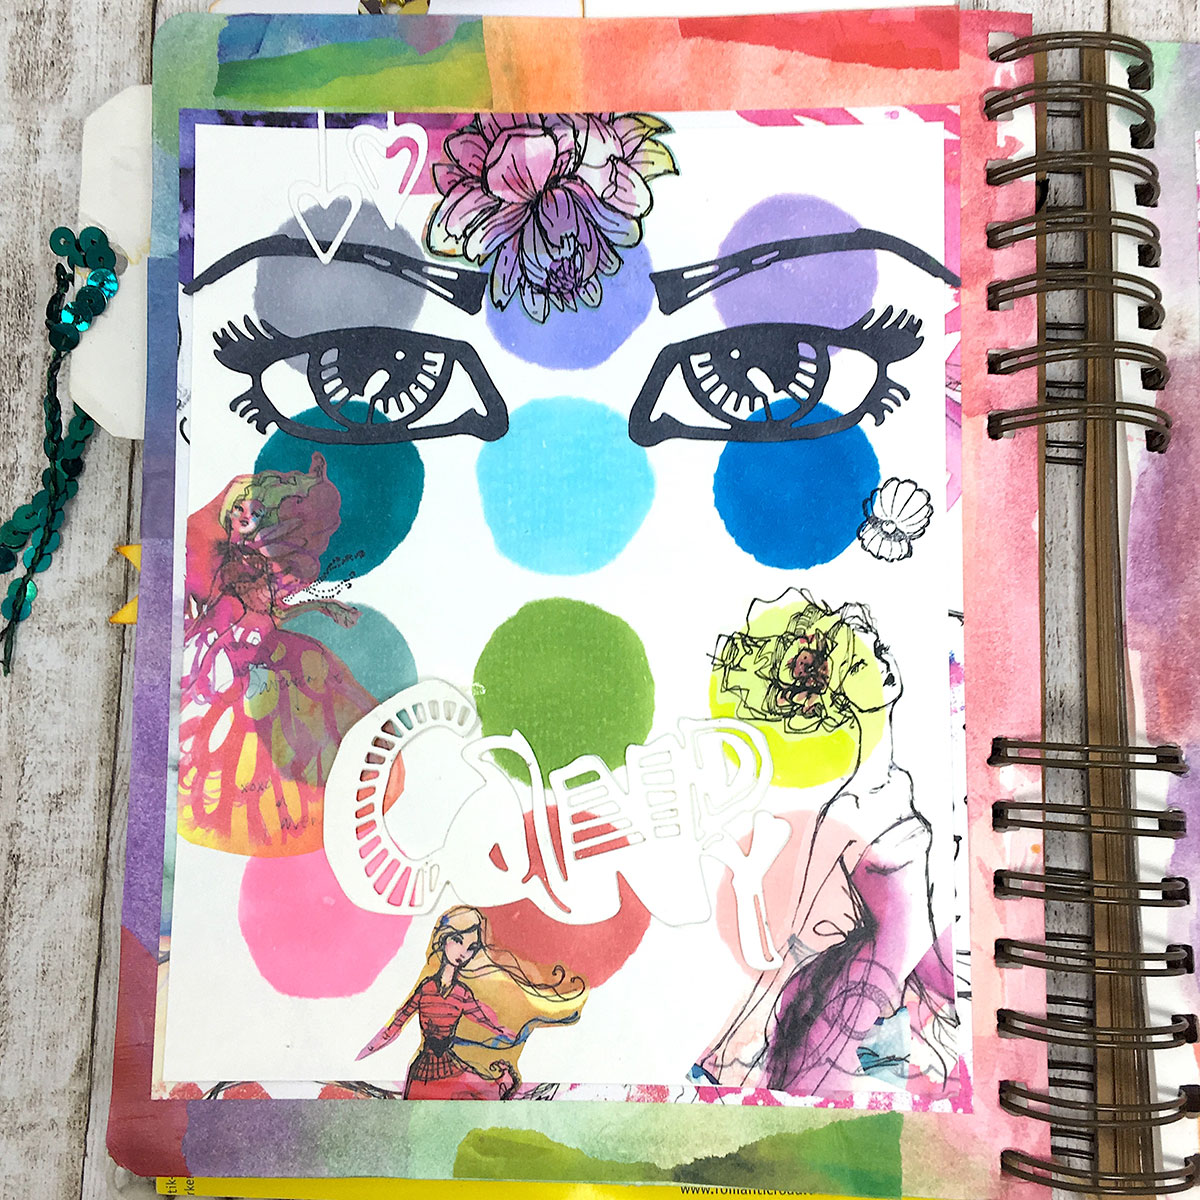
I started working on a piece of watercolor paper, coloring big dots with Jane Davenport Markers and a stencil. I used different colors for each dot and then adhered the Eye Candy die cuts. To create dimension, I die-cut the word Candy three times and adhered together.
A quick tip: the Eye Candy die comes with one eye die only. To make the second eye, I simply reversed the die-cut.

Spellbinders Jane Davenport Artomology | Journaling with Artomology Collection with Angela Tombari

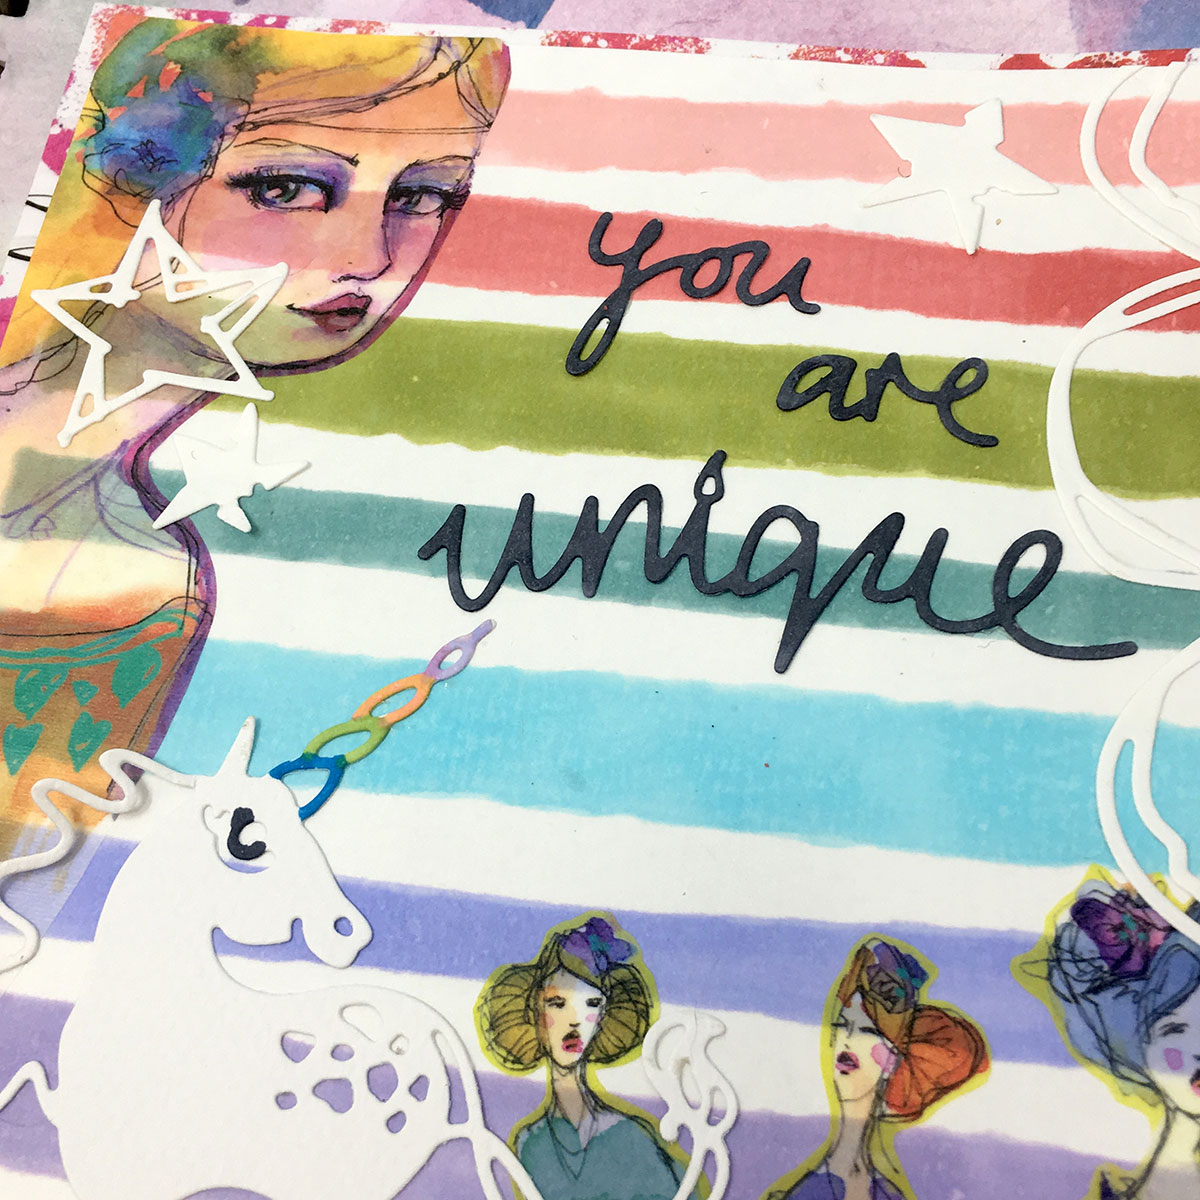
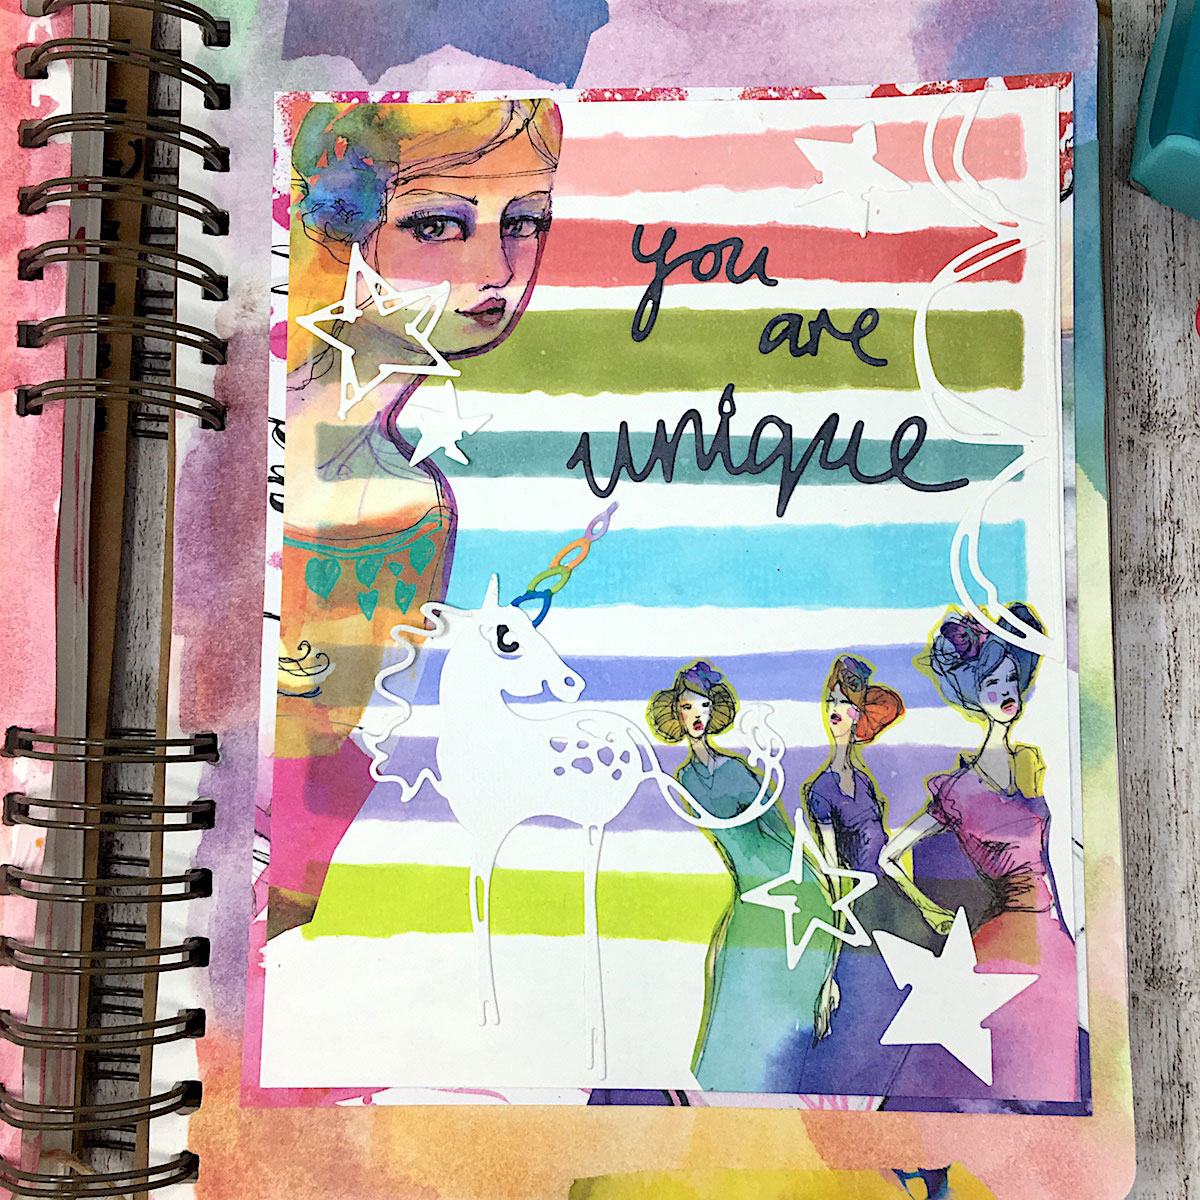
For the second page I basically worked in the same way, changing the background from dots to stripes colored with the Jane Davenport Markers.

Spellbinders Jane Davenport Artomology | Journaling with Artomology Collection with Angela Tombari

The whimsical girls from the Washi Sheets collection are absolutely divine and I love how they beautifully match the colors of the Markers on the page.

Spellbinders Jane Davenport Artomology | Journaling with Artomology Collection with Angela Tombari

I watercolored the outline of two pages of my art journal and adhered a few stripes of Washi Sheets here and there. Finally, when dry, I adhered the two layouts with a strong adhesive and voilà.

Spellbinders Jane Davenport Artomology | Journaling with Artomology Collection with Angela Tombari

Spellbinders Supplies:

Other supplies:

Watercolor paper, watercolor Thank you so much for stopping by, I hope you liked my pages and you’ll try journaling. I’ll see you soon here on the Spellbinders blog.

Leave a comment

Your email will not be published. Please note, comments need to be approved before they are published.

6 comments

Monia,

Great, Angela! Very inspired


  • HOW TO USE PRESS PLATES WITH MULTIPLE INKS | CREATE YOUR WAY HOLIDAY, BPR-050, BPI-049, BPI-003

    BP-001

    How to Use Multiple Ink Colors with BetterPress Registration Plates

    Create a colorful Christmas card while learning how to apply multiple ink colors to BetterPress registration plates. In this detailed tutorial, you’ll use the Festive Evergreens Registration Press + Foil Plate & Die Set to press a holiday doorway scene in three colors, combining the built-in registration system with a simple masking technique. The registration template positions the coordinating plates so each layer aligns with...

  • How to Make a Colorful Foiled Butterfly Card with Glimmer II

    BP-351

    How to Make a Colorful Foiled Butterfly Card with Glimmer II

    Combine hot foiling, alcohol-marker coloring, ink blending, and dimensional shaping to create a colorful butterfly card that sparkles from every angle. In this step-by-step tutorial, you’ll learn how to foil detailed butterflies and a floral background with the Glimmer II Hot Foil System, add bold color, and shape the butterfly wings for a realistic raised effect. The Bright Butterflies and Thanks In Bloom Press +...

  • How to Heat Emboss with BetterPress Plates: Snowman Christmas Card

    BP-001

    How to Heat Emboss with BetterPress Plates: Snowman Christmas Card

    BetterPress plates can do more than create letterpress impressions and hot-foiled designs. In this detailed Christmas card tutorial, you’ll learn how to apply clear sticky ink to a BetterPress plate and use white embossing powder to produce a crisp, heat-embossed snowflake background. The tutorial also covers pressing and die cutting a sentiment, assembling three detailed snowmen, and arranging the finished elements on an A2 card....