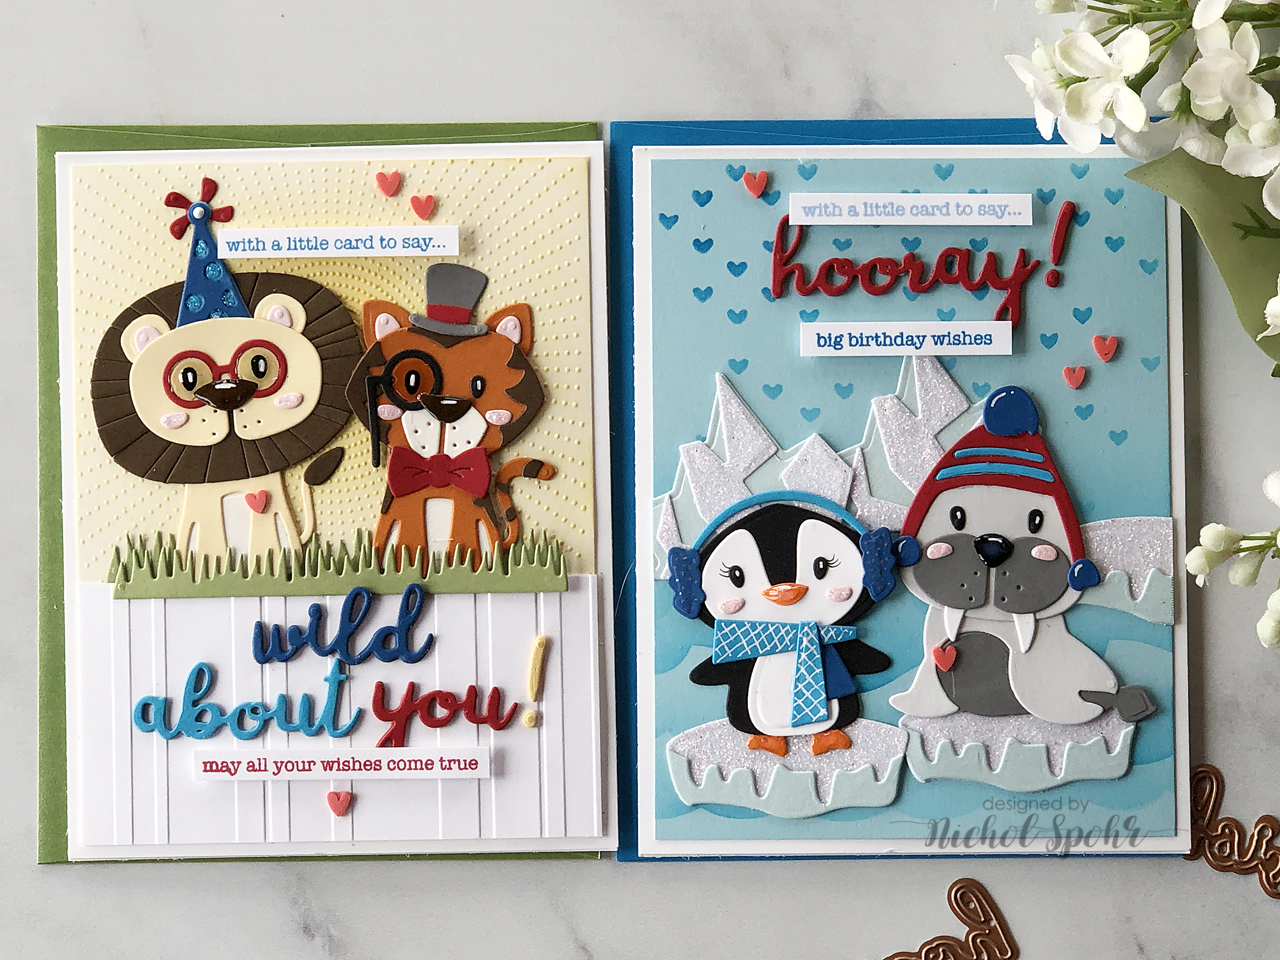
Hello friends! This is
Nichol Spohr
with a couple of animal birthday scene cards with the new
Die D-Lites Etched Dies
. I can’t get enough of the adorable critters from the latest Die D-Lites release. I am combining five of my favorite sets for these two birthday cards. I’ve used the
Wild About You
sentiment set for both cards. It can work with so many of your other dies as a great way to add sentiments. In addition to the Die D-Lites, I’m using
cardstock from Fun Stampers Journey
and even a couple of
FSJ embossing folders
. Let’s get started!
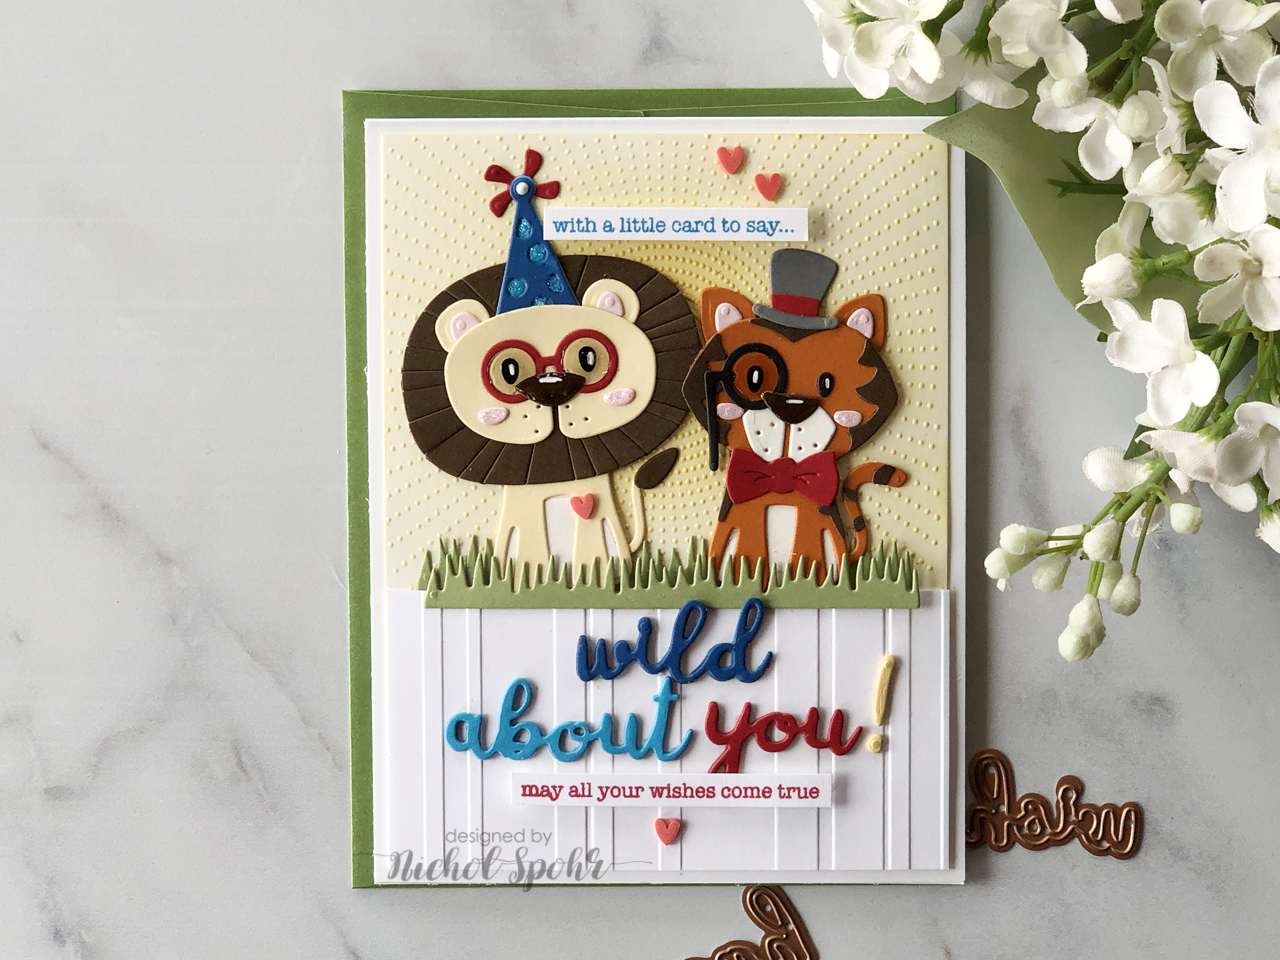
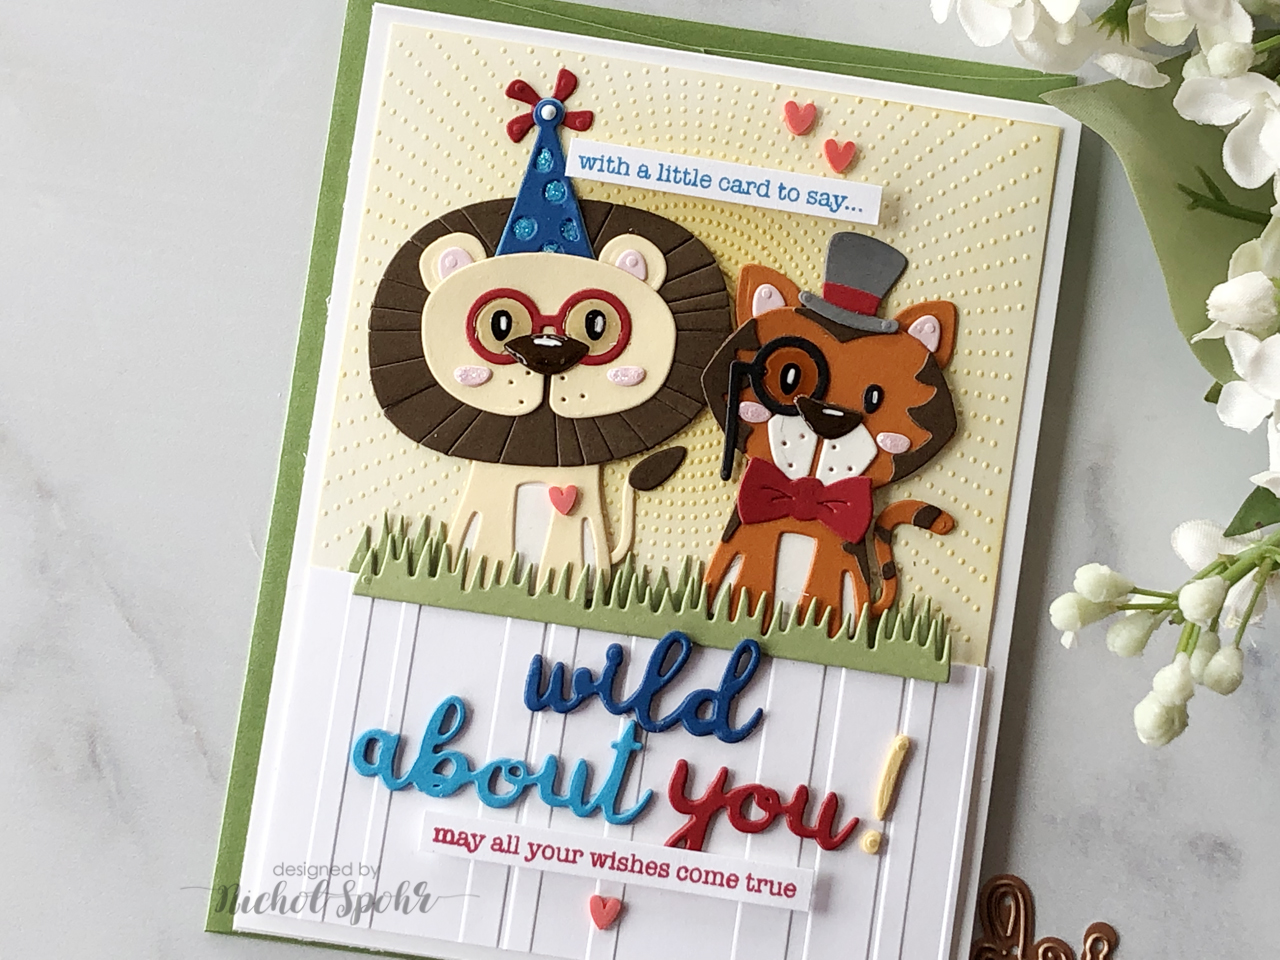
The lion and tiger card feature two FSJ Embossing Folders for the background.
The Bright Days
embossing folder was embossed on a 4” x 5 ¼” piece of white cardstock and inked with yellow ink to emphasize the embossing. Another white cardstock panel was embossed with the FSJ
Beach Towel
Embossing Folder. This panel was trimmed to 2”x 4” and adhered to the bottom of the Bright Days panel.
Tiger: Candy Apple, Tangerine Fusion, Hazelnut Cream, Buttercream, Black, and River Storm
Grass: Lemongrass
The
Wild About You
Die D-Lites words were die cut from Beach Breeze, Huckleberry Fusion, Candy Apple, and Pineapple Smoothie FSJ cardstock three times. The die cuts were adhered one on top of another and adhered below the scene. Stamped sentiment strips were adhered to the top and bottom of the card as shown. Glossy Accents was added to the noses and the eyeglasses. Hearts accents finish the card.
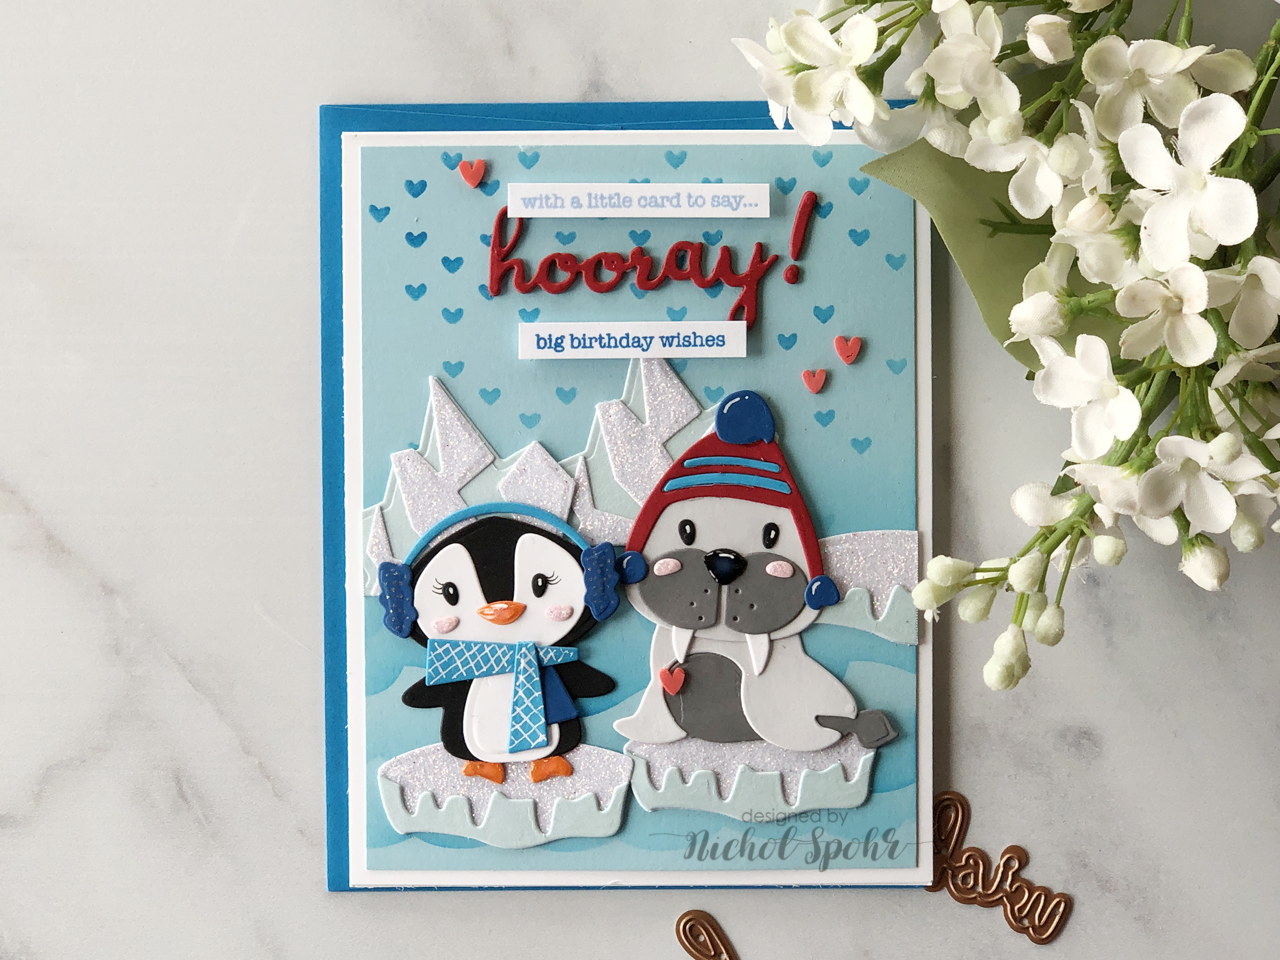
The background was trimmed to 4” x 5 ¼” from FSJ Pool Play Cardstock. A waves stencil and falling hearts stencil were inked over the background.
The ice and iceberg images were die cut from white glitter cardstock and light blue cardstock. The images were adhered to the background stenciled scene.
The Tux
and
Woliver
Die D-Lites were die cut from the following FSJ Cardstock colors:
Walrus: River Stone, Tin Pail, Black, Beach Breeze, Huckleberry Fusion, Candy Apple, and Whip Cream
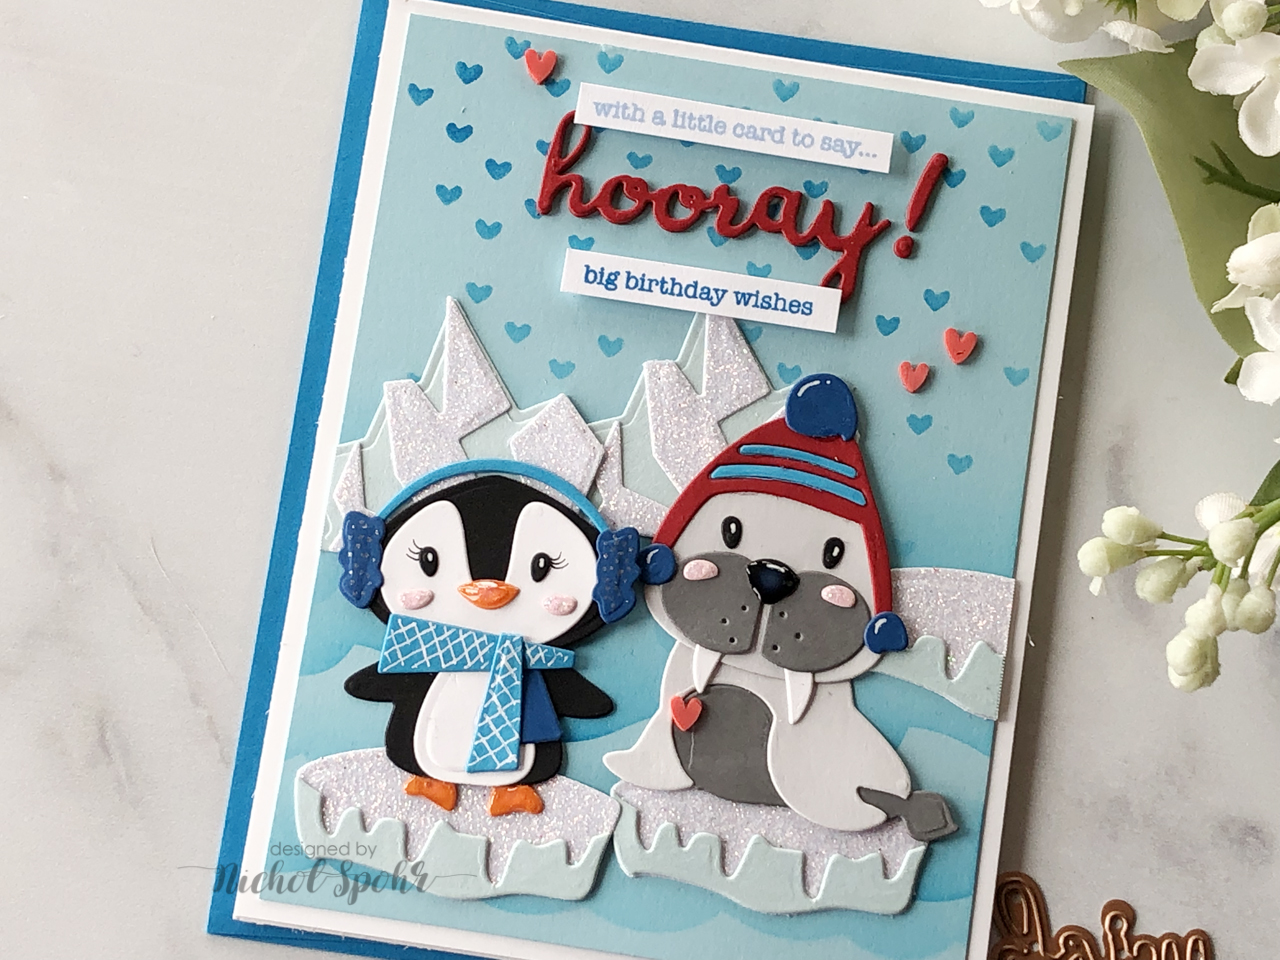
The images were assembled and adhered to the card to finish the scene. A sentiment from the
Wild For You
Die D-Lites was die cut three times from Candy Apple Cardstock, glued one on top of another and adhered to the top of the card.
Sentiments were stamped on smooth white cardstock with colorful ink, trimmed into thin strips, and adhered with foam adhesive. Glossy Accents was added to the noses. Hearts accents finish the card.
VIDEO TUTORIAL
Watch the video tutorial below or on
YouTube
to learn how to make this project:
Spellbinders Supplies:
Other supplies
Lawn Fawn Lobster, Fish Tank, No. 2 Pencil, Moonstone Inks; Mama Elephant Birthday Messages Stamp Set; Picket Fence Life Changing Blending Brushes; My Favorite Things Make Waves Stencil; Simon Says Stamp Falling Hearts Stencil; Hero Arts Hero Hues Peony Pink Cardstock; Honey Bee Stamps Candy Hearts Kiss Me accents; Gina K Connect Glue; Darice Foam Adhesive Strips

Mistakes happen to every cardmaker, from beginners to experienced crafters. This comprehensive guide shares practical solutions for fixing common cardmaking mistakes, including stamping, die cutting, foiling, BetterPress, ink blending, stenciling, coloring, heat embossing, and more, so you can confidently rescue your handmade cards instead of starting over.
Hello, cardmaking friends! It’s Mona Tóth here, and I’m so happy to be back on the Spellbinders blog. Today, I’m sharing a Christmas step-by-step card tutorial featuring the Polar Friends Stamp and Die Set by Simon Hurley. This card was inspired by the Christmas advertisements I remember seeing on television when I was a child in the 1990s. They often featured polar bears surrounded by...
Hello, crafty friend! I’m Adrienne Boese, better known online as Alice Scraps Wonderland. I love a good interactive scrapbook page! It can be something as simple as a pocket or something more intricate like a waterfall mechanism or flips. Today, we are going to focus on one of those simple techniques - a pocket! It’s the perfect technique to dip your toes into the interactive...