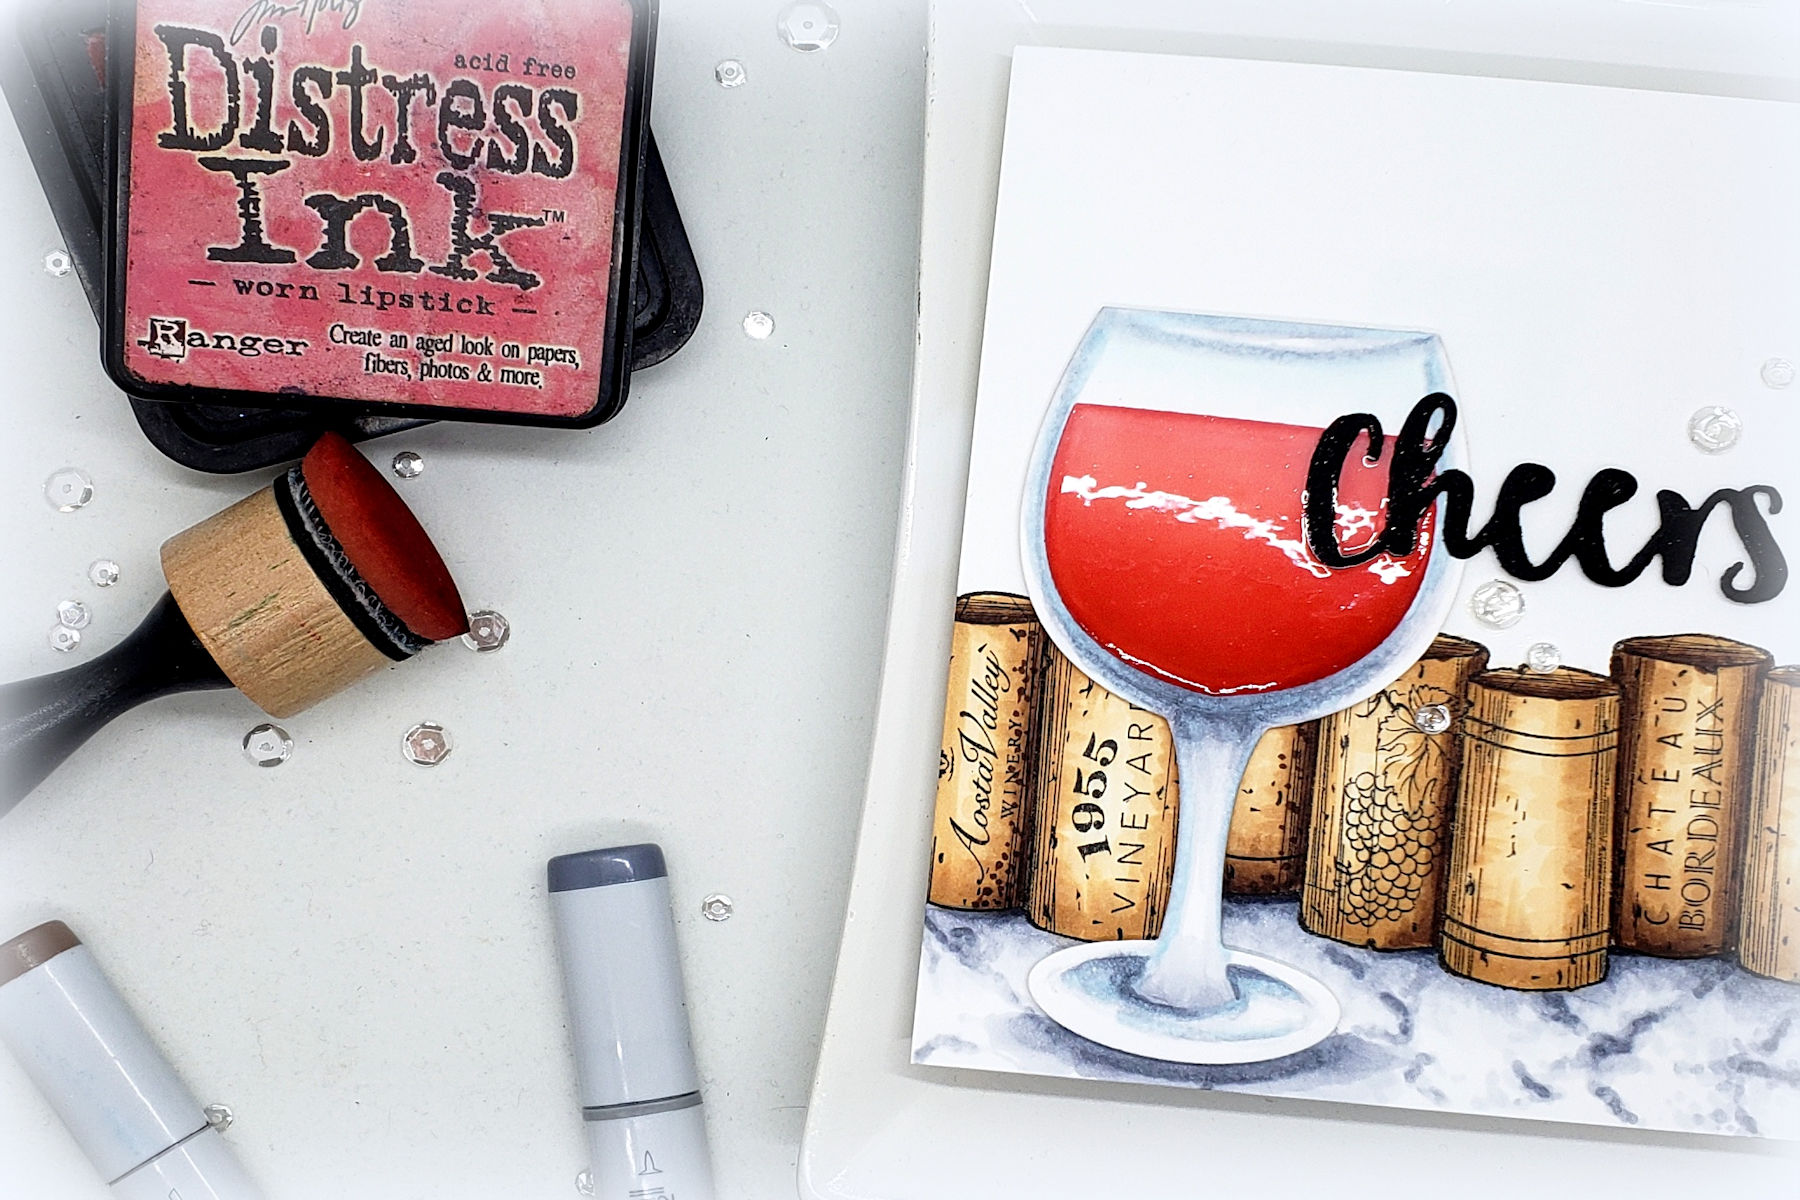
Video Friday | Copic Coloring Marble with Kelly Latevola
Hello Crafters! I'm so excited to be back today and I have a new technique to try in your coloring!
When I started working with these super fun products from Stacey Caron'sWine Country line I had no idea what to do. I'm not a wine drinker and I was a little worried I wouldn't do them justice. However I'm all about stretching my wings so I thought about the things I love and some things I want to try.
I love coloring and I really want to work on different backgrounds for creating scenes. I decided woodgrain would be too much brown so I decided to try my hand at creating a marble counter top. I selected 3 grays and my colorless blender. I prefer cool grays but you can use whatever you have on hand.
I started with my lightest color and drew in a few sketchy veins. I was pretty apprehensive about putting the veins down. I think with more practice I would be more confident in putting down the lines and that would ultimately lead to a better result.
VIDEO TUTORIAL
You can watch the whole card from start to finish in the video below. Watch video tutorial below or on Youtube to learn how to make this project:
What do you think? Did I make it more difficult then it needed to be? Does it look marble-ish? I love the way the corks came out. All that beautiful stamped detail really shines through the simple color palette.
Neenah 80lb Solar White Card Stock, Black Card Stock from Simon Says Stamp, Distress Ink: Worn Lipstick, Candied Apple, Aged Mahogany Ink Blending Tool, Ranger Craft Mat, Sequins: Neat & Tangled Clear Mix, Glossy Accents, Tombow Mono Multi Glue, Wink of Stella Clear Glitter, Scotch Foam Tape, Copic Markers: C1, C3, C5, E53, E55, E57, E59.
Thank you so much for joining me! I hope you'll give this technique a try soon!
Mistakes happen to every cardmaker, from beginners to experienced crafters. This comprehensive guide shares practical solutions for fixing common cardmaking mistakes, including stamping, die cutting, foiling, BetterPress, ink blending, stenciling, coloring, heat embossing, and more, so you can confidently rescue your handmade cards instead of starting over.
Hello, cardmaking friends! It’s Mona Tóth here, and I’m so happy to be back on the Spellbinders blog. Today, I’m sharing a Christmas step-by-step card tutorial featuring the Polar Friends Stamp and Die Set by Simon Hurley. This card was inspired by the Christmas advertisements I remember seeing on television when I was a child in the 1990s. They often featured polar bears surrounded by...
Hello, crafty friend! I’m Adrienne Boese, better known online as Alice Scraps Wonderland. I love a good interactive scrapbook page! It can be something as simple as a pocket or something more intricate like a waterfall mechanism or flips. Today, we are going to focus on one of those simple techniques - a pocket! It’s the perfect technique to dip your toes into the interactive...
1 comment
Love your card!