
Video Friday | How to Make Paper Chest of Drawers / Flower Stand with Olga
Hi paper crafters, this is
Olga Direktorenko
and today I will be using Spellbinders dies to create something different from a card. The first time I saw the Baby Step Block Card die set it was not the building blocks that I thought of - it reminded me of a Japanese style chest of drawers and I got so excited to make my own one out of paper!
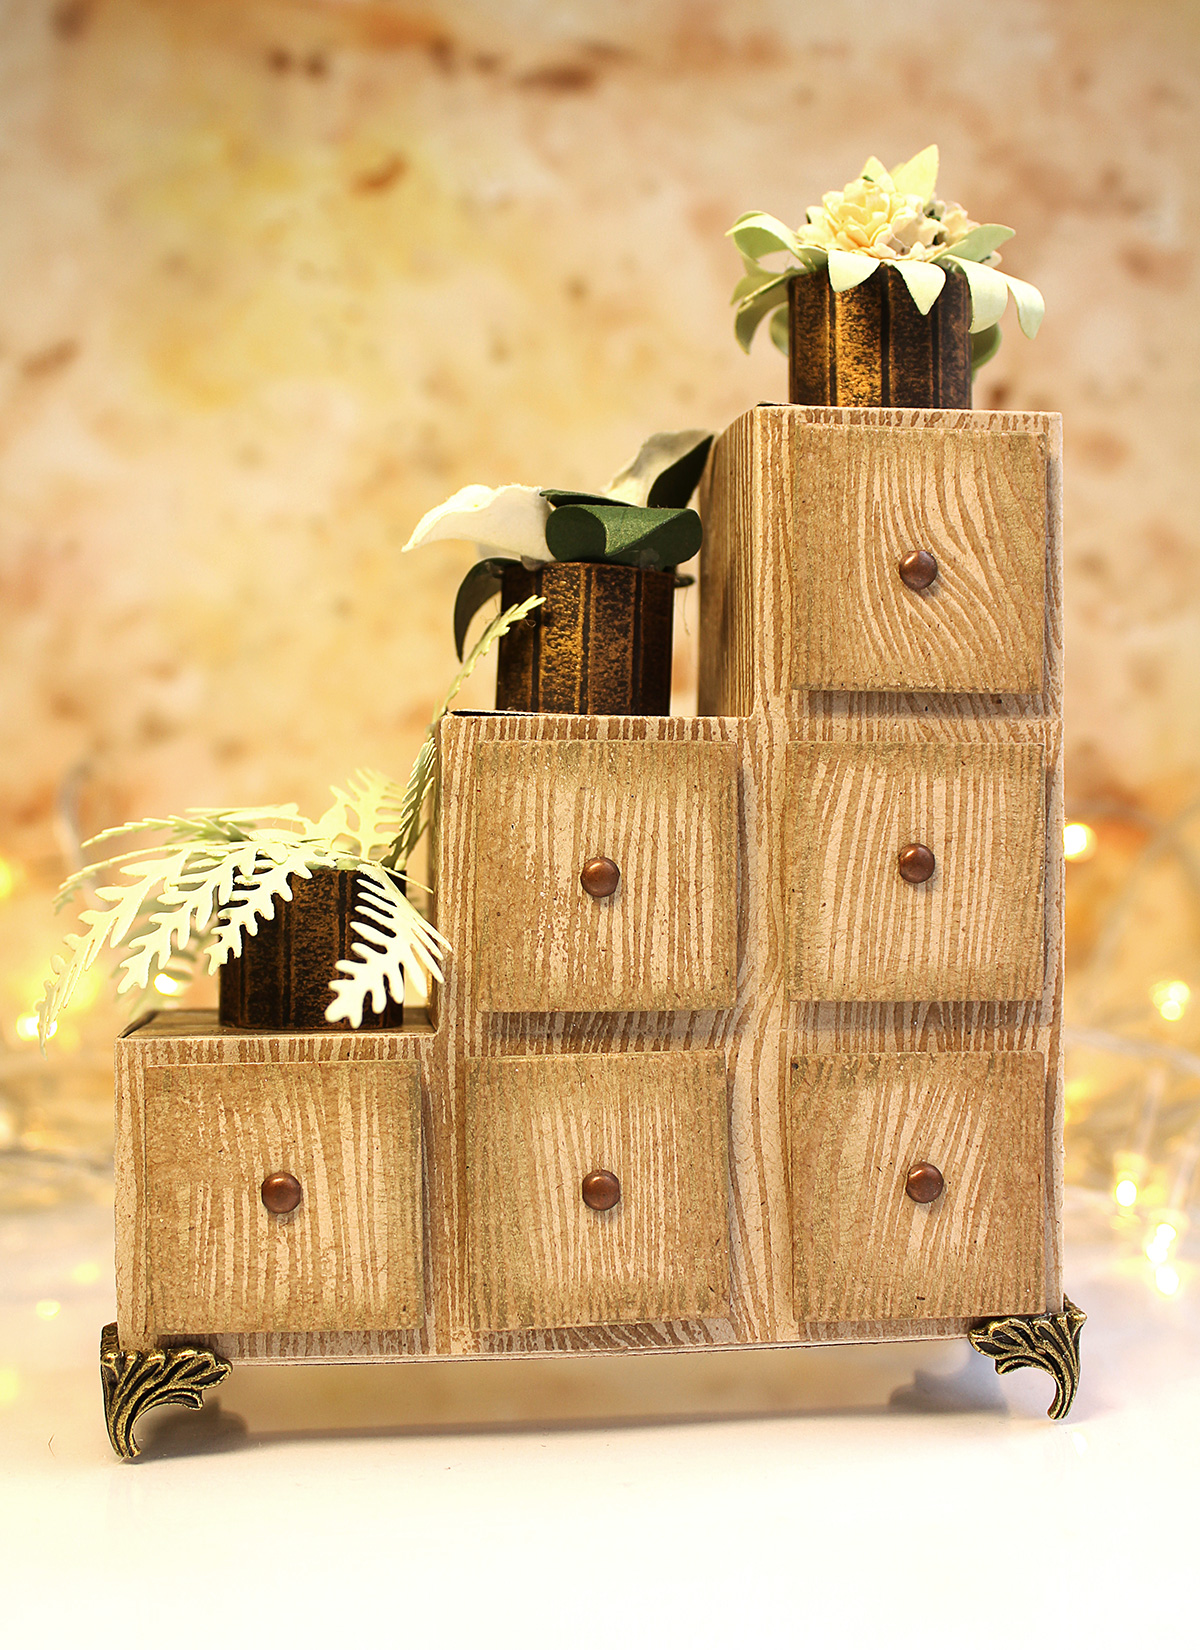
This die is meant to create a 3D card base that can be folded and mailed in an envelope, but for this project I have combined the 2 bases to make one 3D piece - watch the video below to see how it's done!

I have seen how people re-purpose this type of furniture into flower stands - with beautiful results! - so I also decided to decorate my own little centerpiece with potted plants, and to make it even more realistic I have added decorative bronze box feet and some brads to represent the pulls of the drawers. The leaves are created with the dies and the flowers are ready-to-use ones.
This project turned out to be a bit time consuming with all the multiple little details, but I really don't mind spending some time crafting especially if it is going to add to the wow factor of the finished project. I think it will make a great gift for any person who loves Eco style and indoor plants.
I disclose the entire creative process including tips and tricks in the video tutorial below.
VIDEO TUTORIAL
Watch video tutorial below or on
Youtube
to learn how to make this project:
Stamp - Designer Woodgrain by Hero Arts, Cardstock - Neenah Desert Storm, Bronze Metal Box Feet and Handle by Swedish House Crafts, mulberry paper callas and daisies, round bronze brads, VersaMark ink and clear embossing powder, Metallic rub-on paint by Craf-T, Bosch hot glue gun.
Thank you so much for joining me today and if you have any questions please feel free to ask them in your comments down below. I hope I have given you some inspiration with my little creation. See you again next month and until the next time - happy paper crafting!
Create a colorful Christmas card while learning how to apply multiple ink colors to BetterPress registration plates. In this detailed tutorial, you’ll use the Festive Evergreens Registration Press + Foil Plate & Die Set to press a holiday doorway scene in three colors, combining the built-in registration system with a simple masking technique. The registration template positions the coordinating plates so each layer aligns with...
Combine hot foiling, alcohol-marker coloring, ink blending, and dimensional shaping to create a colorful butterfly card that sparkles from every angle. In this step-by-step tutorial, you’ll learn how to foil detailed butterflies and a floral background with the Glimmer II Hot Foil System, add bold color, and shape the butterfly wings for a realistic raised effect. The Bright Butterflies and Thanks In Bloom Press +...
BetterPress plates can do more than create letterpress impressions and hot-foiled designs. In this detailed Christmas card tutorial, you’ll learn how to apply clear sticky ink to a BetterPress plate and use white embossing powder to produce a crisp, heat-embossed snowflake background. The tutorial also covers pressing and die cutting a sentiment, assembling three detailed snowmen, and arranging the finished elements on an A2 card....






























