
Video Friday | Watercolor Lighthouse with Kelly
on March 16, 2018

Video Friday | Watercolor Lighthouse with Kelly

Hello Crafters! It's Kelly Latevola here and I'm excited to bring you something a little different today. As a colorist I frequently hear my subscribers say that they have a hard time knowing where exactly to add shading to their images.

Did you know Spellbinders has these stamps that come with the shading already added? They have a whole line of 3D Shading Stamps .
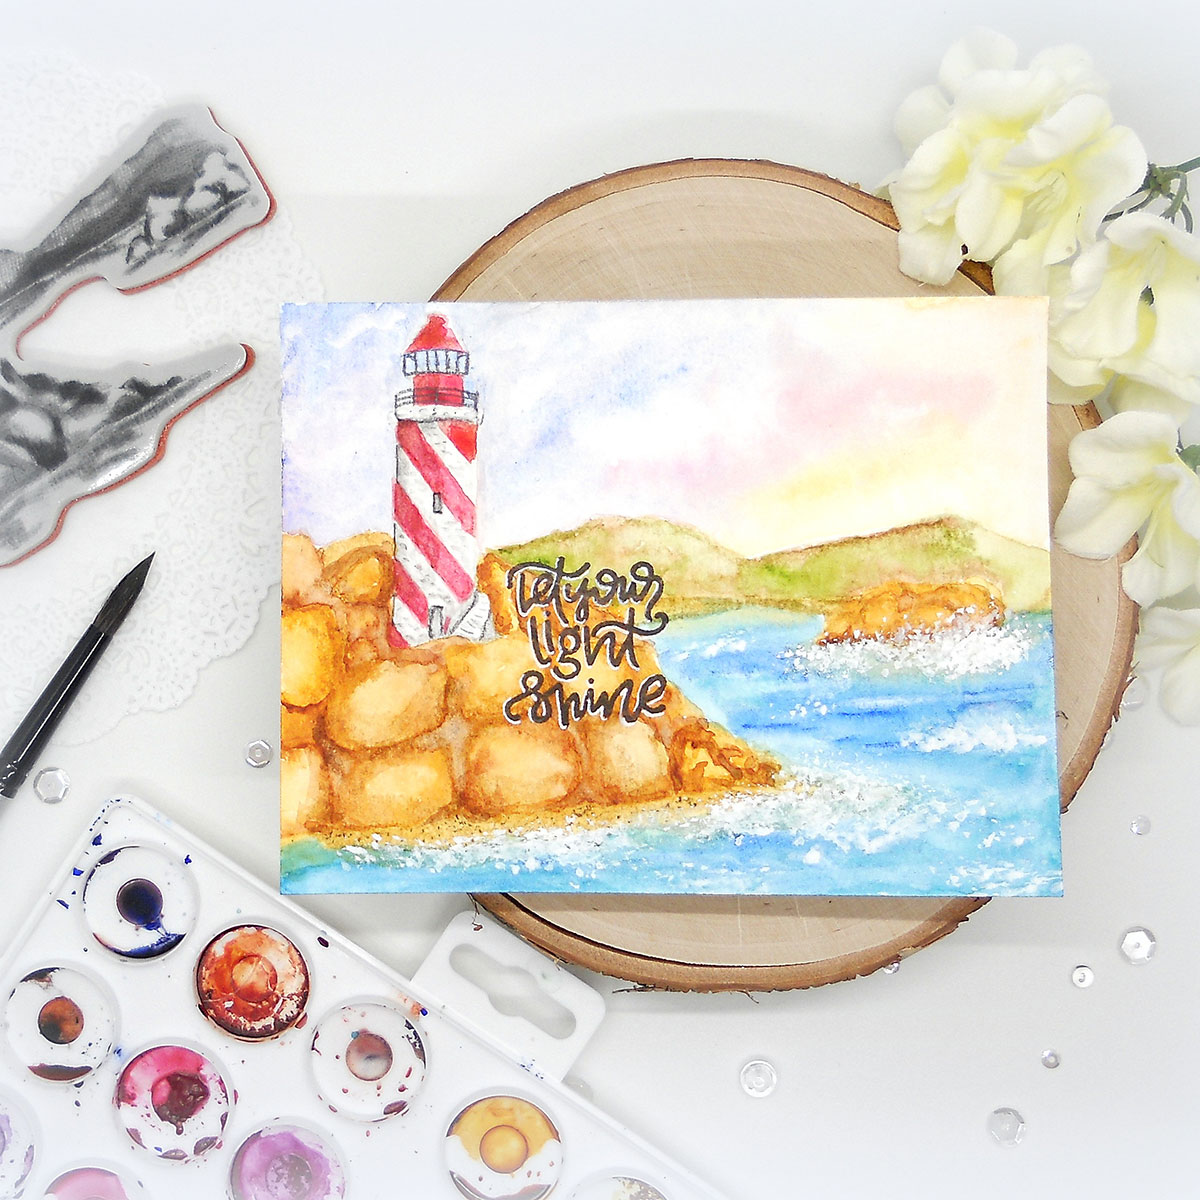
Video Friday | Lighthouse with Kelly for Spellbinders using: DSC-044 Lighthouse, SDS-097 Light Shine #spellbinders #cardmaking #stamping #watercolorcard #adultcoloring

I thought this Light House stamp would be perfect to incorporate a little watercoloring.  I stamped in an extremely light dye ink so that I could maintain my lines as I painted.

Video Friday | Lighthouse with Kelly for Spellbinders using: DSC-044 Lighthouse, SDS-097 Light Shine #spellbinders #cardmaking #stamping #watercolorcard #adultcoloring

I started by painting the ares not shaded by the stamp. I used Daniel Smith watercolors for the entire piece. I started with the sky and then the water before jumping in to the actual stamped areas.
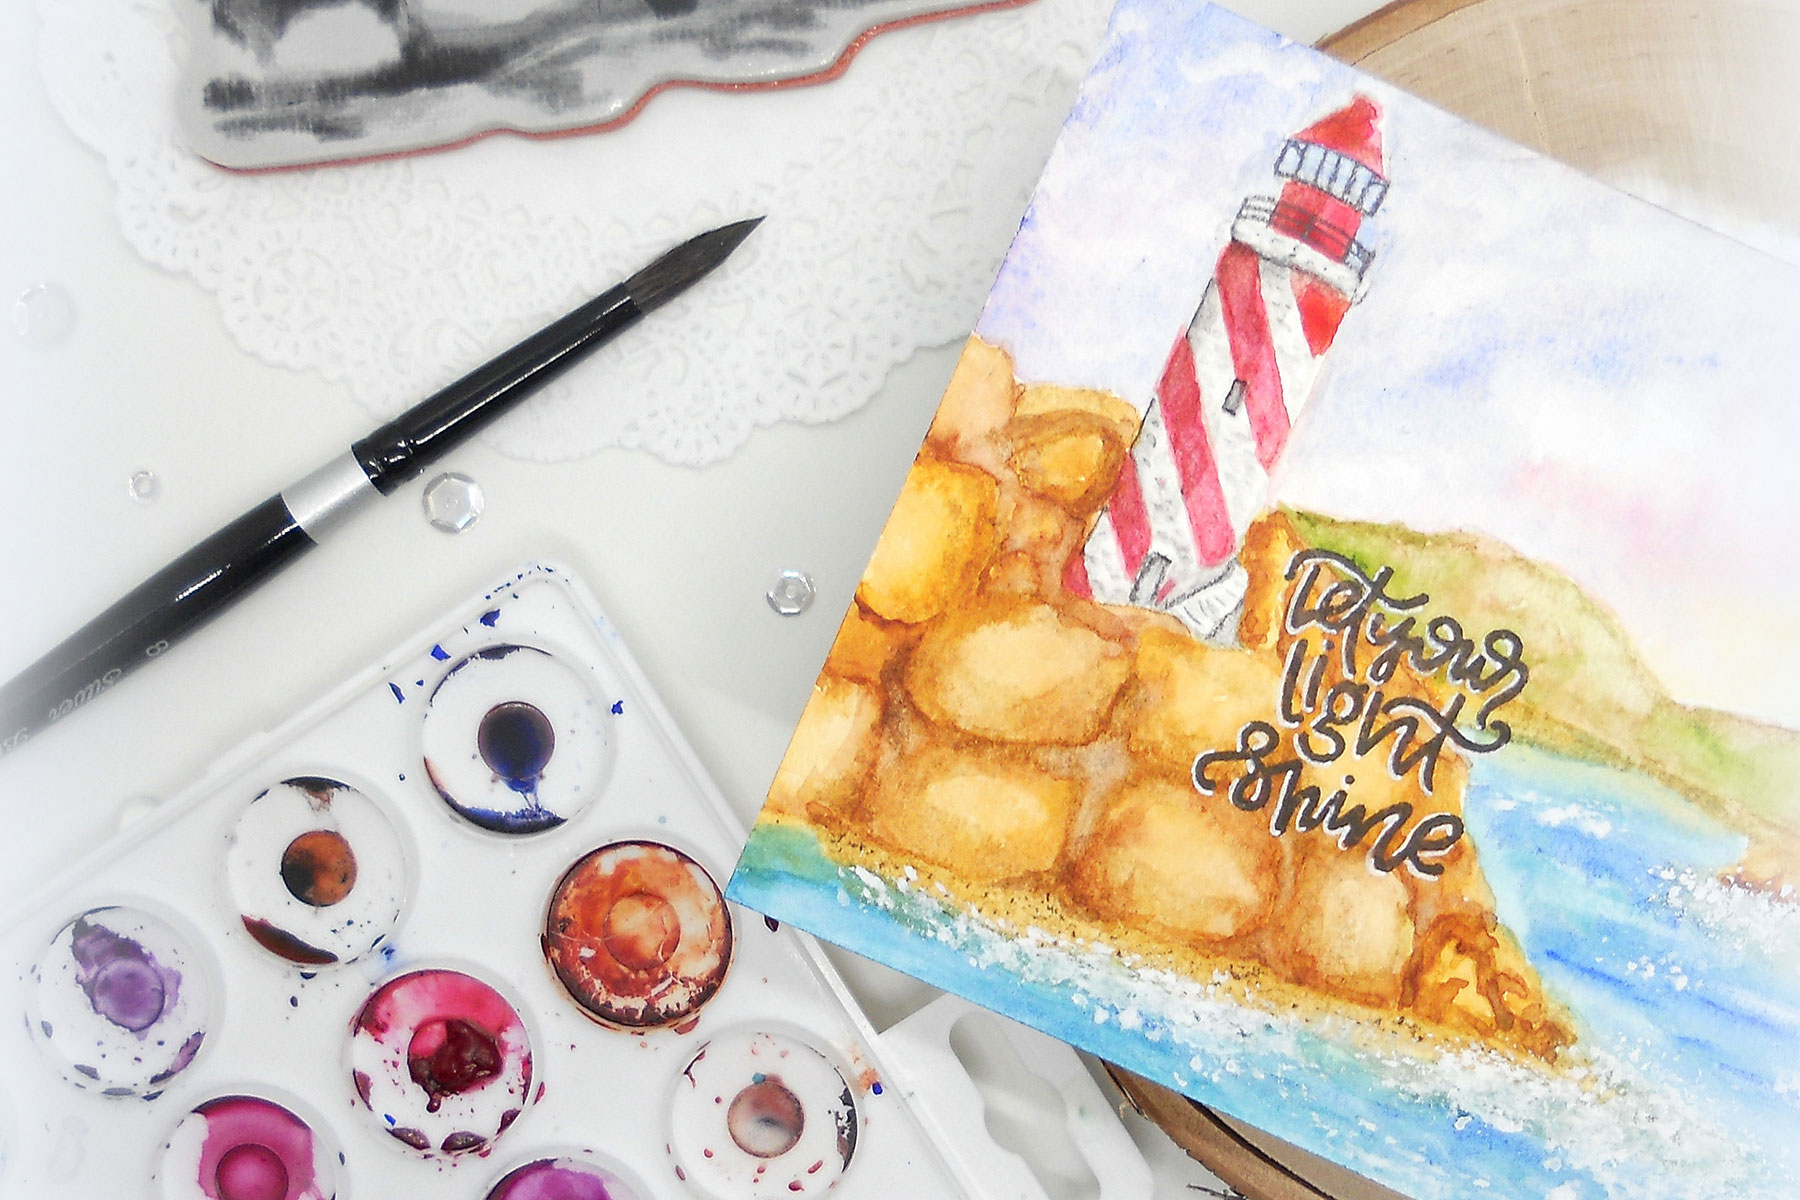
Video Friday | Lighthouse with Kelly for Spellbinders using: DSC-044 Lighthouse, SDS-097 Light Shine #spellbinders #cardmaking #stamping #watercolorcard #adultcoloring

Adding shading was super easy because I didn't have to think about it. I just laid down darker color where the stamp said to and pulled it out to the lighter areas.

VIDEO TUTORIAL

Watch video tutorial below or on Youtube to learn how to make this project:

I think the thing I love the most about this card, well landscape cards in general, is that it can be for anything. It can be masculine or feminine. They are so neutral, just really great stamps o have in your arsenal.

The thing that sets it off for me is the white acrylic paint spray. I just love the look it adds don't you?
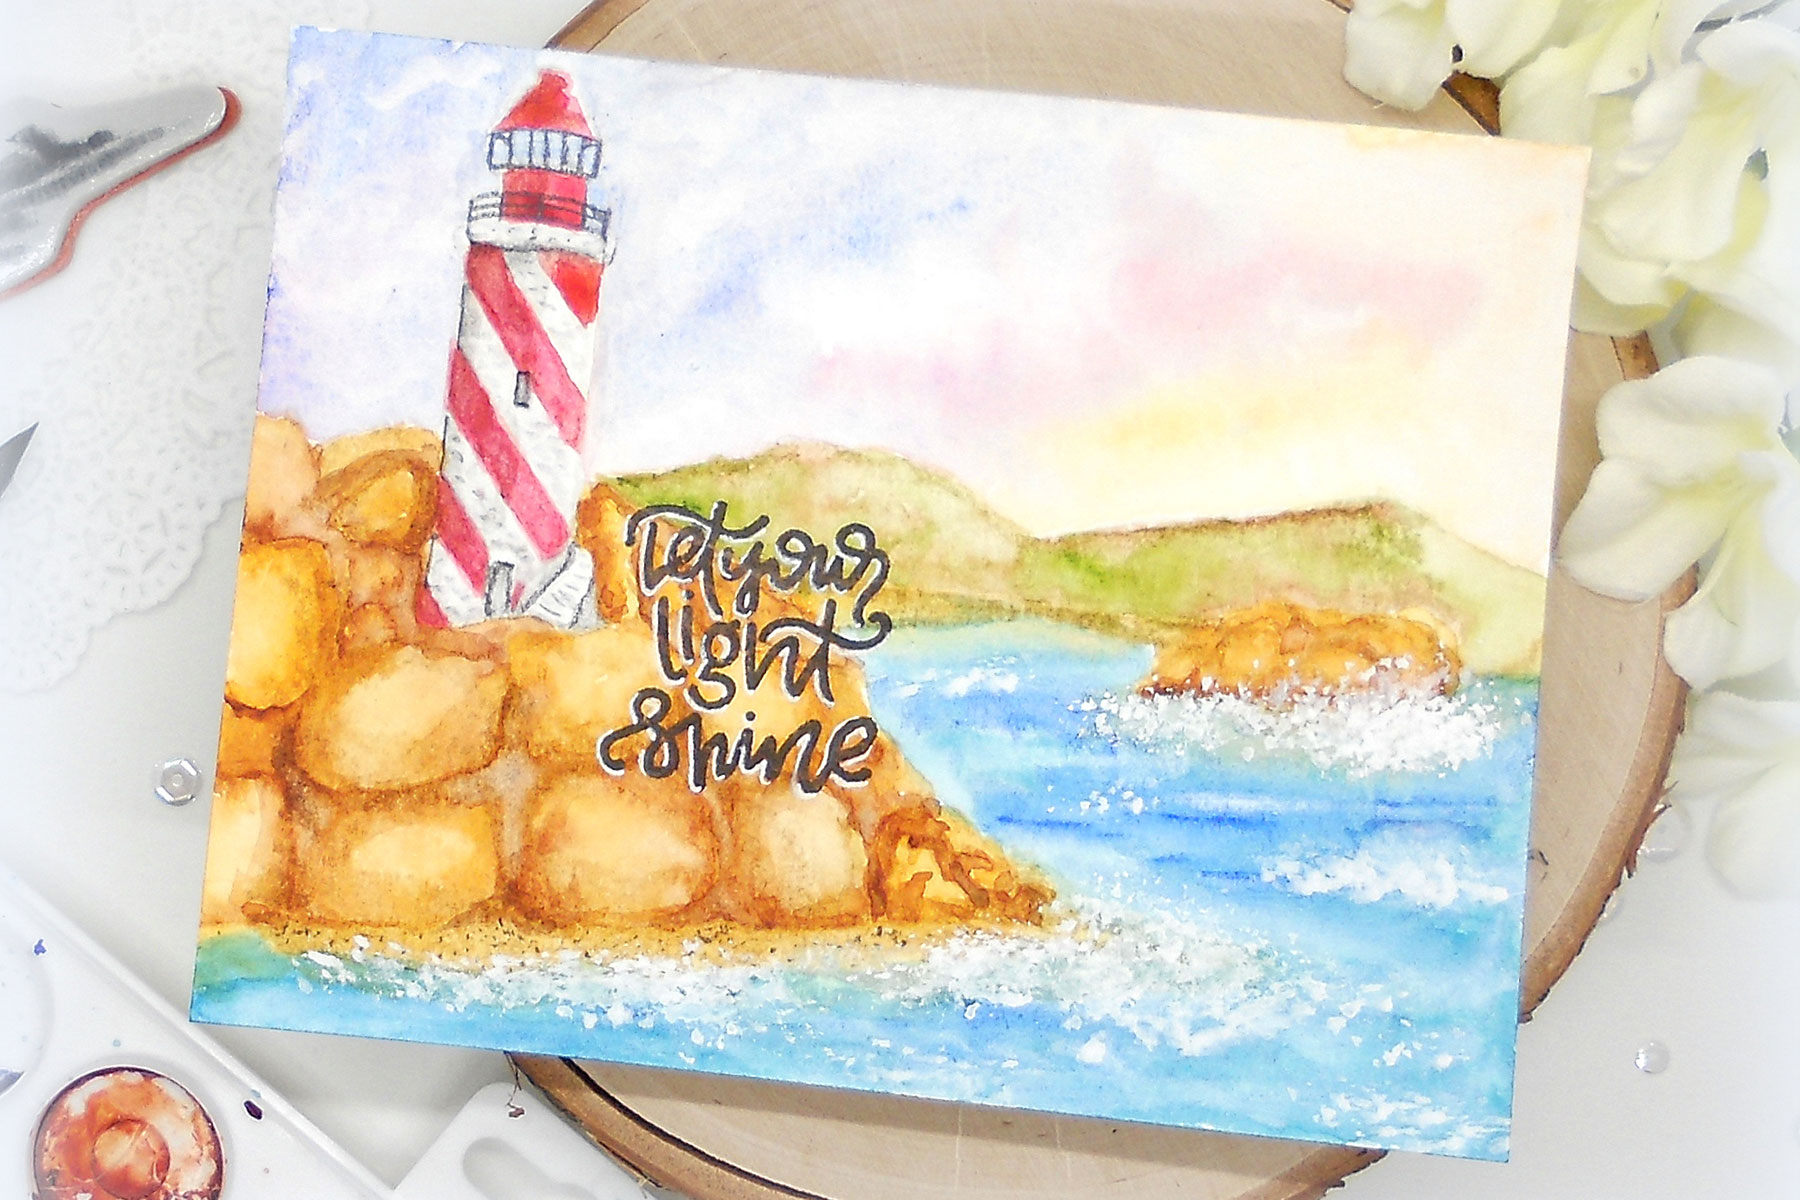
Video Friday | Lighthouse with Kelly for Spellbinders using: DSC-044 Lighthouse, SDS-097 Light Shine #spellbinders #cardmaking #stamping #watercolorcard #adultcoloring

Spellbinders Supplies:

Other Supplies:

Canson Aquarelle, MISTI Stamping Tool, Simon Says Stamp Barely Beige Dye Ink and Black Dye Ink, Black Velvet # 8 Round Brush, Sakura White Gel Pen, White Acrylic Paint, Dreamweaver Stencil Brush, Warm Gray Prismacolor Pencil, Daniel Smith Watercolors: Quinacridone Rose, Quinacridone Gold, Sap Green, Indian Yellow, Lunar Black, Ultramarine Blue, Ultramarine Turquoise, Transparent Brown.

Thank you so much for joining me today! I hope you learned something and are inspired to give at least one element of the card a try.

Leave a comment

Your email will not be published. Please note, comments need to be approved before they are published.


  • How to Make a Foiled Ornament Christmas Card

    BP-001

    How to Make a Foiled Ornament Christmas Card

    Looking for a festive Christmas card that combines hot foiling, stenciling, and letterpress techniques? This colorful holiday project features a softly shaded ornament, a pressed sentiment, layered arch panels, and shimmering gold snowflakes. The Tied With Cheer BetterPress plate and stencil set makes it easy to coordinate the ornament imagery and greeting, while the Winter Peace plate creates an elegant foiled background. In this step-by-step...

  • HOW TO USE PRESS PLATES WITH MULTIPLE INKS | CREATE YOUR WAY HOLIDAY, BPR-050, BPI-049, BPI-003

    BP-001

    How to Use Multiple Ink Colors with BetterPress Registration Plates

    Create a colorful Christmas card while learning how to apply multiple ink colors to BetterPress registration plates. In this detailed tutorial, you’ll use the Festive Evergreens Registration Press + Foil Plate & Die Set to press a holiday doorway scene in three colors, combining the built-in registration system with a simple masking technique. The registration template positions the coordinating plates so each layer aligns with...

  • How to Make a Colorful Foiled Butterfly Card with Glimmer II

    BP-351

    How to Make a Colorful Foiled Butterfly Card with Glimmer II

    Combine hot foiling, alcohol-marker coloring, ink blending, and dimensional shaping to create a colorful butterfly card that sparkles from every angle. In this step-by-step tutorial, you’ll learn how to foil detailed butterflies and a floral background with the Glimmer II Hot Foil System, add bold color, and shape the butterfly wings for a realistic raised effect. The Bright Butterflies and Thanks In Bloom Press +...































